
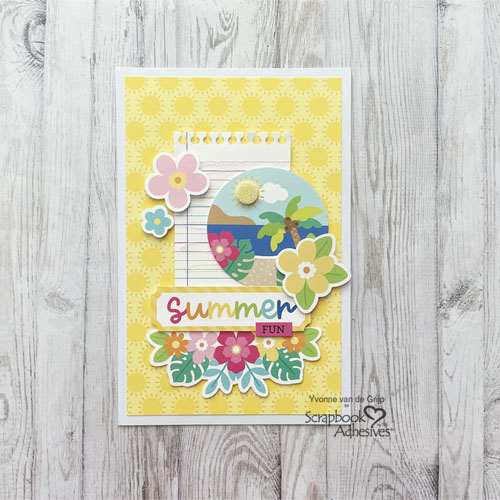
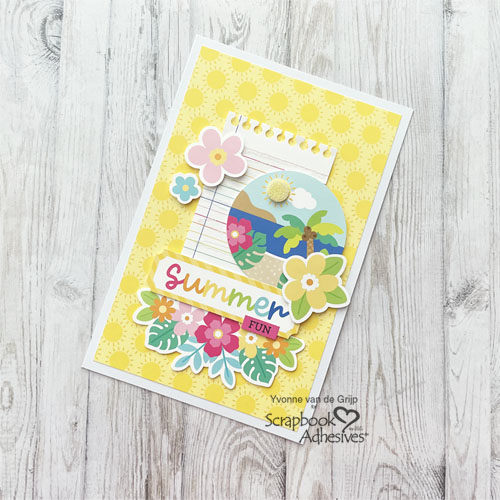
Hi everyone, Yvonne here with a Layered Summer Fun Card. This card is quick and easy to make which makes it very suitable for beginner card makers too. With 3D Foam Products, it’s so easy to add that wonderful dimensional effect to your card.
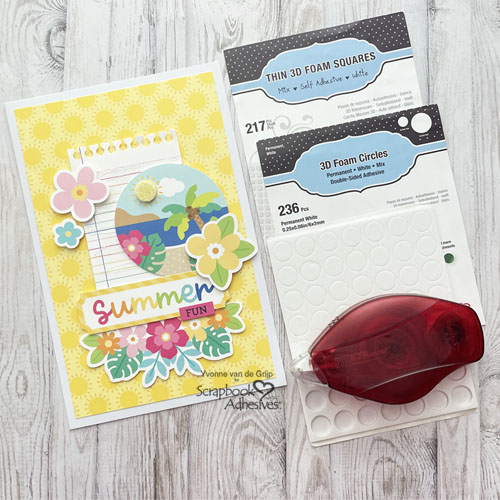
And for some extra fun I added glitter using the technique called Wear Your Adhesive on the Outside. Let me show you how I made my card.
Layered Summer Fun Card Base
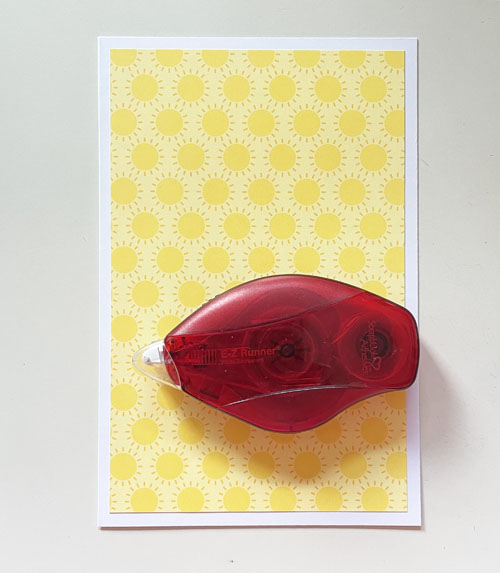
For the card base, fold a piece of white cardstock in half and adhere a yellow pattered card panel on top with the E-Z Runner® Permanent Strips Refillable Dispenser.
Adding Glittered Stripes on an Element
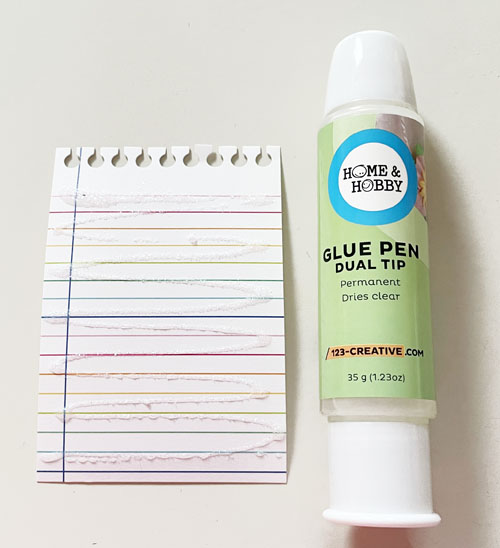
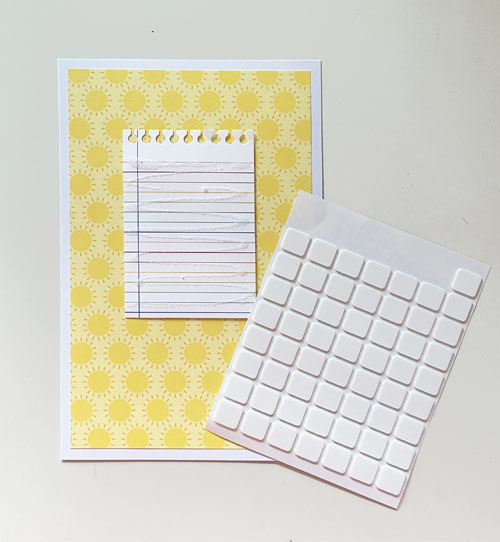
From my stash, I used pre-cut images so no scissors needed. To add a little sparkle to the notebook shape, I applied some glue stripes with the Dual Tip Glue Pen. Whilst the glue is still wet, sprinkle some white glitter, tap off the excess and let it dry. Designer’s Tip: To quick dry, use a heating tool. This technique making your adhesive shine is called Wear Your Adhesive on the Outside.
Wear Your Adhesive on the Outside with 3D Foam Circle
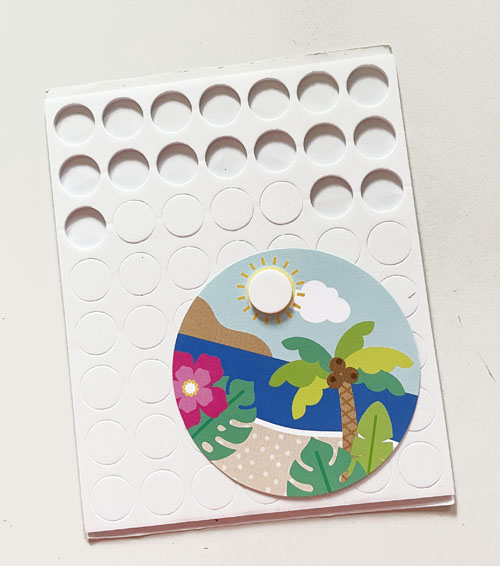
To add a little fun to the circle scenery shape on the Layered Summer Fun Card, I used the large circle from the 3D Foam Circles White Mix as the sun. Remove its top liner and sprinkled some yellow glitter. Press the glitter into the exposed adhesive to secure. Tap off the excess glitter and add it on the circle scenery shape.
Assemble the Card Front Design
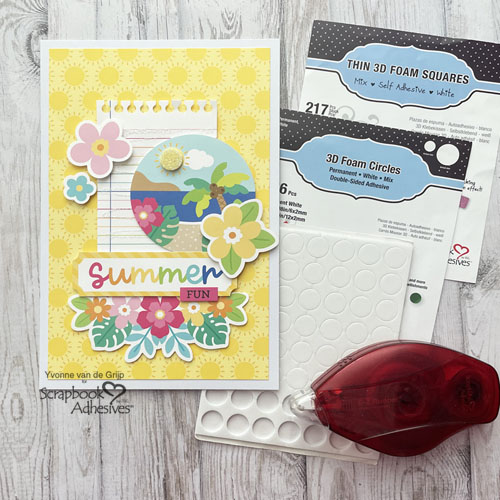
To build my card front design, I used a combination of 3D Foam Squares White Mix and Thin 3D Foam Squares White Mix to create dimension. First, I adhered the glittered notebook shape using Thin 3D Foam Squares White Mix. Place the glittered scenery circle next to the notebook shape using the same thin foam squares. Adhere the Summer sentiment at the bottom of the notebook shape with 3D Foam Squares White Mix. Tuck the flower border underneath with the Thin 3D Foam Squares White Mix. Add flowers using 3D Foam Squares White Mix. And finally place the FUN sticker under the Summer sentiment.
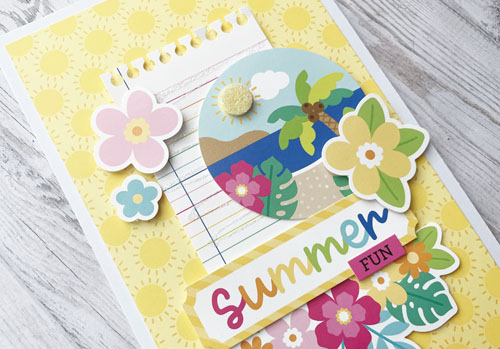
And voilá, your Layered Summer Fun Card is ready. I hope you enjoyed this tutorial and wish you happy crafting.
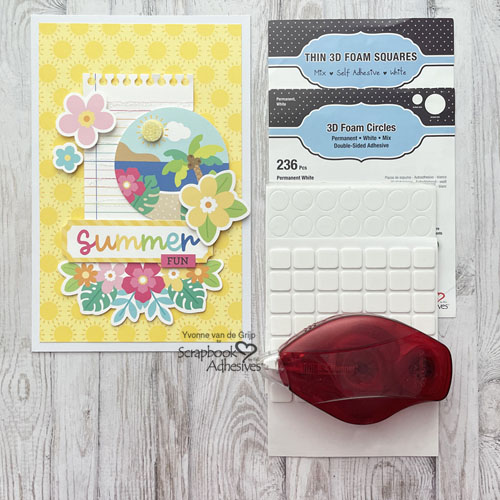
Creative Time: 20 minutes
Skill Level: Beginner
Materials needed:
Scrapbook Adhesives by 3L®:
E-Z Runner® Permanent Strips Refillable Dispenser
Thin 3D Foam Squares White Mix
HomeHobby by 3L:
Other:
Cardstock (doodlebug design inc.™: Summer Fun solid assortment paper Pack; Summer Fun Chit Chat™); Glitter (White, Yellow); Paper Trimmer; Scissors; Tweezers
Save to Pinterest!
Visit our Website and Blog!
Sign up for our Newsletter so you never miss a contest or giveaway!





