
I’m sharing a project to upcycle a container today. I promise you it is super easy with our Adhesive Sheets 12 x 12″! Hello blog readers! It’s Angela here with an idea for re-purposing empty containers, a perfect project for storing kid’s treats and prized possessions!
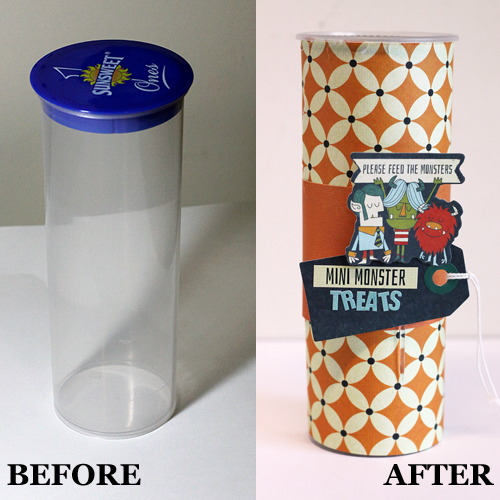
How to Upcycle a Container
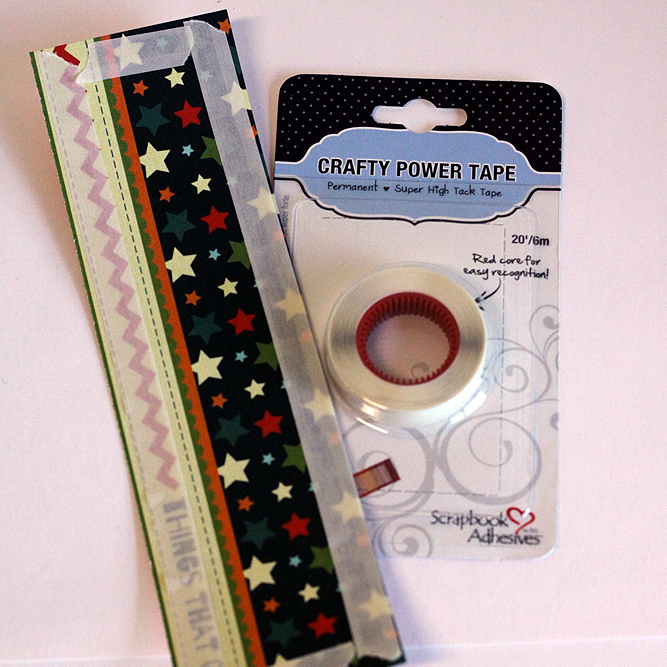
- Measure the dimensions of the container and cut patterned paper to fit. Cut a coordinating strip for across the middle of the container. The strip will be the anchor for our embellishment.
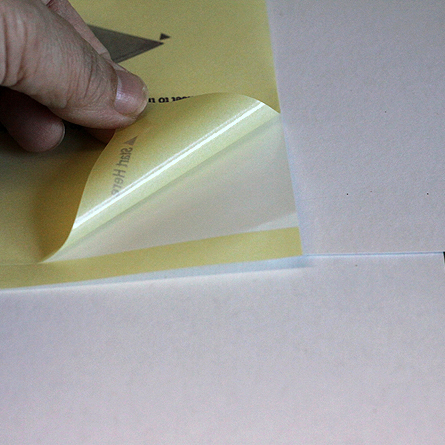
- Lift the yellow backing from an Adhesive Sheet 12 x 12″. I love these sheets! They are simple to apply and no extra tools required to cover large surfaces. Adhesive Sheets provide edge-to-edge permanent adhesive coverage. They’re perfect for die cutting and punching too!
- Place the cut pieces on the adhesive surface of the Adhesive Sheet, with the right side up.
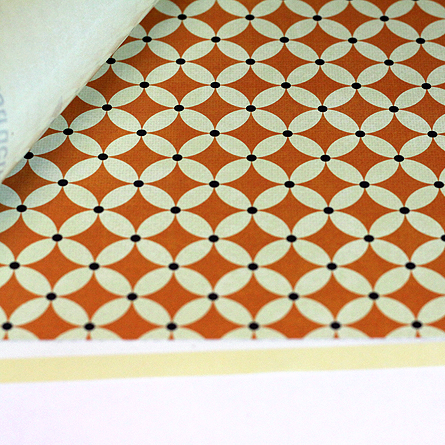
- Replace the yellow backing and burnish the back side of the patterned paper. Remove the paper from the Adhesive Sheet and reinforce the edges with Crafty Power Tape 20′ Refill.
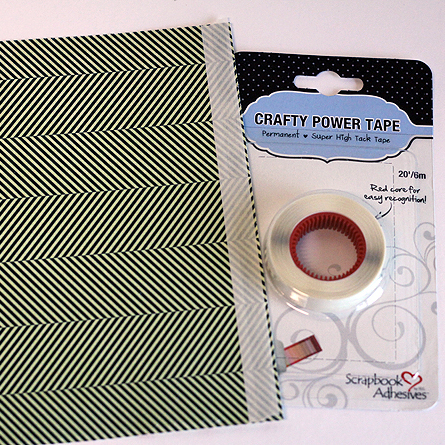
- Align and attach the patterned paper to the container. Reinforce all 4 edges of the coordinating patterned paper strip with Crafty Power Tape.
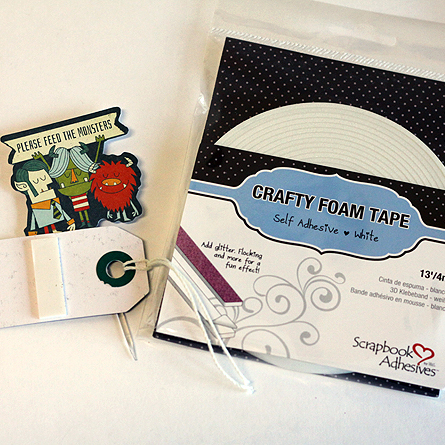
- Adhere the strip to the to the container. Use some Crafty Foam Tape White on the tag to adhere it and other embellishments to the container. Use a vertical strip to ensure no curving of the embellishments.
- Embellish the tag with coordinating stickers. You’re done!
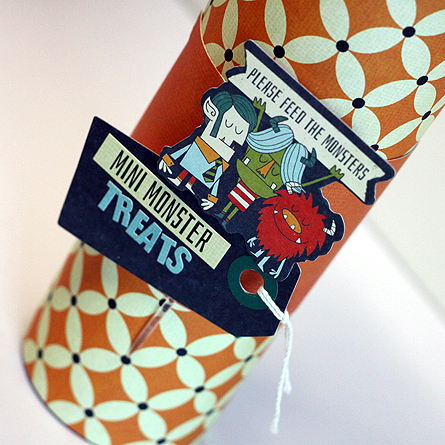
This is such a fun project and my kids will LOVE getting their treats from this upcycled plastic container.
Angela
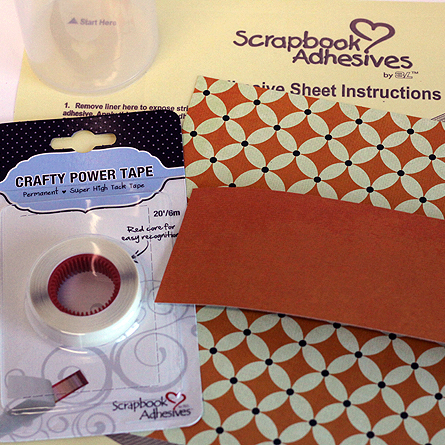
Scrapbook Adhesives by 3L® Used:
Crafty Foam Tape White
Crafty Power Tape 20′ Refill
Adhesive Sheets 12 x 12″
Other:
Patterned Paper: Fancy Pants Design (Be Different Collection)
By Deborah S May 21, 2014 - 3:50 pm
I love this project I think up cycling is so much fun and your project is a perfect example of that thanks for the step by step instructions!