
Hi, it’s Beth, and I have a birthday card tutorial today. I am always in need of birthday cards, and this is a fun and festive card that’s easy to make. Let me show you!

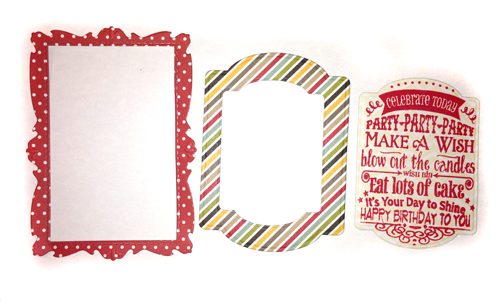
Start by stamping the sentiment then die cutting the layers with coordinating papers.
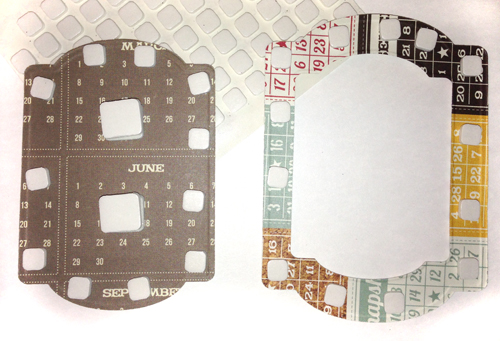
 Next add adhesives to the back of the layers. I used the 3D Foam Squares White Mix because it has a combination of the Regular size (1/2″) and Small size (1/4″) squares.
I added the small around the edges.
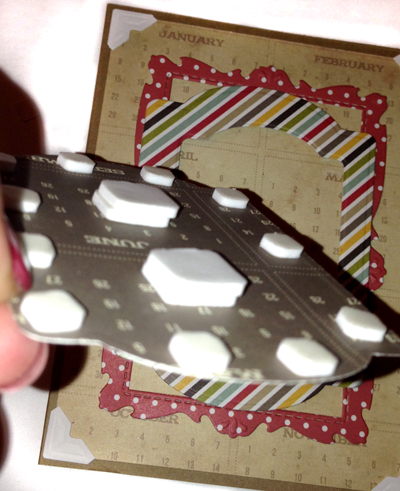
I used E-Z Runner® Permanent Strips Refillable on the frame and background papers.
 In the center of the sentiment I doubled the 3D Foam Squares, so the center was supported. It will be even with the outside edges of the die cut, because the center of the first layer was cut out (and I saved that piece for another project).
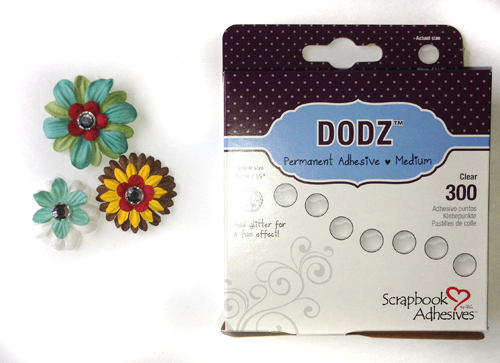
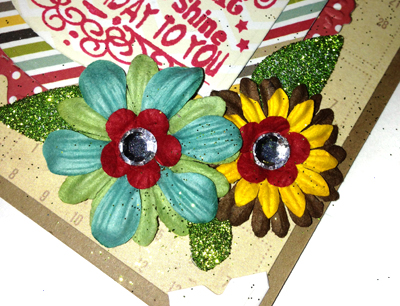
 I felt like it needed something in the corners so I stacked up a few paper flowers with Dodz™ Medium, and added the gems with Dodz™ Small.
 Flowers need leaves, so I used 3D Foam Leaves covered in glitter. (be sure to blow off excess glitter before taking photos, LOL!) I trimmed one of the leaves with scissors so it would fit the card.
 On the background paper I used Creative Photo Corners as a decorative element to frame in the design.
Thanks for coming by today!
I used these supplies:
- Scrapbook Adhesives by 3L®: 3D Foam Leaves, Dodz™ Medium, Dodz™ Small, E-Z Runner® Permanent Strips Refillable, Creative Photo Corners White, 3D Foam Squares White Mix
- A Jillian Vance Design: Chalkboard Backdrop Die, Vintage Frame die, Birthday Art stamp
- Simple Stories: 24/Seven paper collection
- Clearsnap: Colorbox Warm Red Chalkboard Ink, Peridot Glitter
- Prima Marketing: Flowers
- Gem, Kraft Cardstock