
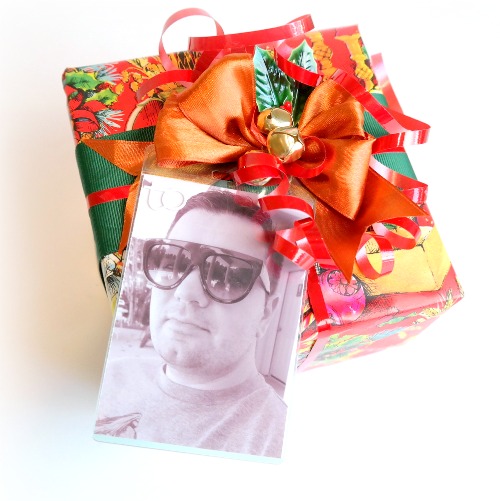
Hi! Dana Tatar here today sharing a 5-minute craft tutorial. I love shopping for gifts, so the holiday season is a really fun time for me. After purchasing and wrapping my gifts this year, I was looking for a way to add an extra special touch. Instead of using store-bought to and from labels, which I can never seem to find, I decided to create my own personalized photo gift tags with Self Laminating Tags with Loops.
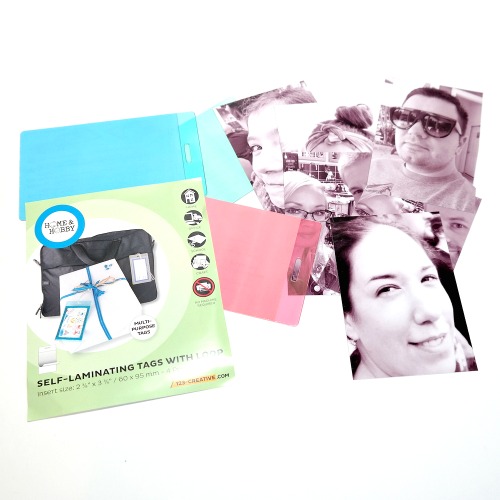
Self Laminating Tags with Loops are easy to use and eliminate the need for expensive machines. The pre-punched hole in the top of each tag is ready for ribbon to tie to any gift or bag.
Using Self Laminating Tags with Loops as Gift Tags
Step 1: Print photos and cut to fit inside the tags.
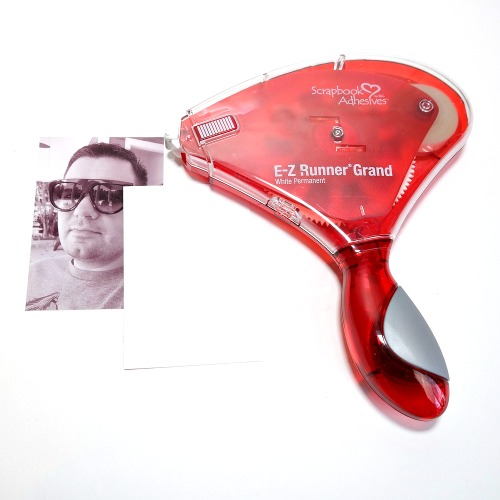
Step 2: Use the E-Z Runner® Grand Refillable Dispenser to apply adhesive onto the back of one photo. Next, carefully line up a second photo and press onto the adhesive. The result is a double-sided photo with the gift-giver on one side and the gift-recipient on the other.
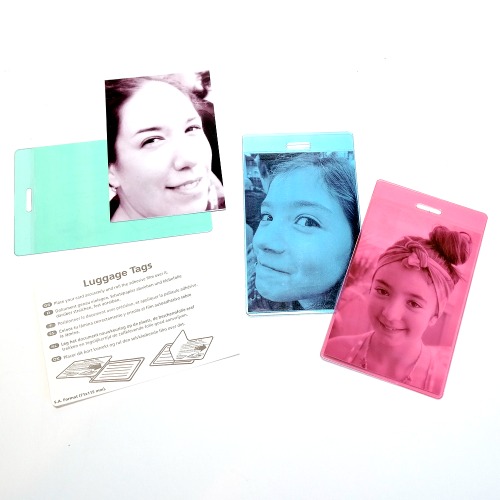
Step 3: Align the double-sided photo inside the tags. Then, remove the liner and press to seal.
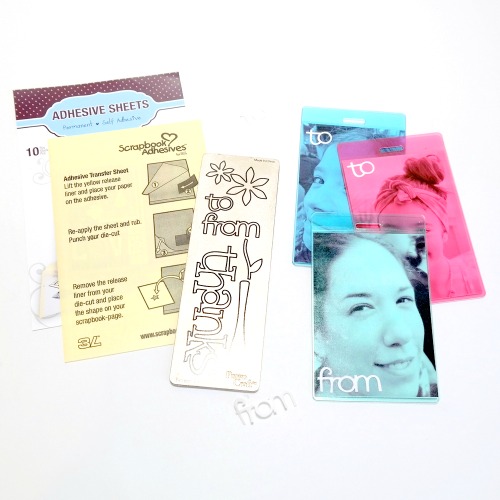
Step 4: Create “to” and “from” word stickers with Adhesive Sheets. First, lift the yellow release liner and place cardstock onto the adhesive. Next, die-cut the cardstock. Then, remove the release liner from the die-cuts and place the words onto the tags.
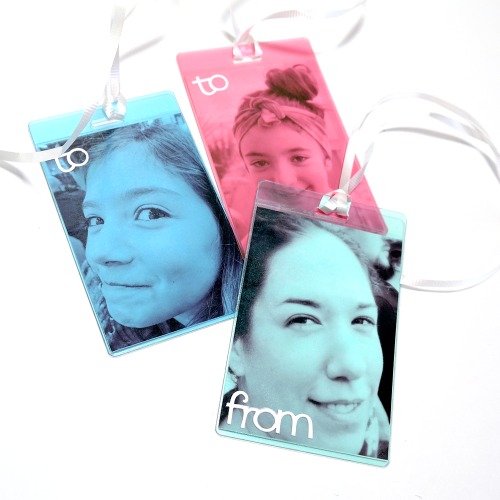
Step 5: Insert ribbon through the pre-punched hole in the top of each tag and tie to a gift.
Thanks so much for stopping by today!
~Dana Tatar
Scrapbook Adhesives by 3L Supplies:
Adhesive Sheets- 4×6″
E-Z Runner® Grand Refillable Dispenser
E-Z Runner® Grand Permanent Strips Refill
HomeHobby by 3L®:
Self Laminating Tags with Loops
Other:
Metal Die: ProvoCraft; Manual Die-Cutting Machine; White Cardstock; Ribbon; Black and White Photos
By Julie Tucker December 4, 2017 - 6:26 am
These are just genius!! Absolutely LOVE them!!!!!!!!
By Dana Tatar December 4, 2017 - 7:11 am
Thank you Julie!