Father’s Day is rapidly approaching. Christine here and if you haven’t already made your card, I’ve got some inspiration for you today. As I considered how I wanted to make mine, I decided to add in the trendy gold foil combined with several other fun elements. Join me as I share the different ways I incorporated foil throughout this card!
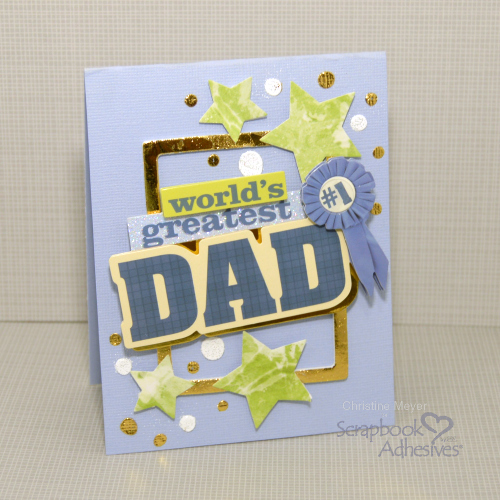
The combination of stickers, patterned papers, and LOTS of adhesives all made this card come together. Let’s take a look at the different steps including how you can “Wear Your Adhesive on the Outside” to really up your project!
Creating your Father’s Day Card
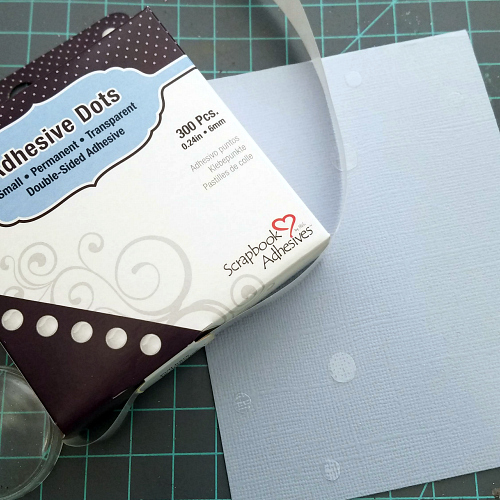
Step One: After cutting down your card base, add Adhesive Dots in multiple sizes to the bottom left and top right corner of the card.
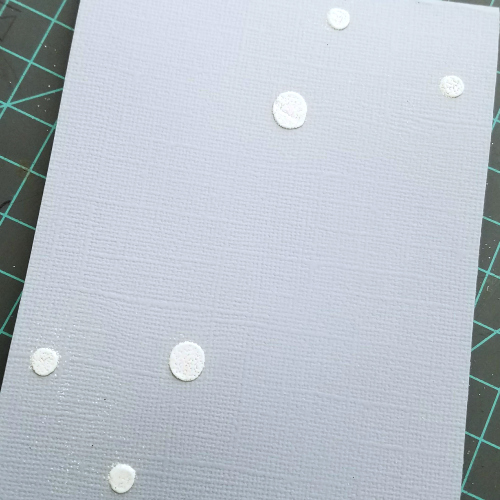
Step Two: Add Embossing Powder to the dots and then heat them up to set the powder. This is an important step to do before adding other parts to the card. Otherwise, the heat could mess up your other elements.
Adding Gold Foil
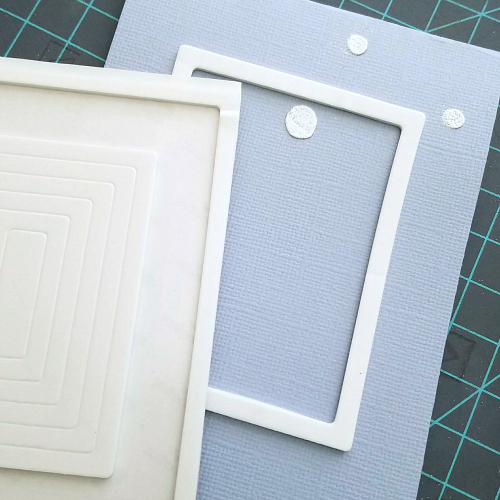
Step Three: Add a 3D Foam Frame to the center of the card. As you can see the frames come in a nested set making a variety of sizes available. They stretch a long way consequently making them a great choice for diving into multiple card designs.
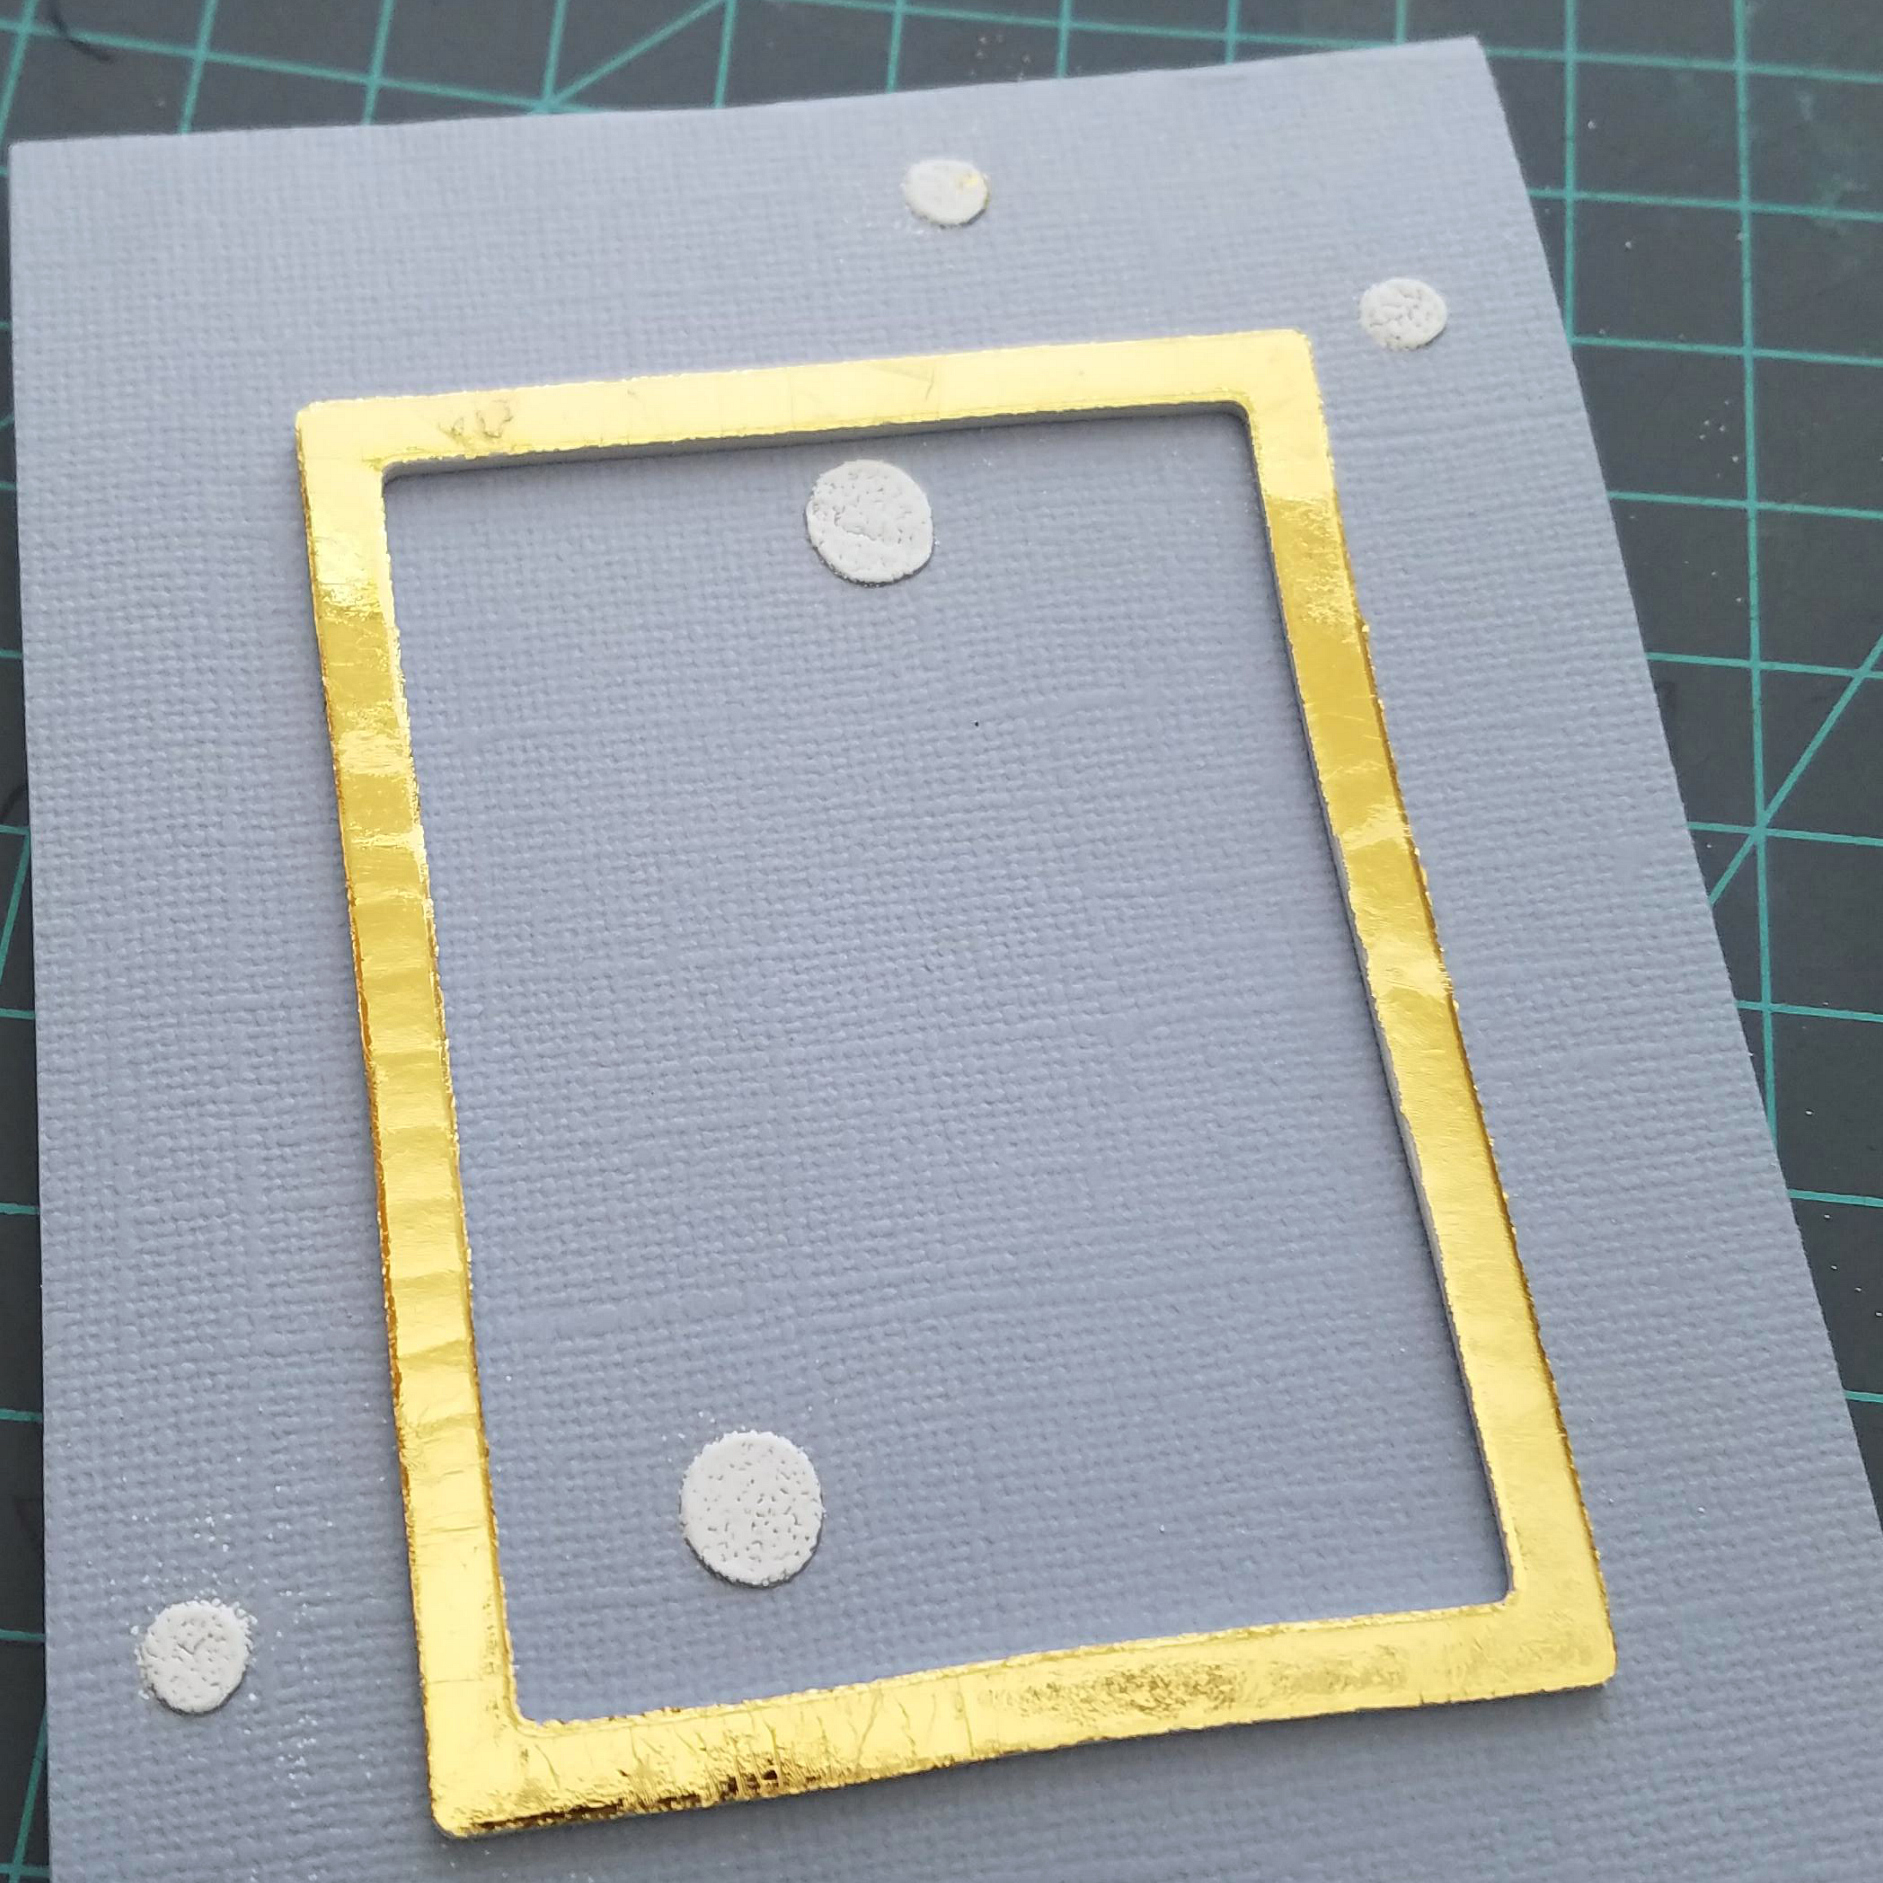
Step Four: Top the frame with gold foil from the 3D Foam Creative Embellishment Kit. Although this looks complicated, it is as simple as laying the foil, with the colored side up, on the exposed adhesive of the 3D Foam Frame. Then simply rub foil with your finger and peel away the sheet.
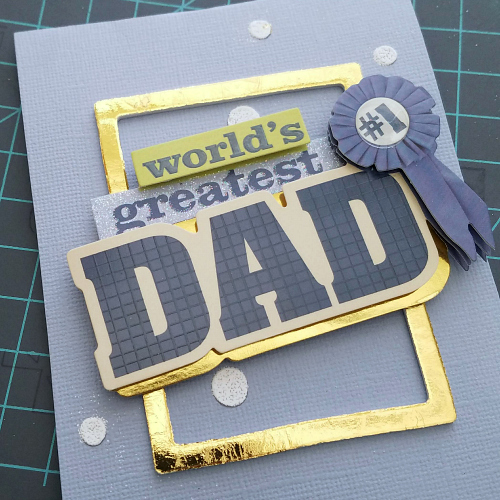
Step Five: Add your sentiment atop the frame. As you can see the gold in my sentiment was a huge inspiration for the rest of the card.
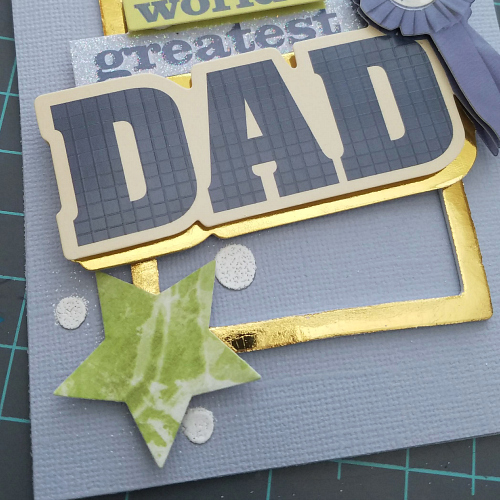
Step Six: Cut out stars from patterned paper and secure those with Adhesive Sheets and 3D Foam Squares.
Step Seven: Add additional Adhesive Dots as you see holes that need to be filled. Use gold foil atop those to add some additional gold foil throughout.
Thanks for joining me today – have fun getting those cards ready for Dad!
Creative Time: 35 mins
Skill Level: Intermediate Level
Materials Needed:
Scrapbook Adhesives by 3L® Products used:
3D Foam Squares White Regular
3D Foam Squares White Small
Adhesive Sheets 6×4″
3D Foam Frames
3D Foam Creative Embellishment Kit
Adhesive Dots Micro
Adhesive Dots Small
Other Supplies: Patterned Paper and Stickers from Paper House Productions
See these other Father’s Day Ideas: