
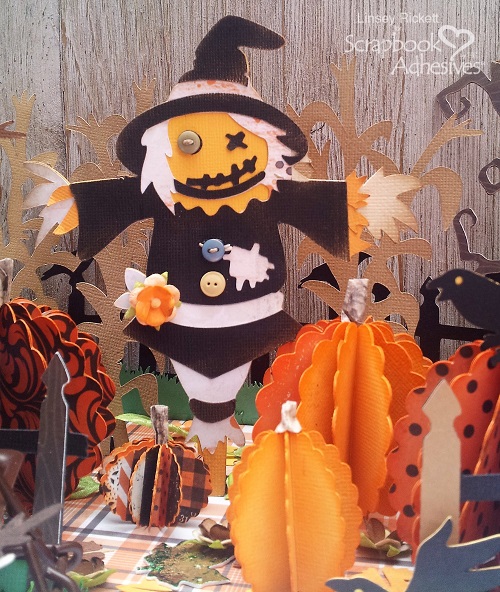
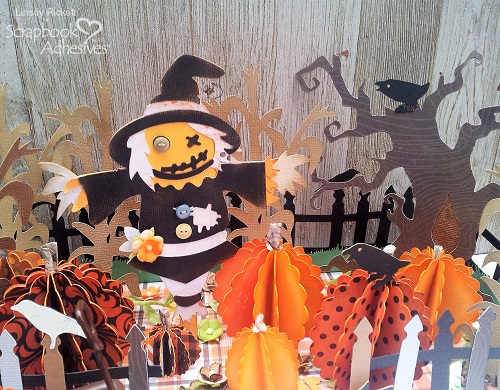
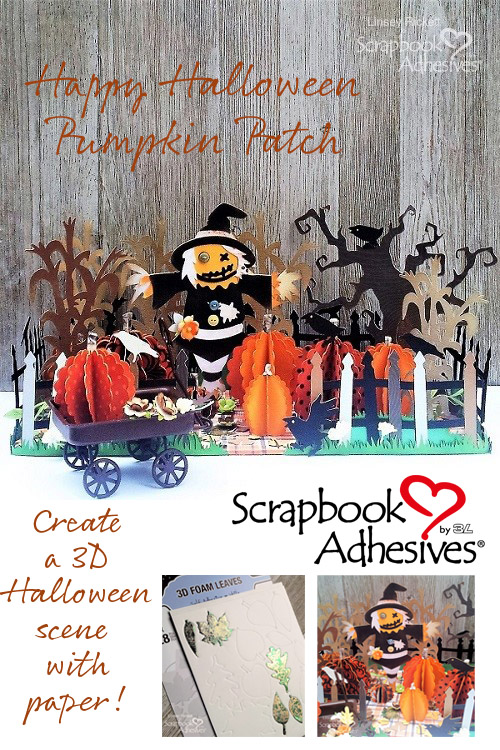
Happy Halloween, friends! What a treat it is to be sharing my festive and fun 3D pumpkin patch with you! Linsey here today and I’m excited to show you how easy it was to create this cute home decor scene! All it takes is some fabulous Scrapbook Adhesives by 3L® products, your favorite paper and we’re on our way to the happiest Halloween pumpkin patch in town!

How To Assemble Your 3D Pumpkins
I enlisted my electric die cut machine with heavy cardstock. Die cut 10-12 scalloped circles for each pumpkin (less or more, depending on how full you want your pumpkins). Fold each circle in half and make sure that scallops line up with one another. Use the Dual Tip Glue Pen on one side of each folded circle and hold together for approximately 1 minute or just until pumpkin stays together on its own. Repeat steps for each 3D pumpkin. Add stems with rolled up paper and glue to tops of pumpkins. I made a total of 8 for my patch.
Making a 3D Pumpkin Patch with Paper Die Cuts
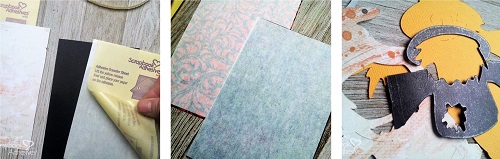
For the ground layer of the Happy Halloween Pumpkin Patch, cover a piece of cardboard with patterned paper using the E-Z Runner® Grand Refillable Dispenser with the E-Z Runner® Grand Ultra Strong Refill. I use Adhesive Sheets 4×6 inch to layer the die cuts such as the scarecrow. Add an Adhesive Sheet to the back of top layer of cardstock before cutting to make it easy to adhere to the base die cut. No mess, no excess, I love that!
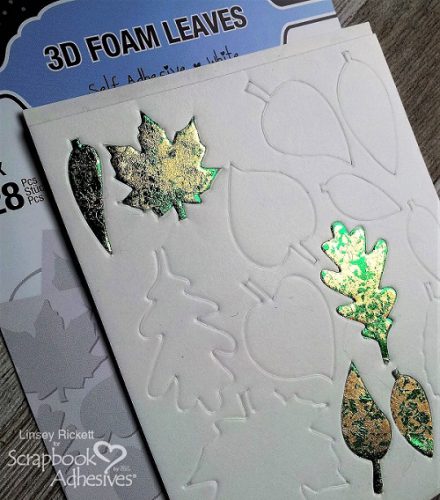
Make the scenery sparkle with 3D Foam Leaves and gold and green foils to create a mixed, metallic effect! Simply dab the under-side of the foil to the adhesive, then dab a second or third color until the adhesive is covered. The 3D Foam Creative Embellishment Kit includes foil, and it works beautifully with our adhesives, no other equipment needed! Foils are so much fun to incorporate into projects. I find myself coming back to them time and again and using them in various creative ways.
Adhesive Dots are the perfect way to adhere small embellishments to a project. Position them on the back of buttons, mini flowers and die cut leaves, they stick to wherever I place them and make the scene come to life!
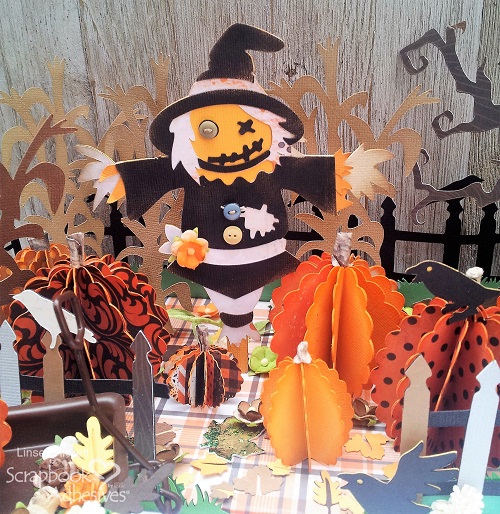
And that’s my happy Halloween pumpkin patch!
Happy Halloween!
I hope you enjoyed it and thanks so much for stopping by! I am wishing everyone a safe and fun Halloween! Until next time, happy crafting!
- Creative Time: 90 Minutes
Skill Level: Intermediate
Materials Needed:
Scrapbook Adhesives by 3L®:
E-Z Runner® Grand Refillable Dispenser
E-Z Runner® Grand Ultra Strong Refill
Adhesive Sheets 4×6 inch
3D Foam Leaves
Adhesive Dots Small
Adhesive Dots Medium
3D Foam Creative Embellishment Kit with Foil
HomeHobby by 3L®:
Dual Tip Glue Pen
Other Supplies: cardboard, cardstock, patterned paper, Cricut die cutting machine/cartridges, ink, dauber, miniature wagon, buttons, mulberry flowers.
Pin it!
Visit our Website and Blog!
Sign up for our Newsletter so you never miss a contest or giveaway!


