
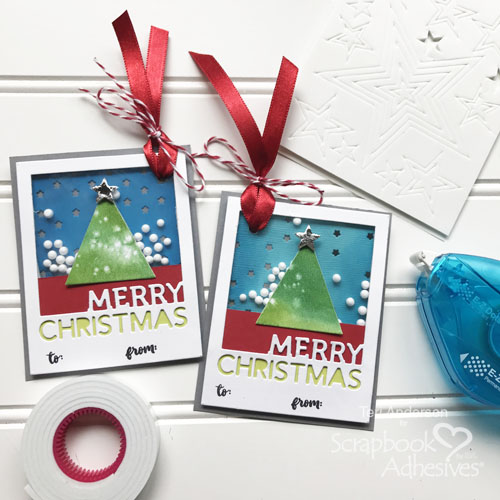
Hi, everyone! Looking for a neat way to add a personalized touch to this year’s Christmas gifts? Here’s an idea for you: make them interactive with shaker gift tags on your packages! It’s a snap with Scrapbook Adhesives by 3L® products.
Start the Shaker Gift Tags
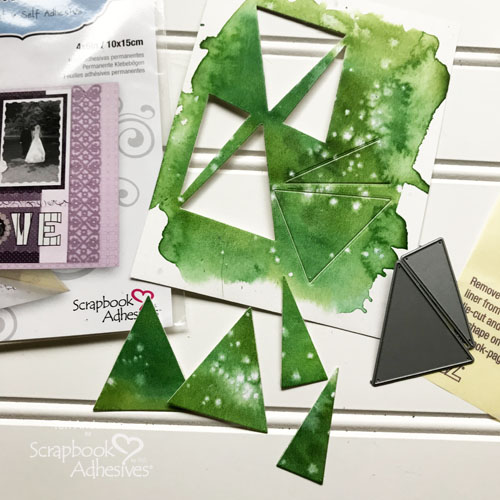
Start by die-cutting a couple of trees from cardstock or patterned paper. If you want to kick things up a notch, paint watercolors on watercolor paper and die cut it to make your trees.
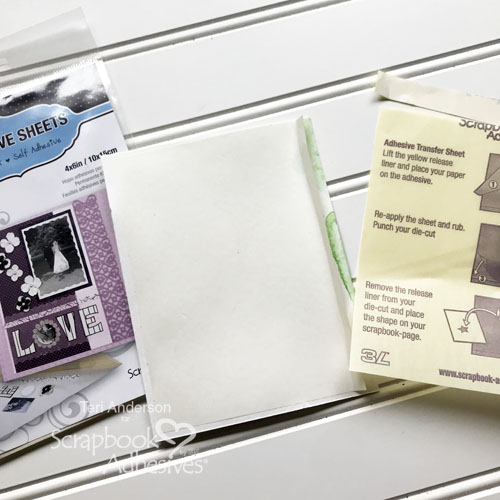
Before you die-cut the trees, add an Adhesive Sheet 4×6 inch to the backside of your paper panel. This will give the trees edge-to-edge permanent adhesive coverage, essentially turning them into a sticker. This way you’ll be able to assemble your tags quickly.
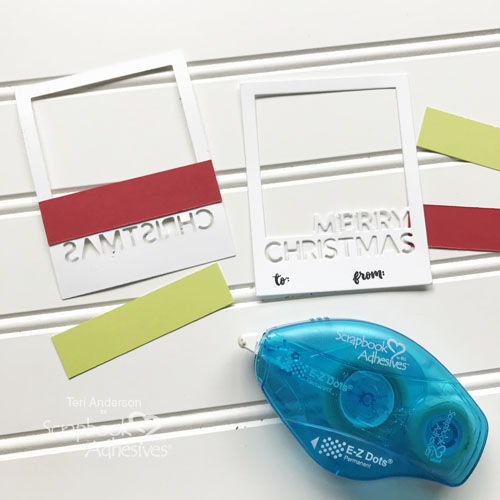
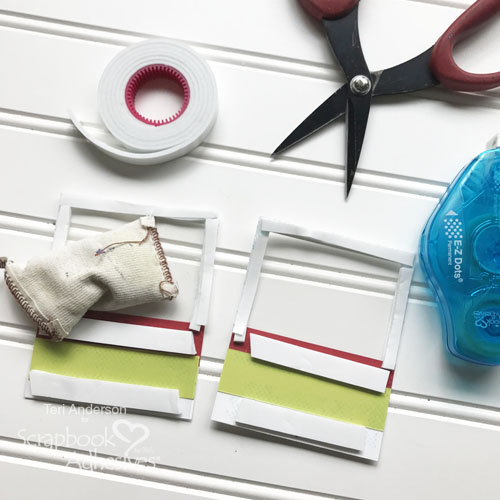
Cut a “Merry Christmas” frame from white cardstock for each tag, and then cut strips of green and red cardstock to fit across the frames.
Stamp the words “to” and “from” onto the frames. Flip the frames over and adhere the green and red cardstock strips so they appear behind the “Merry Christmas” sentiment. The E-Z Dots® Permanent dispenser is perfect for this.
Cover the openings of the frames with transparencies, cut the pieces larger than the opening and adhere to the back side of the frame.
Creating the Shaker Windows
Cover the back of your frames with strips of Crafty Foam Tape White. Now the tape will be too wide for some spots on the frames so you’ll need to cut in half with your scissors. Don’t worry if your cuts are not perfectly even. No one is going to see this when your shaker tags are complete.
Brush the transparency windows with a non-static embossing powder bag.
TIP: A fabric softener sheet or dryer sheet works to remove static too!
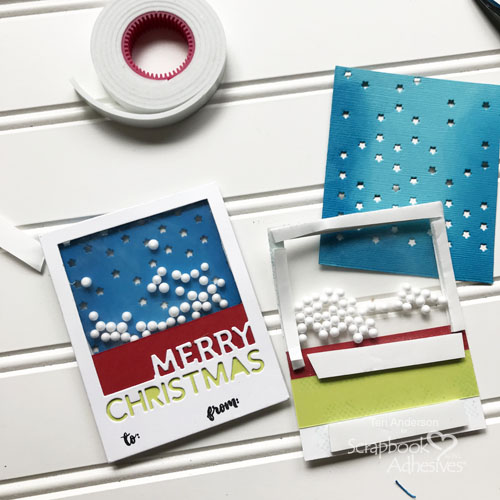
Drop some small foam balls or sequins on the windows. Remove the Crafty Foam Tape liners and adhere a starry die-cut background to them. If you don’t have a starry background die, you can use patterned paper instead.
Next you’ll need to cut mats that are slightly larger than the Merry Christmas frame. These serve as the base of your tags. Once you have the mats, adhere them to your frames!
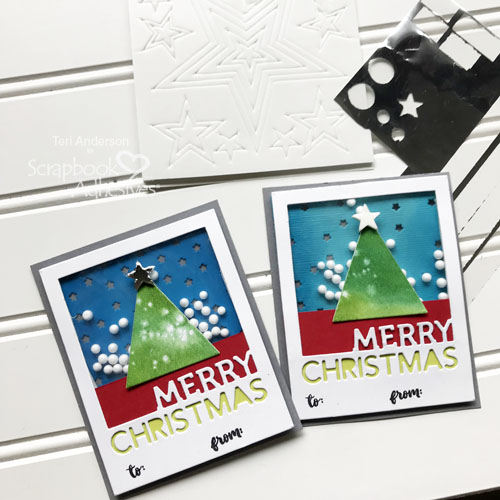
Add your tree die cuts to the front of your tags. Top your trees with a 3D Foam Stars Apply Holographic Metallic Transfer Foil to the stars.
Designer’s Note: 3D Foam Stars are also available in the 3D Foam Holiday Embellishment Kit, along with solid colors of foil.
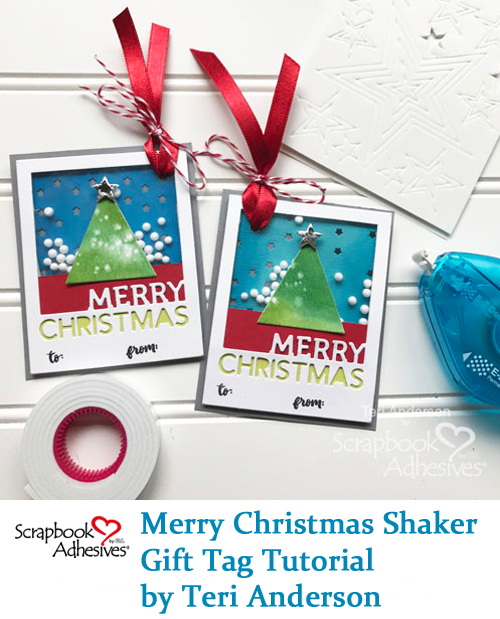
Final Touches
Complete your tags by poking a hole in the corner of each one and bringing some ribbon through the holes. Kick things up a notch by tying some red and white baker’s twine around the ribbon.

I hope you enjoyed today’s tutorial. Pin it, and be sure to check out our blog for even more great ideas!
Merry Christmas!
Creative Time: 1 hour
Skill Level: Beginner
Materials Needed:
Scrapbook Adhesives by 3L®:
- Crafty Foam Tape White
- 3D Foam Holiday Embellishment Kit
- 3D Foam Stars
- Holographic Metallic Transfer Foil
- E-Z Dots Permanent Refillable Dispenser
- Adhesive Sheets 4×6 inch
Other:
Merry Christmas Frame, Christmas Trees and Stars Background dies from Simon Says Stamp!; Mug Hugs stamp set from Sunny Studio Stamps; Kuretake Gansai Tambi Watercolors; White foam balls from Dollar Tree; Clear transparency; Blue, White, Green, Red, Gray cardstocks; Watercolor paper; Black and blue ink pads; Ribbon and baker’s twine; Embossing Powder Bag
Save It on Pinterest
Visit our Website and Blog!
Sign up for our Newsletter so you never miss a contest or giveaway!


By Beverly Jordan November 15, 2018 - 10:04 pm
Fabulous shaker cards Teri!