
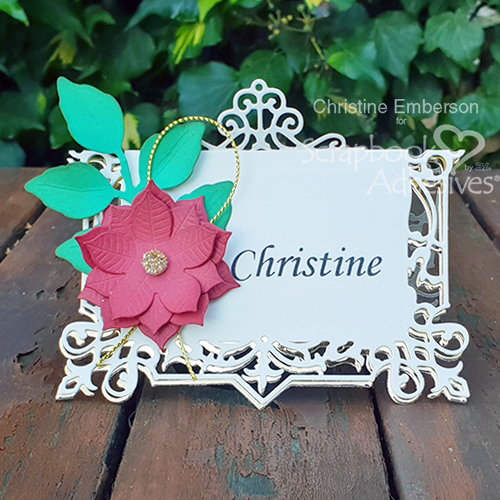
Hi everyone, Christine here today with a festive place card tutorial. Adding a personalized touch to your holiday table is always nice but do you have time? These are speedy makes so yes! Just what we want to hear.
Creating the Place Card Basics
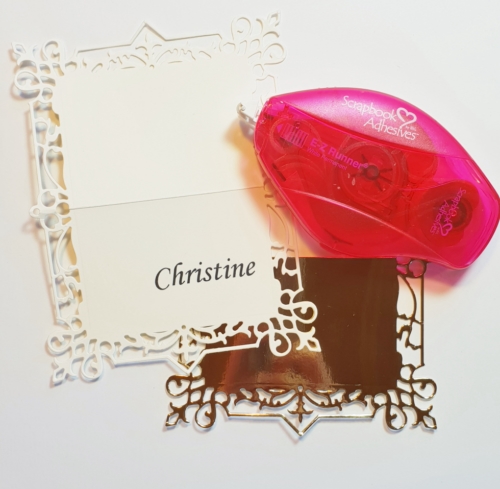
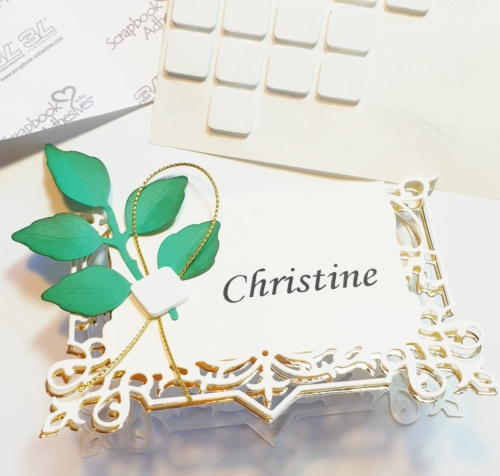
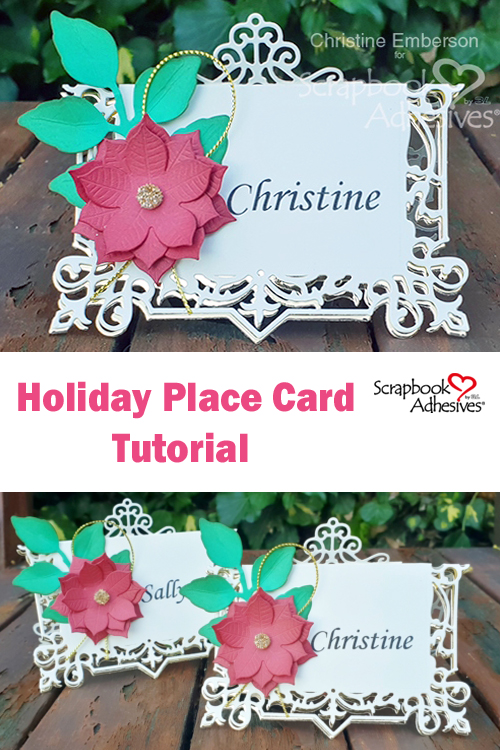
Print name onto an ivory card using a printer. Align your chosen die and run through a die cutting machine.
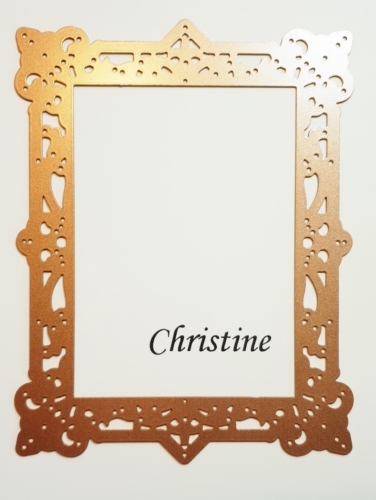
Score across the middle of the die cut, this will create your folded place card. Using the die again, cut with gold mirror card. Slice in half and affix this behind with E-Z Runner® Permanent Strips Refillable Dispenser to create a small drop shadow.
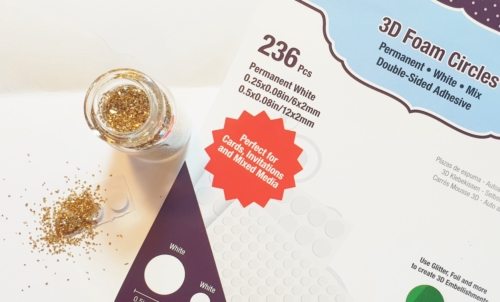
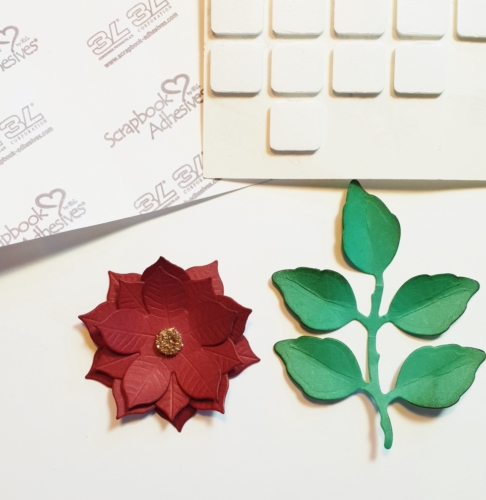
Remove the top layer from 3D Foam Circles White Mix and sprinkle glitter, these make the perfect glitzy flower centers.
Die cut your flower and leaf set, affix the glittered 3D Foam Circle and use 3D Foam Squares White Regular Size for the back of the flower.
Again using the trusty 3D Foam Squares White Regular Size hold in place the gold twine.
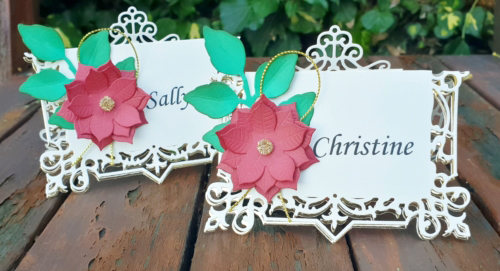
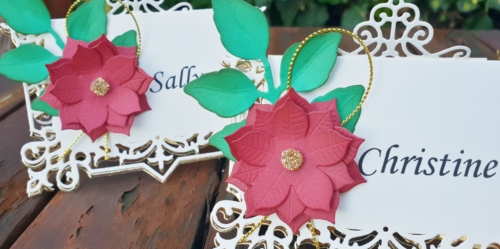
Each finished place card adds an easy and speedy touch of elegance to your table.
Thanks for stopping by!
Christine
Creative Time: 30 Minutes
Skill Level: Intermediate
Materials Needed:
Scrapbook Adhesives by 3L®:
3D Foam Circles White Mix
3D Foam Squares White Regular Size
E-Z Runner® Permanent Strips Refillable Dispenser
Others:
Craft Dies: Spellbinders® Paper Arts (Callista Rectangle, Cinch and Go Poinsettia, and Foliage); Gold mirror cardstock; Ivory, red and green cardstock; Gold glitter; Gold twine; Computer Font or stamp for name
Pin It!
By hazel young November 20, 2018 - 2:12 am
Stunning place card Christine, love the dies used x xhazel
By Patricia Howarth November 20, 2018 - 2:11 pm
Hi Christine, These are truly elegant place cards and the foam circles are fabulous as flower centres.
Lots of love from Patricia xx