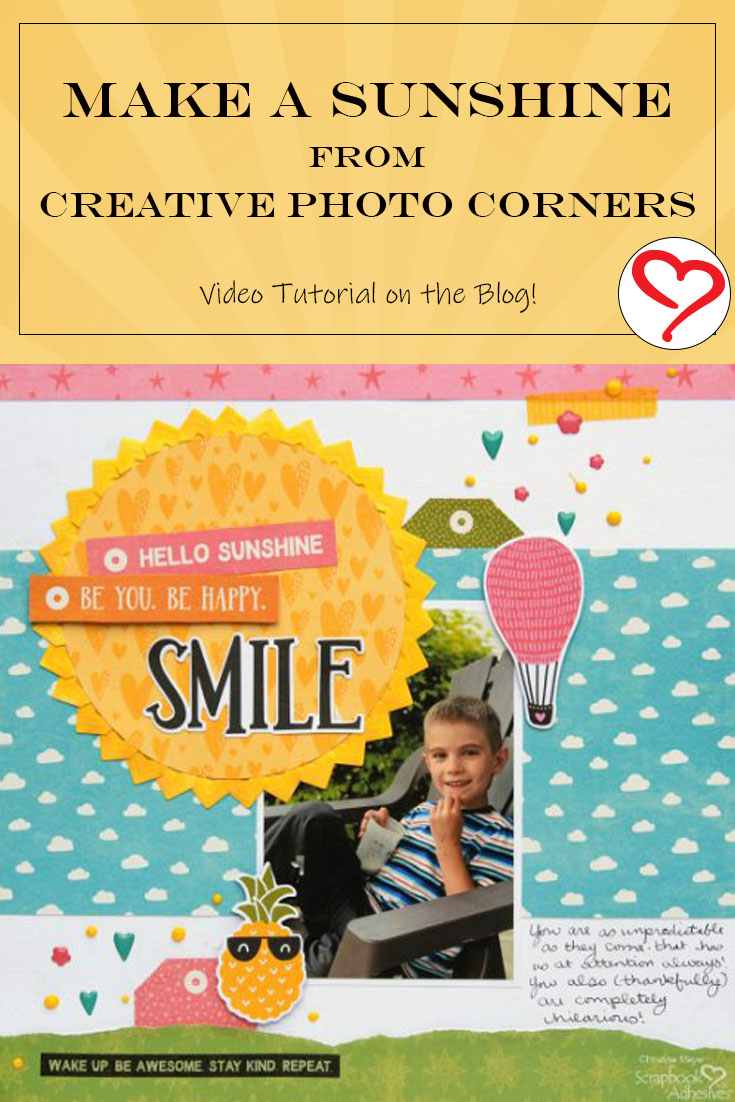
Last month I showed you a fresh idea for using our Creative Photo Corners and today I am back with an idea that piggybacks off of that! See this post: Creative Photo Corners for Embellishing. Instead of creating a floral look, I’m creating a burst of sunshine with them. Christine joining you today with this Creative Photo Corners Sunshine layout to brighten your day!
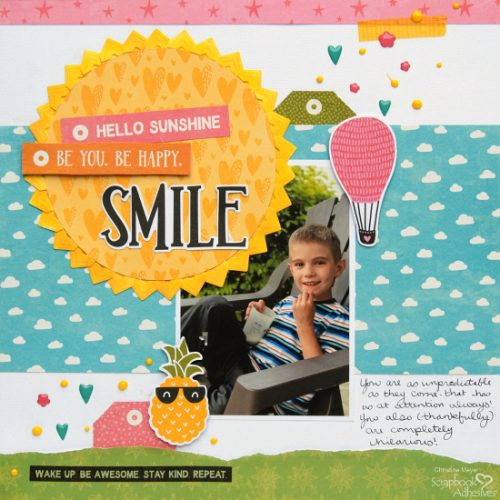
One of my favorite things about this layout is how seamlessly the Creative Photo Corners blend into the layout – you can’t even tell they are a repurposed product!
Creative Photo Corners Sunshine Close-ups
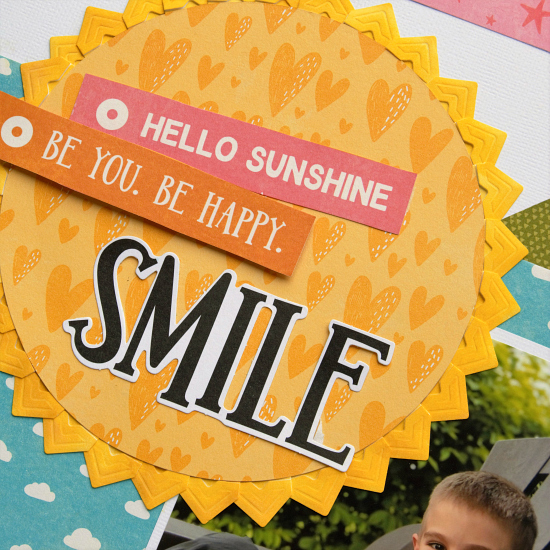
The White Creative Photo Corners took color very easily. I went over them with yellow ink and gave them a few minutes to dry and they were ready to roll. You could also use markers or spray ink to make them have color. A sponge and an ink pad are probably your easiest option though! In order to deal with the curves of the circle, I overlapped them slightly. You can see all of this in the video below!

Some additional highlights in this layout would be all the raised items! I used Crafty Foam Tape and 3D Foam Squares to add dimension to them. Additionally, I used the E-Z Runner Grand with the Permanent Dots Adhesive Refill to secure my “Smile” title.
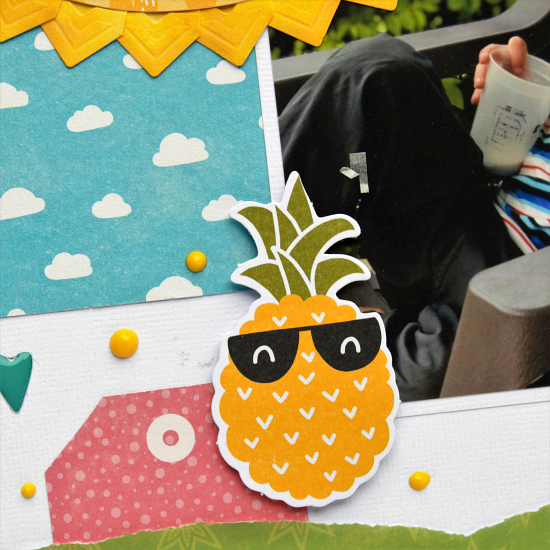
Isn’t that pineapple the cutest? I was able to add to his adorableness by popping him up using Crafty Foam Tape.
View the Video Tutorial
Check out all the details on how I added the Creative Photo Corners in the Process Video below:
Thanks so much for joining me today!
-Christine
Creative Time: 1 hour
Skill Level: Intermediate
Materials Needed
Scrapbook Adhesives by 3L®
E-Z Runner® Grand Refillable Dispenser
Thin 3D Foam Squares White Mix
Crafty Foam Tape White
Creative Photo Corners White
E-Z Runner® Grand Permanent Dots Refill
Other
Jillibean Soup Page Kit from The ScrapRoom Kit Club
Pin It!