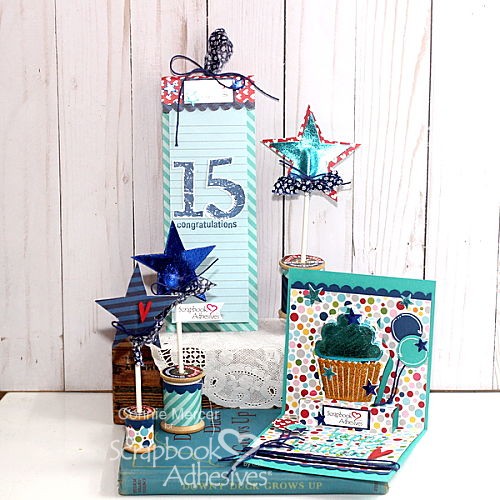
Hi friends! Dana Tatar here today sharing how to use birthday gift wrap two ways. I love giving gifts, but my packaging doesn’t always match the quality of the present inside. These gift packaging options are colorful and fun. The recipient is sure to like the outside as much as what’s inside!
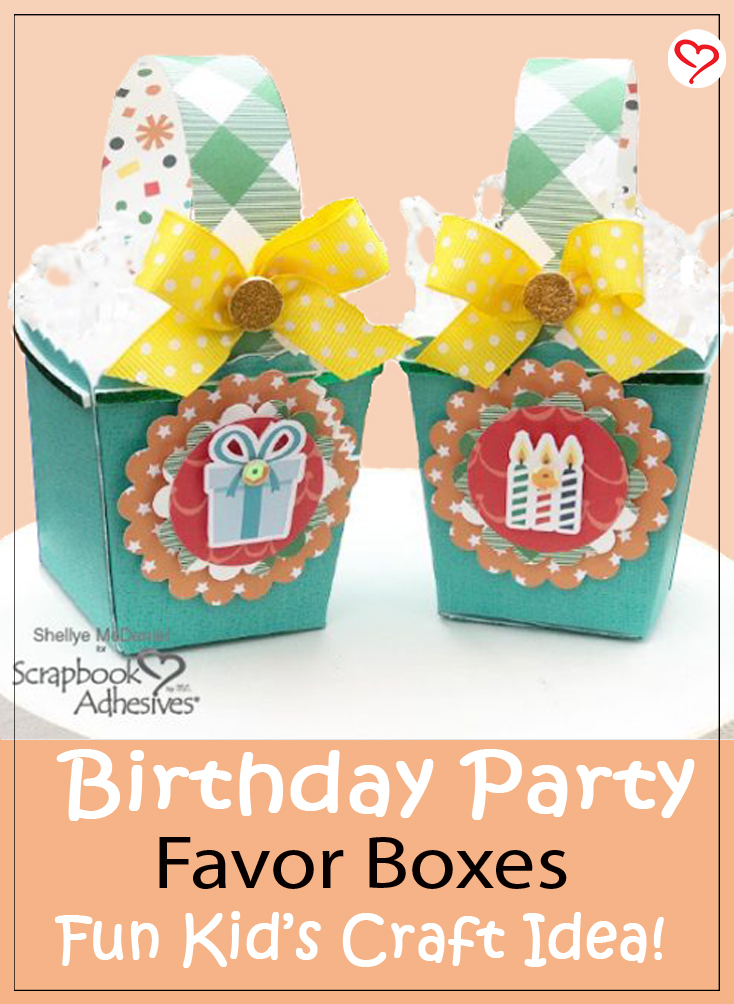
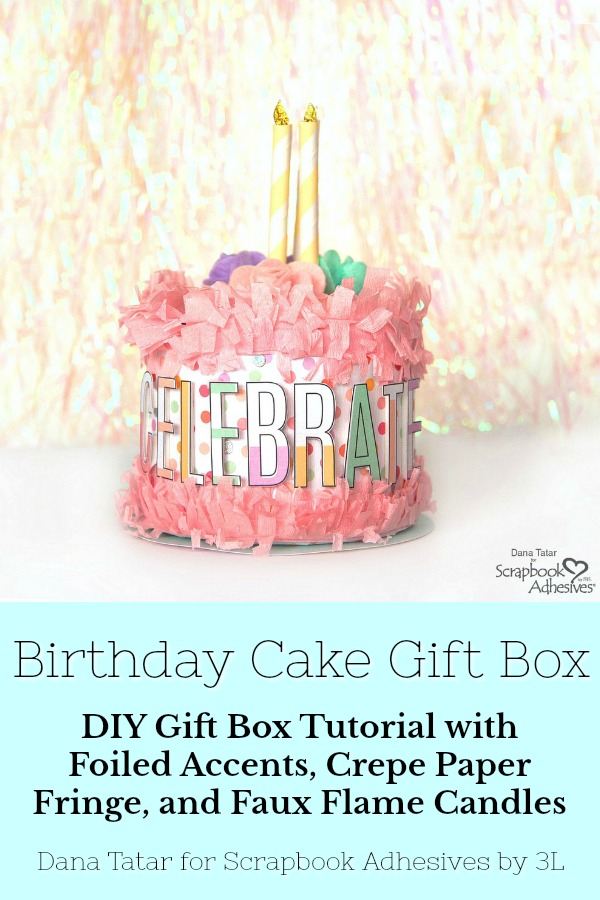
Birthday Gift Wrap Cake Box
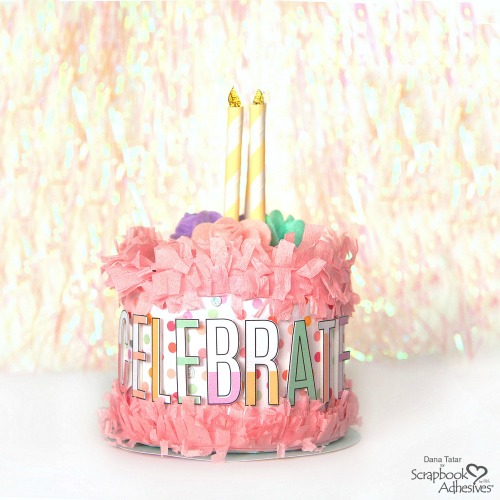
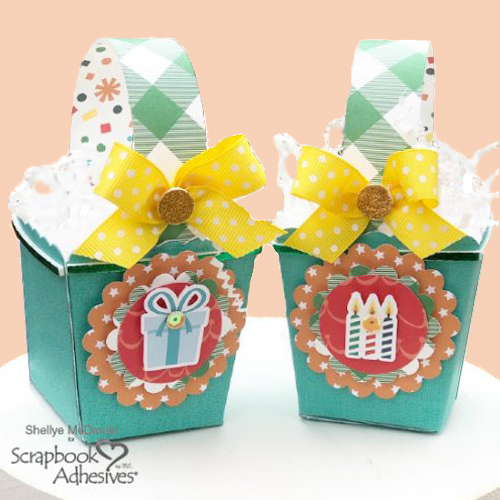
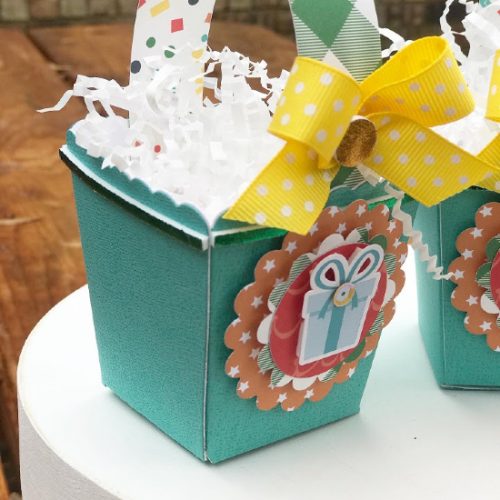
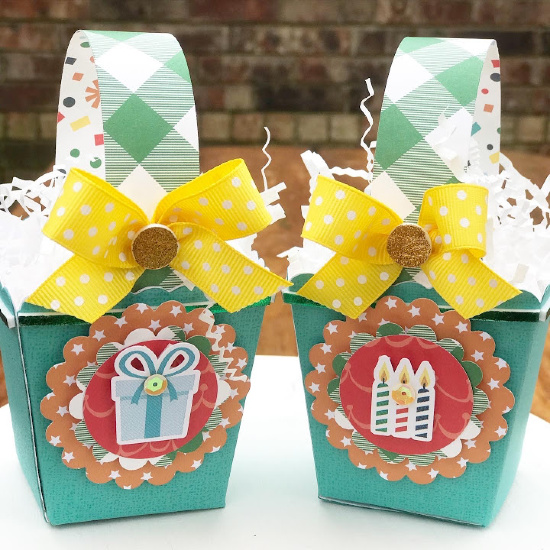
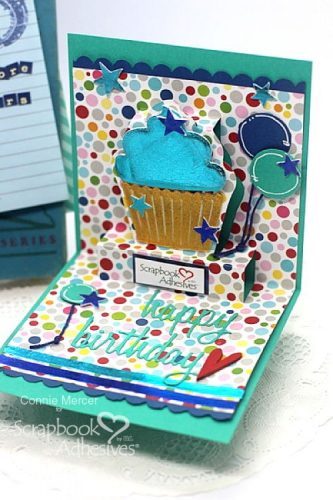
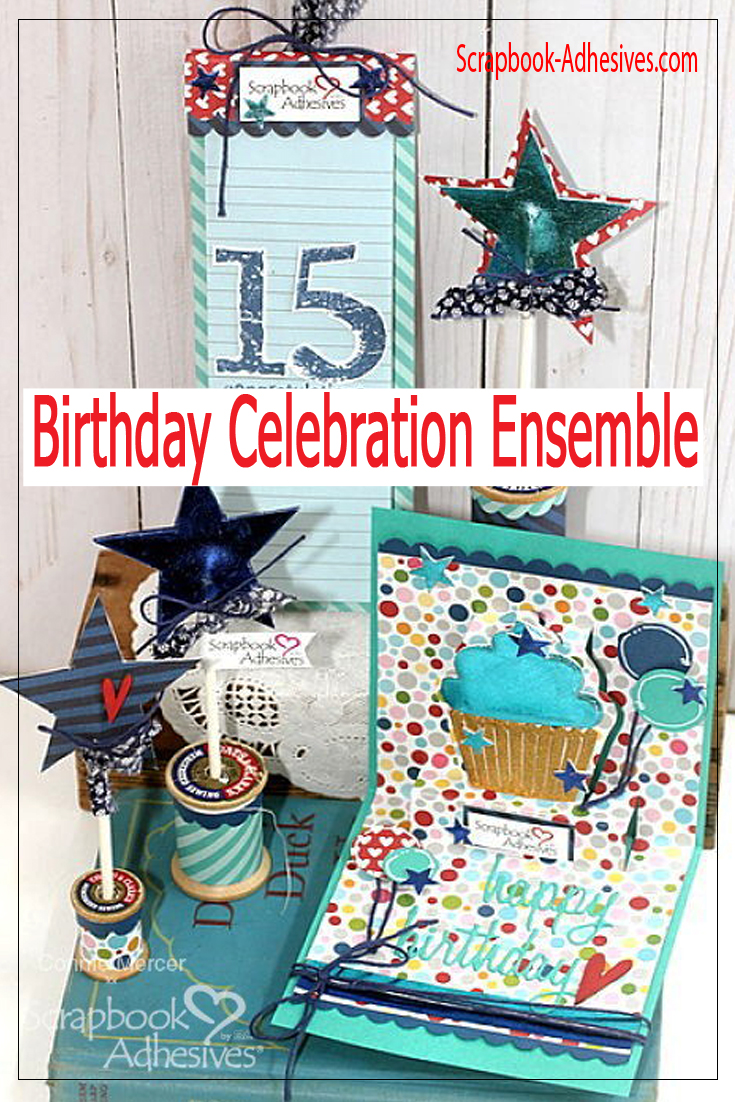
Assembling this birthday cake gift box was so much fun! I incorporated foil into my design in two different ways to add a touch of sparkle. Decorating the cake was quick and easy using some of my favorite adhesives and festive embellishments like crepe paper, felt flowers and leaves, and faux paper candles. Please stop by my blog for a detailed tutorial.
Best Adhesives for 3D Projects
Tapes
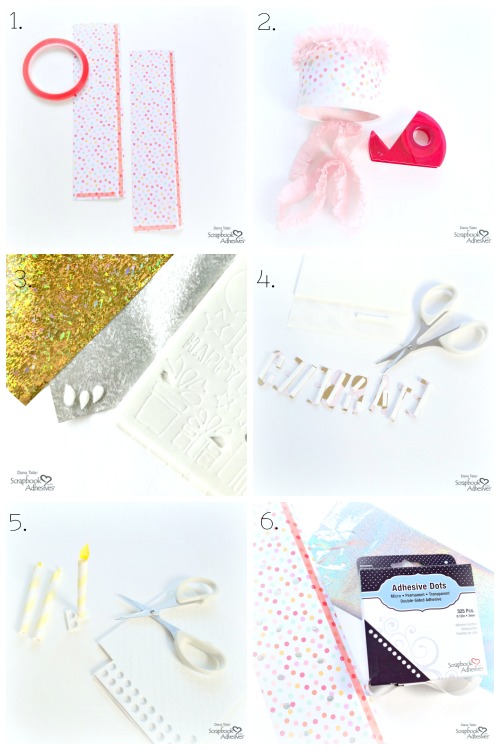
1. Extreme Double-Sided Tape My go-to when creating 3D projects is the Extreme Double-Sided Tape. This tape is super strong and it adheres immediately to all types of surfaces with no drying time. So I know the finished gift box will be strong enough to hold a gift.
2. Crafty Power Tape This high-tack tape is perfect for mixed media applications, including delicate ribbon and fringe. Crafty Power Tape is translucent, and I choose this tape when the adhesive may not be completely covered by an embellishment because it is less visible on a finished project.
Shapes
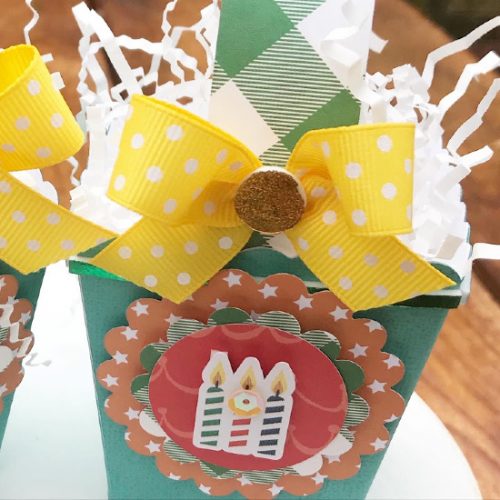
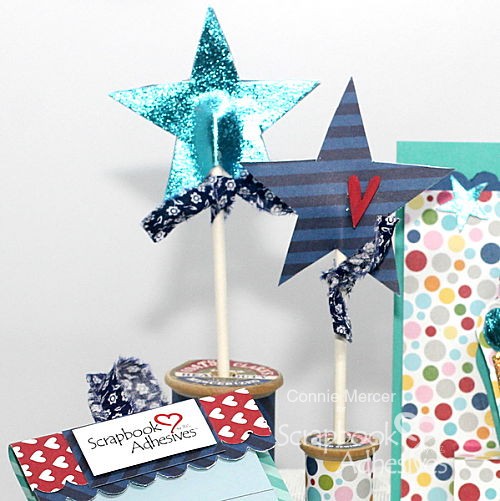
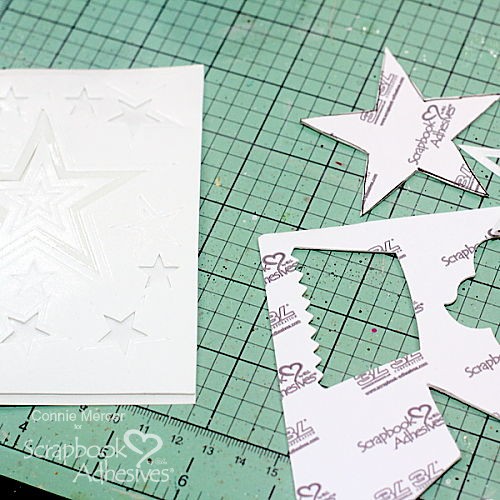
3. 3D Foam Creative Shapes There a variety of them so lots to choose from. These pre-cut pieces of foam are a great way to quickly embellish any project. They can be used in many creative ways. The small bow pieces from the 3D Foam Party Shapes worked perfectly for faux candle flames.
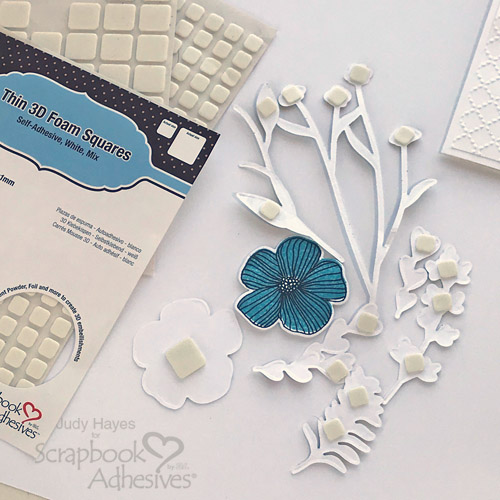
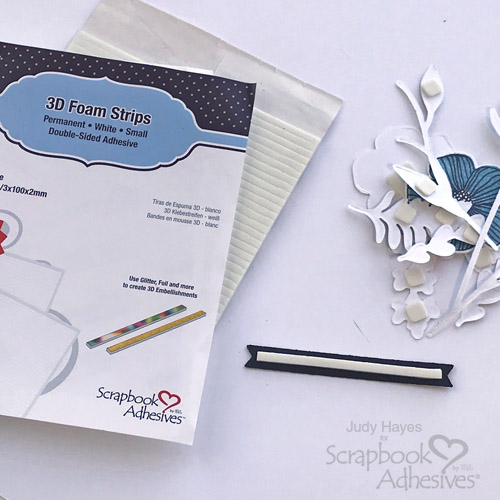
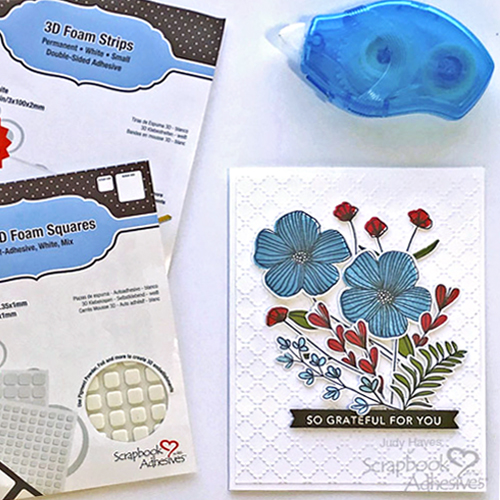
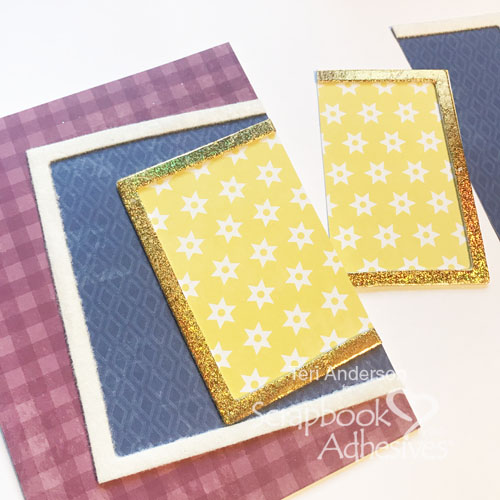
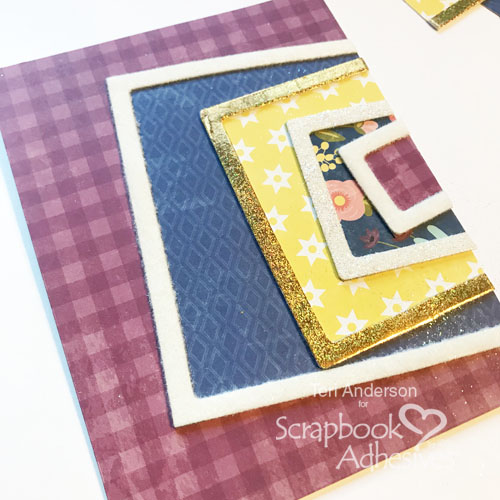
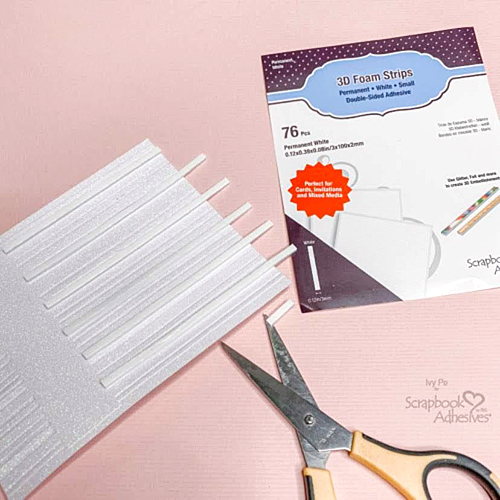
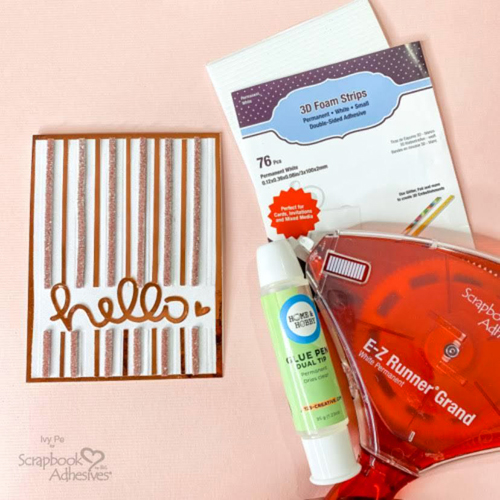
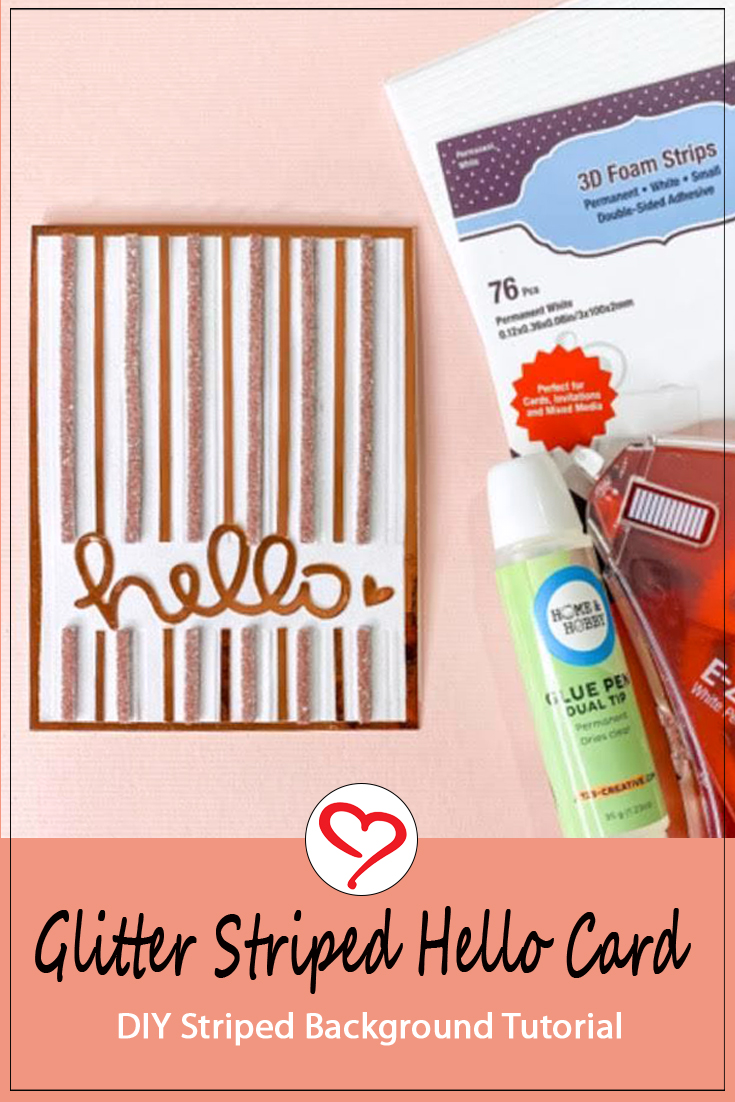
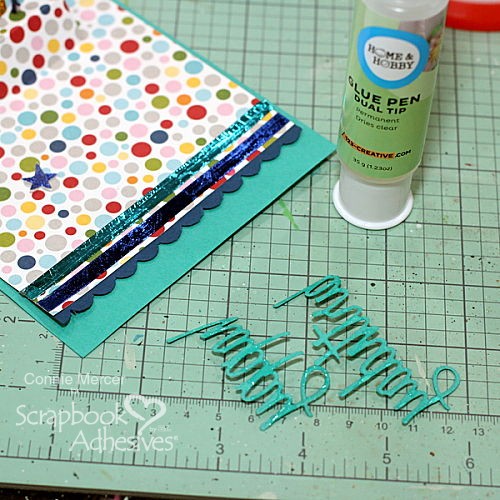
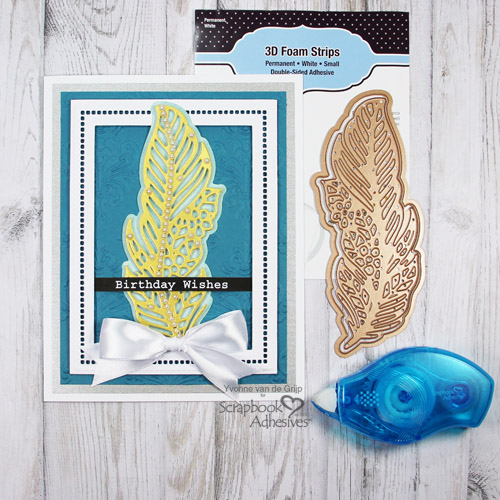
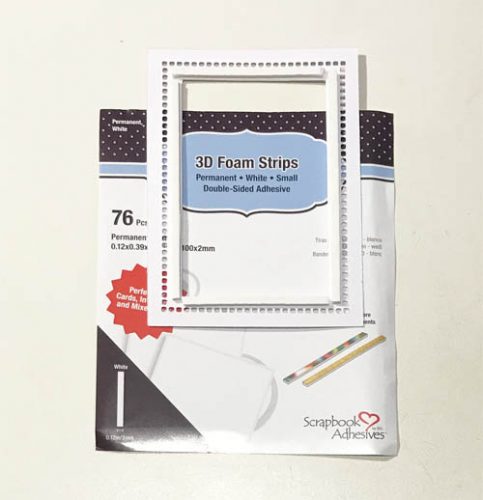
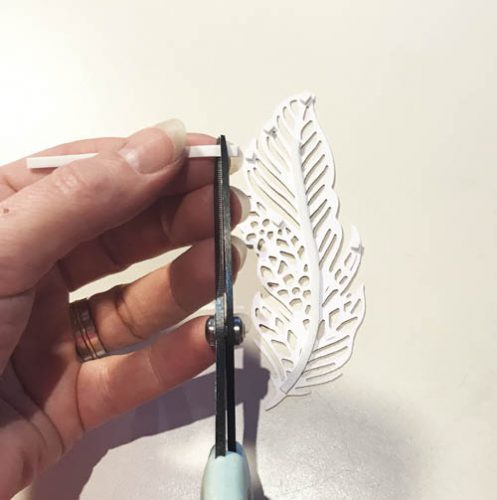
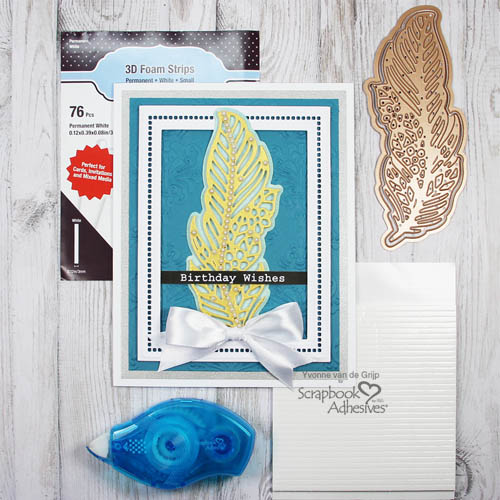
4. 3D Foam Strips (NEW!) So happy about the NEW 3D Foam Strips! The strips are only 3mm wide, which makes them perfect for use with die-cuts and other delicate embellishments. I no longer have to cut 3D Foam Squares in half to attach thinner embellishments to my projects.
5. 3D Foam Circles Use them to add dimension to projects, but don’t forget about the empty sheet! Paper straws fit perfectly inside the empty spaces of the Small 3D Foam Circles! I used the circle negatives to hold the paper candles snugly on the top of the cake box.
Dots
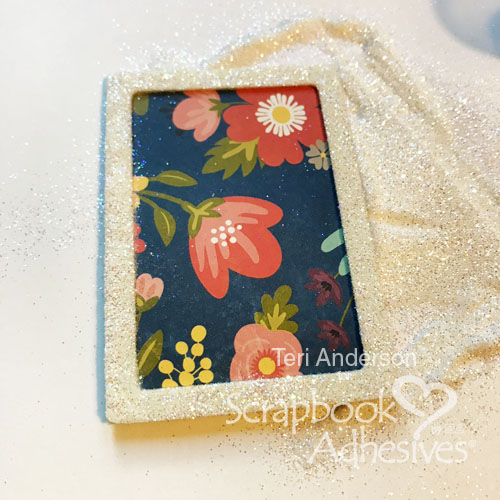
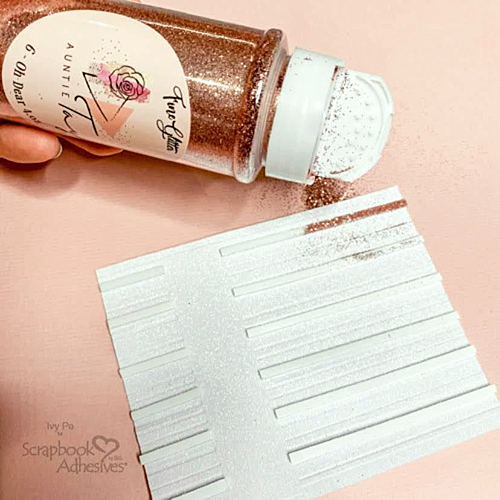
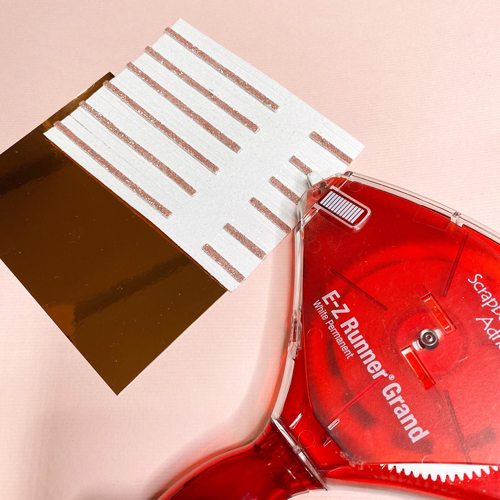
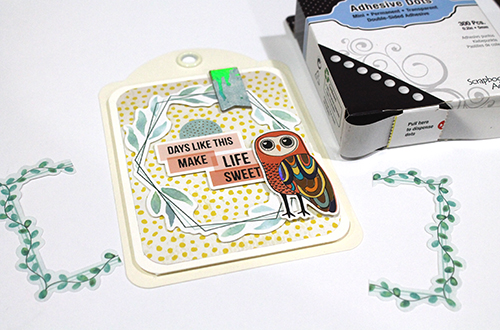
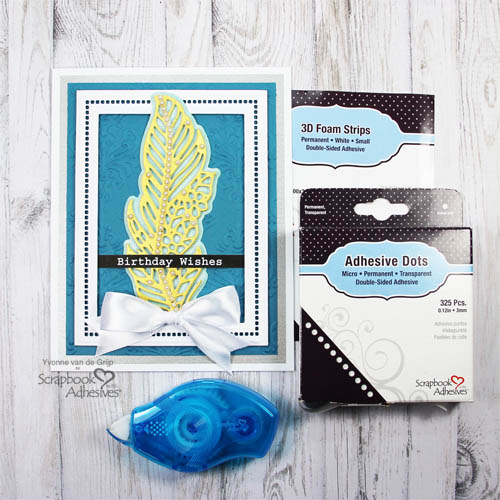
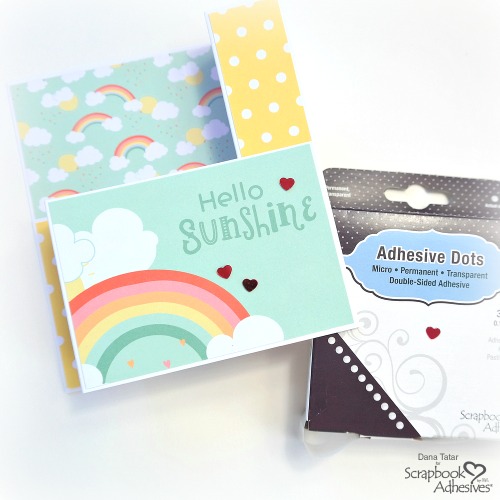
6. Adhesive Dots Adhesive Dots have a strong, permanent but also a flexible bond. I like to use Adhesive Dots for Wear Your Adhesive on the Outside techniques with the Metallic Transfer Foil Sheets. The Micro Adhesive Dots were the perfect way to add foiled dots to a curved surface. A gift box with a touch of sparkle is extra special.
Creative Time: 60 minutes
Skill level: Intermediate
Materials Needed:
Scrapbook Adhesives by 3L®
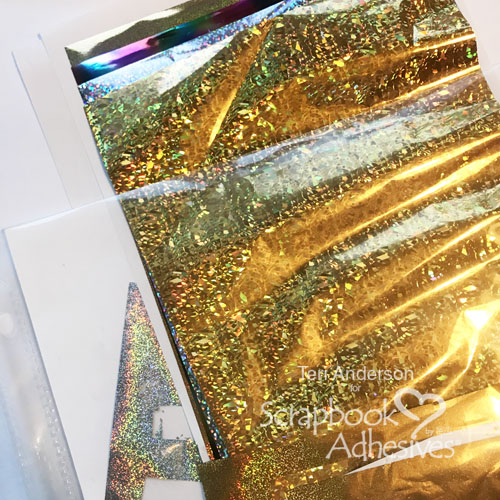
Metallic Transfer Foil Sheets Holographic Colors
3D Foam Party Shapes, 3D Foam Strips, and 3D Foam Circles White Mix
Crafty Power Tape Dispenser 20′
HomeHobby™ by 3L
Extreme Double-Sided Tape 1/4″
Other
Patterned Paper; Felt Flowers and Leaves; Paper Straws; Crepe Paper
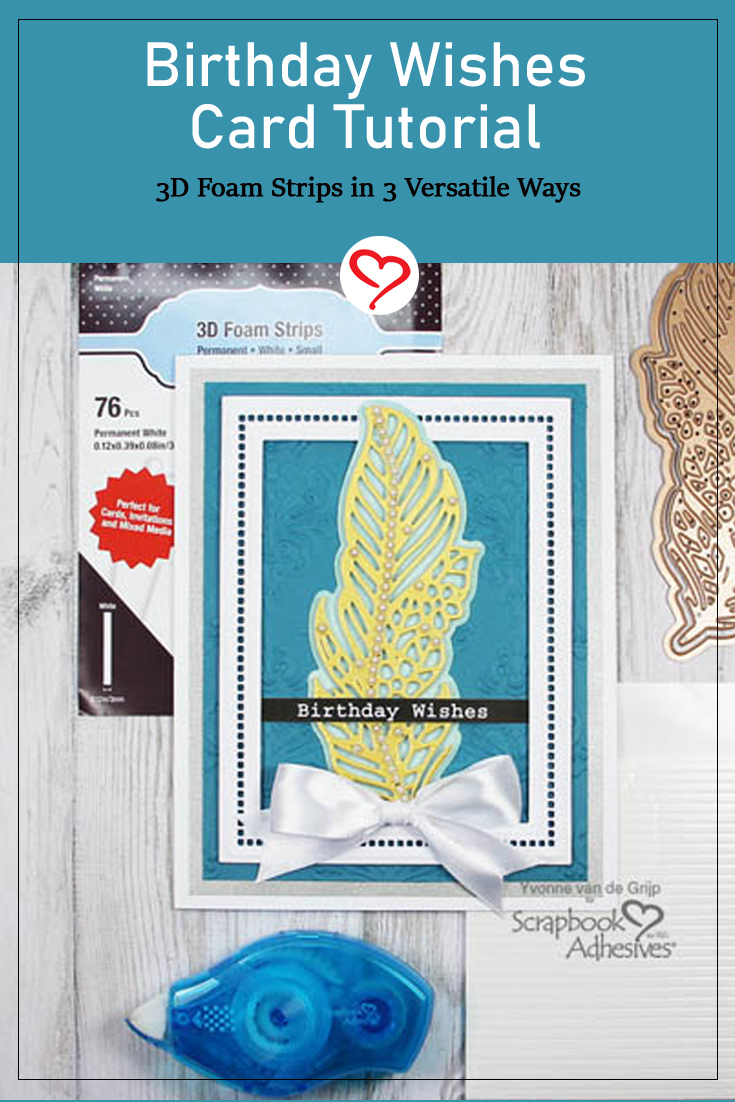
Love It? Save It!
Happy Birthday Gift Wrap
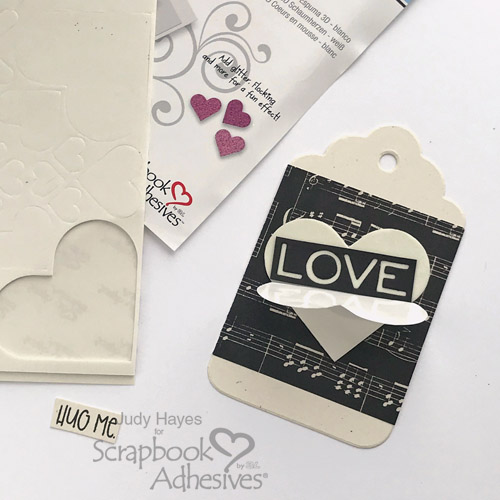
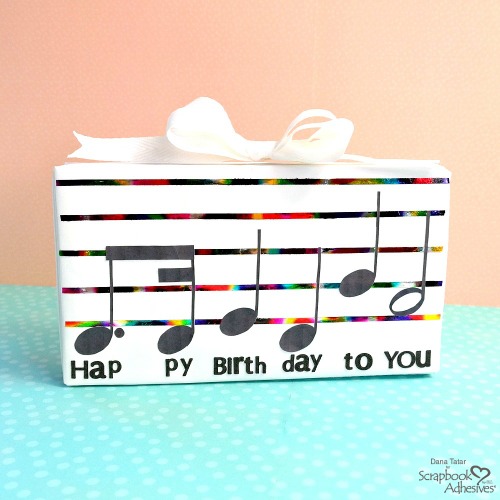
I have a confession to make. I can’t sing. This Happy Birthday to You music note gift wrap is a great way to say happy birthday without belting out the tune. I used the song and some Holographic Metallic Transfer Foil Sheets to dress up a gift wrapped in plain white wrapping paper.
Sheet Music Gift Box Steps
First, enlarge “Happy Birthday” sheet music to a size that looks great on your gift box. Use scissors to cut out the music notes.
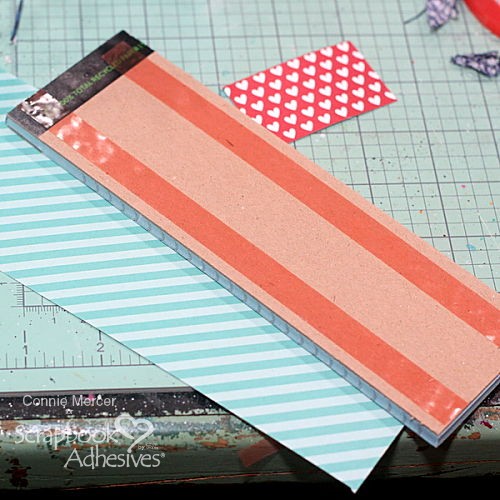
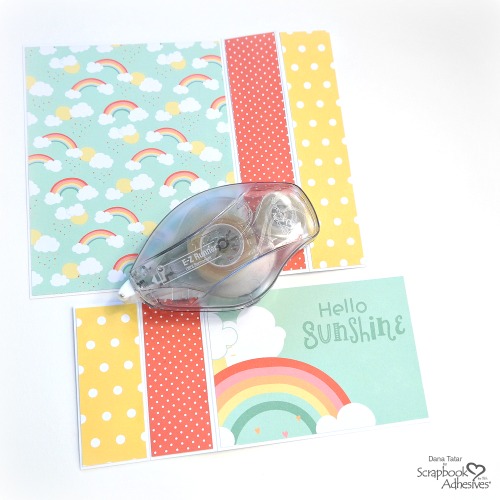
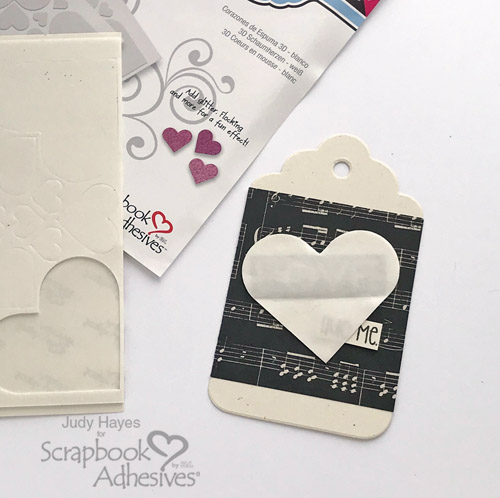
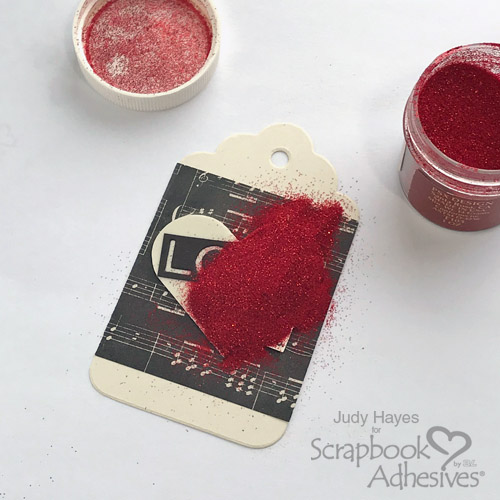
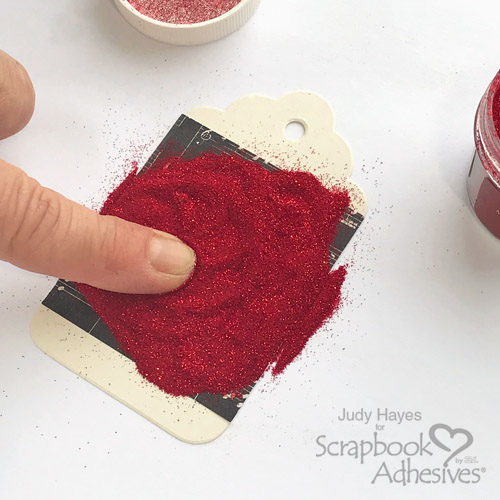
Apply 5 pieces of 1/8″ Extreme Double-Sided Tape across the top of the wrapped gift box. Remove the red liner and press a Holographic Metallic Transfer Foil Sheet over the top of the tape. Lift off the foil sheet to reveal the holographic music staff.
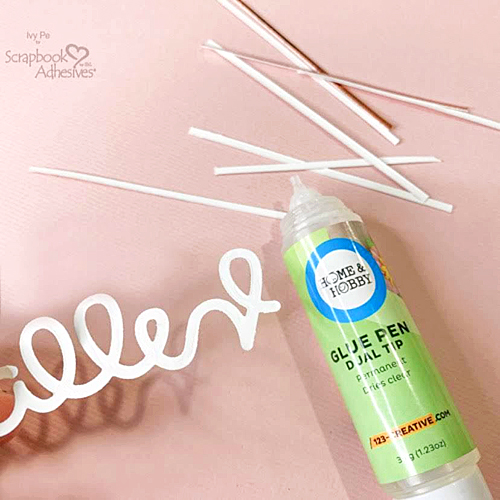
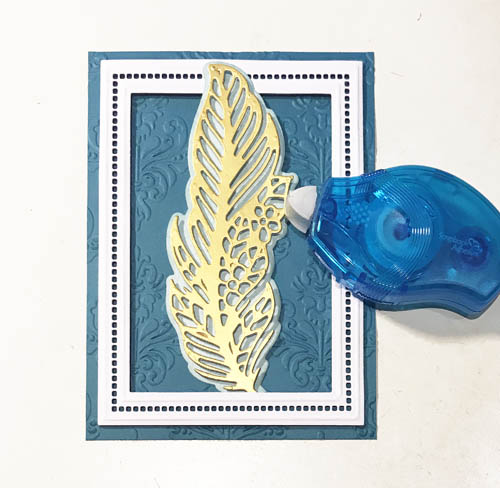
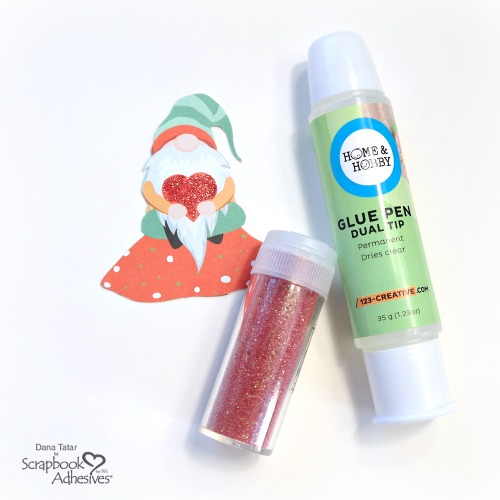
Next, use a Dual Tip Glue Pen to adhere the music notes onto the music staff on the top of the gift box.
Finally, apply letter stickers under the music notes to spell out the lyrics to “Happy Birthday.” Use a Medium Adhesive Dot to attach a bow to the top of the gift.
Creative Time: 30 minutes
Skill level: Beginner
Scrapbook Adhesives by 3L®
Metallic Transfer Foil Sheets Holographic Colors
Crafty Power Tape Dispenser 20′
Adhesive Dots Medium
HomeHobby by 3L
HomeHobby by 3L Extreme Double-Sided Tape 1/8″
Dual Tip Glue Pen
Other
Wrapping Paper; Happy Birthday Sheet Music; Letter Stickers; Ribbon, Bow
Save It to Pinterest!