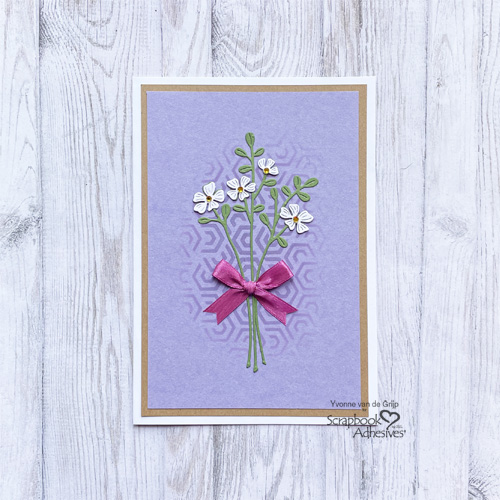
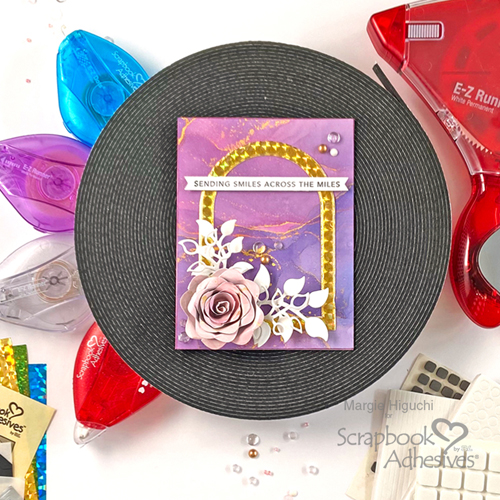
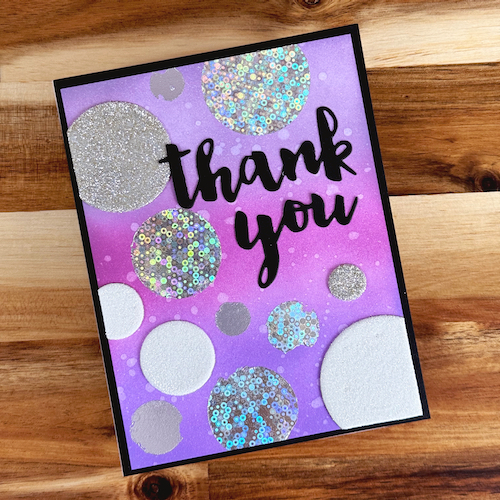
Hi, Jingle here today with a Razzle Dazzle Thank You Card that is all about the…well, razzle dazzle! That’s right, folks! We are pulling out the shimmering foils AND the glitter!
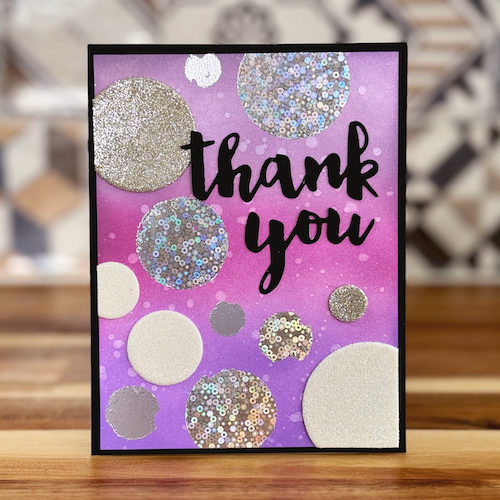
Today I am going to show you how to use some of the fun products offered by Scrapbook Adhesives by 3L to create this super sparkly design. Let’s get started!
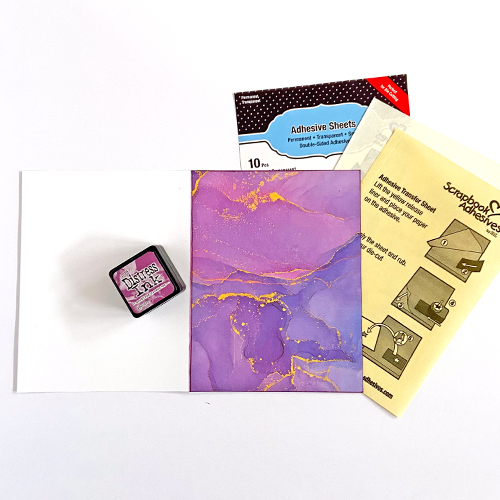
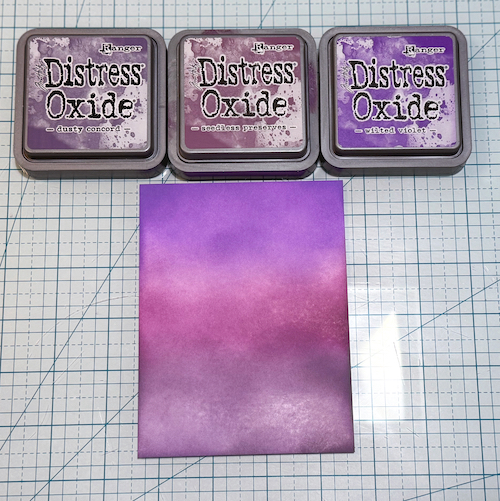
Razzle Dazzle Thank You Card Ink Background
Cover the panel with three ink colors (I used three shades of purple) with an ink blending tool. Next, flick water over the panel to add visual texture. This works well with the Distress Inks or Distress Oxides…or many other dye inks. Set aside to work on the circles.
Circle Elements
Die-cut various sizes of circles in a combination of 3D Foam Creative Sheets Small White and Adhesive Sheets 4 x 6in. By using both, you get varied dimensions, adding even more interest to this fun design.
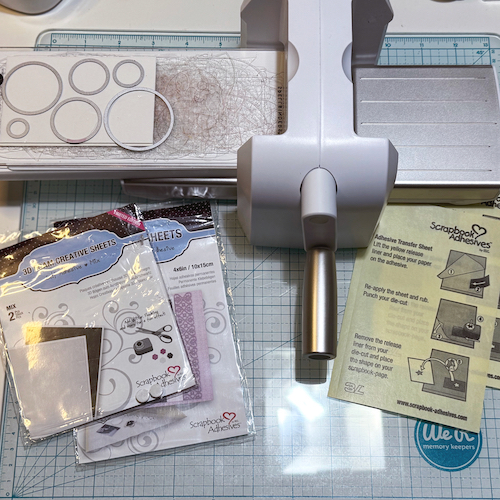
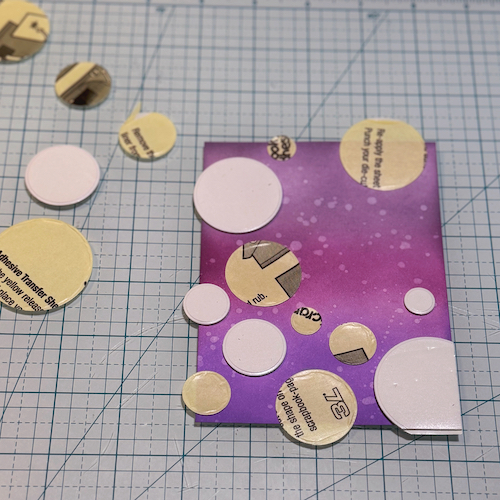
Adhere the circles to your card, being sure to leave the backing on each one, as those will be removed as we add the different mediums.
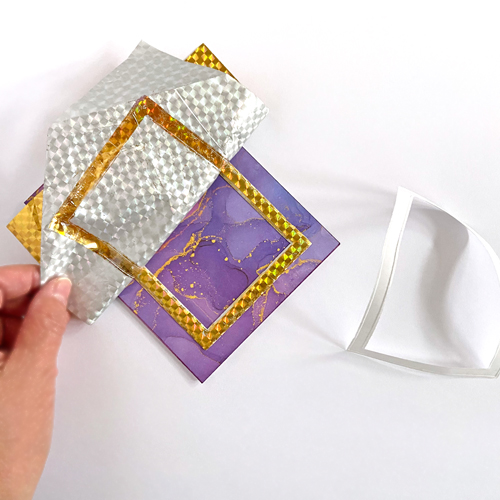
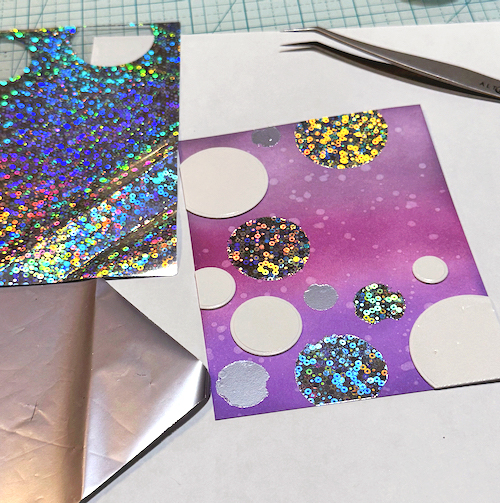
Wear Your Adhesive on the Outside with Foils and Glitter
Remove the top liner on some of the circle shapes. Choose foil colors from the Metallic Transfer Foil Sheets Holographic Colors and Metallic Transfer Foil Sheets Nature Colors. Place the foil color side facing you over the exposed adhesive and rub the foil to transfer the color to the circles. Reapply the foil in missed areas. You can do this on both the flat adhesive sheets and the raised foam circles.
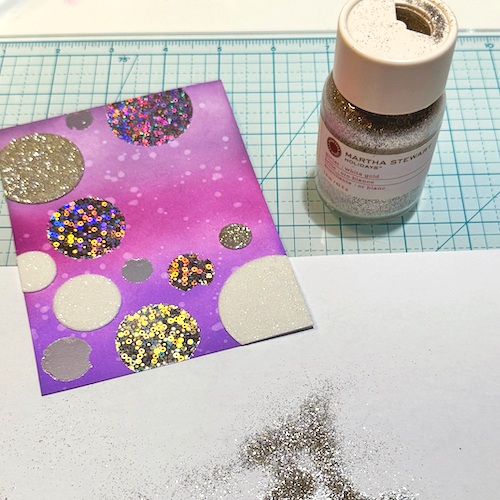
Next, add white/clear shimmer and silver glitter to the rest of the circles. Do this one by one to avoid cross-contamination while you are working.
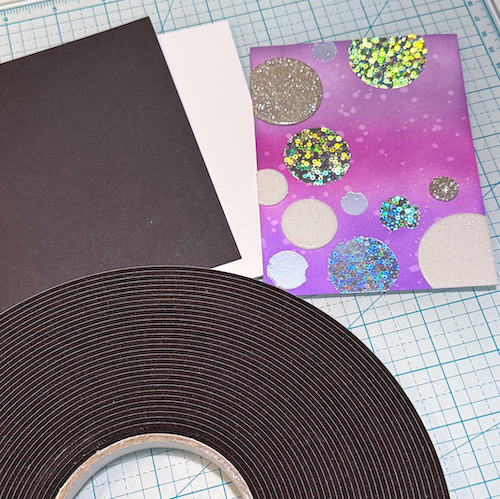
Assemble the Razzle Dazzle Thank You Card
Once you are happy with your design, mat it to a black panel using Crafty Foam Tape Black 54ft. This will add just a bit of lift to the panel.
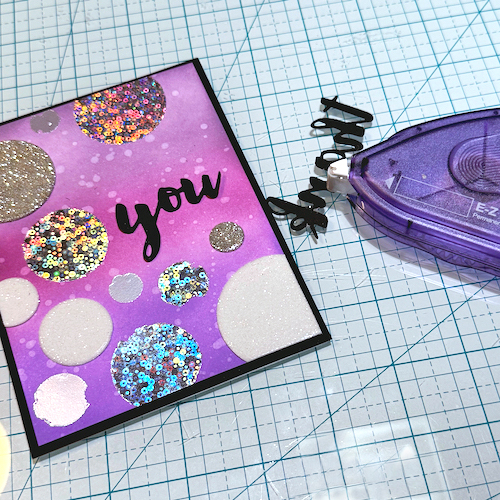
Add the Sentiment and Card Base
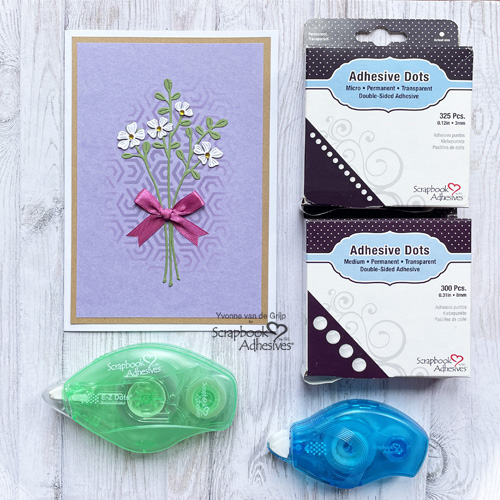
Secure your sentiment using the E-Z Runner® Permanent Fine Adhesive Dispenser. I find that this adhesive works really well for sentiments because it handles the intricate letters better. Finally, adhere your card front to a card base using the E-Z Runner® Petite Permanent Dots Refillable Dispenser!
I hope you have enjoyed this fun bit of sparkle and shine. I can’t wait to see the cards you create!
Thanks for stopping by!
Jennifer Ingle (aka Jingle)
Creative Time: 30 mins
Skill Level: Intermediate
Materials Needed:
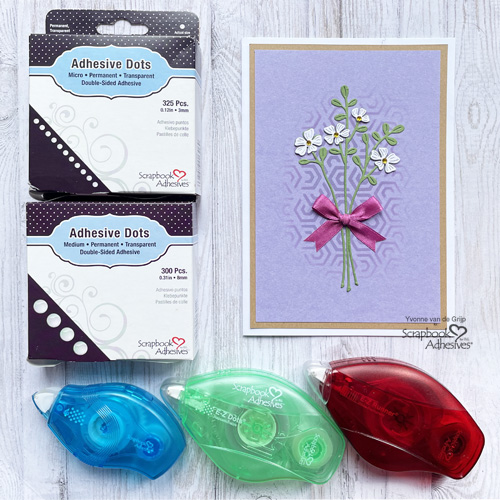
Scrapbook Adhesives by 3L®
E-Z Runner® Petite Permanent Dots Refillable Dispenser, E-Z Runner® Permanent Fine Adhesive Dispenser (aka Vellum Runner), 3D Foam Creative Sheets Small White, Crafty Foam Tape Black 54ft., Adhesive Sheets 4 x 6in., Metallic Transfer Foil Sheets Holographic Colors, Metallic Transfer Foil Sheets Pastel Colors,
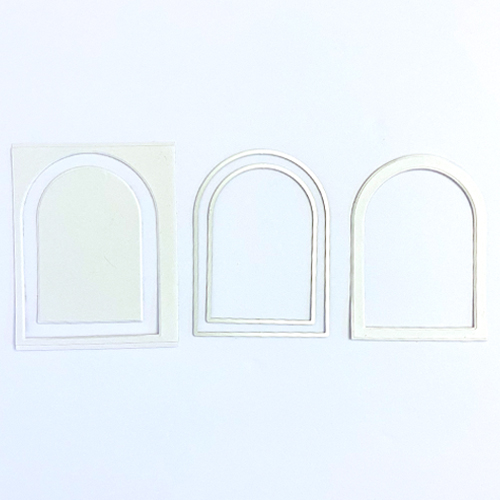
Other: Ink: Ranger Ink (Distress Oxide in Seedless Preserves, Wilted Violet, and Dusty Concord); Craft Dies: Circle Dies (Waffle Flower Crafts); Thank You Dies; Ink Blending Tool; Black and White Cardstock; Glitter
Click Preferred Retailers List
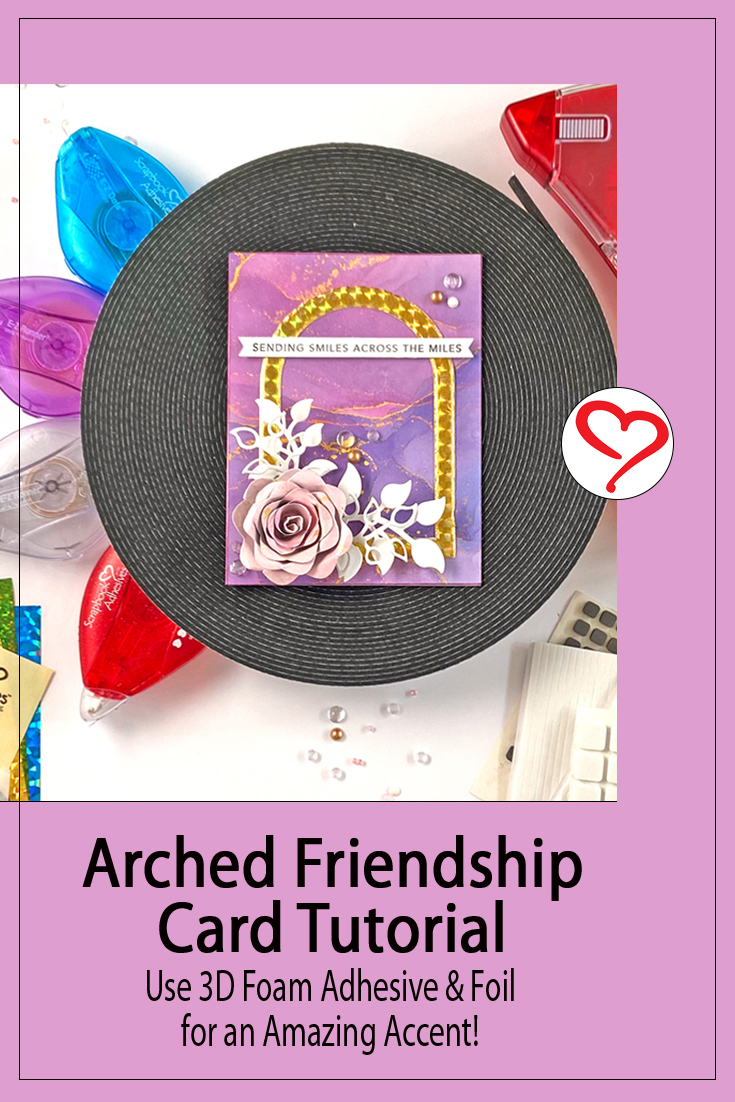
Save to Pinterest!
Visit our Website and Blog!
Sign up for our Newsletter so you never miss a contest or giveaway!