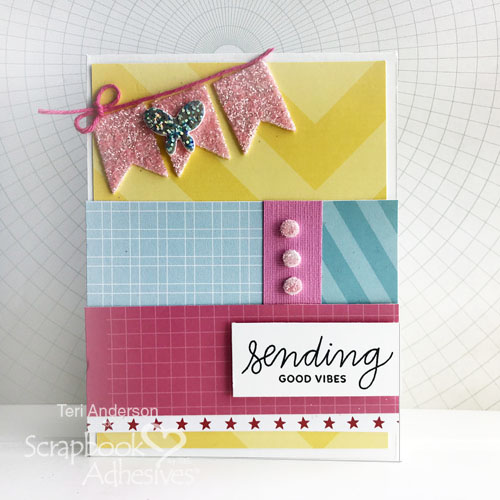
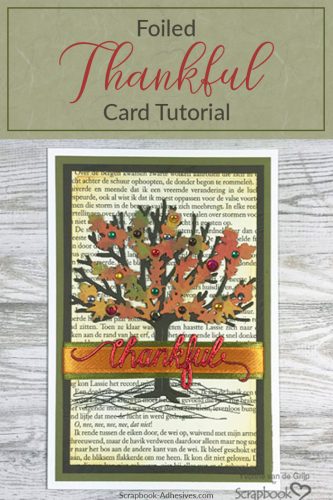
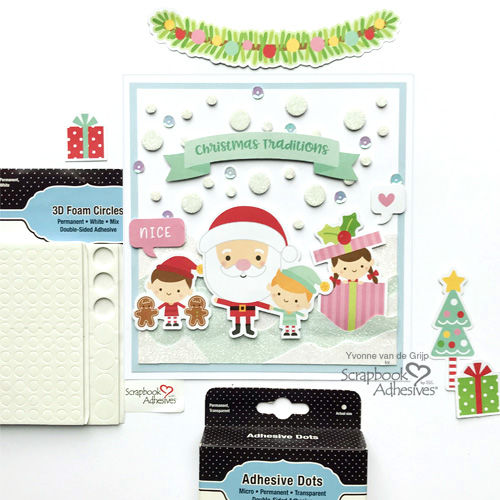
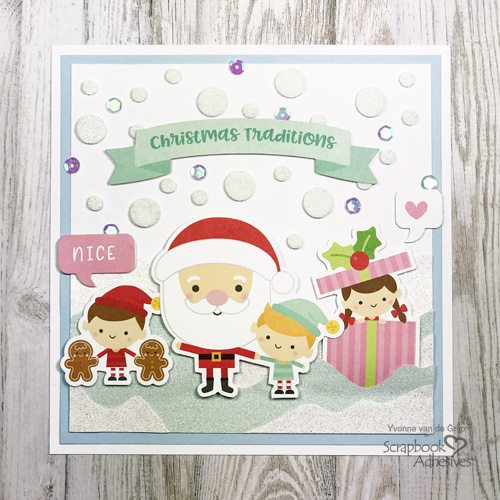
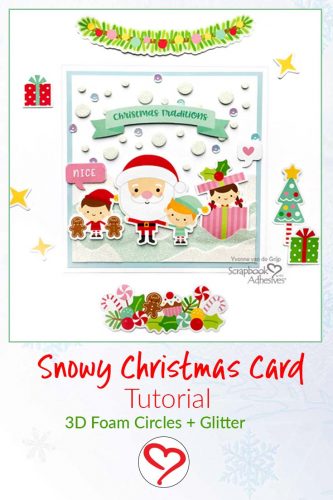
Hi everyone, Yvonne here with a cute snowy Christmas card. I added 3D Foam Circles White Mix for an easy and fun glittered snowy effect on the card. This technique is known as Wear Your Adhesive on the Outside. Using this technique, you can perfectly match embellishments to your holiday cards. I’ll show you in detail in my tutorial.

Snowy Christmas Card Instructions
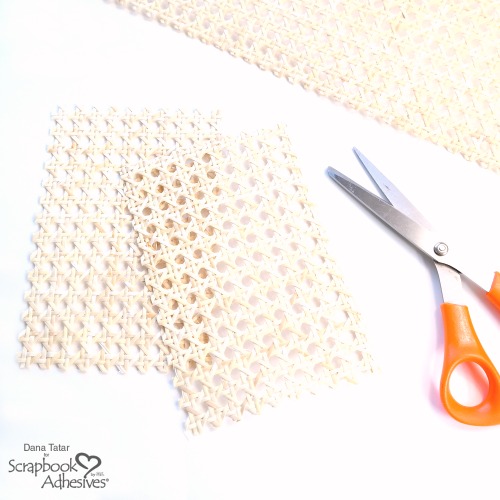
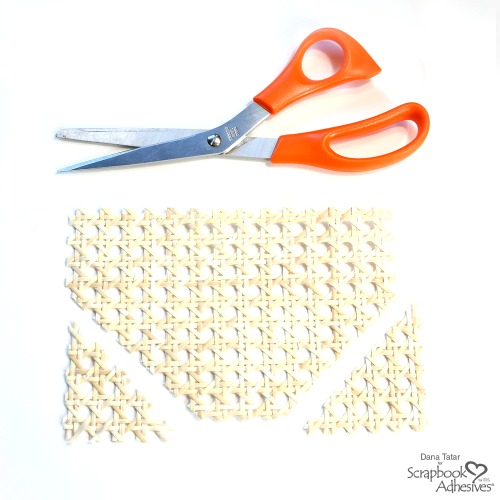
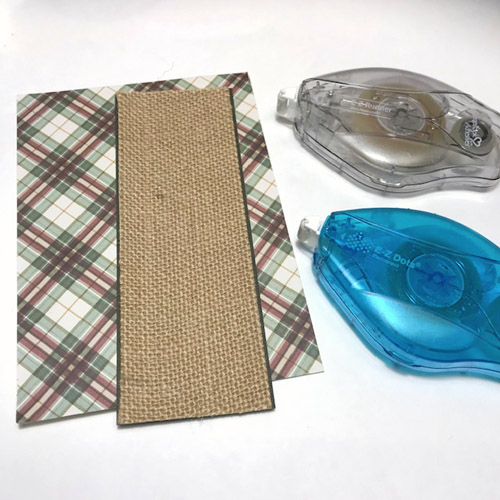
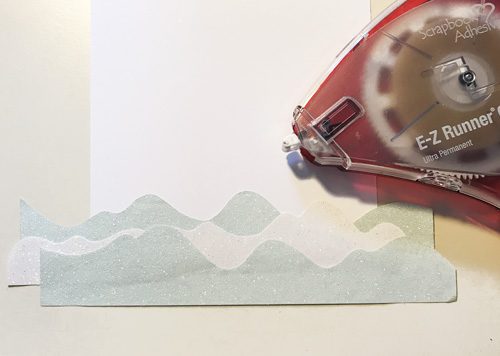
First cut some white and soft blue glittered paper into hill shapes using scissors.
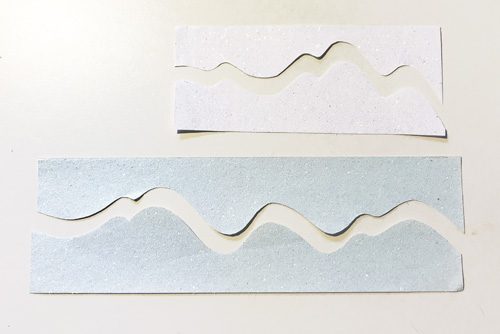
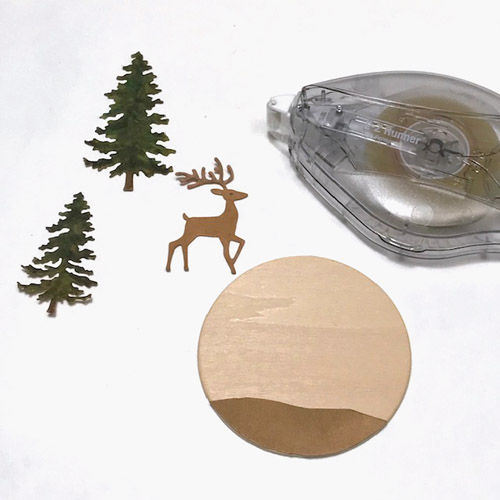
Apply E-Z Runner® Grand Refillable Dispenser over the back of the glittered paper. Make sure to run the E-Z Runner® Grand Refillable Dispenser along the bottom straight edgee so that a die cut can be tucked in between the layers.
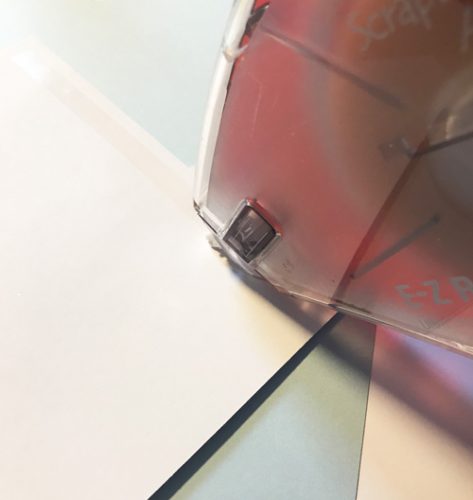
Then adhere the layers to a piece of white cardstock. Next cut off the excess parts using scissors. Then trim the card panel to the desired size using a paper trimmer.
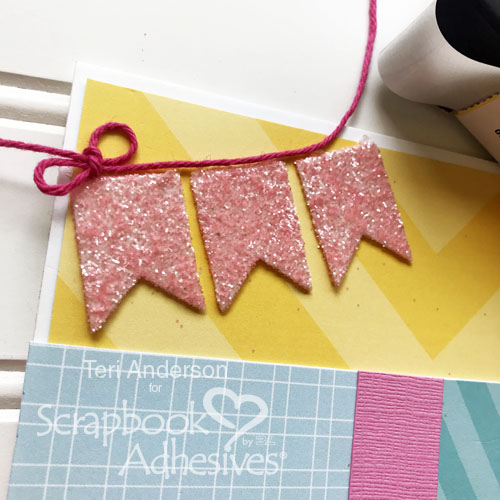
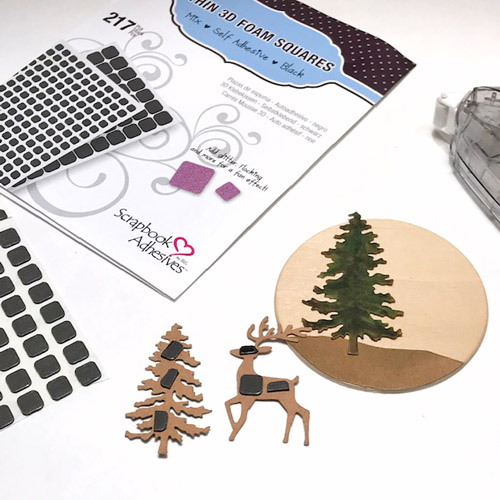
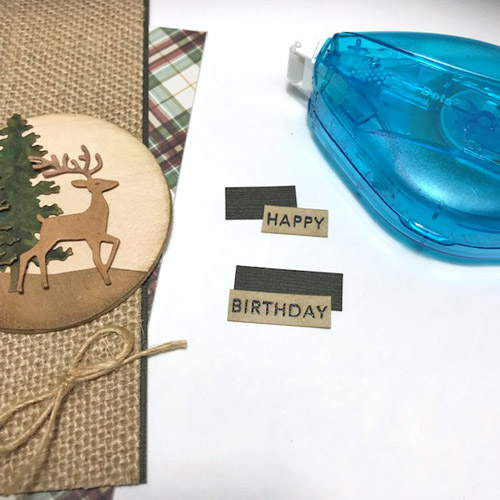
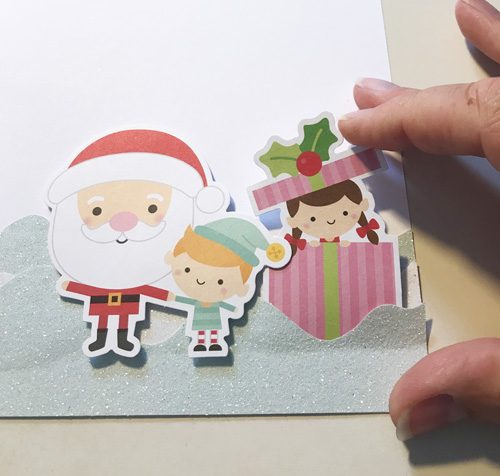
Adhering Santa and Friends with Depth
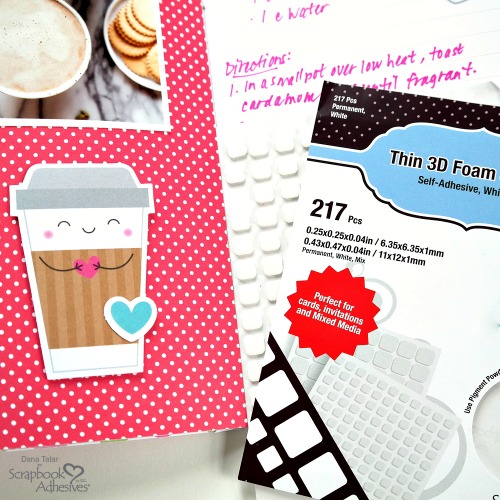
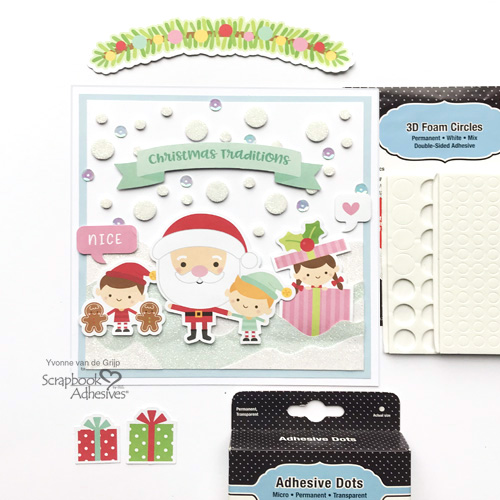
By using the various thicknesses of 3D Foam Squares, you can add depth to your card. The Santa die cut is adhered with 3D Foam Squares White Mix. For a subtle depth, I secured the elves with Thin 3D Foam Squares White Mix. Thin 3D Foam is half the height of the regular 3D Foam. See this post comparing 3D Foam for more details. Note the cute girl elf gift box were tucked in between the hilly layers.
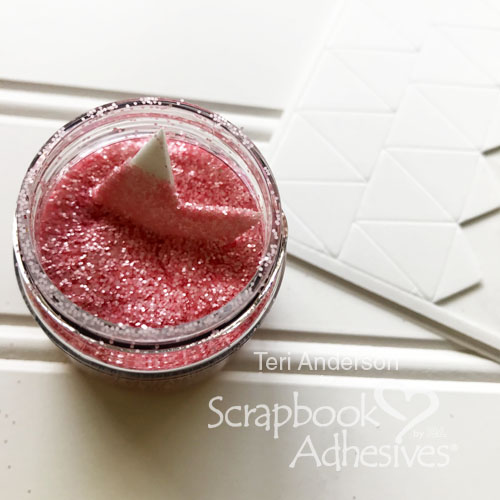
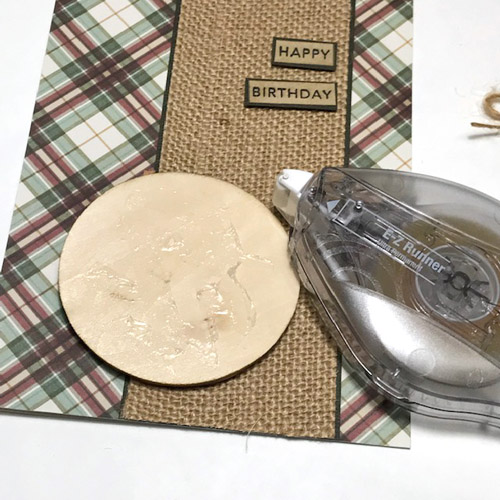
Snow with 3D Foam Circles
3D Foam Circles White is a super-easy way to add a fun glittered snow effect to your card.
To “Wear Your Adhesive on the Outside,” randomly adhere 3D Foam Circles White to the top part of the card.

Then remove the white liners and sprinkle on white glitter. Press the glitter into the 3D Foam Circles White to make sure it’s secured.

Tap off the excess glitter to reveal the “snow.” That is how to “Wear Your Adhesive on the Outside” and is such a fun + EASY technique!
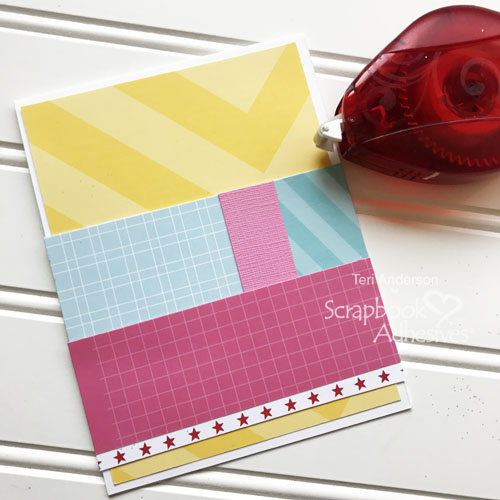
Making Card Layers
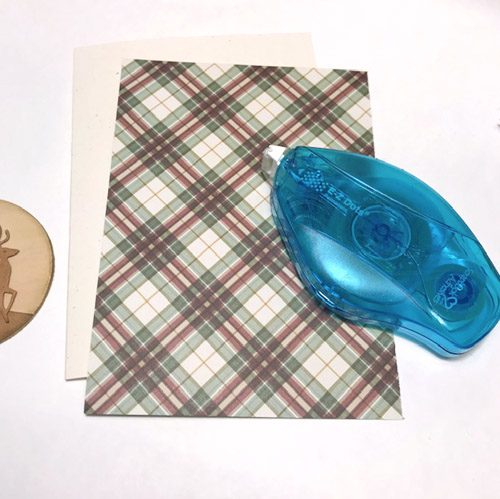
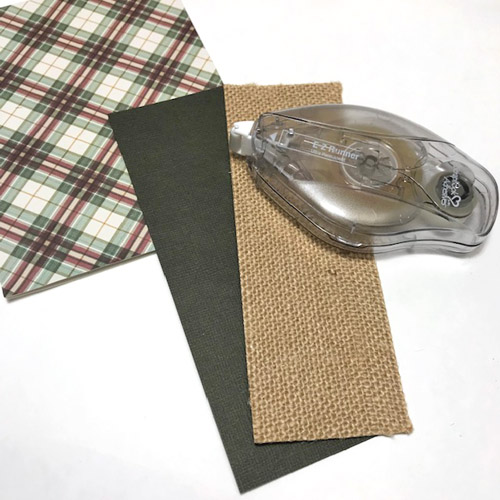
First, trim a piece of soft blue cardstock to a size slightly larger than the white top panel and adhere the top panel onto the blue panel using the E-Z Runner® Grand Refillable Dispenser.
Then adhere
both panels to a white card base using the E-Z
Runner®
Grand Refillable Dispenser
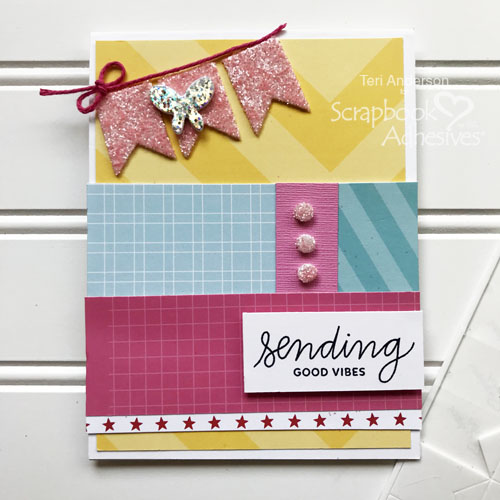
Finishing
the card
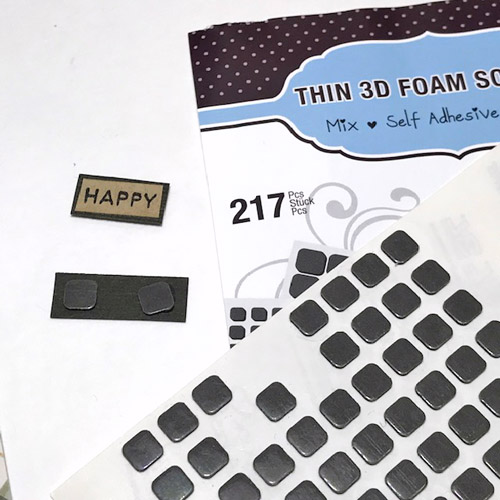
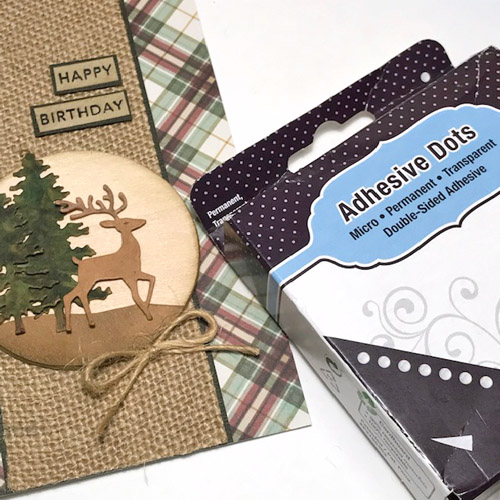
Adhere the speech bubbles to the card using Thin 3D Foam Squares White Mix. Then adhere the “Christmas Traditions” sentiment to the card with 3D Foam Squares White Mix. Use Adhesive Dots Micro to secure extra sequins.
Voila…your cute snowy Christmas card is ready! I hope you
enjoyed the tutorial and wish you happy crafting.
Creative Time: 60 minutes
Skill Level: Intermediate
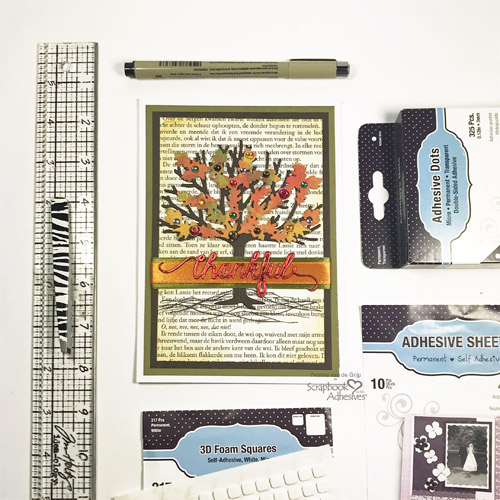
Material Needed:
Scrapbook Adhesives by 3L®
E-Z Runner® Grand Refillable Dispenser
3D Foam Squares White Mix
Thin 3D Foam Squares White Mix
3D Foam Circles White
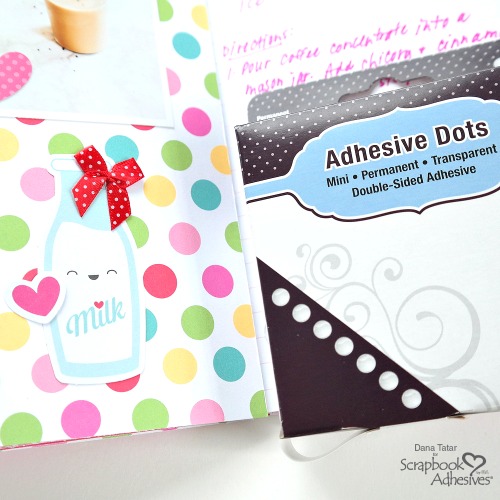
Adhesive Dots Micro
Other
12×12 Paper
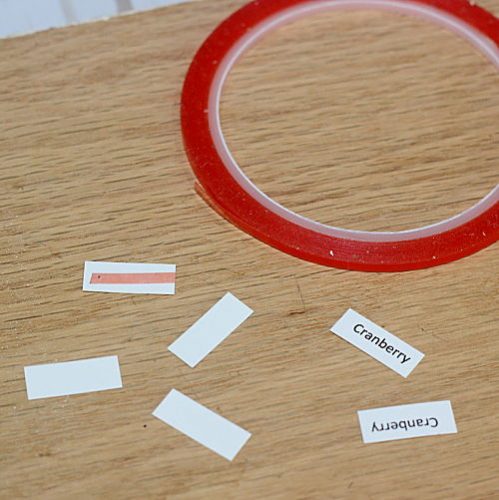
Pack, Odds & Ends™, Chit Chat™: Doodlebug Design inc.™ (Christmas Magic Collection); White, Pale Blue, Glittered
White and Blue Cardstock; Paper Trimmer; Scissors
Save it!
Visit our Website and Blog!
Sign up for our Newsletter so you never miss a contest or giveaway!