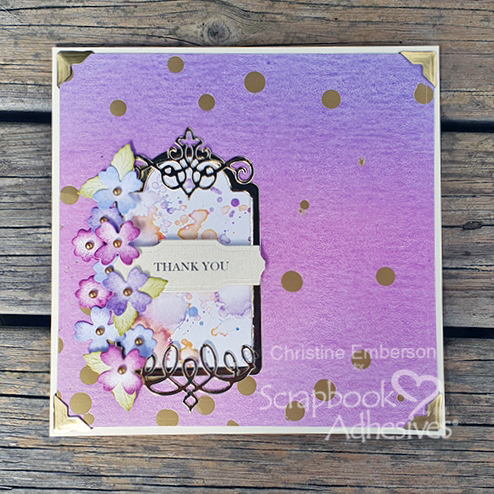
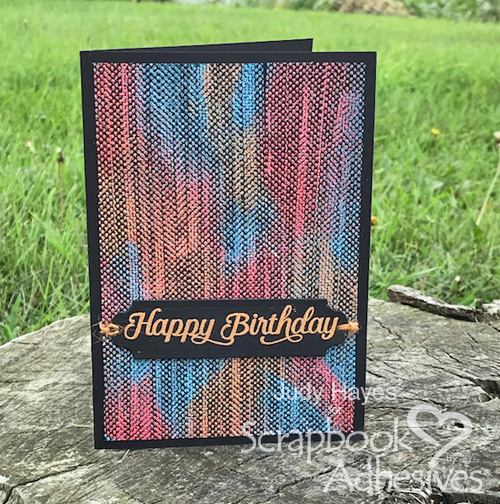
I created this E-Z Dots Permanent Background Birthday Card with an easy technique using embossing powders and E-Z Dots Permanent Refillable Dispenser or its related products like E-Z Runner® Grand Permanent Dots Refill!
It’s Judy here today to show you how to make this quick background and embossing powders in different colors to make it your own!
Creating the Background
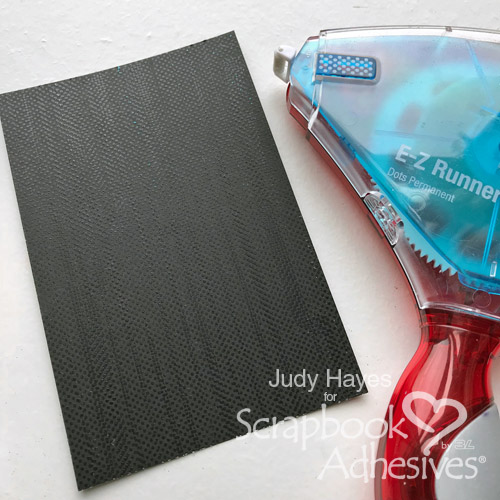
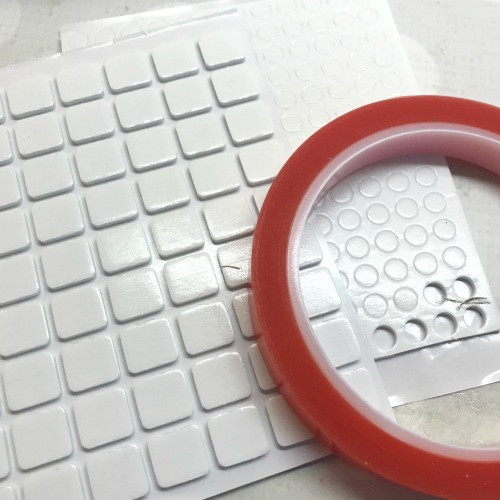
Start with cardstock cut desired finished size. My piece is 4 x 6 inches. Cover with adhesive dots using E-Z Runner® Grand Refillable Dispenser and E-Z Runner® Grand Permanent Dots Refill. Overlap is okay.
Here’s a quick video on how to change out the E-Z Runner Grand Refills, view below.
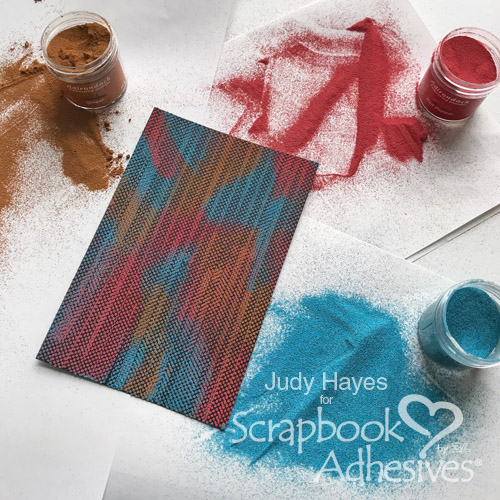
Cover with embossing powder of three different colors. First, apply embossing powder from the edge in a small area and remove excess. Next, apply another color allowing excess to slide off over the previously covered area. Continue with different colors until completely covered. Heat with a heating tool to melt the embossing powder. Voila! A dots background!
Cardmaking Details
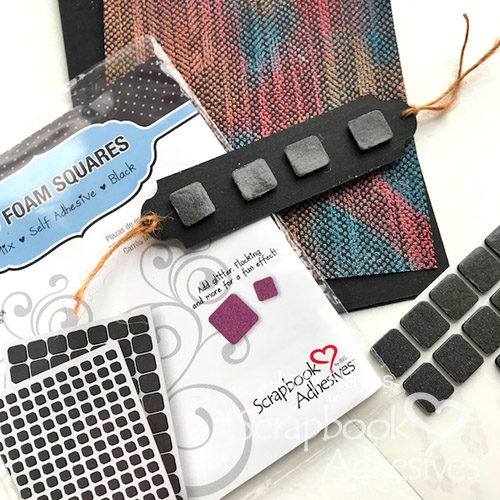
Stamp and heat emboss “happy birthday” on a black cardstock label die cut. Apply 3D Foam Squares – Black Mix to its back. Fasten twine to ends. Position and press in place on dots background piece. Fasten twine to back with E-Z Runner® Grand Refillable Dispenser with E-Z Runner® Grand Permanent Dots Refill.
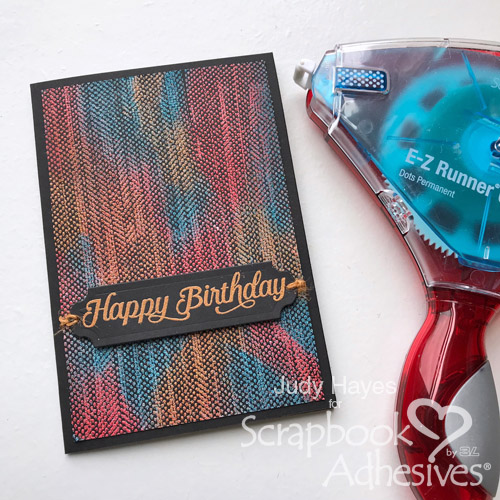
Fasten the dots card panel to a 4.5 x 6.5 inch black card base using E-Z Runner® Grand Refillable Dispenser with E-Z Runner® Grand Permanent Dots Refill.
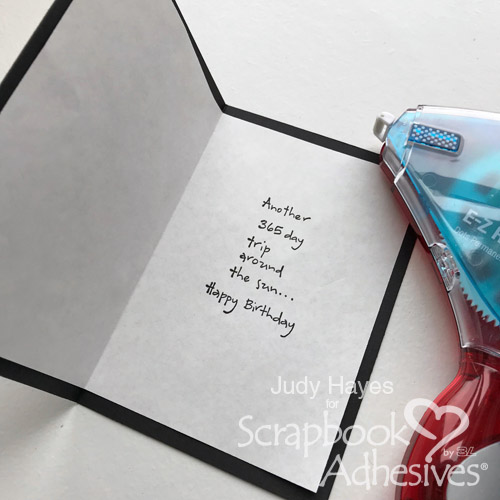
Cut 6 x 8.5 inch piece of printer paper. Fold and stamp with verse. Fasten inside the card with E-Z Runner® Grand Refillable Dispenser and E-Z Runner® Grand Permanent Dots Refill applied near the fold. Now, it’s ready to be sent!

This is a technique that can have a totally different look with different embossing powder colors or paper color. Try it with just one color embossing powder like gold on black! Or black on bright cardstock! Endless combinations.
Thank you for visiting!
judy
Creative Time: 30-45 minutes
Skill Level: Intermediate
Materials Needed:
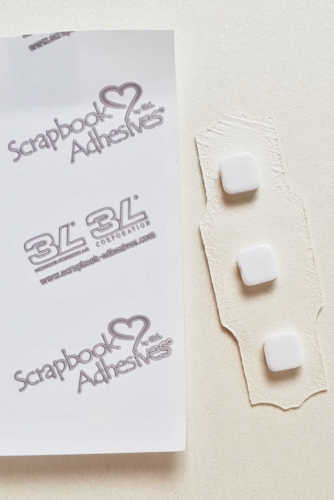
Scrapbook Adhesives by 3L®:
E-Z Runner® Grand Refillable Dispenser
E-Z Runner® Grand Permanent Dots Refill
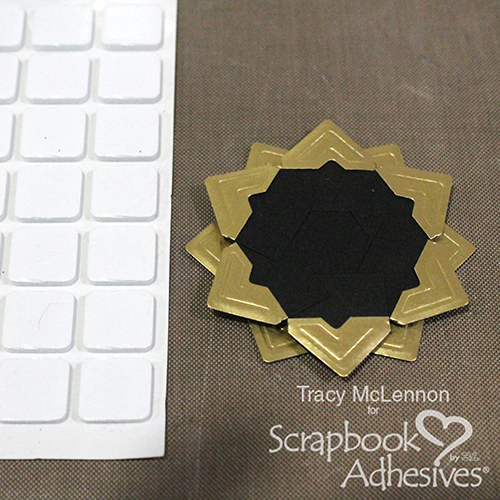
3D Foam Squares – Black Mix
Other Supplies:
Spellbinders® Paper Arts: Happy Day Elegant; Imagine Crafts/Tsukineko: Versamark Ink; Embossing Powders: Turquoise, Red Pepper, Ginger; Black Cardstock; Twine; White Printer Paper