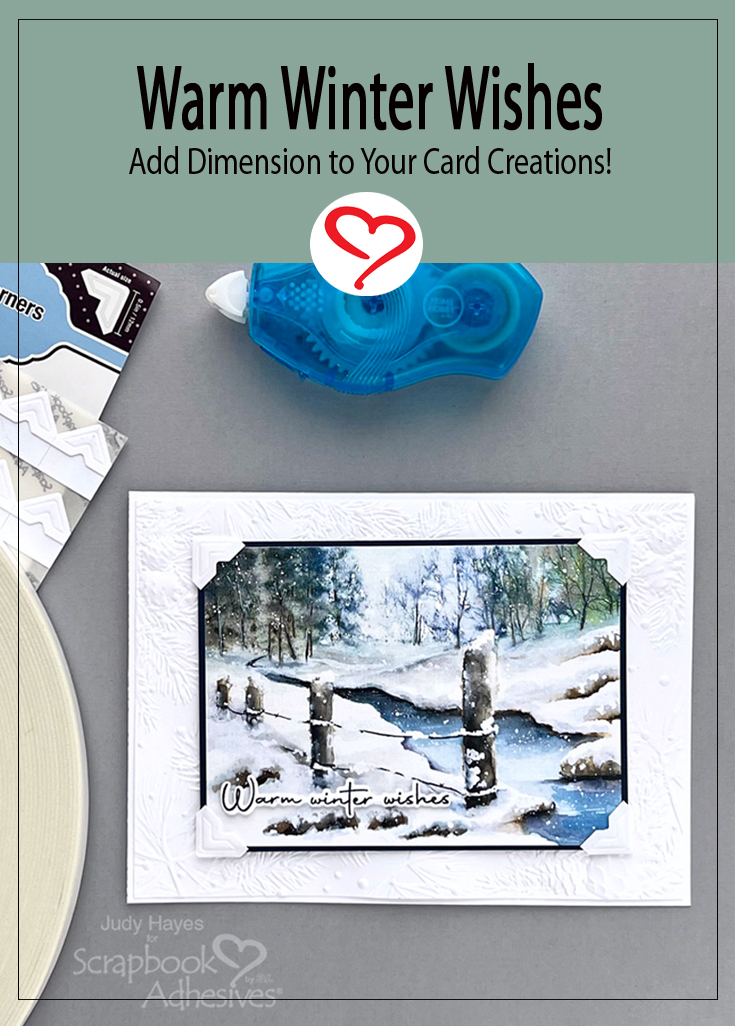
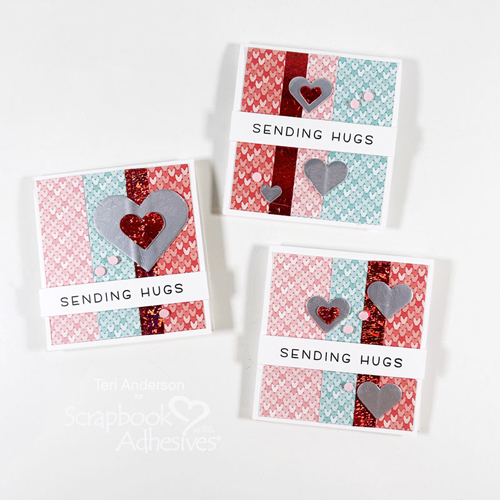
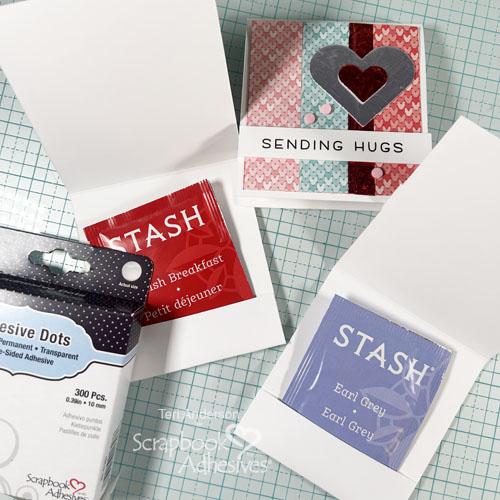
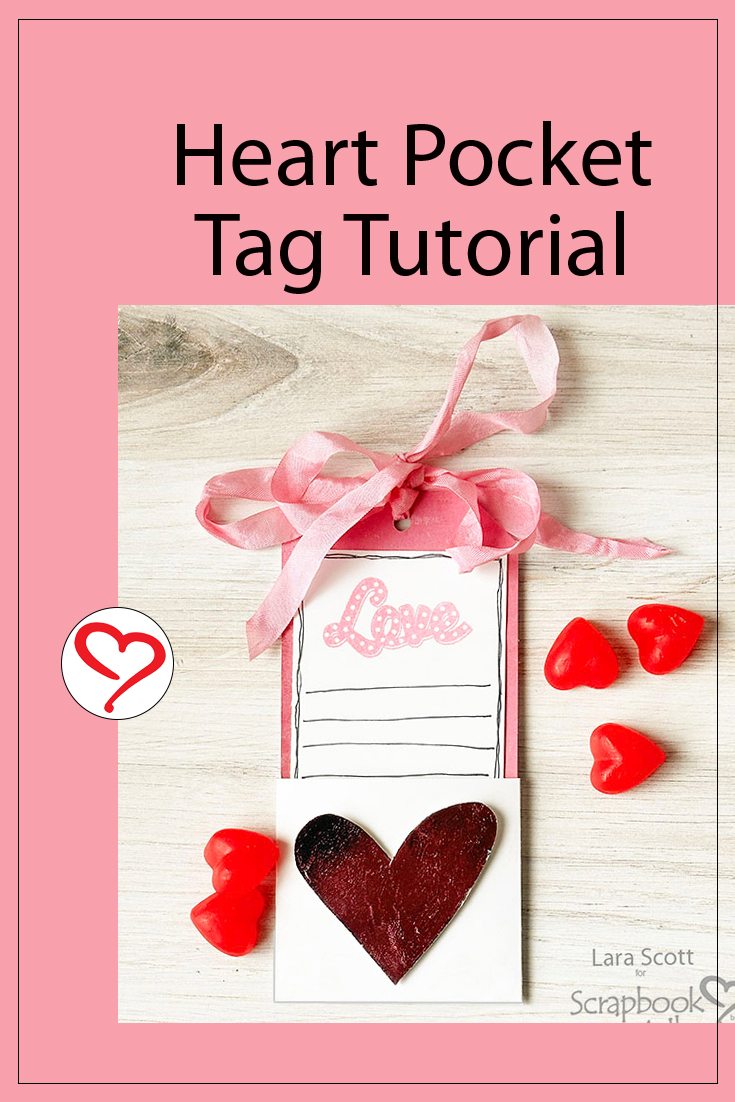
Hi, Lara here to share a Valentine’s Day project, Love Heart Pocket Tag. I recently saw a large double-sided pocket tag but wanted something that would be a journal spot for a scrapbook page or a gift tag. You could leave a little note and a gift card, which would make a great gift. So, let me share my process!
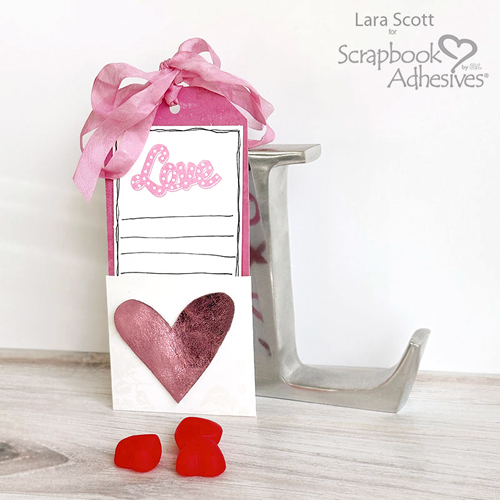
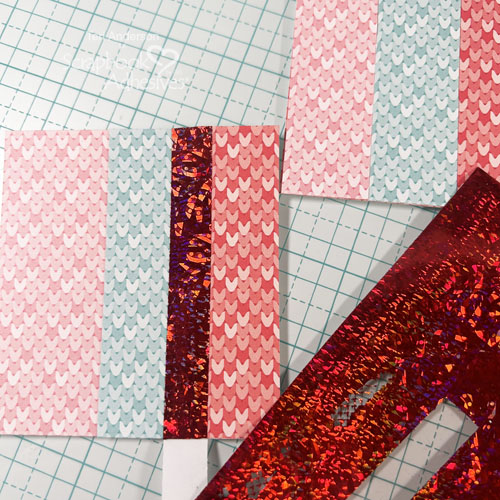
This tag was created with patterned paper cut to 3.5 x 7.5″ but you could make it any size you wanted to fit your project. I think it would look great on a 12 x 12″ scrapbook page.
Love Heart Pocket Base
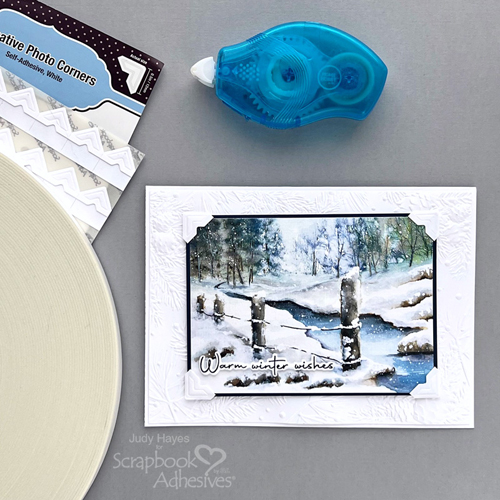
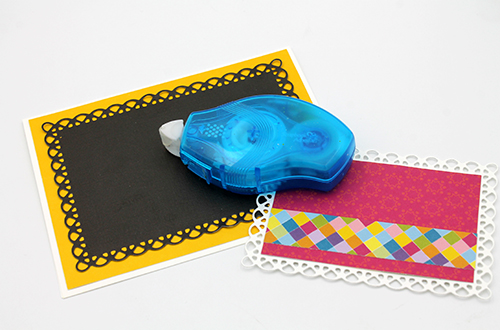
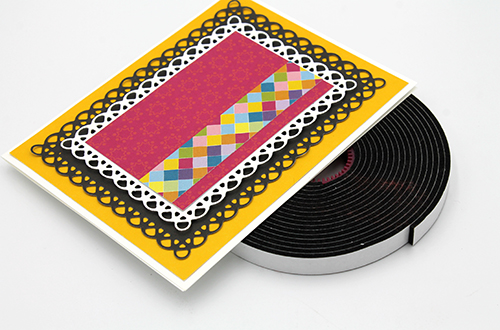
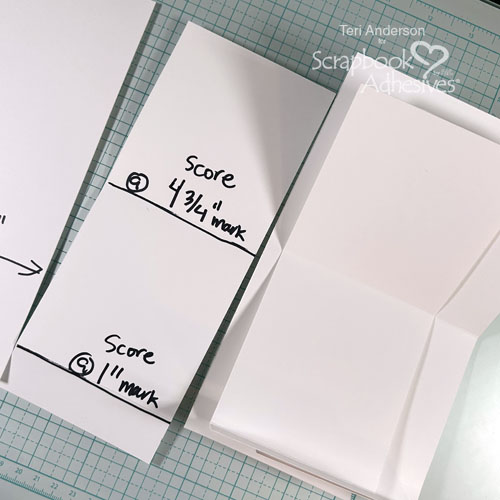
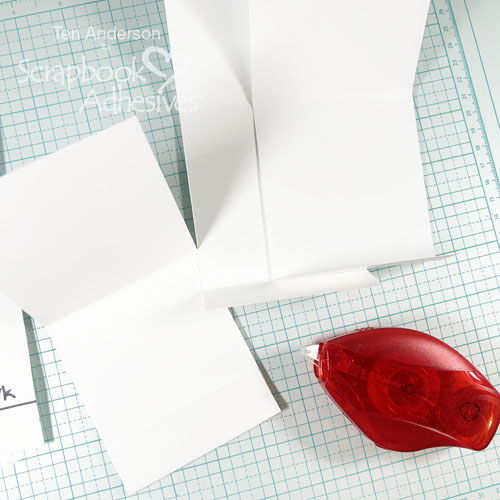
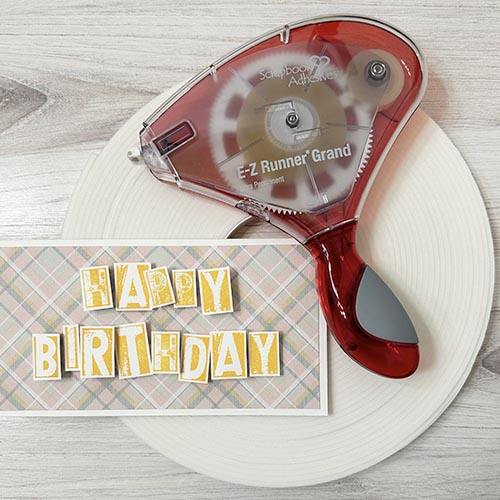
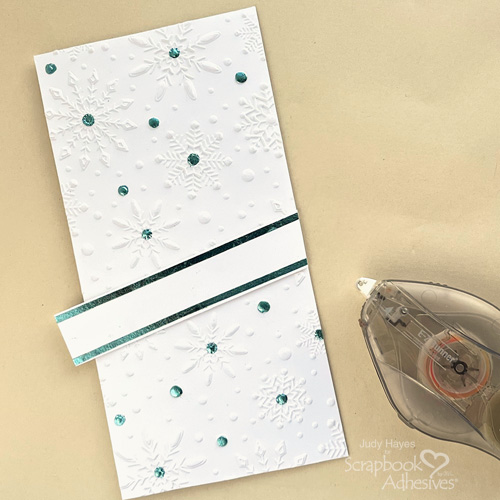
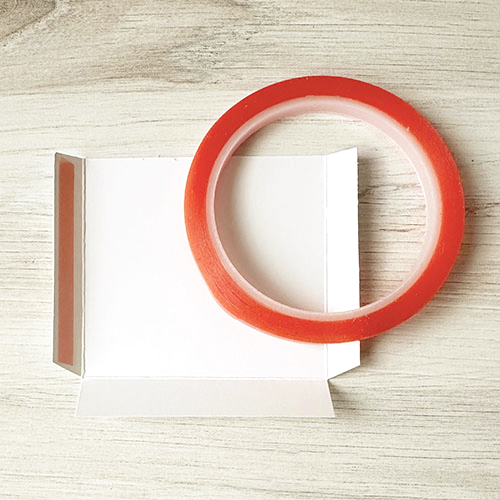
My tag was about 3.5″ wide so I cut the pocket out of white cardstock to the height I wanted + 3/4″ and about 1″ wider. Make it a tiny bit wider so when the sides are folded, they would lay flat. The sides are scored at 1/2″ and the bottom is scored at 3/4″. Secure the three sides to form a pocket with Extreme Double-Sided Tape 1/4in. and wrap it around the bottom of the Love Heart Pocket tag.
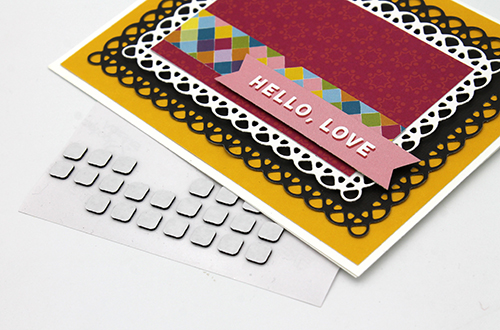
Wear Your Adhesive on the Outside with 3D Foam Creative Sheet & Electric Cutting Machine
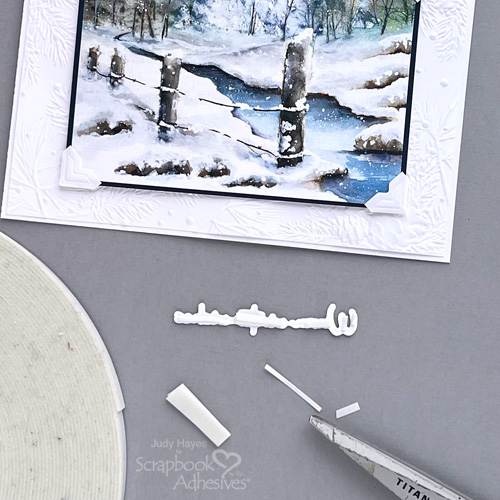
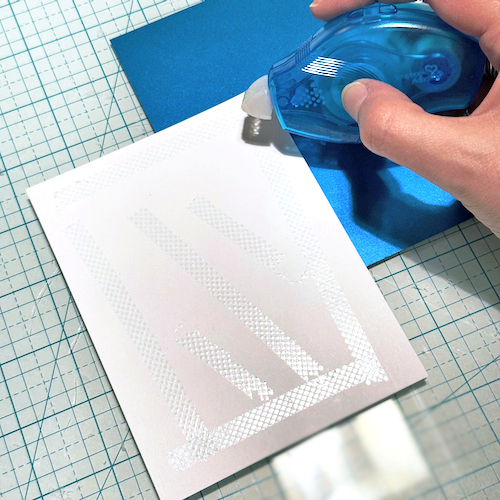
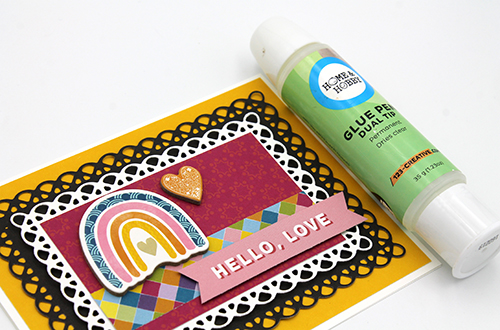
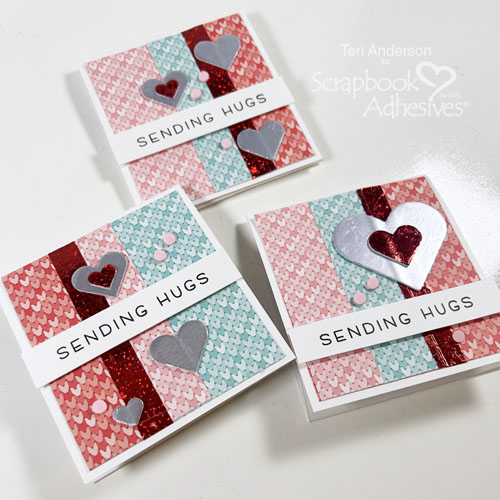
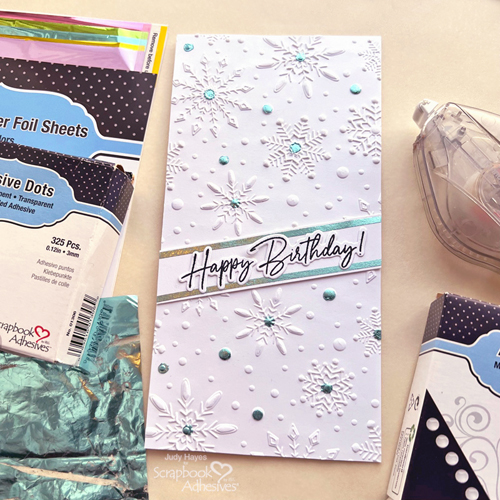
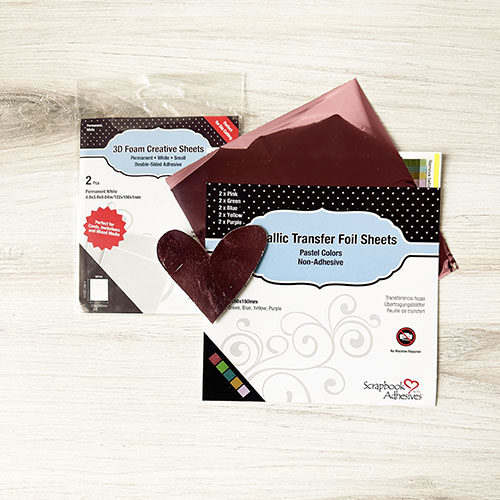
I cut out a heart shape from the 3D Foam Creative Sheets Small White and added the Metallic Transfer Foil Sheets Pastel Colors in Pink to the front. I think this product could create some amazing looks with shapes cut out with dies from a manual die cut machine. I thought about trying to cut on an electronic cutter using a deep-depth blade.
Journal Notecard
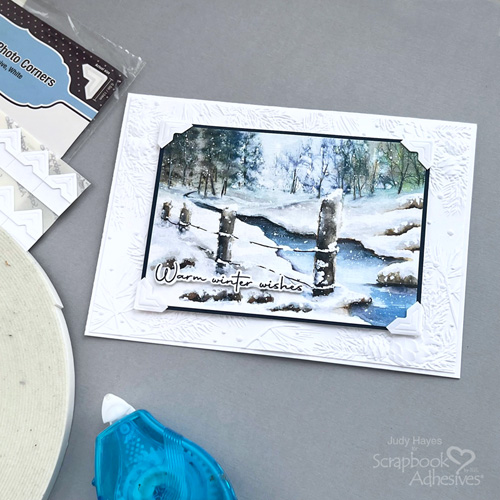
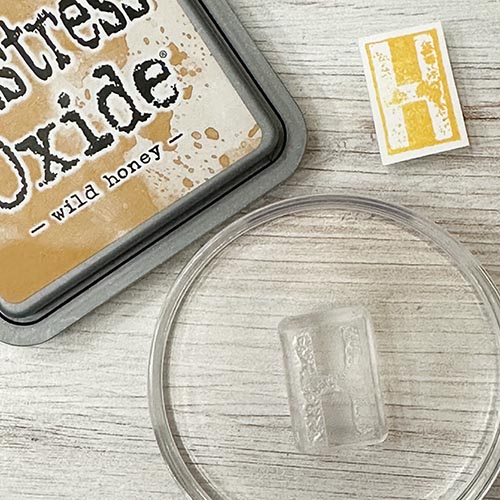
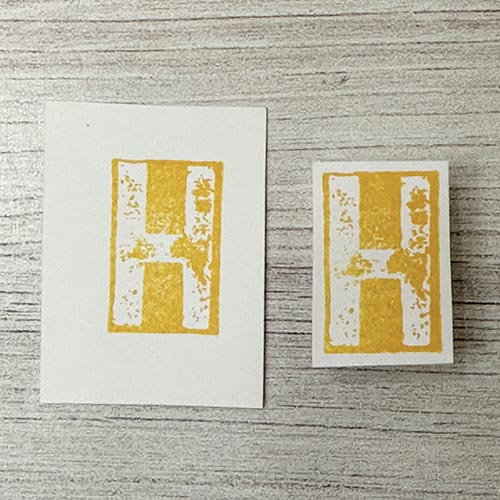
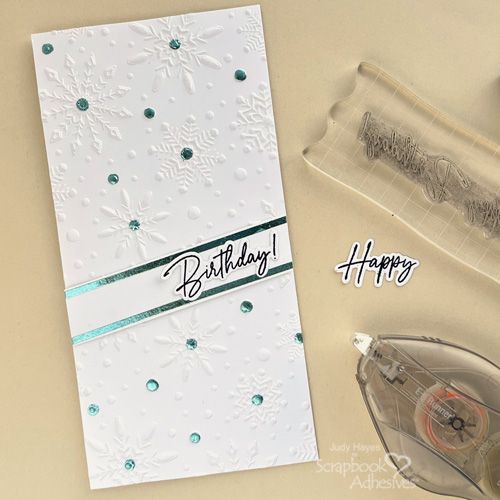
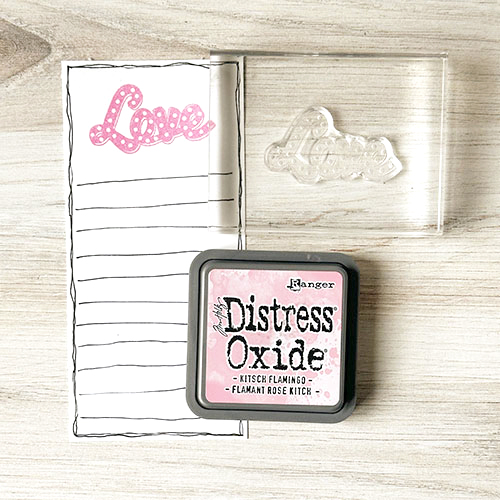
Cut a piece of white cardstock to fit inside the pocket. Then, stamp the love image with pink ink, add clear embossing powder, and heat emboss it. Lastly, I added some line work with a black pen around the notecard.
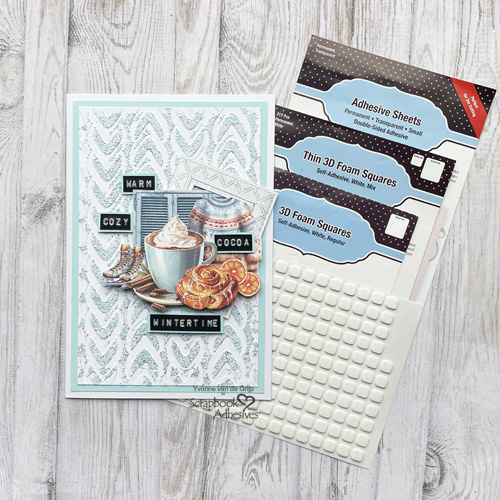
Adhesives used to create this project:
I think this would make a great journaling block for a scrapbook page. What would you use this tag for? I hope this Love Heart Pocket Tag inspires you to make some for your project.
Thanks for Visiting!
Lara Scott
Creative Time: 30 mins
Skill Level: Intermediate
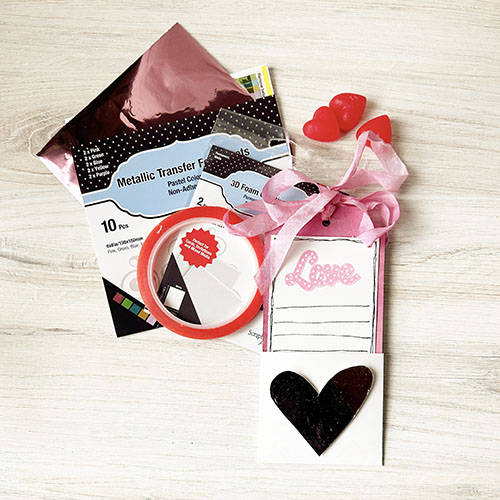
Materials Needed:
Scrapbook Adhesives by 3L®
3D Foam Creative Sheets Small White
Metallic Transfer Foil Sheets Pastel Colors
HomeHobby™ by 3L
Extreme Double-Sided Tape 1/4in.
Other: Papers: Heidi Swapp; Stamp: Heidi Swapp; Ink: Ranger Ink (Distress Oxide in Kitsch Flamingo); Embossing Powder: Clear; White Cardstock; Pink Seam Binding: Zipperstop.com
Click Preferred Retailers List
Save to Pinterest!
Visit our Website and Blog!
Sign up for our Newsletter so you never miss a contest or giveaway!