You are in our US store • Switch to Europe store

Shoot For The Stars Card using 3D Foam Stars

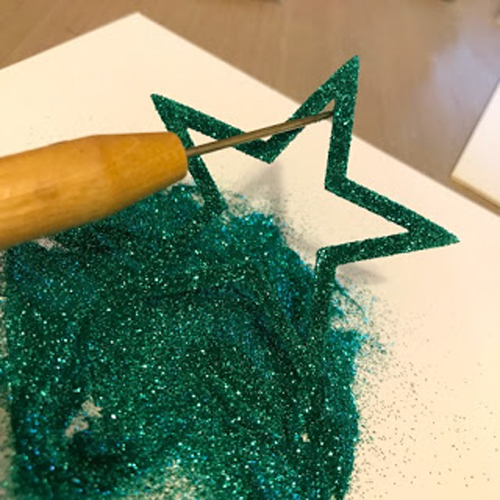
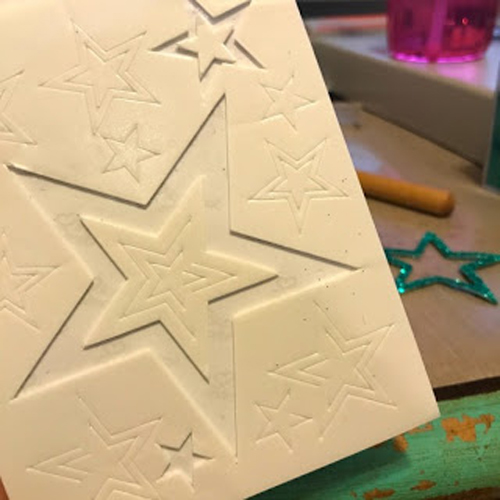
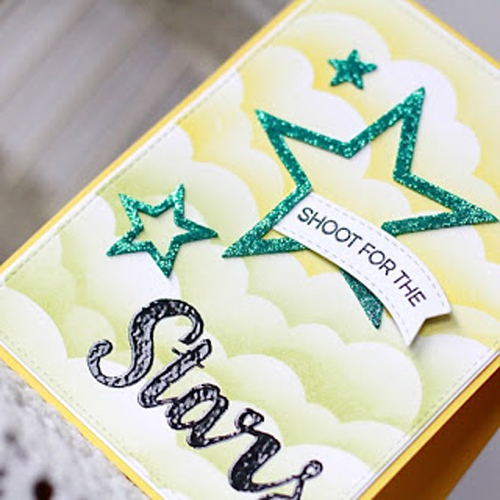
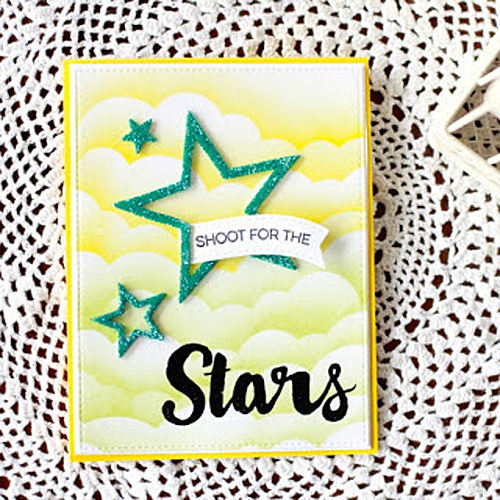
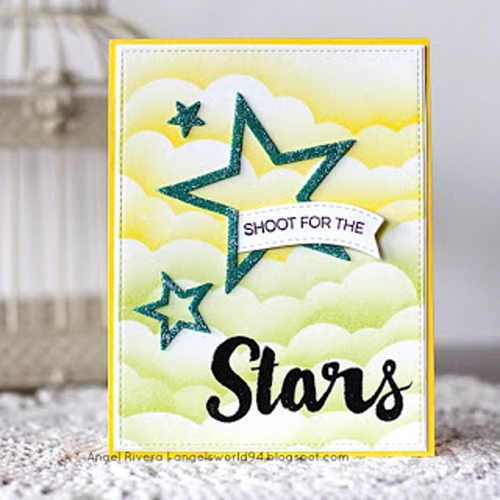
Hi all!  Angel here with some sparkly goodness!  I used the 3D Foam Stars to create my own sparkly embellishments by removing the protective backing of one side and pressing it into a pile of glitter until it was completely covered.

AngelRivera 500 ShootForTheStars 060317 MAIN

After sponging my background layer, I adhered the three glittered foam stars.

AngelRivera 500 ShootForTheStars 060317 Step1

AngelRivera 500 ShootForTheStars 060317 Step2

I doubled up on the 3D Foam Squares Black, Regular on the tail end of the sentiment flag to really give it a ‘flying’ effect.  I used the HomeHobby Dual Tip Glue Pen to adhere the other end of the sentiment flag under the edge of the star.  I used it to adhere the main layers to the card base, as well.  The ‘Stars’ sentiment was embossed with black embossing powder.

AngelRivera 500 ShootForTheStars 060317 MAIN3 CLOSEUP

AngelRivera 500 ShootForTheStars 060317 MAIN2

Thanks for stopping by!

Hugs,
Angel

Supplies:
Scrapbook Adhesives by 3L®:

3D Foam Stars
3D Foam Squares Black, Regular
HomeHobby Dual Tip Glue Pen
Other:
Cardstock, Ink, Stencil and Sentiments: My Favorite Things
Glitter: Recollections

Easy Happy Birthday Place Card Created with Adhesive Sheets

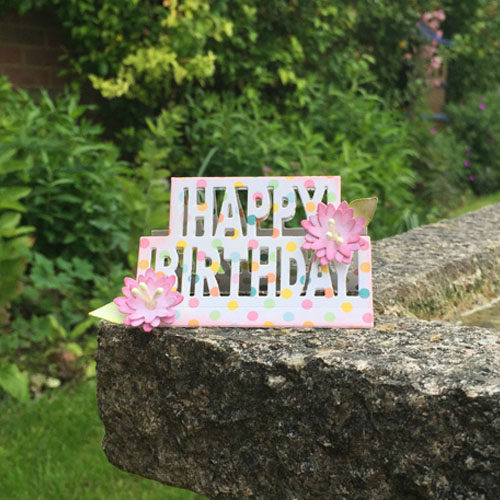
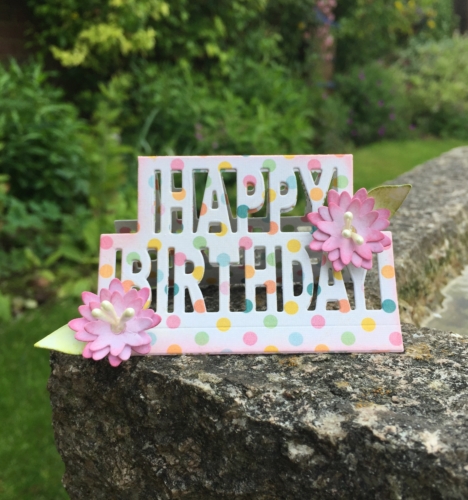
Hi everyone, Christine here today with a pop up Happy Birthday place card.  You could adorn a birthday table with these or affix to a gift box, either way they are simple to make with Adhesive Sheet 4 x 6″ and add a lovely touch to festivities.

CEmberson - Happy Birthday Placecard

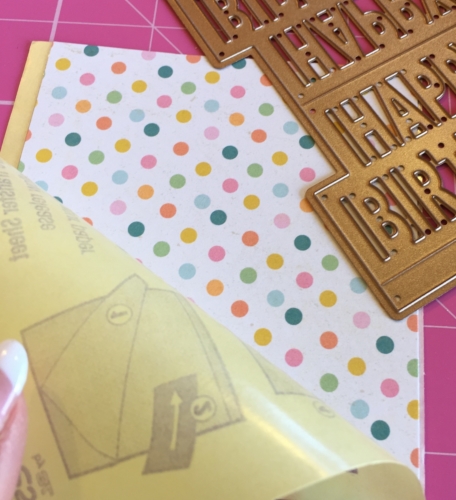
I first selected an Adhesive Sheet 4 x 6″. Lifted the yellow release paper and placed my spotty patterned paper inside.

CEmberson - Happy Birthday Placecard 1

I smoothed it back down and positioned my die. Run this through my die cutting machine

CEmberson - Happy Birthday Placecard 2

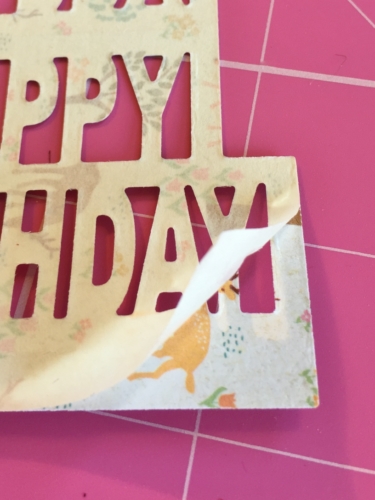
I peeled away the backing to reveal that the adhesive from the sheet has transferred onto the back of my die cut.

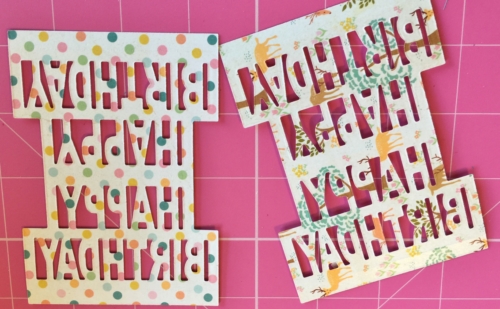
Because this was a place card and it needed to stand, I cut two.  They affix together perfectly because the adhesive is already in place, no messy glue!

CEmberson - Happy Birthday Placecard 3

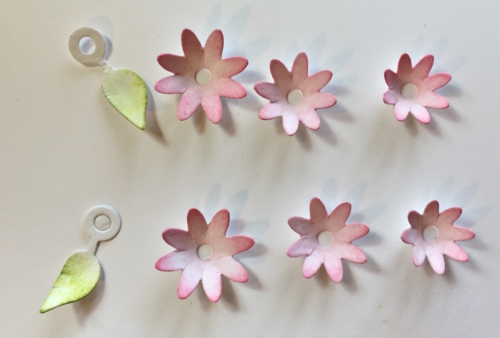
I die cut some flowers to decorate the place card.

CEmberson - Happy Birthday Placecard 5

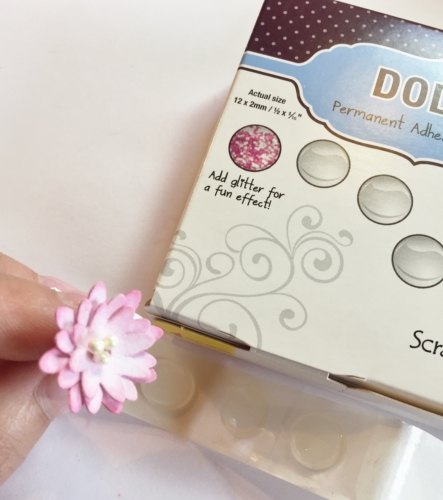
I assembled the flowers, positioned some mini stamens to the middle.  Everything held in place on the reverse with Dodz Adhesive Dots 3D.

CEmberson - Happy Birthday Placecard 6

The finished place card.

CEmberson - Happy Birthday Placecard 7

Thank you for stopping by today and don’t forget to check out the brilliant products on the website.Christine

Products used:
Adhesive Sheets 4 x 6″
Dodz Adhesive Dots 3D
Others:
Dies: Spellbinders Paper Arts (Happy Birthday Pop-Up and Window of Memories – Flowers)
Paper:  Authentique (Eastertime Collection)
Distress Inks; Mini Stamens; White Cardstock

Summer Vacation Layout with E-Z Runner Grand Dispenser

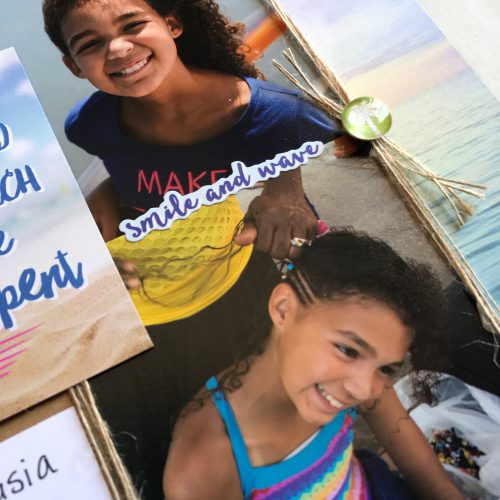
Latrice here today with a summer vacation layout as we wind down to a couple of school days in Illinois. I am busy prepping activities for my three kids to stay busy from swimming, soccer, dance and such. No big vacation planned this time like last year’s (their first) cruise to the Bahamas. I wanted to scrapbook a few of my favorite photos from that trip of my daughter. She really soaked it all in and enjoyed herself. Learning about the culture really sparked something inside her. Here is the 12 x 12″ page I’ve created using the E-Z Runner® Grand Dispenser and a couple of the Dodz Adhesive Dots.
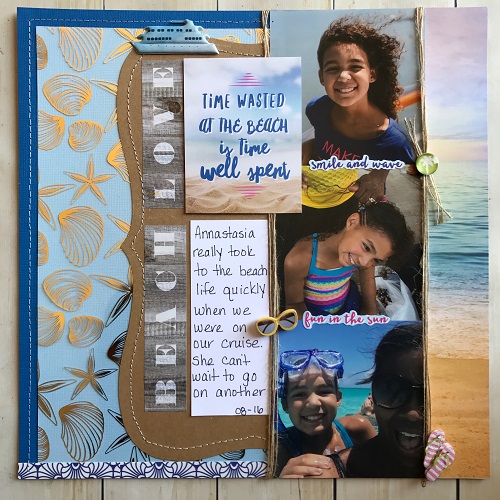
LatriceMurphy-Vacation Layout-6

I always try to get multiple photos on a page so I printed the images a little smaller at 4 x 4″ to get three photos on there vertically. To add more pictures without really filling up the page, you can print 3 x 3″ or 2 x 2″. How about trying those Fuji Instax pictures?

I used Paradise Found Beach Collection from Paper House Productions, as well as some coordinating cardstock I found from other companies in my stash.
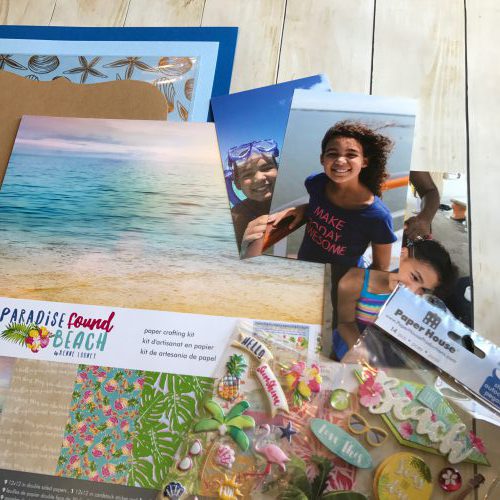
LatriceMurphy-Vacation Layout-1

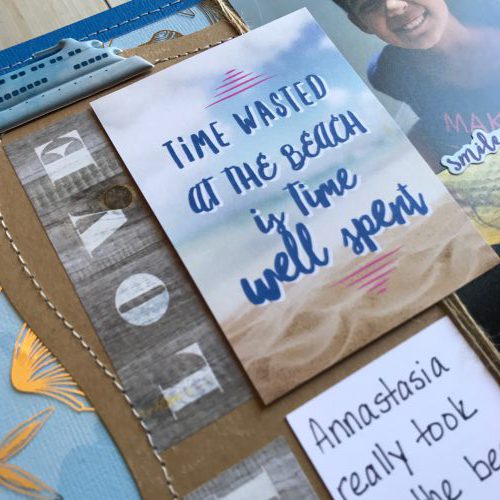
I chose a little beach paper, the gorgeous gold seashell overlay and a bracket shaped piece of cardstock to create my background.
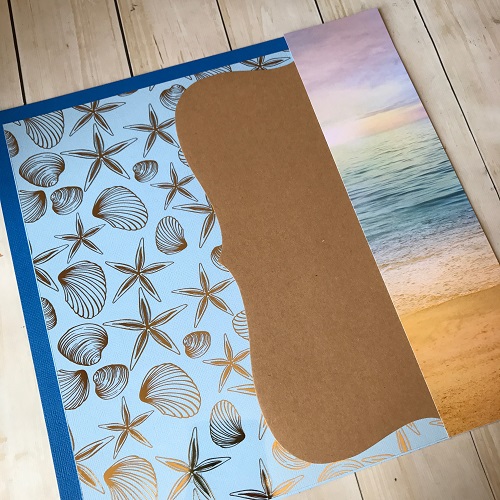
LatriceMurphy-Vacation Layout-3

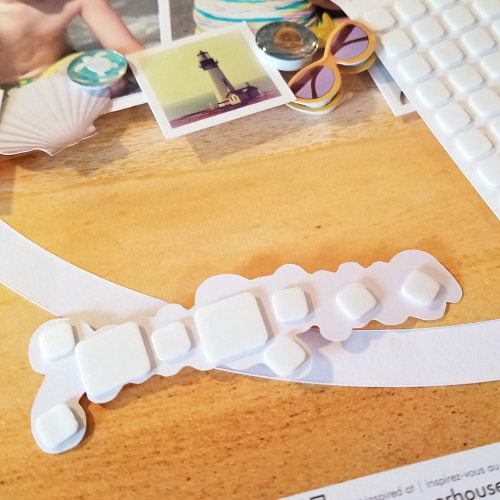
I love layers, but I do keep them simple. I ended up moving the kraft bracket cardstock over once the photos were added. Below you can see the Dodz Adhesive Dots are perfect to adhere the overlay piece because they are clear and double-sided. I used the Adhesive Dots Ultra Thin.
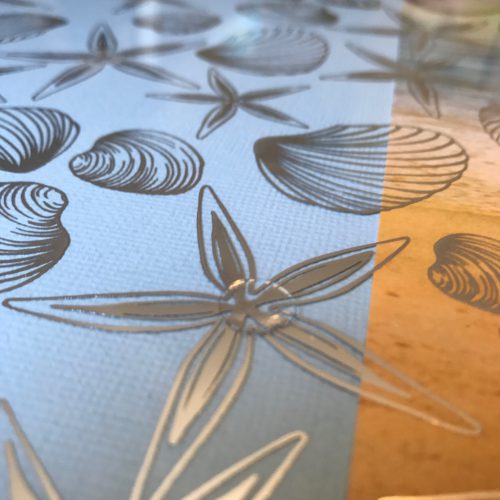
LatriceMurphy-Vacation Layout-2

I also use one of the Adhesive Dots Ultra Thin to hold a knot in place.
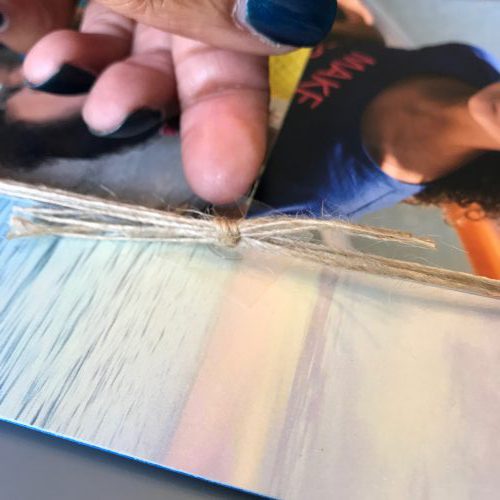
LatriceMurphy-Vacation Layout-4

Sometime I love using the Dodz Adhesive Dots 3D to raise up cards and such. They are sturdy and keep things in place perfectly. I just place one on each corner of the 3 x 4″ card.
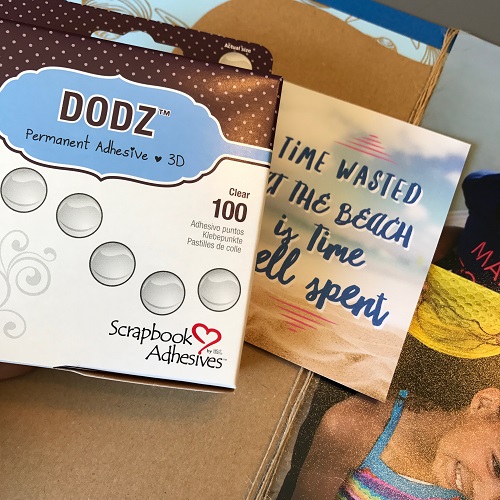
LatriceMurphy-Vacation Layout-5

To finish the layout I added some letter stickers and more items from the Paper House Productions kit for my title, some hand written journaling and machine stitching.
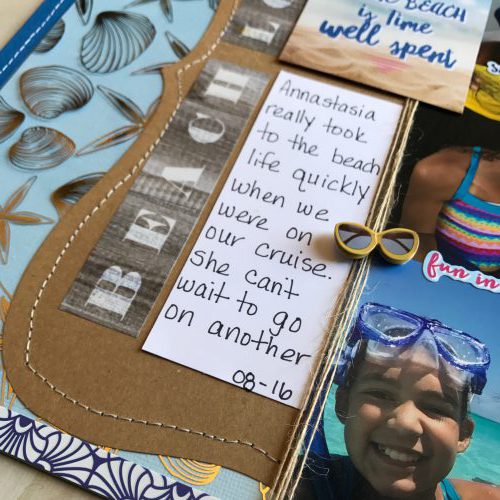
LatriceMurphy-Vacation Layout-7 LatriceMurphy-Vacation Layout-8 LatriceMurphy-Vacation Layout-9

Can’t wait to snap some summer photos for this year. We still have one more day of school left! Kids are hanging in there.

LatriceMurphy-Vacation Layout-6

Thanks for checking out my Summer vacation layout.

Supplies
Dodz Adhesive Dots 3D
Adhesive Dots Ultra Thin
E-Z Runner® Grand Dispenser

Other:
Cardstock: American Crafts and Recollections
Patterned Paper: Paper House Productions
Letter stickers: MAMBI (Me and My BIG Ideas)

Save
Beach Day Scrapbook Layout featuring Creative Photo Corners

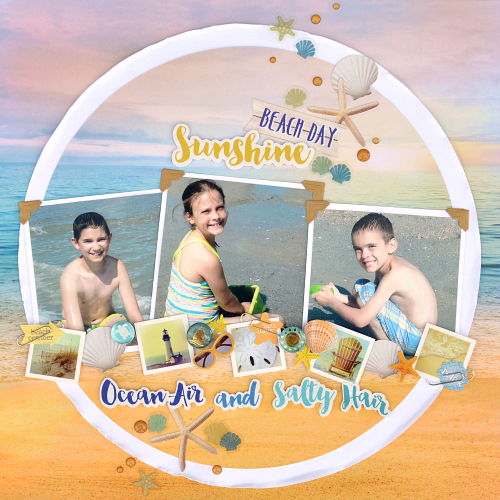
With the unofficial start of summer well under way, it seemed time to dive into some beach photos and capture those memories on a scrapbook layout. It’s Christine, joining you today to showcase how I use a wide variety of adhesives on a layout.

Beach Day crapbook Layout & Tutorial by Christine  Meyer for Scrapbook Adhesives by 3L

Creating the Beach Day Layout

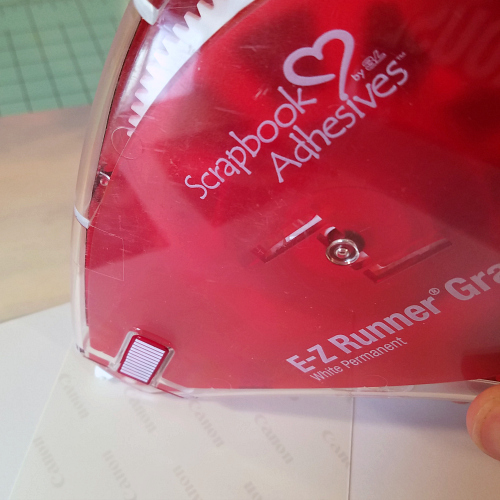
I love how a layout comes together when you combine a variety of adhesives.  My first go to the E-Z Runner® Grand Refillable Dispenser.  I use this ALL the time for just simple things like matting my photos.

ChristineMeyer-BeachDay4

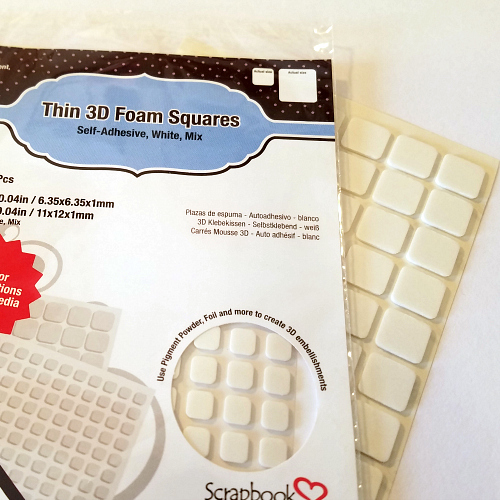
Then comes adding dimension.  A lot of the stickers I was working with already had dimension so I knew I needed to add it to my title.  But I didn’t want too much dimension – because I thought that would just make things too bulky.  Here’s the answer to that dilemma: Thin 3D Foam Squares!

ChristineMeyer-BeachDay5

These were absolutely perfect because they are thinner – 1 mm -than other foam adhesives, which are 2mm.  They added just enough to make things work!

ChristineMeyer-BeachDay7

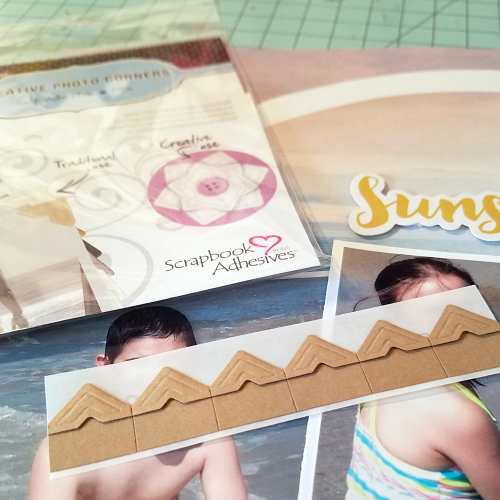
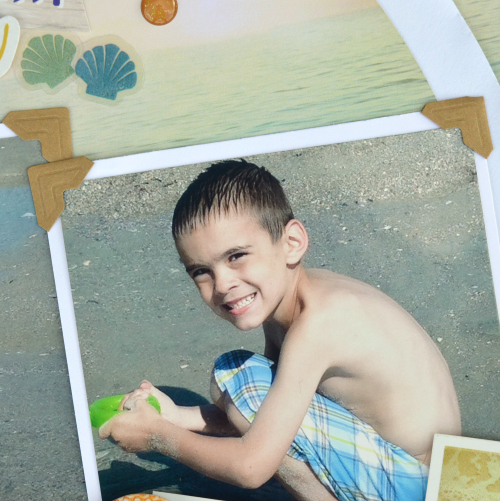
Working with a sand color left me craving a little more for my photographs.  I knew i didn’t want to mat them further and I knew i didn’t want to add stickers.  In come the Creative Photo Corners Mix Pack to jazz things up!

ChristineMeyer-BeachDay6

There are several color options and this kraft color was a great match for my sandy background!

ChristineMeyer-BeachDay3

So there you have it, all the adhesives you need to create a basic layout!  Although let’s be honest there’s about a dozen more that you need for all the other embellishments and products out there right!?!

Supplies
Scrapbook Adhesives by 3L®:

E-Z Runner® Grand Refillable Dispenser
Thin 3D Foam Squares Mix White
Creative Photo Corners Mix Pack
Others:
Patterned Paper & Stickers from Paper House Productions
Enamel Dots from Doodlebug Design

Gift Inspiration Cards with Self-Laminating Pouches

Hello friends! Today, I’m sharing some gift inspiration cards that are made with Self-Laminating Pouches – Cards Small. I made these as a little gift to tuck in a graduation card.  I also made simple coordinating graduate cards.  I had so much fun putting these together that I plan to make a few for other occasions.

JudyHayes_LaminatedInspirationCards_Main1

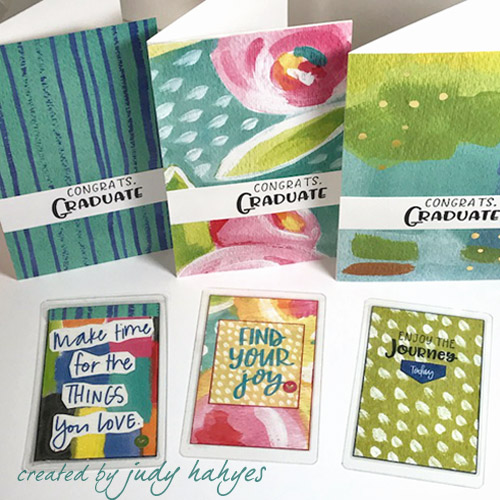
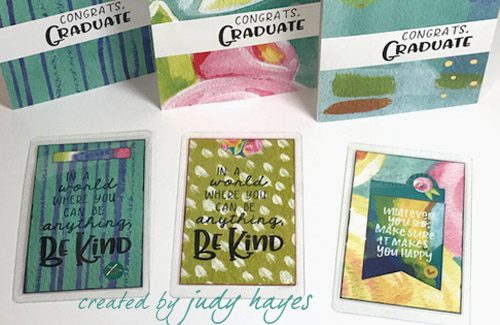
Here you can see one side of each of the inspiration cards in front of a coordinating graduate card.  I used a collection of papers and stickers from Bella Blvd™ called Make Your Mark. Fun bright colors!

JudyHayes_LaminatedInspirationCards1

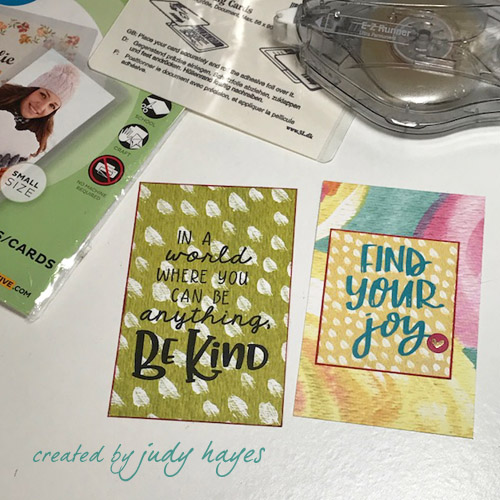
I started by cutting patterned paper to the insert size for Self-Laminating Pouches – Cards Small (2¼ x 3½ʺ).  The photo shows the front and back sides. (I made 2 to show both sides at the same time.)  I stamped a verse on one side.  On the other side, I used a verse from the paper collection.  I used E-Z Runner® Ultra Refillable Dispenser to fasten it to the insert paper and added a tiny heart sticker.  The edge is colored with a permanent red marker.

JudyHayes_LaminatedInspirationCards2

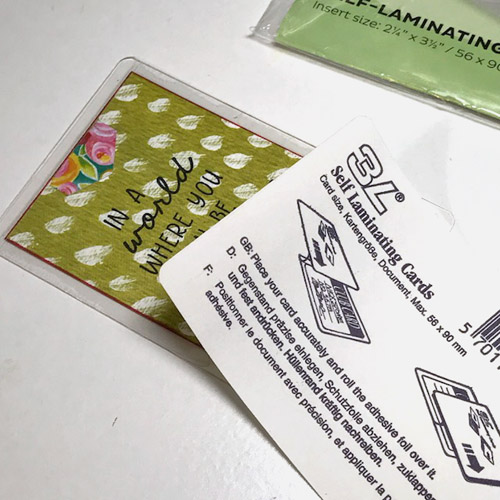
When both sides were finished, I placed it in one of Self-Laminating Pouches – Cards Small. It’s so easy!  Place it between the layers, start peeling protective sheet from hinge side, press and smooth it over the insert.  I rubbed it with my fingers to seal it well.

JudyHayes_LaminatedInspirationCards3

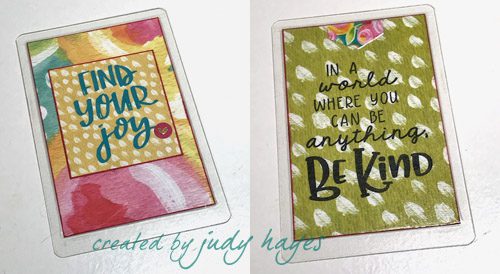
Here are both sides of this inspiration card once laminated.

JudyHayes_LaminatedInspirationCards_Main2b

This photo shows the other side of each of the inspiration cards.

The graduate cards are 3½ x 6¼ʺ and made from white cardstock.  I fastened a patterned paper to front of each one using E-Z Runner® Ultra Refillable Dispenser. The greeting is stamped with black ink on white card stock and fastened with E-Z Runner® Ultra Refillable Dispenser.   Very quick and simple design!

Thanks for visiting today!
Judy

Supplies:
Scrapbook Adhesives by 3L®:

E-Z Runner® Ultra Refillable Dispenser
HomeHobby Self-Laminating Pouches – Cards Small
Others:
Bella Blvd™ Make Your Mark Collection Kit; Ranger Archival Ink (Jet Black); Taylored Expressions Wonderful World Stamp set; White Cardstock

Gift Cookie Jar using Adhesive Sheets

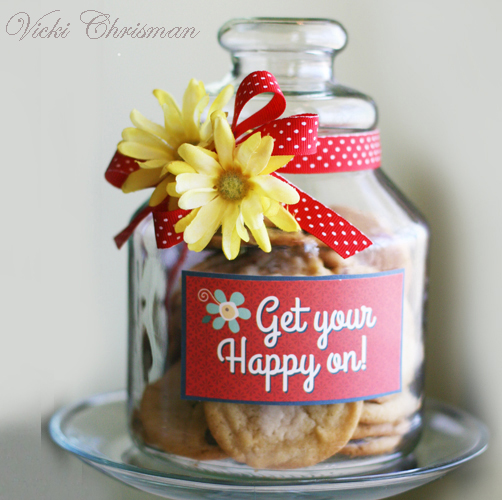
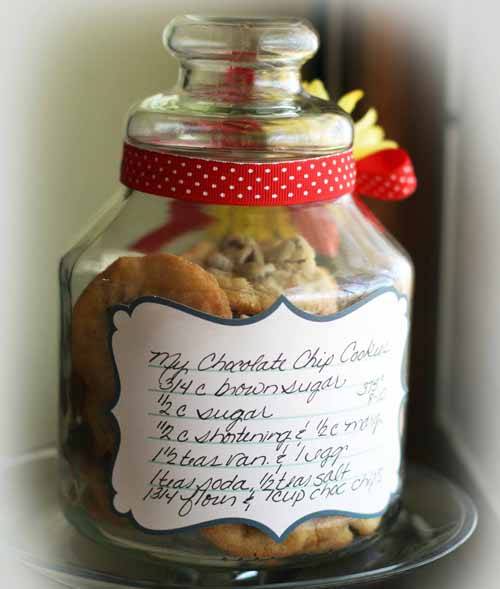
Hello! Vicki here!  I love to bake, and I love to  share baked goodies with friends and family. I also love thrift store and flea market finds, so in this case they all came together.  I recently found this glass container with a lid that caught my eye, ( and was a great price, which is always a bonus).   I baked up some of my famous Chocolate Chip cookies and while they were cooling, I got busy dressing up my container.

Get your happy on cookie jar

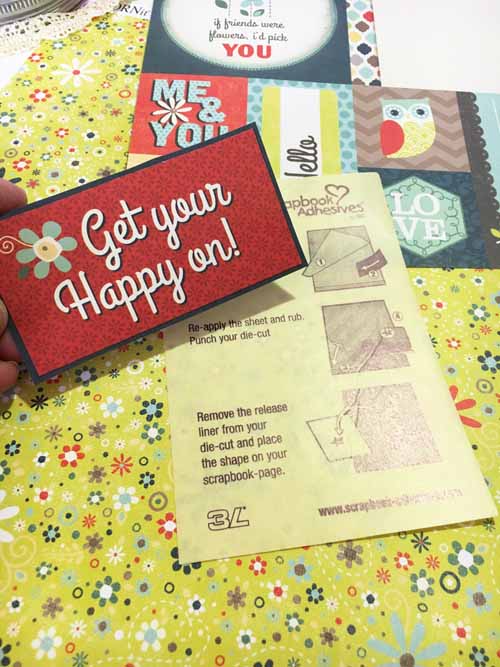
When I give someone something homemade I really like to share the recipe with them. I added the recipe and the “Get your Happy on” title to the jar with Adhesive Sheets 4×6″.  The 4 x 6″ size was great for this project. The do such a great job of adhering right to the edge all the way around.

Get your happy on cookie jar recipe

Get your happy on cookie jar 1

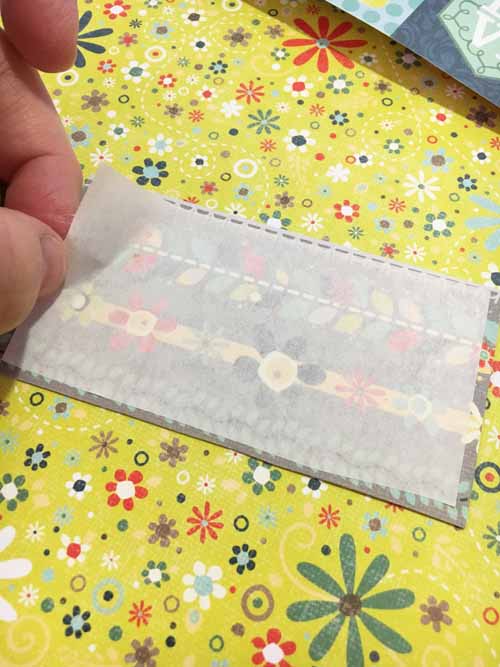
These are great for die cut pieces but are also great for pieces like this, that are being added to something with a curve.

Get your happy on cookie jar 2

It’s a easy way to dress up a jar, or even repurpose a can.

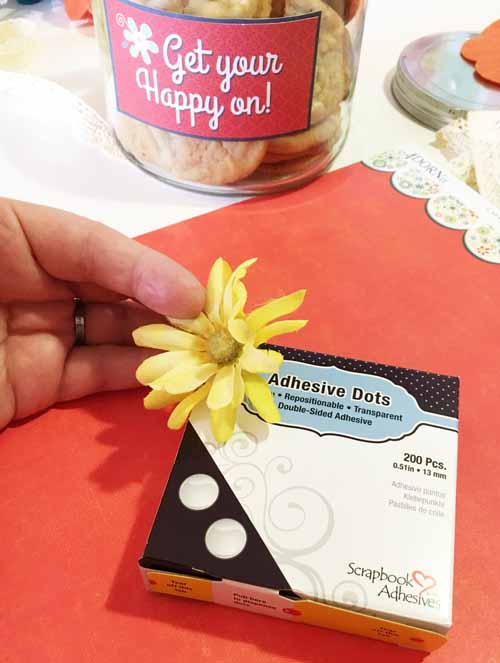
Once I have the paper pieces added, I tied a piece of ribbon around the opening of the jar and added a few flowers. Adhesive Dots Large Repositionable worked great for adding these.

I think I know just who will be getting a little something for their sweet tooth.  I hope this easy to put together container makes them smile.

Get your happy on cookie jar 3

Thanks so much or stopping by!

Supplies Needed:
Scrapbook Adhesives by 3L®

Adhesive Sheets 4×6″
Adhesive Dots Large Repositionable
Other:
ADORNit papers

No Stamping Congrats Card

Hello friends, Latisha here with you today. How is it possible that it is the end of May, and summer is just right around the corner? It also means the end of another school year, and if you are like me, graduation announcements have been flooding your mailbox.

FullSizeRender

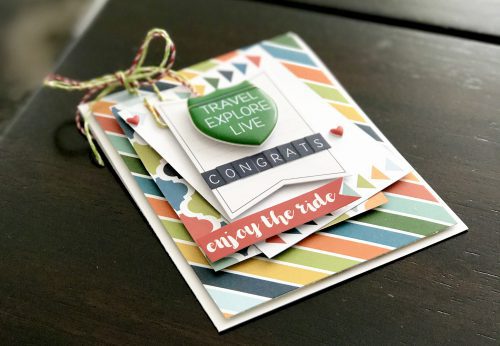
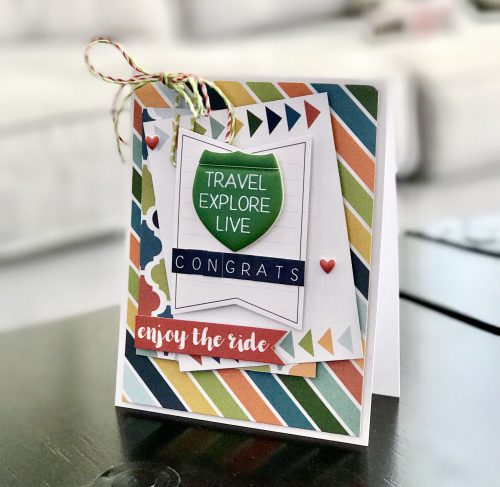
I am sharing a graduation card with you all.  Super easy, bright colors, so it works for a male or female graduate, and no stamping or manual die cutting! What?!

  1. Create card base 4.25 x 5.5 inches.
  2. Trim pattern paper, and adhere to the card front using Crafty Foam Tape White.
  3. Trim rectangle die cuts from pattern paper using scissors, adhere together using E-Z Dots Permanent Refillable.
  4. Add a paper clip, and adhere to the card front using 3D Foam Squares White, Regular.
  5. Apply Crafty Foam Tape to the back of the “travel, explore, live” sticker, and adhere to the banner sticker. Apply foam adhesive to the back of the banner sticker and adhere to the card.
  6. Create a sentiment out of stickers, “congrats”.
  7. Trim “enjoy the ride” sticker and adhere to the card using Crafty Foam Tape.
  8. Tie twine to the paper clip, and add a few stickers to embellish.

FullSizeRender_1

Materials Used:
Scrapbook Adhesives by 3L®:

E-Z Dots Permanent Refillable
Crafty Foam Tape White
3D Foam Squares White, Regular
Other:
Lawn Fawn Twine
Paper House Productions paper & stickers
Paper Clip; White Cardstock

Thank You Notebook with Extreme Double-Sided Tape

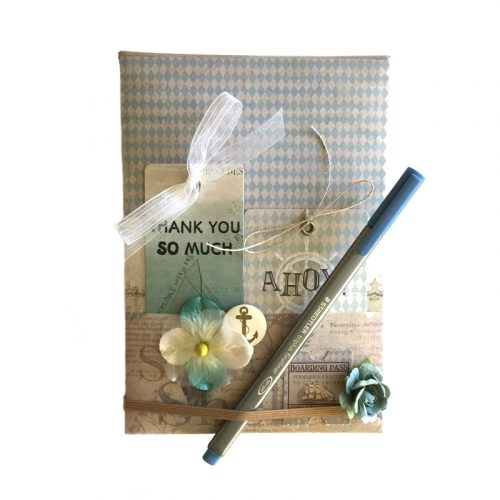
Hello there! It’s Erica here today to share a ‘thank you’ notebook featuring Extreme Double-Sided Tape 1/4″ and Extreme Double-Sided Tape 1/2″.

With the end of the school year drawing near you may find yourself shopping for the perfect end-of-the-year teacher gift. How about a pretty, handmade gift to say ‘thank you’?

Thank You Notebook by Erica Houghton for Scrapbook Adhesives by 3L

I started by altering a 4 x 6″ brag book. It was originally an album and I removed the page protectors.

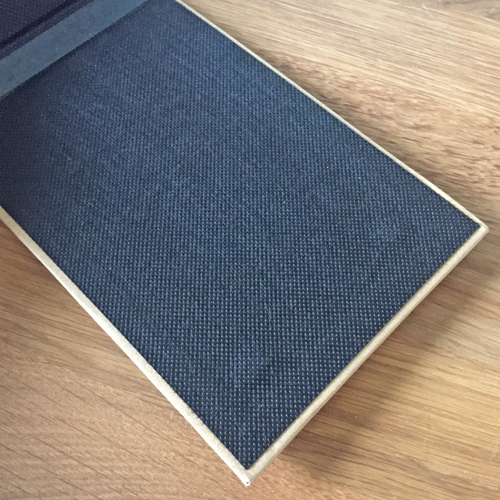
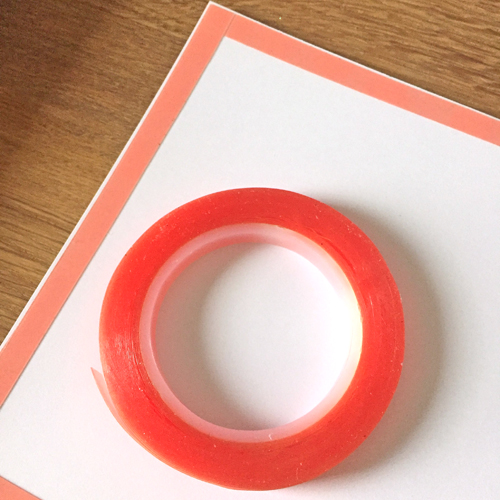
Next I cut a 4.5 x 6.5″ rectangle from pattern paper and adhered it to the front of the album using Extreme Double-Sided Tape 1/4″.

Thank You Notebook by Erica Houghton for Scrapbook Adhesives by 3L

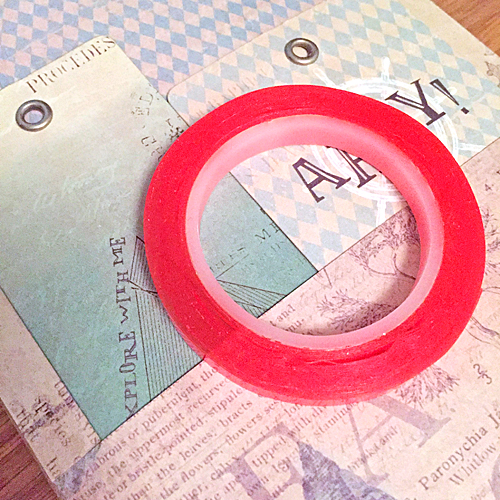
To decorate the front I started by adhering two tags to the front of the album using  Extreme Double-Sided Tape 1/4″.

Thank You Notebook by Erica Houghton for Scrapbook Adhesives by 3L

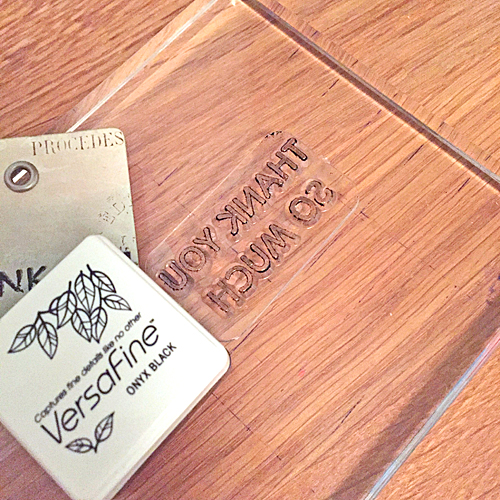
On one of the tag I stamped ‘thank you’.

Thank You Notebook by Erica Houghton for Scrapbook Adhesives by 3L

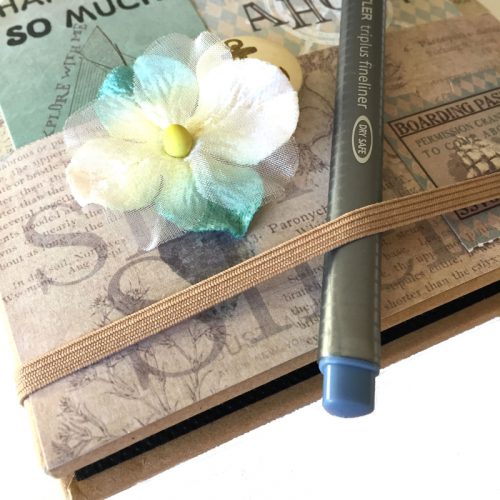
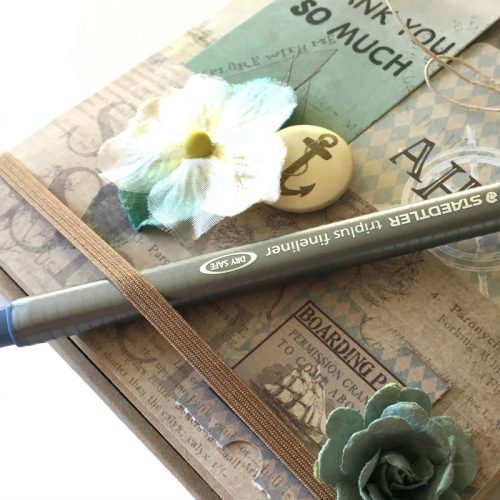
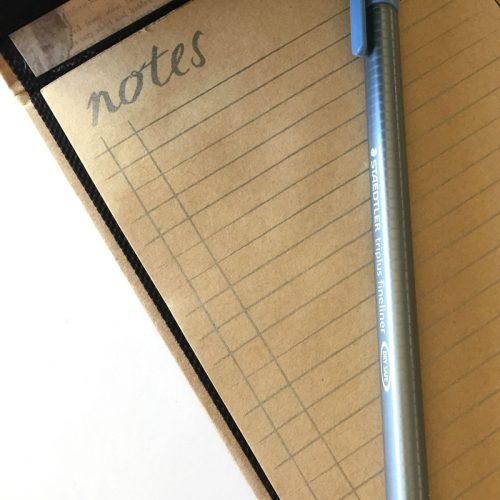
Finally, using  Extreme Double-Sided Tape 1/2″ I adhered more pattern paper, flowers, and flair. I adhered a ‘to-do list’ notepad inside the album to create a notebook and then added a colorful pen to complete the project!

Thank You Notebook by Erica Houghton for Scrapbook Adhesives by 3L

Here are a few close-ups:

Scrapbook Adhesives by 3L®:
Extreme Double-Sided Tape 1/4″
Extreme Double-Sided Tape 1/2″

Other:
Paper, Flair & Flowers: Prima Marketing
Stamp: Dovecraft, Curiosity Corner
Ink: Tsukineko VersaFine

Thanks for joining me today!
Erica Houghton

Top Father’s Day Card and Craft Ideas!

We’ve collected some of our favorite Father’s Day craft ideas right here on the Scrapbook Adhesives by 3L® Blog! Our talented designers have provided you with inspiration and some tutorials to create something masculine for DAD that he’ll love!

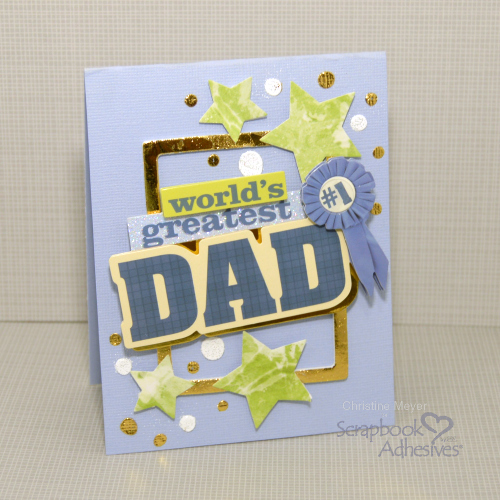
Dad Card with Foil by Christine Meyer

Gold Foil Father’s Day Card by Christine Meyer


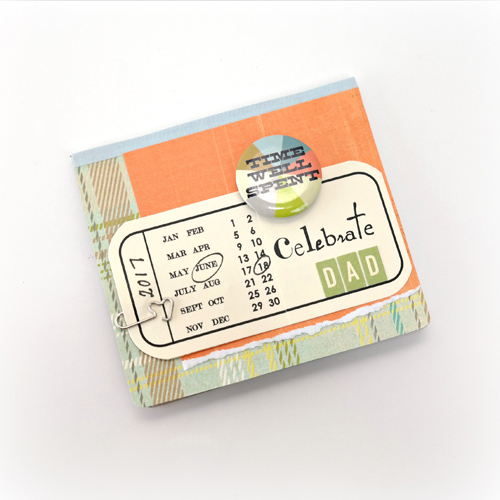
Father's Day Flip Book by Dana Tatar

Photo Flip Book for Dad by Dana Tatar

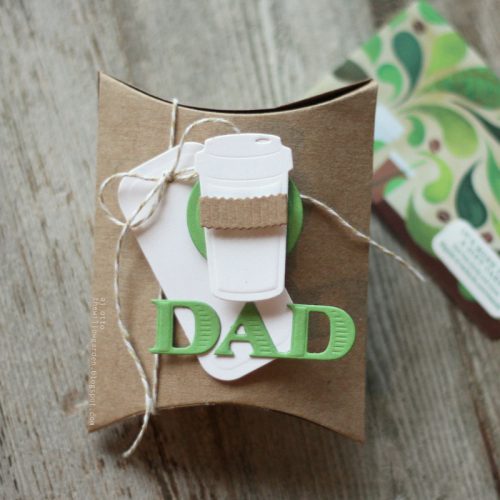
Father's Day Gift Pillow Box by AJ Otto

Dad Pillow Gift Box by AJ Otto


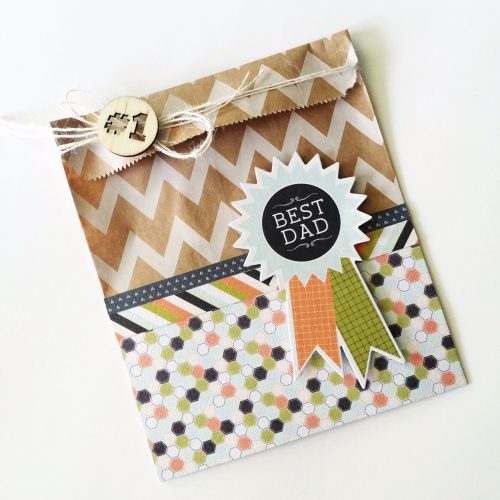
Father's Day Gift Bag by Latisha Yoast

Father’s Day Gift Bag by Latisha Yoast


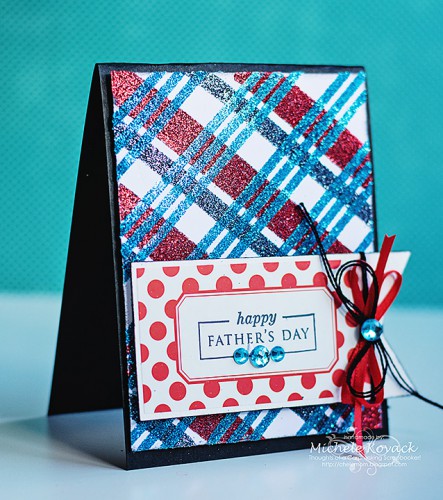
Father's Day card by Michele Kovack

Creating Plaid Backgrounds by Michele Kovack


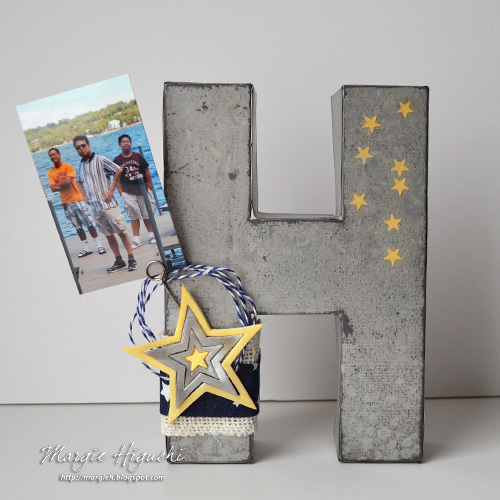
Embellished Fathers Day Metal Letter Home Decor by Margie Higuchi

How to Embellish a Father’s Day Home Decor Gift by Margie Higuchi


Happy Father’s Day!

Connect with us!

See more creative Father’s Day Craft Ideas on the Blog, and on our Pinterest Crafting Holidays and Celebrations board!

Sign up for our Newsletter so you never miss a contest or giveaway!

instagram purple facebook purple pinterest purple twitter purple SAby3L YouTube icon blog purple

Save
Save
Save
Save
Save
Save

Camper Card Using Dodz and Crafty Foam Tape!

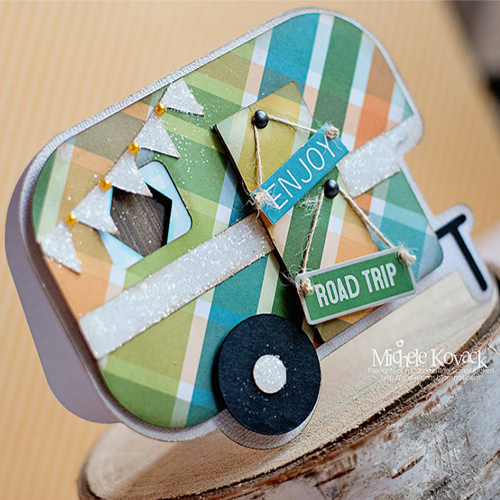
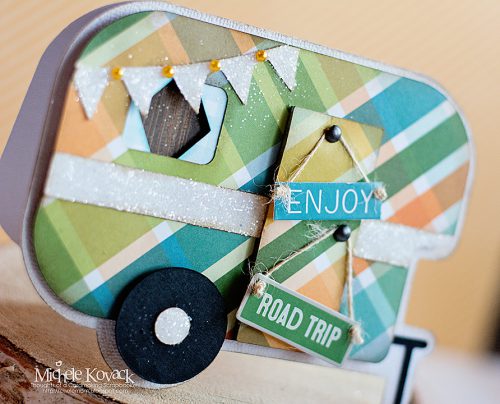
Good morning! Michele here with a fun shaped camper card!

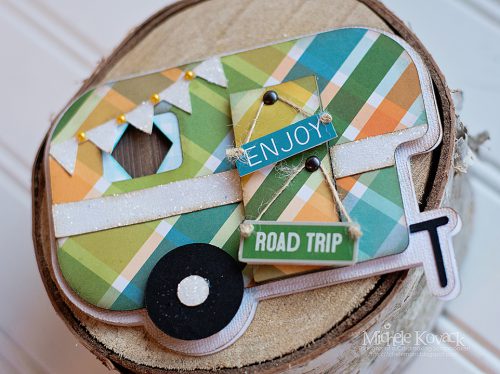
Road Trip Camper Card by Michele Kovack for Scrapbook Adhesives by 3L

Making the Camper Card

To cut the camper shape, I used my Silhouette.  Depth was added to the windows and door using Crafty Foam Tape White.  I wanted to add a bit of sparkle, so I placed a thin layer of glue using the Dual Tip Glue Pen and then sprinkled glitter over it.

Road Trip Camper Card by Michele Kovack for Scrapbook Adhesives by 3L


Next I added pearls to the pennant using Adhesive Dots Micro.  then I adhered the pennants using Dodz Adhesive Dots Mini. For the layers of the camper, to make the window pop a bit, I added Crafty Foam Tape White.

Road Trip Camper Card by Michele Kovack for Scrapbook Adhesives by 3L

It was such a cute and fun card to make!  Just a few adhesives made the card come together with ease!

  • Creative Time: 45 Minutes
  • Skill Level: Intermediate

Supplies:
Scrapbook Adhesives by 3L®:

Adhesive Dots Micro
Dodz Adhesive Dots Mini
Crafty Foam Tape White
HomeHobby Dual Tip Glue Pen
Others:
Paper House Productions Patterned Paper; Martha Stewart Glitter; Silhouette Shape; Brads; Pearls

Save