Yikes! It’s our last day – Day 5 of our Blog Hop and Giveaway with Lawn Fawn! We have more amazing projects from both design teams. Read through to the end of the post to enter to win.
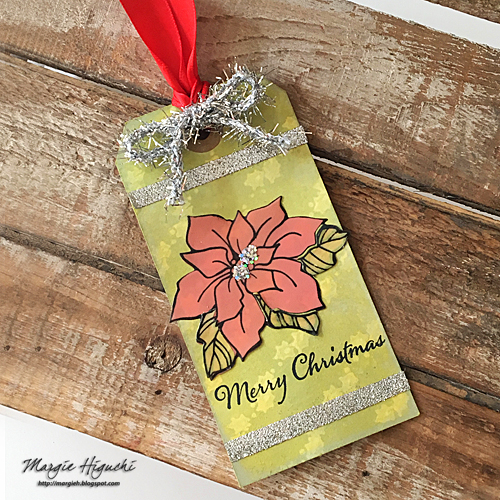
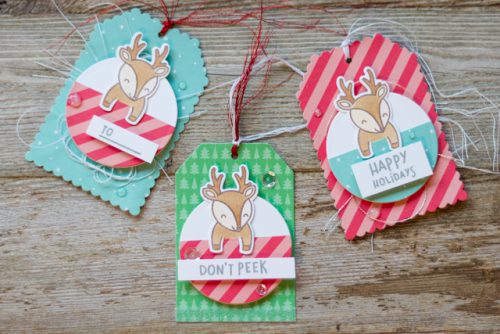
AJ Otto’s For You Deer Gift Tags
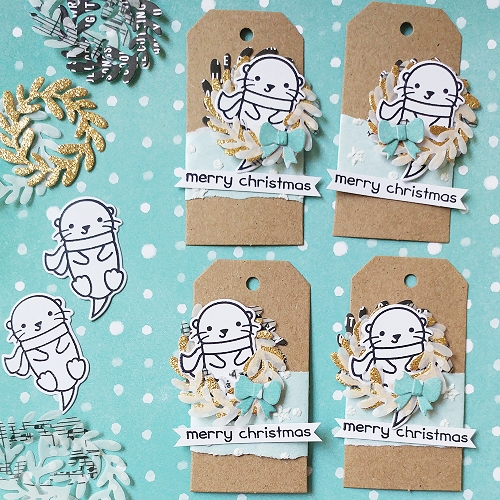
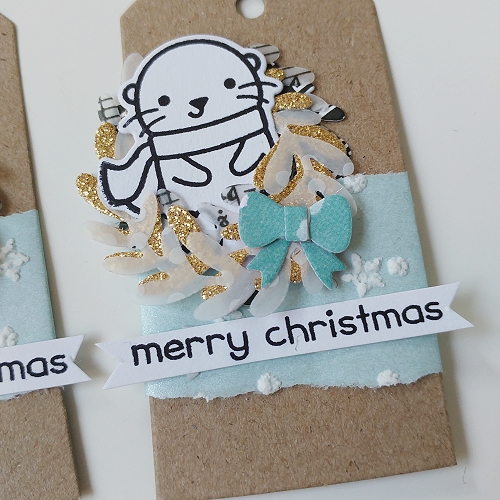
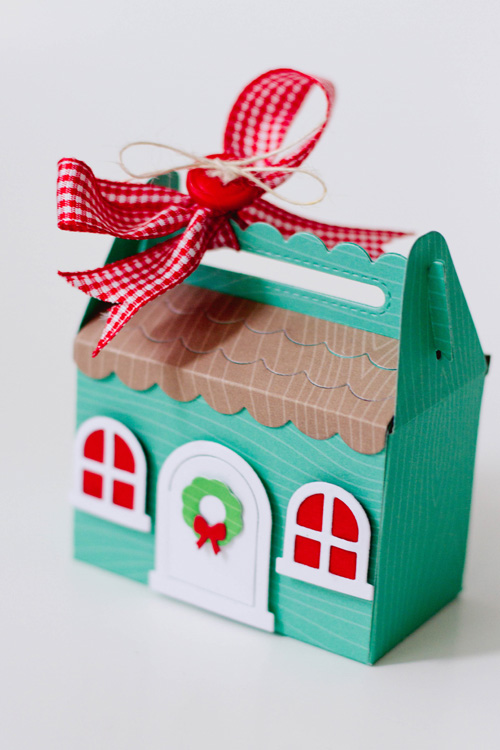
It’s never too early to start creating the perfect tag for all your gifts. I created this cute set of customized gift tags for the upcoming Christmas holiday! Who could resist this sweet reindeer face from the For you Deer Stamp Set?
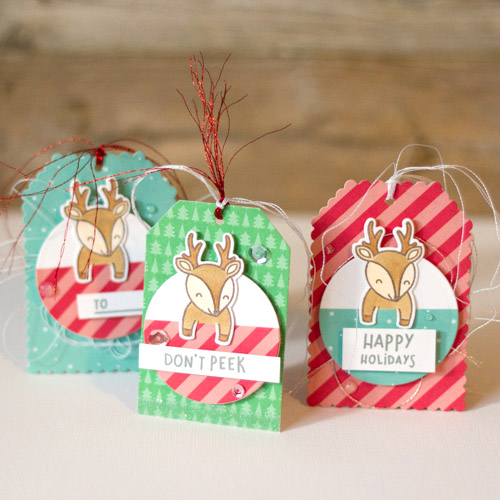
Each tag is slightly different with varying embellishments to keep that personal touch! I popped up the circled embellishment with 3D Foam Squares for dimension, and added sequins secured by Adhesive Dots Micro and Adhesive Dots Mini. Which tag is your favorite?
Scrapbook Adhesives by 3L®:
Adhesive Dots Micro
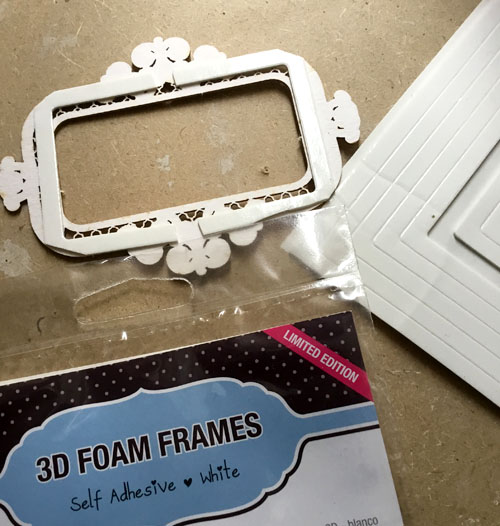
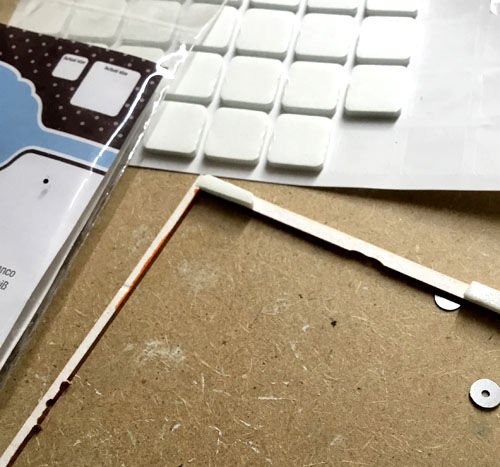
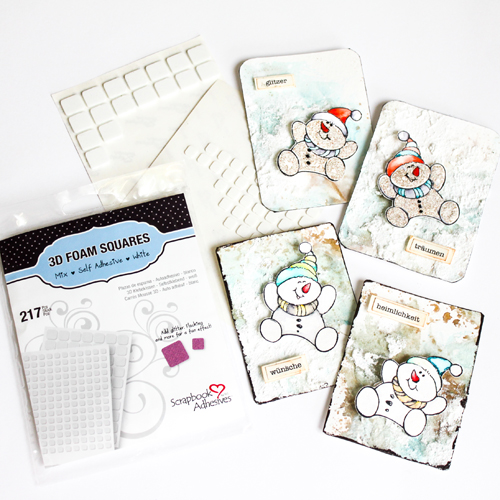
3D Foam Squares White Mix
Adhesive Dots Mini
HomeHobby Premium Double-Sided Tape 1/4″
E-Z Squares® Refillable Runner
Lawn Fawn:
For you Deer Stamps
For You Deer Lawn Cuts
Lawn Fawn Petite Paper Pack – Snow Day
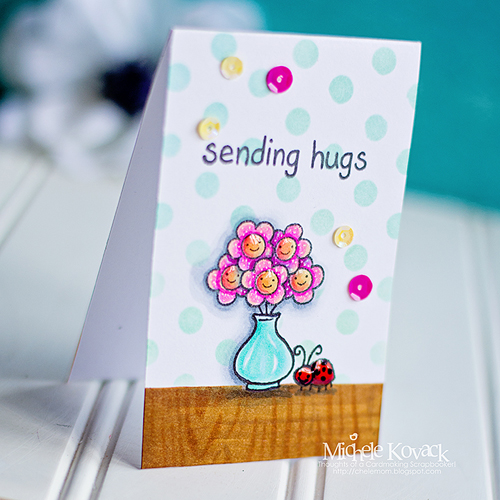
Michele Kovack’s On The Mend Trio Card
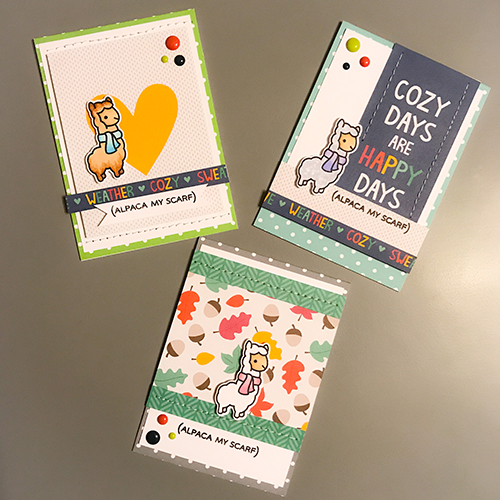
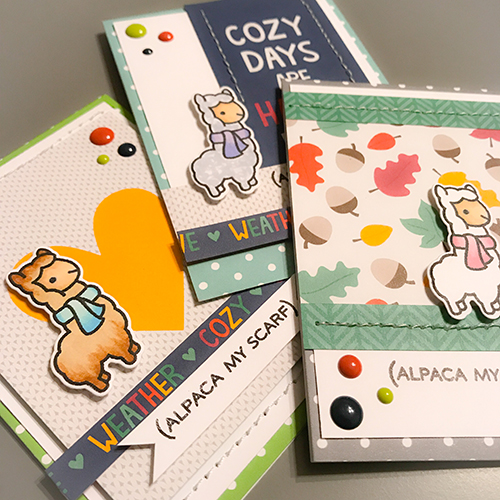
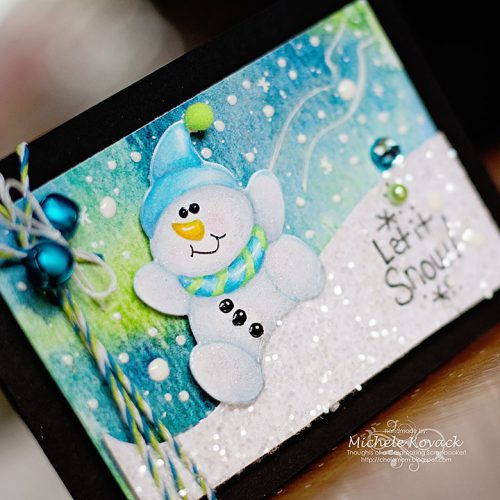
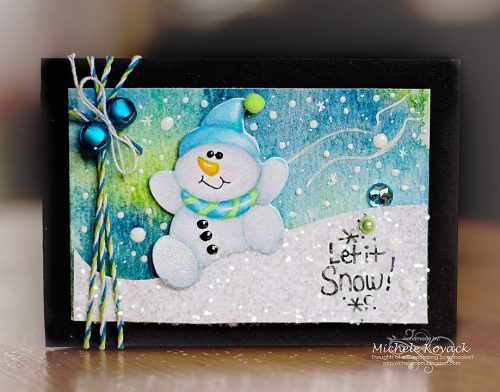
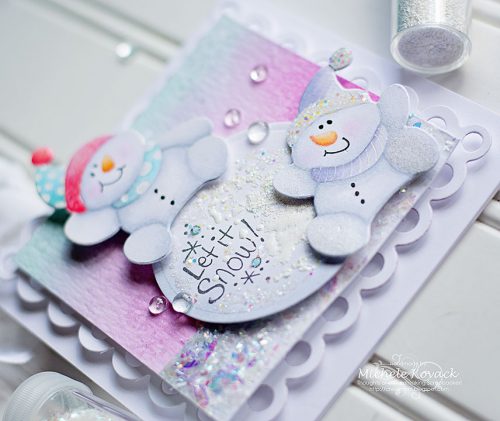
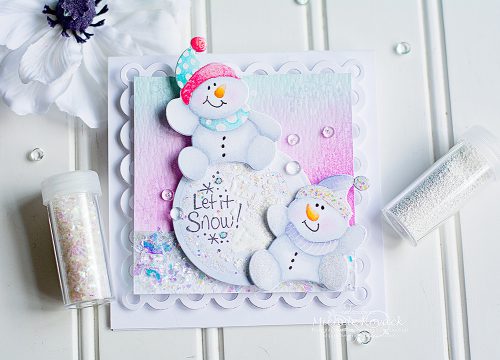
Hello, crafty friends! Super excited to be hopping with Lawn Fawn today! I absolutely love this little get well set called, On the Mend. It was so cute, I made THREE cards using it!
The first card I did a bit of masking to get my soup bowl to look like it was in front of the Kleenex box. The images were colored using Copic markers. I kept the card fairly simple so I tucked a scalloped paper underneath the image and attached it to the black card using Crafty Foam Tape. For a final touch, I adhered several sequins to the card using Adhesive Dots Mini.

My next card is super simple and super fast! It’s a one layer card using the cute little vase and ladybug designs. First, stamp and mask both of them off so that a polka dot background can be added. Remove the masks and color them with Copic Markers. Add sequins using the Adhesive Dots Mini.
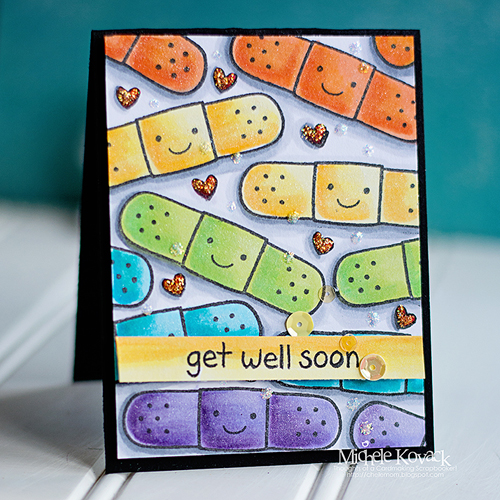
Last but not least, a rainbow Band-Aid card! Because who doesn’t love rainbows and Band-Aids? (I work with 9-year-olds and Band-Aids make EVERYTHING better! LOL!) Stamp the image repeatedly to fill the paper and color with Copic Markers. Adhere the card to the black cardstock using Crafty Foam Tape. Stamp the sentiment and pop it up using the Crafty Foam Tape. Once again, adhere the sequins using Adhesive Dots Mini. Find Michele’s Blog at Thoughts of a Cardmaking Scrapbooker.
Scrapbook Adhesives by 3L®:
Adhesive Dots Mini
Crafty Foam Tape
Lawn Fawn®:
On the Mend Stamp Set
Other:
Sequins; Copic Markers; Misti Tool
Contest Details:
If you missed our other blog hop posts, visit here:
Day 4, click: Lawn Fawn Blog Hop and Giveaway – Day 4!
Day 3, click: Lawn Fawn Blog Hop and Giveaway – Day 3!
Day 2, click: Lawn Fawn Blog Hop and Giveaway – Day 2!
Day 1, click: Lawn Fawn Blog Hop and Giveaway – Day 1!
Hop over to our friends at Lawn Fawn by clicking:
Lawn Fawn Blog Hop and Giveaway – Day 5!
Blog Hop Prize Details
Enter to win through the Rafflecopter App. Comments are monitored and will take time to publish. A winner will be randomly picked. International entries are welcome.
a Rafflecopter giveaway
If you cannot see the comment section (at the bottom of this post), please click: Lawn Fawn Blog Hop and Giveaway – Day 5 and scroll down to the bottom of the post.
Visit our Website and Blog!
Sign up for our Newsletter so you never miss a contest or giveaway!