Hello! AJ here to share how you can use your Dodz Adhesive Dots anywhere in your home, including helping with your home decor projects.
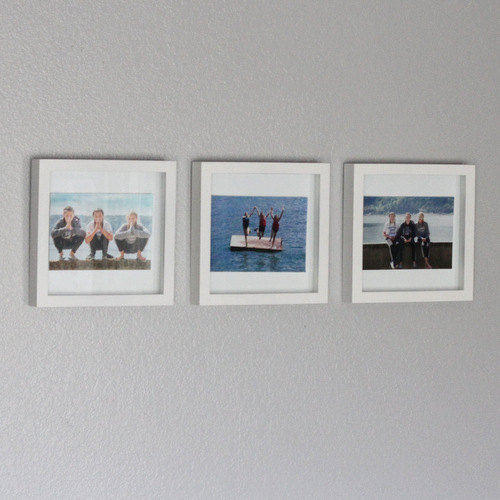
My daughter recently turned 13, and with that came the need for a room refresh. She has been asking for pictures of her friends to hang on her walls, so we did just that.
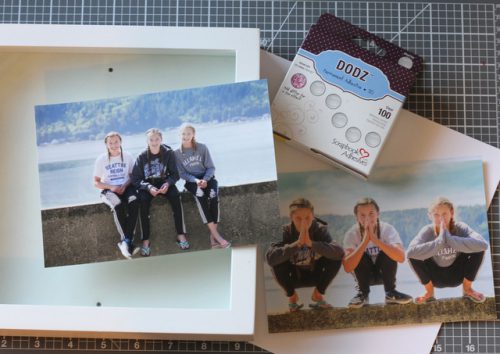
I got these shadow boxes on clearance a while back and while the pictures aren’t square, I opted to use them for these prints anyways.
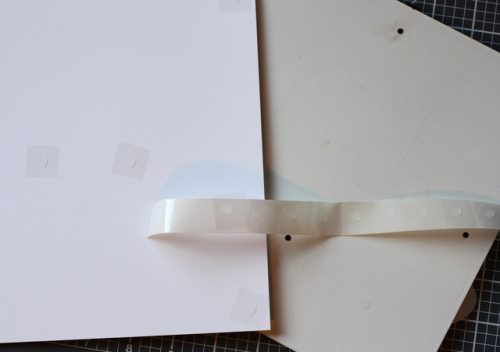
As you can see, the back has black dots where the hardware is attached that can be seen through the glass, so I had to cover each one with a piece of white cardstock. I used the Dodz Adhesive Dots Small here.
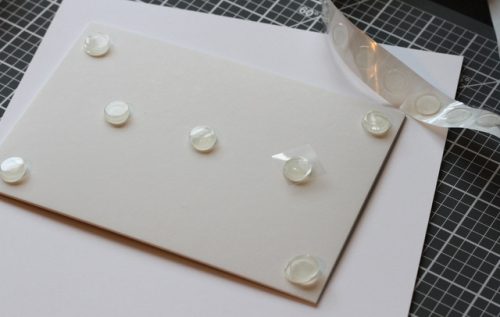
I thought the look of a floating picture would be fun to try, so I used the Dodz Adhesive Dots 3D and doubled them up.
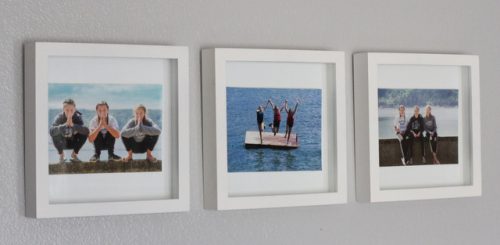
Here’s a close up of the final three all hung on her wall. Sorry for the side angle shot, best way to avoid glare and reflection on the pictures. You can easily swap the pics out with new ones, and or make them seasonal as well.
Enjoy!
AJ
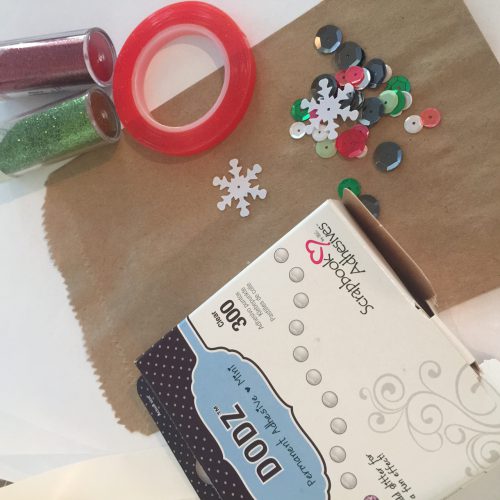
Products used:
Scrapbook Adhesives by 3L®:
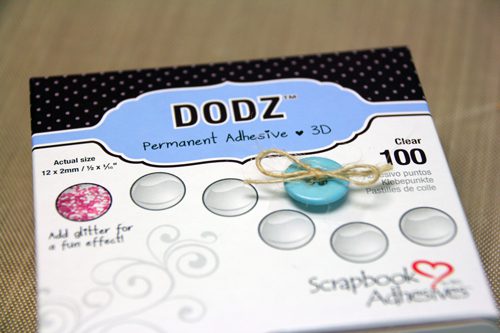
Dodz Adhesive Dots 3D
Dodz Adhesive Dots Small
Other:
Pictures; Cardstock; Shadow Box Frames
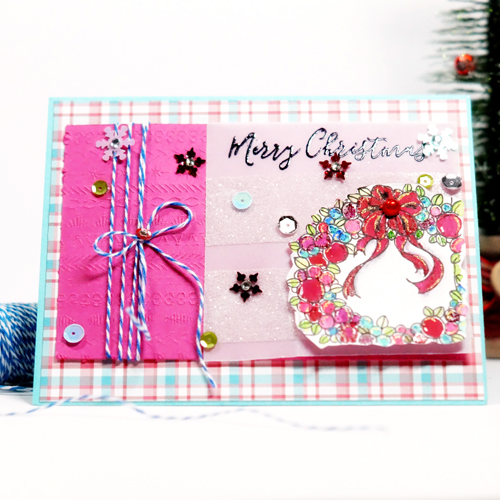


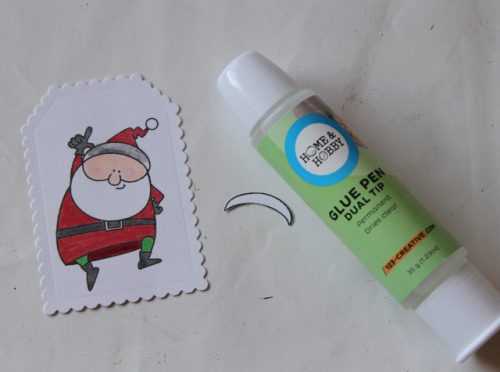
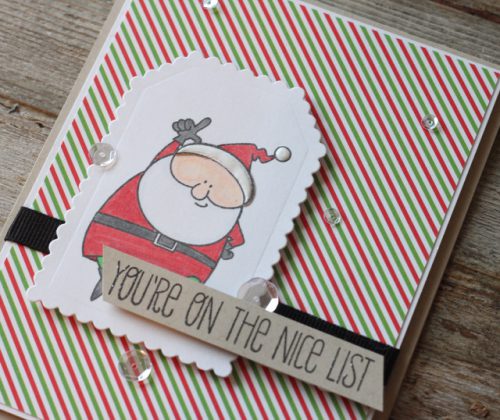
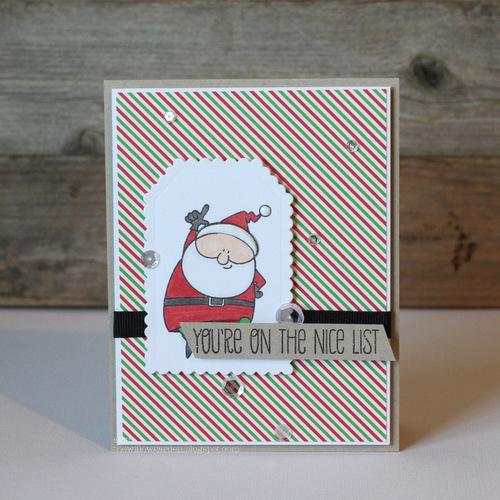 I love the little happy Santa, and am sure the recipient who is on the nice list will also.
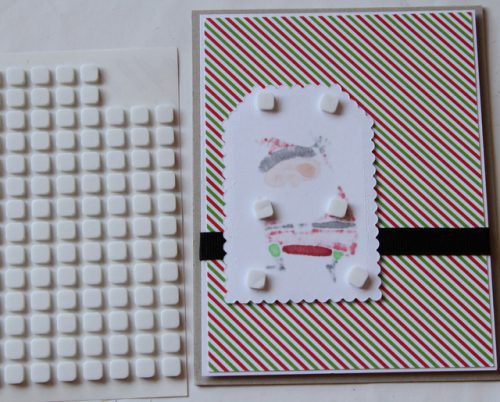