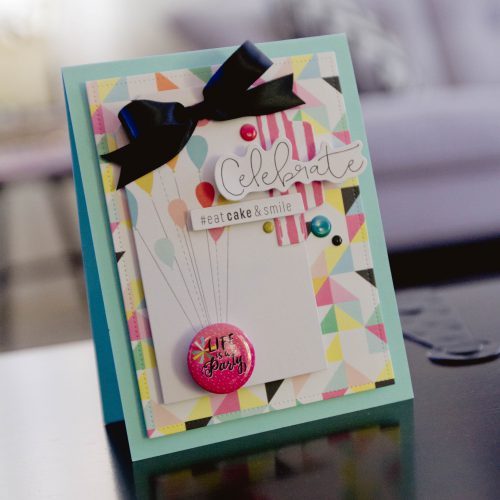
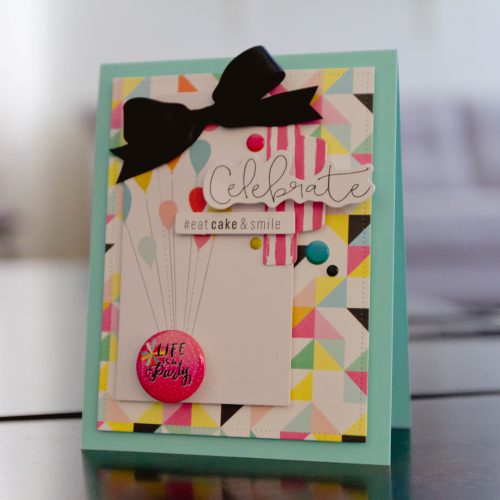
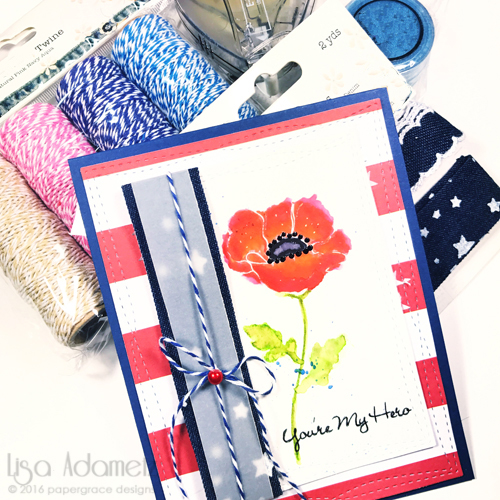
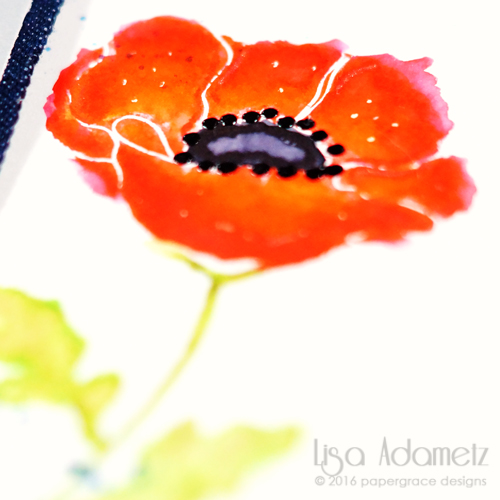
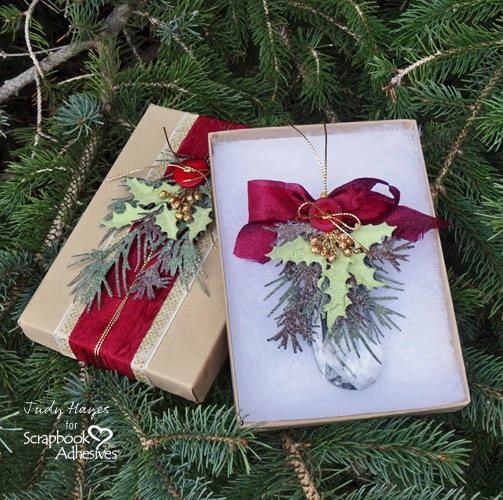
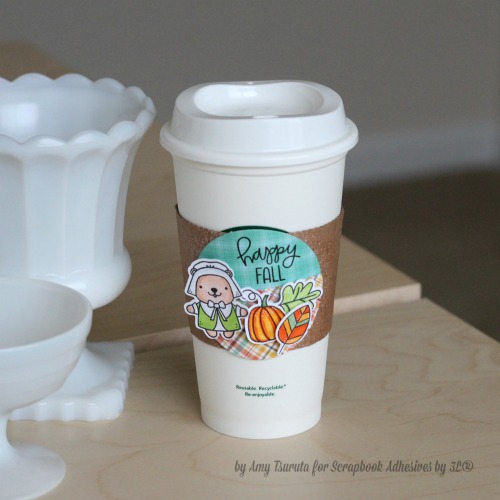
Hey, it’s Amy here and if you’ve been following me for a time, you’ll know that I love coffee. I love to drink it and love any/all coffee themed projects! This fun project uses one of the Starbucks reusable cups that they sell – just add foam adhesives for dimension and interest. This would make for a great gift, perhaps as a hostess gift filled with a coffee gift card, chocolate, you name it.
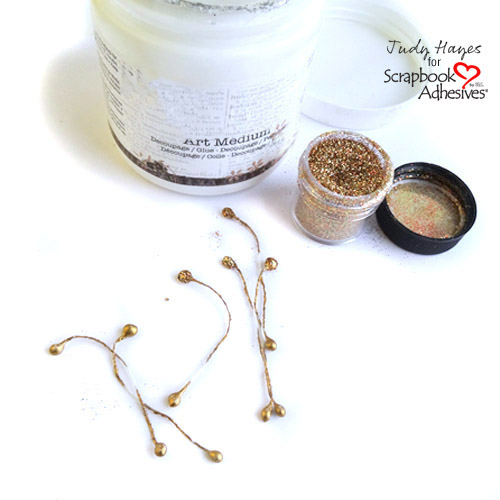
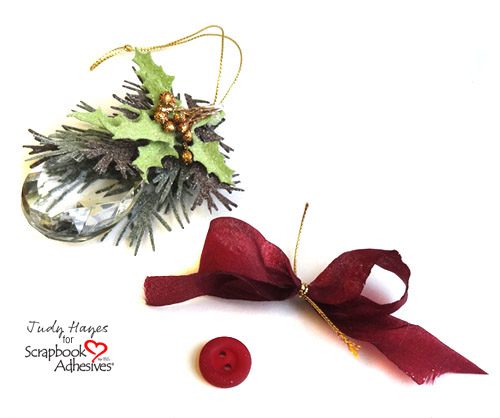
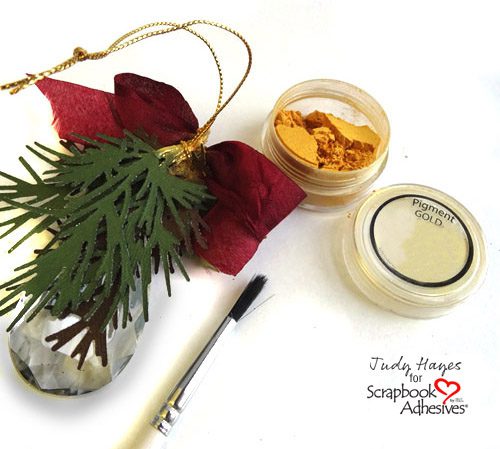
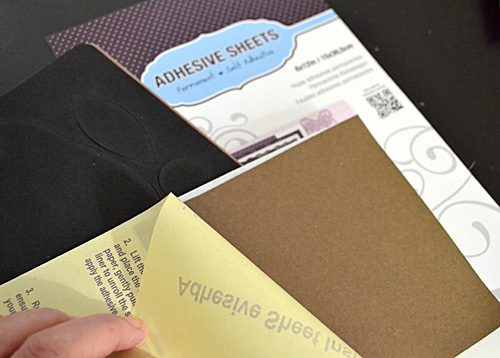
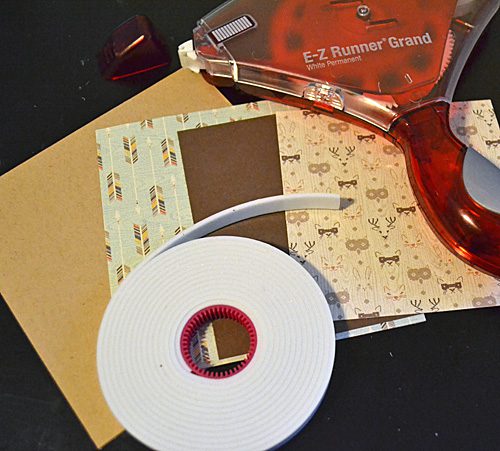
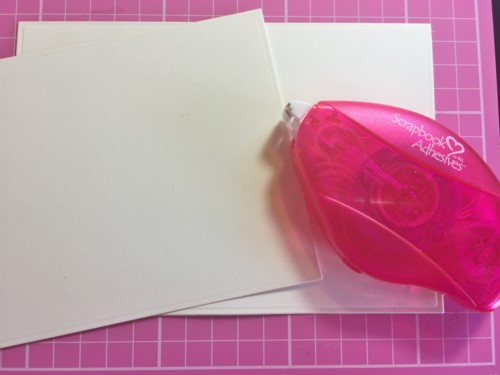
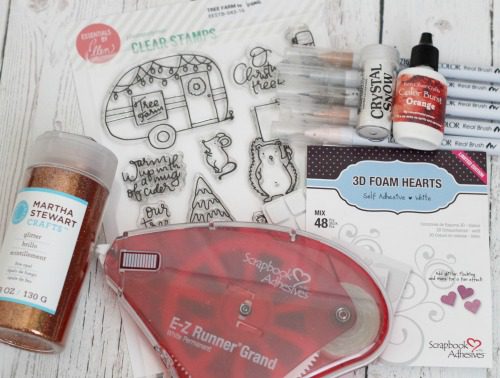
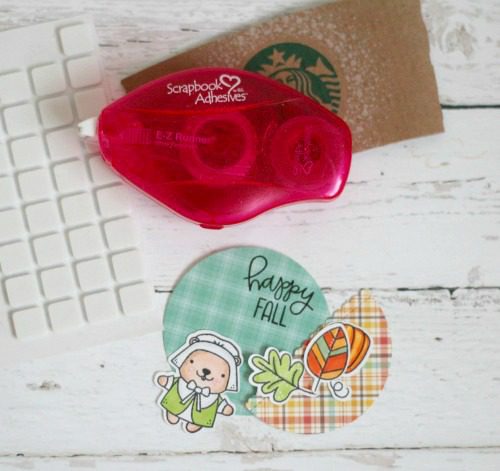
Here’s a peek at some of my supplies:

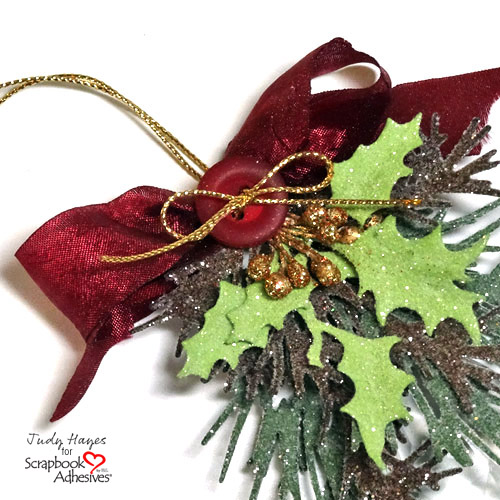
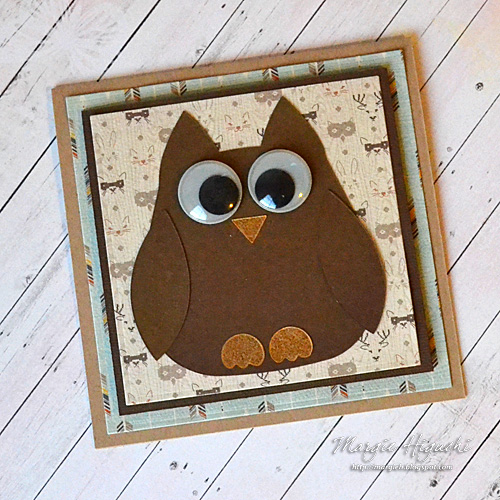
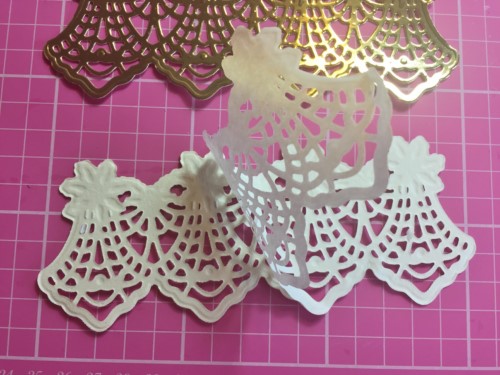
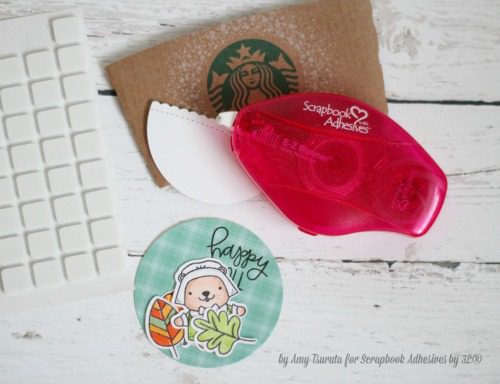
Here’s a look at the pieces that I colored and die cut for my project.
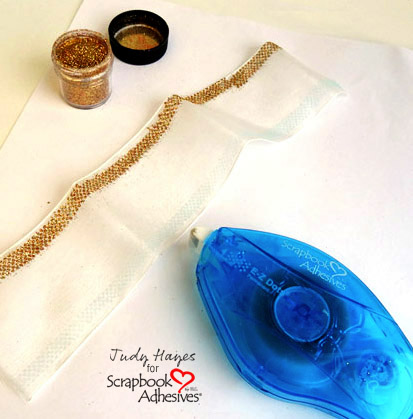
I used E-Z Runner® Permanent Strips Refillable on my landscape piece for the circle panel.
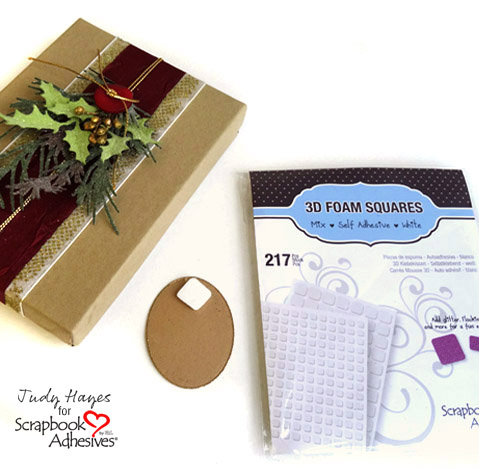
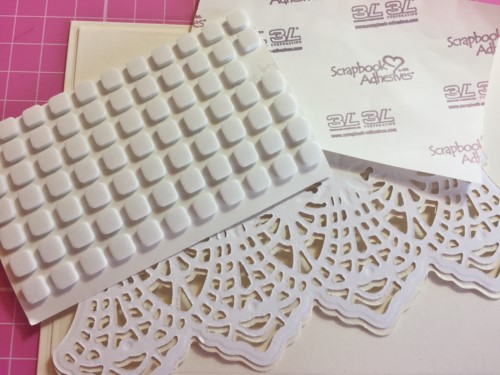
I’m such a fan of the 3D Foam Squares – White Mix…I used those to adhere all my images to the circular panel.
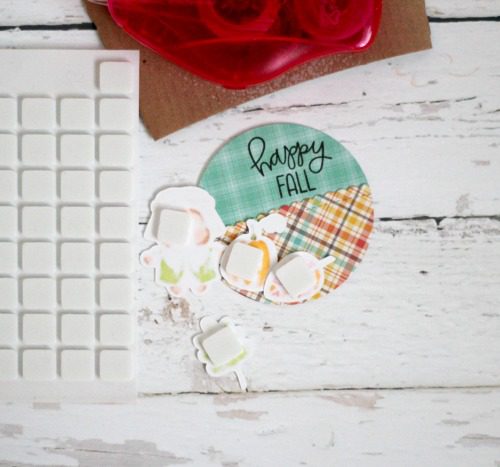
With the 3D Foam Squares – White Mix it gives the project the perfect amount of visual interest, don’t you agree?

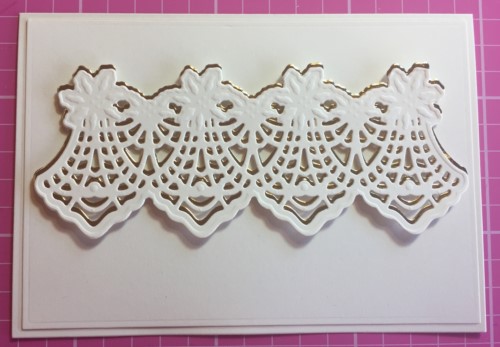
A combo of E-Z Runner® Permanent Strips Refillable and Extreme Double-Sided Tape 1/4″ Permanent on the back of the circular panel will hold it to the coffee sleeve.

Thanks so much for stoppin’ by!
Amy
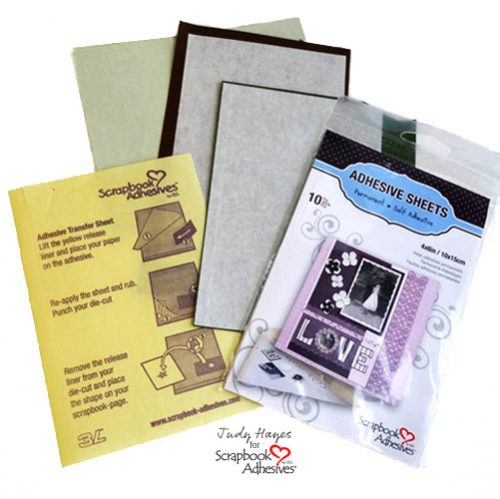
SUPPLIES
Scrapbook Adhesives by 3L®:
E-Z Runner® Permanent Strips Refillable
3D Foam Squares – White Mix
Extreme Double-Sided Tape 1/4″ Permanent
Other products:
Paper: Lawn Fawn; Stamps: Pretty Pink Posh; Ink: Memento, Copics; Dies: Pretty Pink Posh, Spellbinders