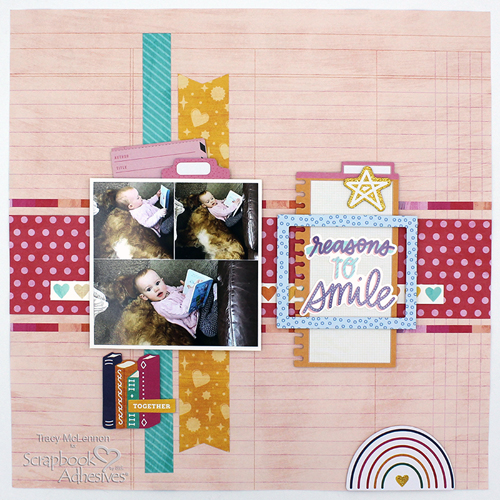
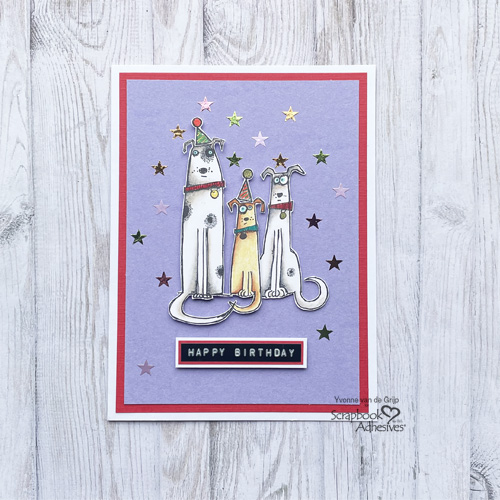
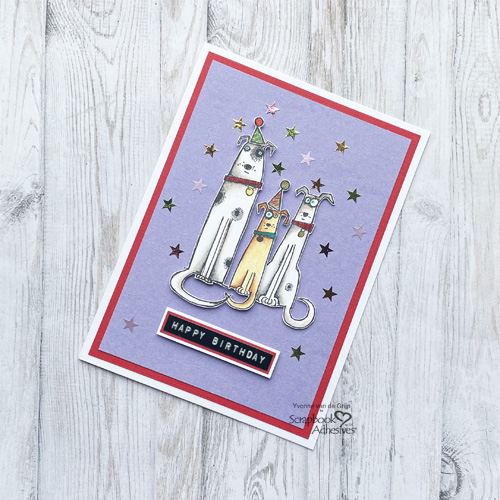
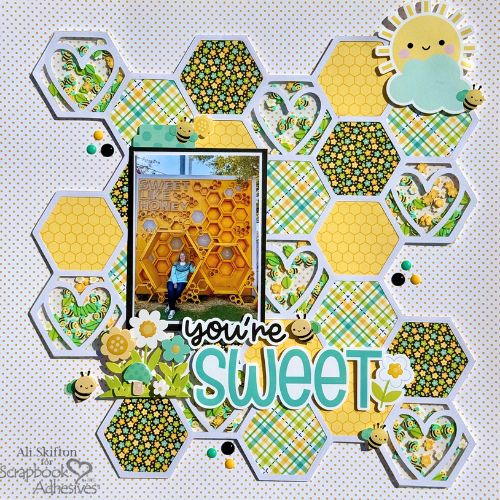
Hello, friends! Ali here today, and I’m buzzing with excitement to share a You’re Sweet Layout I created as part of the design team! 🐝
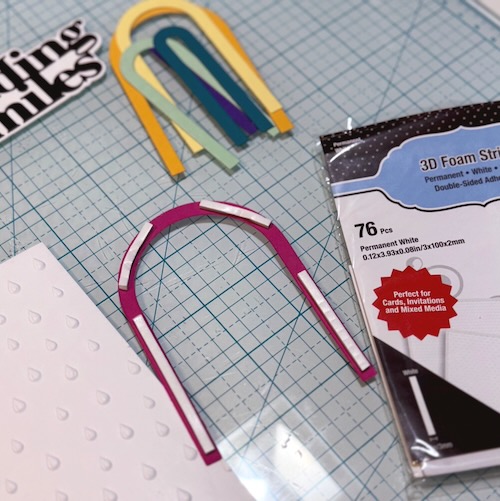
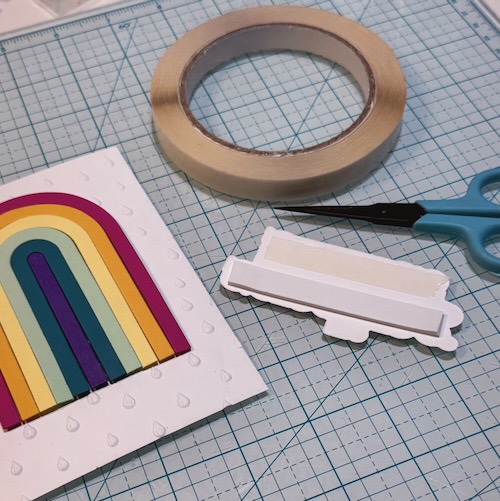
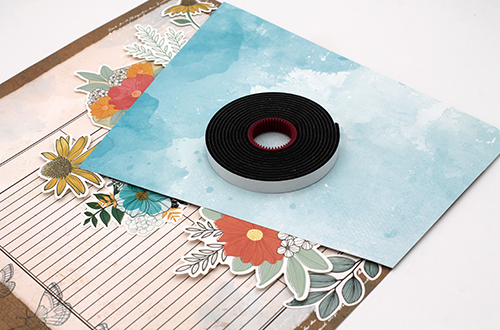
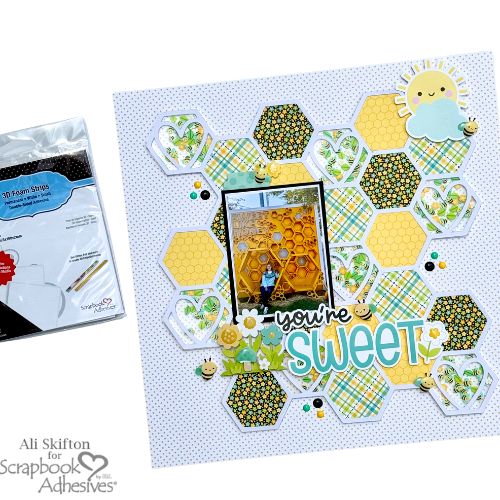
This project was such a joy to make, especially with the help of those amazing 3D Foam Strips — seriously, they are a game changer! No need to cut down a bulky roll—they’re the perfect width right out of the package, making them ideal for backing thin cut files and turning them into fabulous shaker elements.
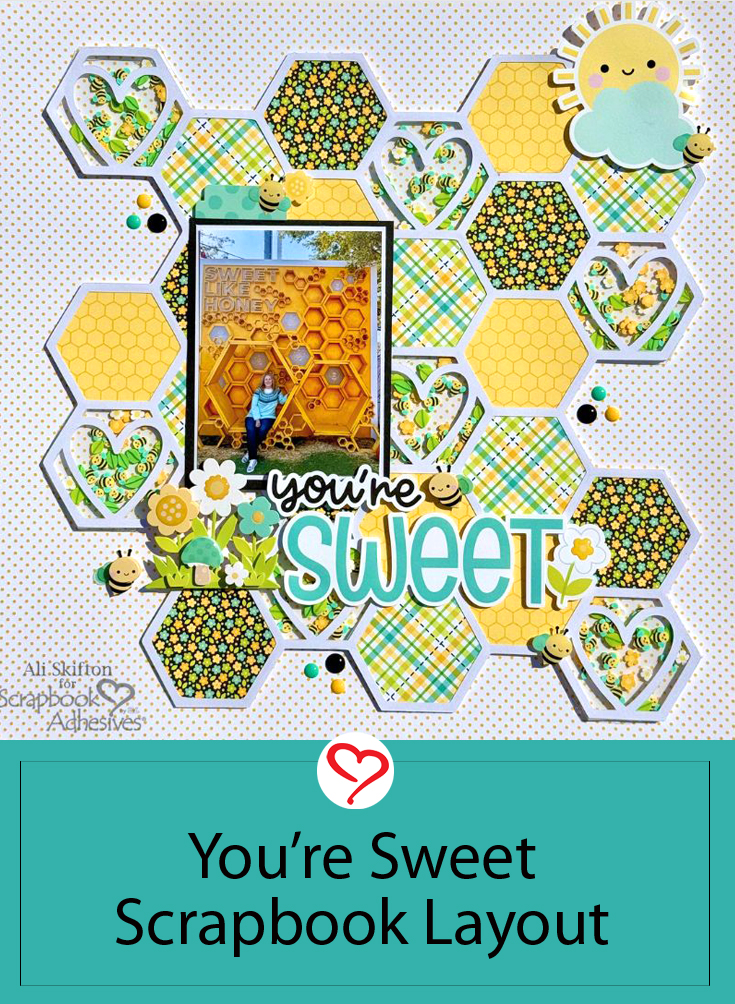
You’re Sweet Layout Background
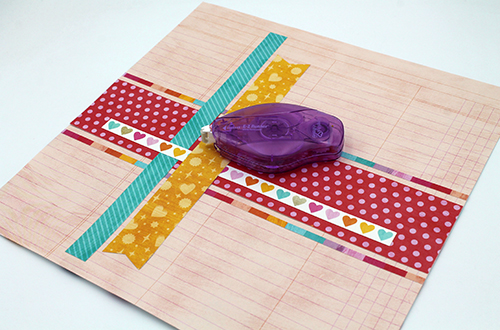
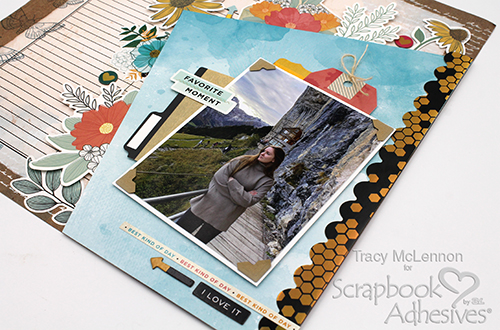
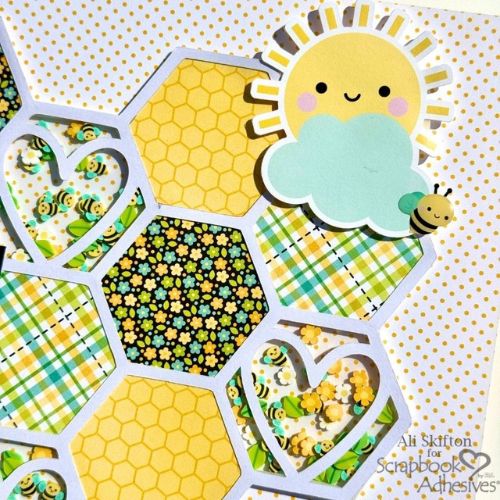
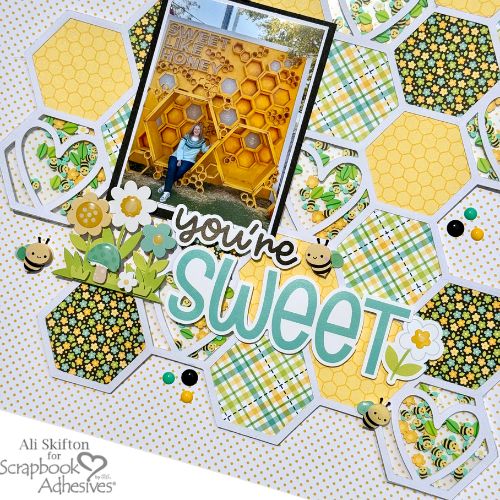
For this page, I used the Bee Happy collection by Doodlebug Design, and it could not have been more perfect. The cheerful yellows and soft blues made the ideal palette to fill my honeycomb cut file. As soon as I saw those adorable Busy Bee shaker embellishments, I knew exactly what I wanted to do—transform those heart-shaped honeycombs into whimsical shaker pockets filled with floating bees!
Design Details
To bring it all to life, I backed the honeycombs with acetate, framed them with the 3D Foam Strips, filled them with the tiny bees, and sealed them up with another acetate layer. Watching those little bees bounce around brings so much fun and movement to the page—I’m totally hooked on making shaker layouts!
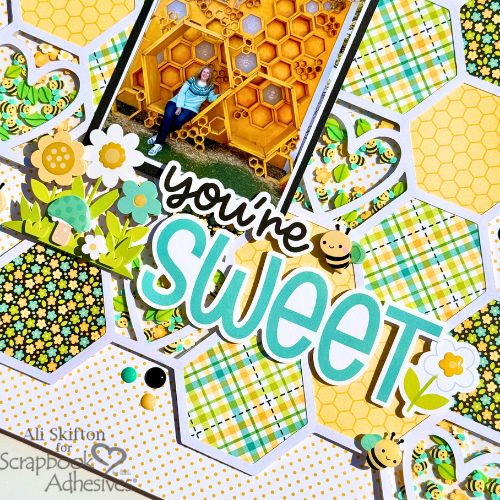
For extra dimension, I popped up the non-shaker parts of the layout with Crafty Foam Tape in White 54ft. The photo I used was taken last fall in Chicago, where I happened to be sitting in a giant honeycomb structure—talk about the perfect photo-to-page match! I love that I can carry the story from the image right into the layout design.
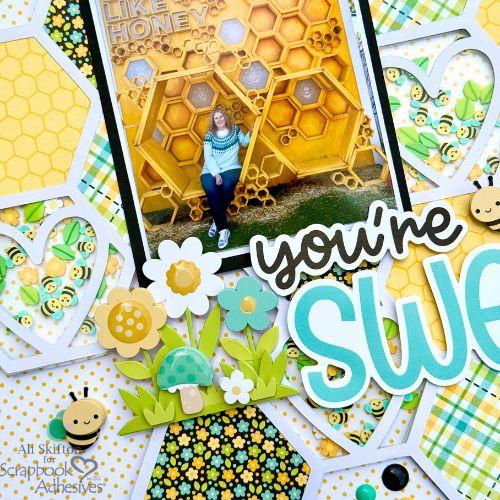
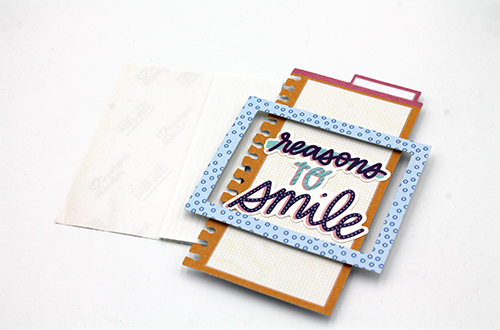
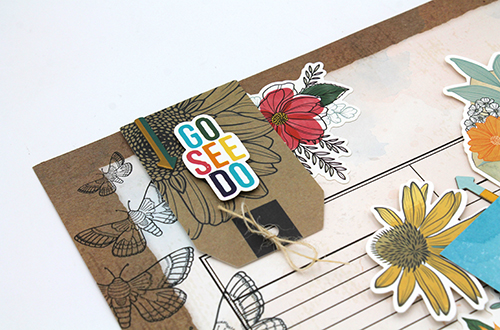
To finish it off, I used 3D Foam Squares White Mix to lift up some ephemera and the title. The layered flowers and bees almost fly off the page! A few enamel dots sprinkled around the honeycomb added the perfect finishing touch.
Thanks so much for stopping by—and I hope you have a sweet and sunny summer! 🍯✨
With crafty love,
Ali Skifton (FunAdventuresWithAli)
Creative Time: 120 mins
Skill Level: Advanced
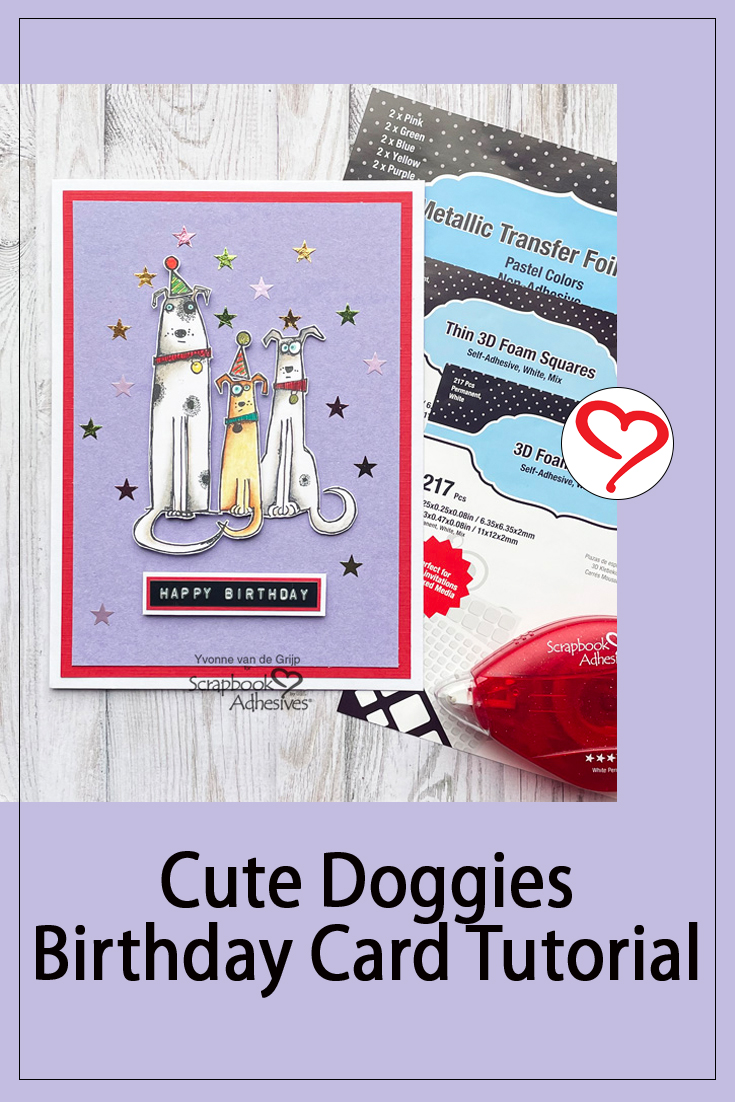
Scrapbook Adhesives by 3L®
Materials Needed:
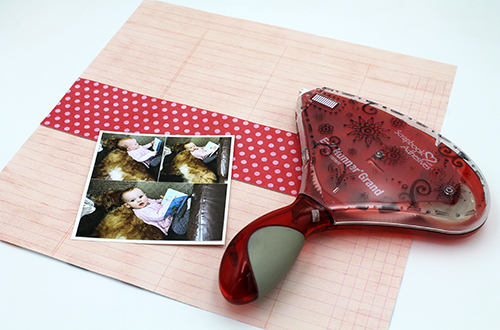
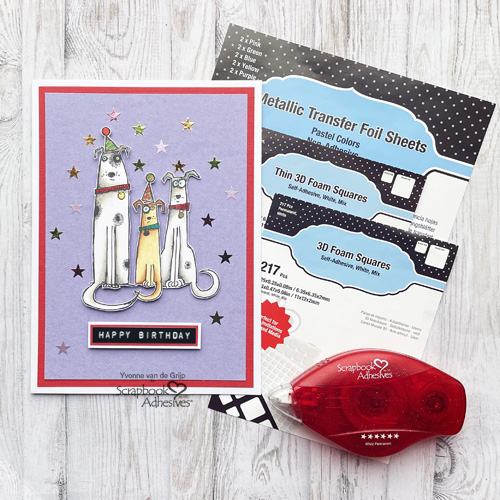
E-Z Runner® Grand Refillable Dispenser
Crafty Foam Tape in White 54ft.
Other: Doodlebug Design Bee Happy Collection
Click Preferred Retailers List
Save to Pinterest!
Visit our Website and Blog!
Sign up for our Newsletter so you never miss a contest or giveaway!