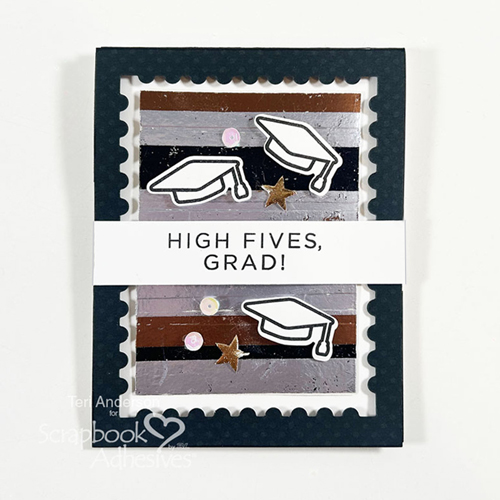
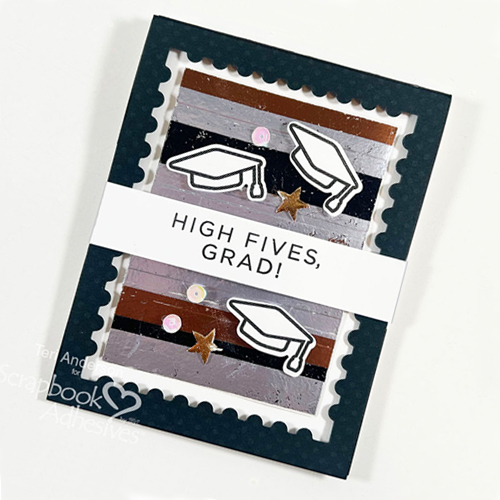
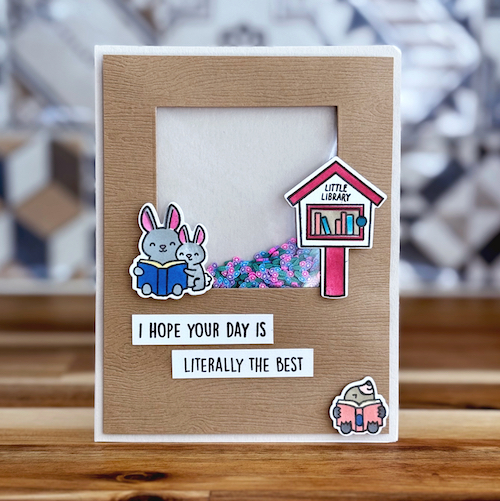
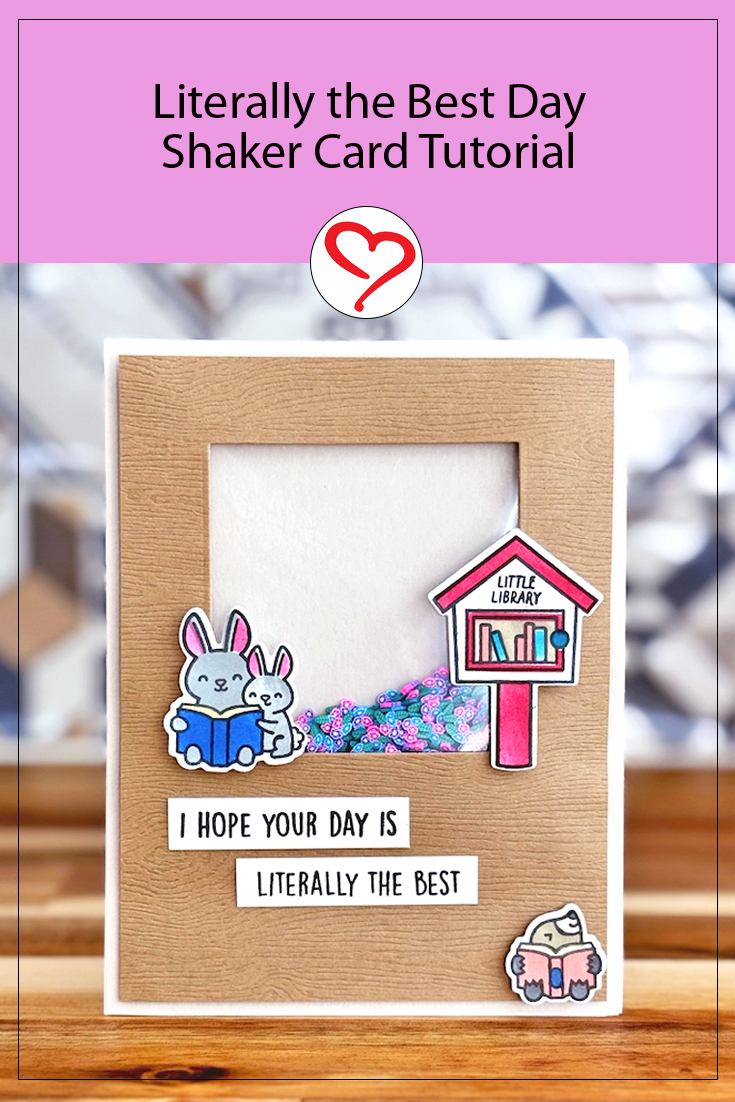
Hi, Jingle here today and I am so excited to share this Literally the Best Day Shaker Card for you. Creating shaker cards is really so much fun, but they can take quite a bit of time and thought, as you have to assemble them ‘just right’. Today I am sharing a simple trick that makes creating a shaker element so simple! You are going to love it!
Literally the Best Day Shaker Card Design
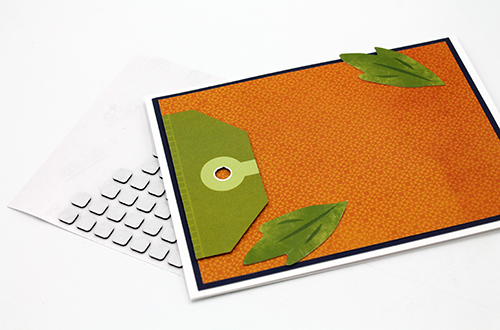
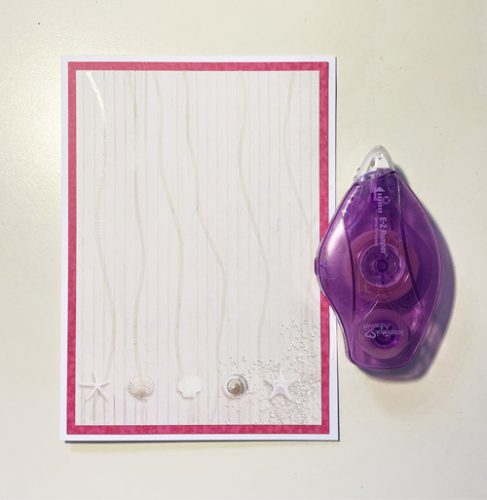
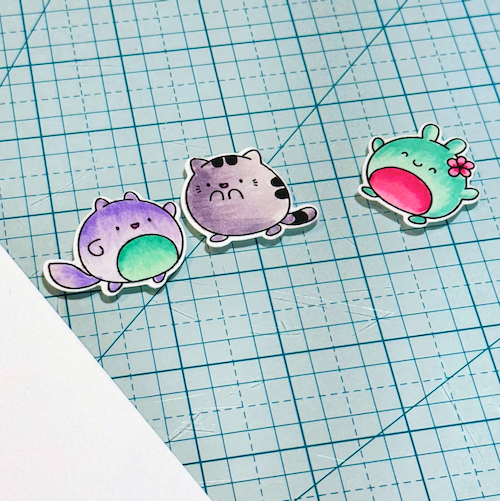
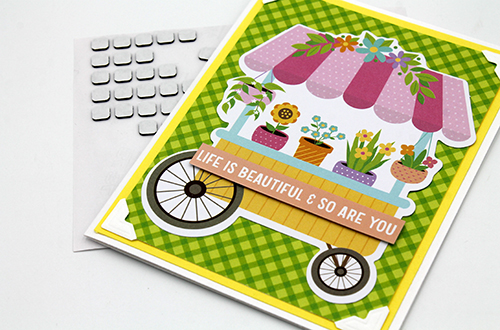
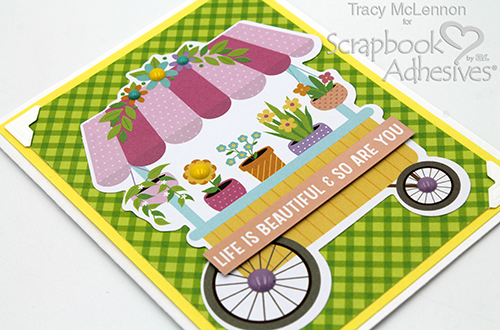
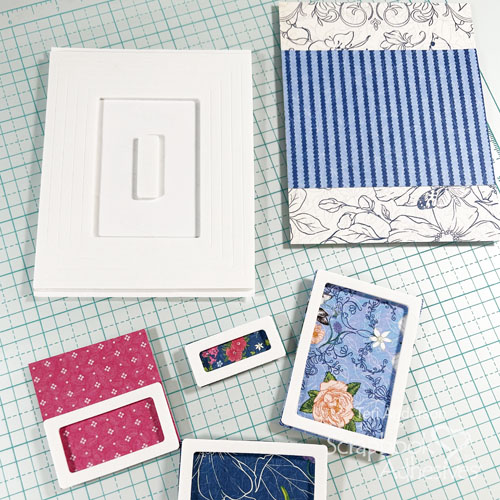
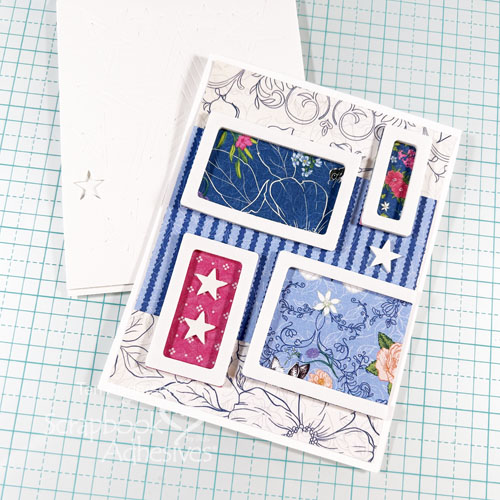
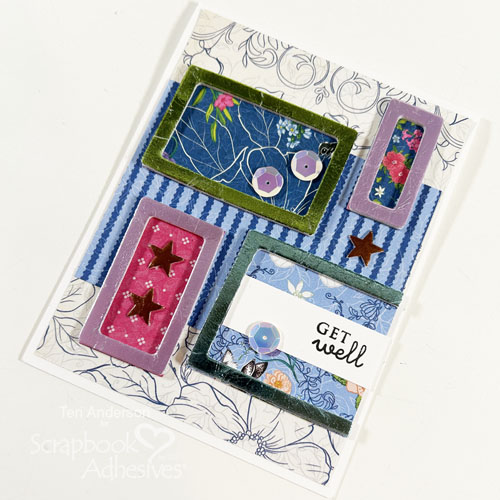
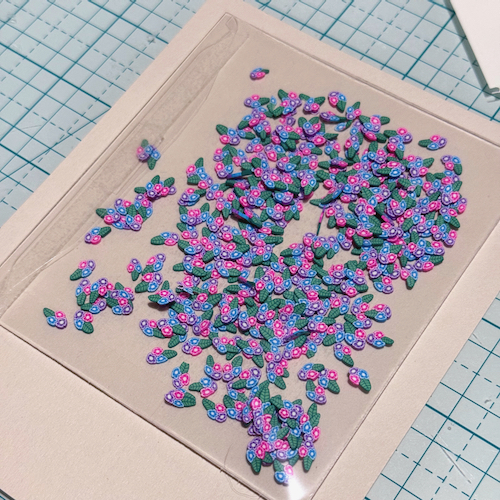
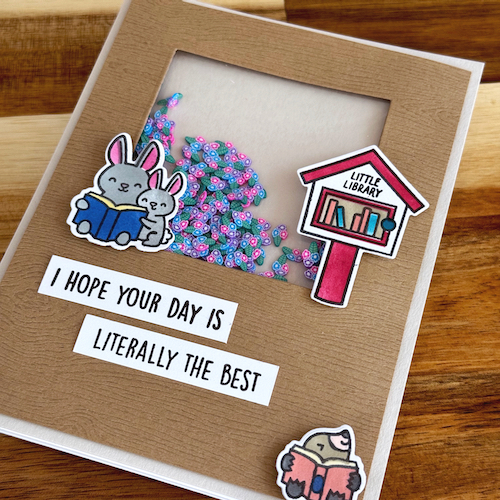
For this card design, I used Lawn Fawn stamps and stencils to create the cute little images. But the real star of the show is the shaker feature. I actually created it using a perfectly sized pocket from the Keepsake Envelopes Mix! Here, let me show you.
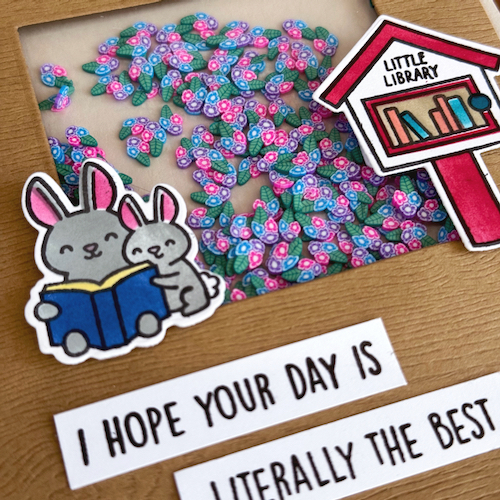
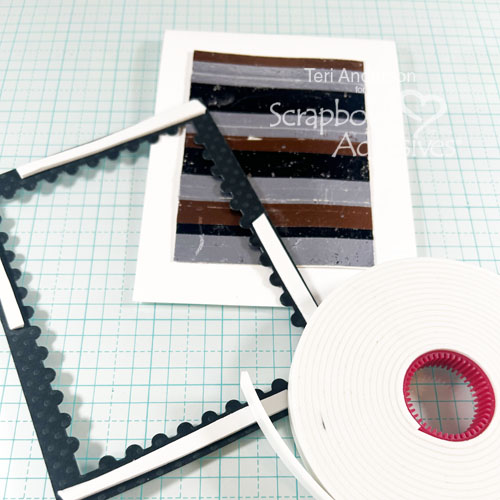
The Shaker Feature
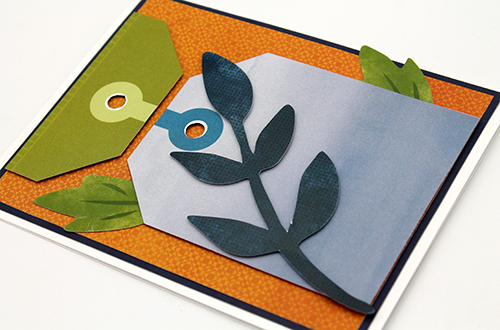
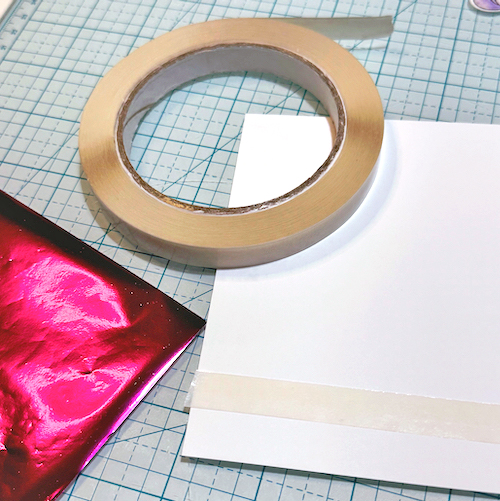
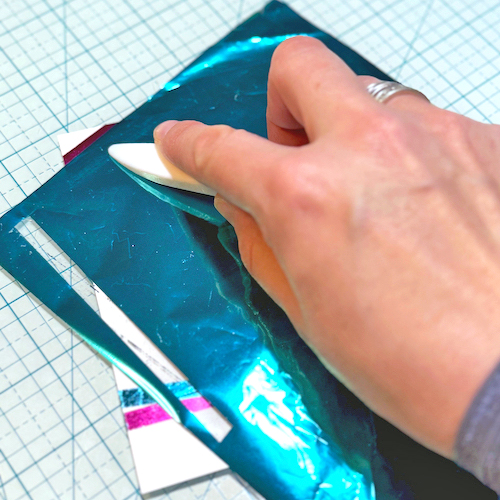
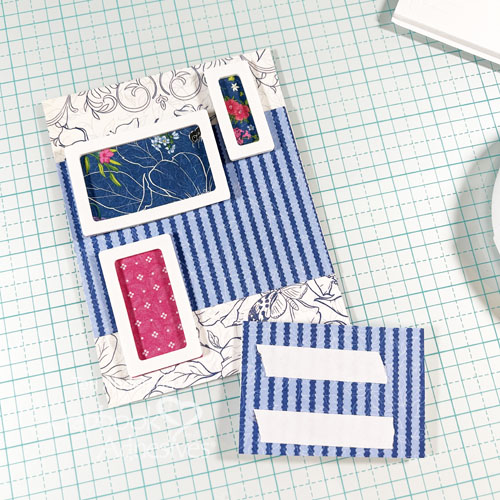
Simply adhere the pocket to the back panel of the card front – they are self-adhesive! Then fill it with my shaker bits! To be sure that the envelope didn’t show in my frame, I trimmed the envelope flap just a bit. The pockets have a small bit of adhesive that allows you to secure the flap. To ensure the pocket is sealed completely and no shaker bits would fall out, I added a strip of Crafty Power Tape Polybag 81ft.
Assembling the Card
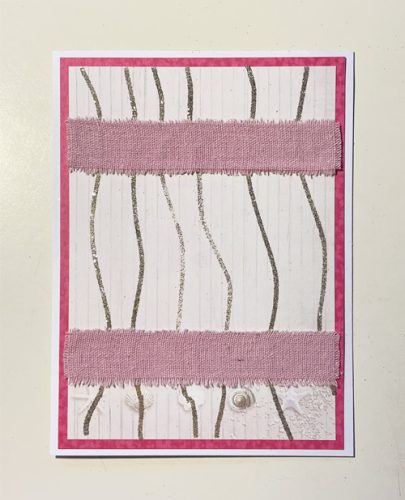
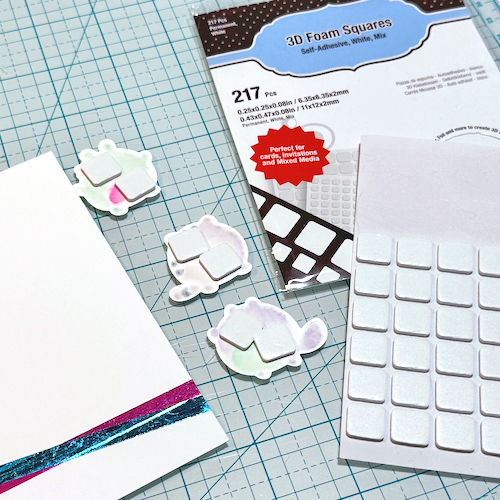
Die-cut a square in my front panel before adding all of the fun design elements to showcase my shaker beautifully! I did raise the frame a bit with Crafty Foam Tape White 108ft. This is the thinner foam tape, which means I could also use 3D Foam Squares White Mix for my design elements without it being too bulky.
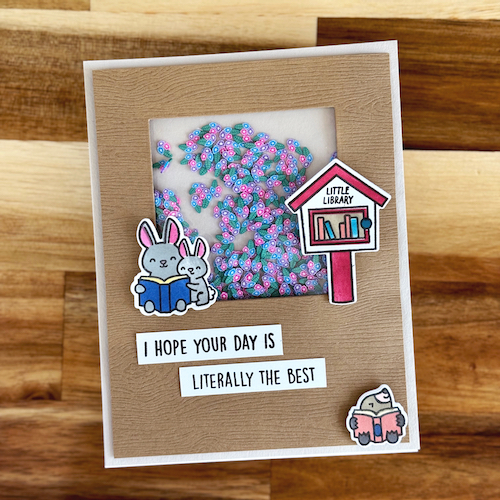
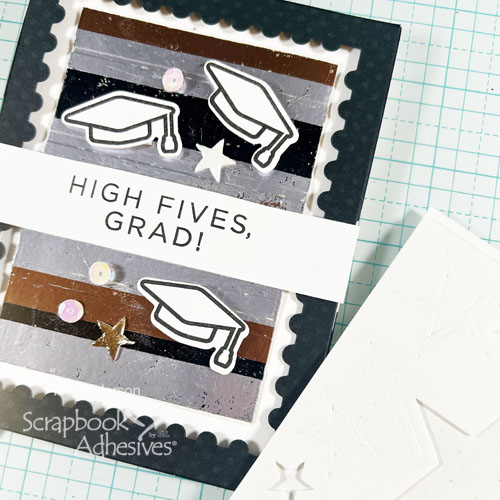
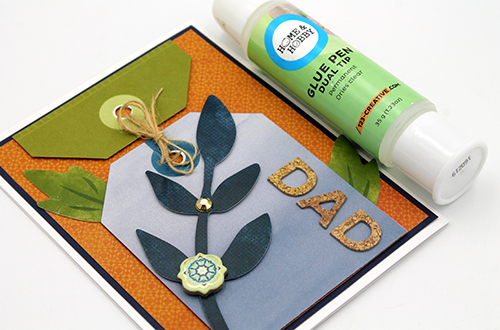
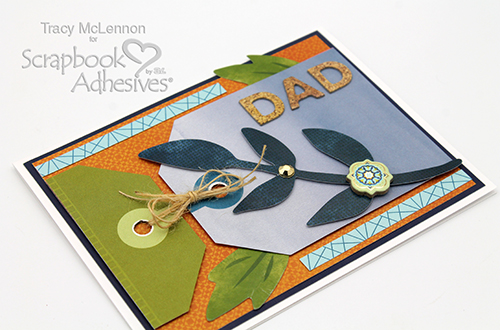
Finally, I adhered the sentiment strips with E-Z Runner® Grand Permanent Dots Refillable Dispenser to ensure they would stay put and then my super fun and super simple shaker was ready to go!
Thanks for stopping by! I hope you give this fun shaker technique a try. I know I will be reaching for my Keepsake Envelopes to create quick and easy shakers a lot more often!
Jennifer Ingle (aka Jingle)
Creative Time: 25 mins
Skill Level: Beginner
Materials Needed:
Scrapbook Adhesives by 3L®
E-Z Runner® Grand Permanent Dots Refillable Dispenser
Crafty Power Tape Polybag 81ft.
Other: Papers: Your Paper Insider (Box 11 – Woodgrain); Stamps, Stencils, and Craft Dies: Lawn Fawn (Little Woodland Library); Ink: Concord & 9th; Tan and White Cardstock
Click Preferred Retailers List
Save to Pinterest!
Visit our Website and Blog!
Sign up for our Newsletter so you never miss a contest or giveaway!