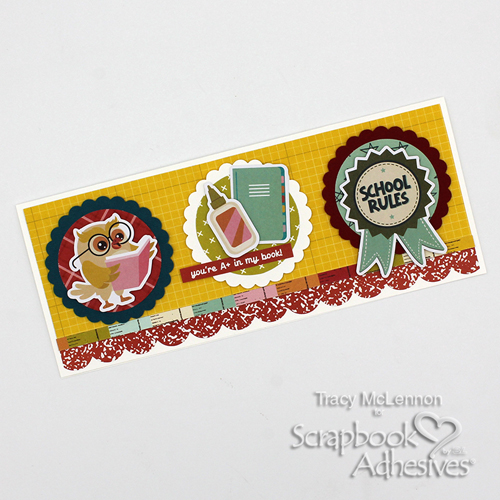
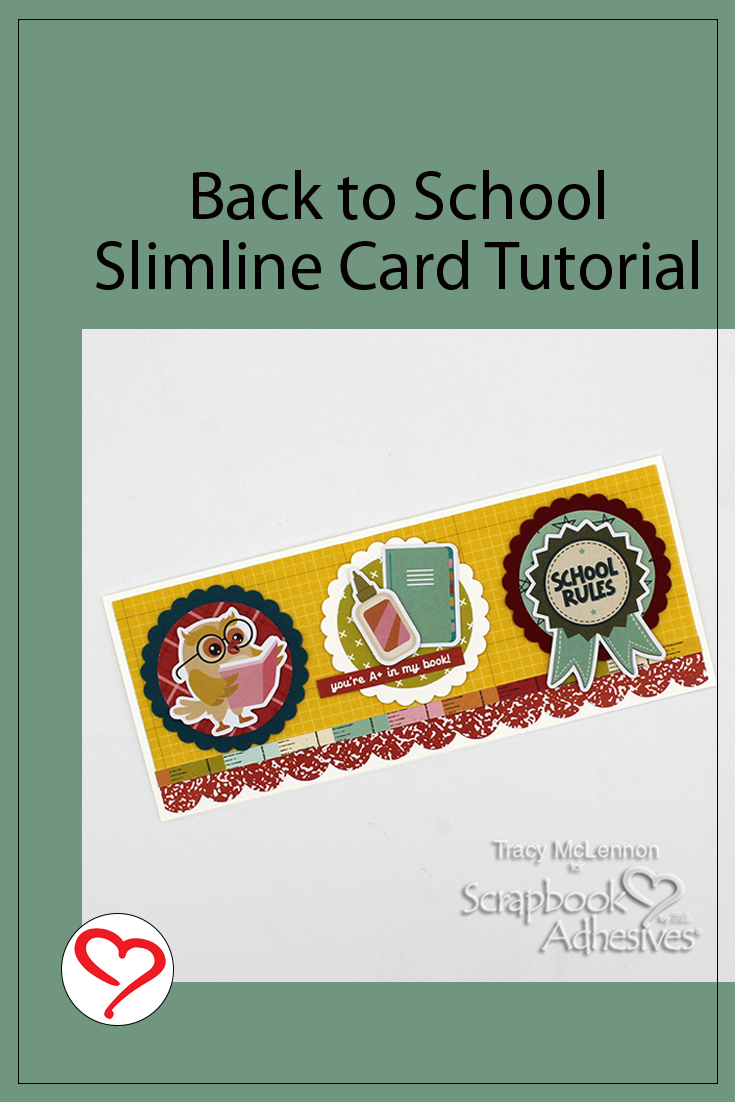
Hello crafty friends! Tracy here, and today I have a fun little teacher-inspired Back to School Slimline Card to share. Here are all of the details.
Back to School Slimline Card Foundation
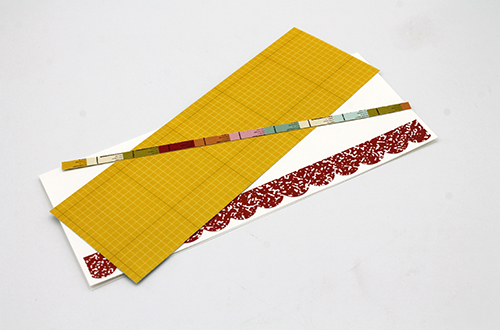
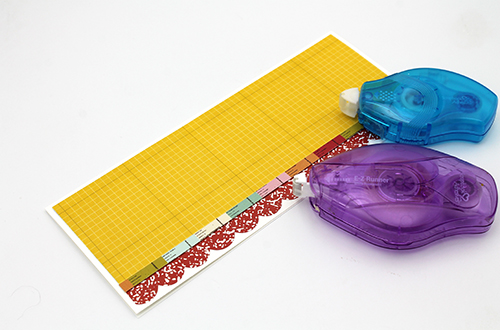
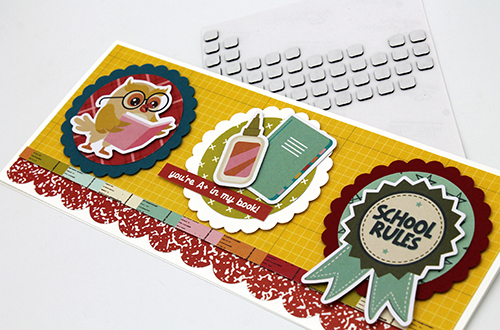
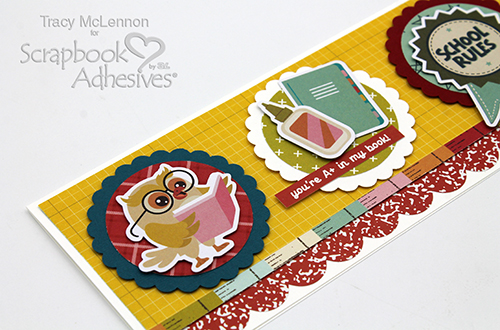
First step is to cut the white cardstock slimline card base. Then I added the border sticker to the bottom edge, and cut the yellow patterned paper and striped strip of patterned paper for this Back to School Card.
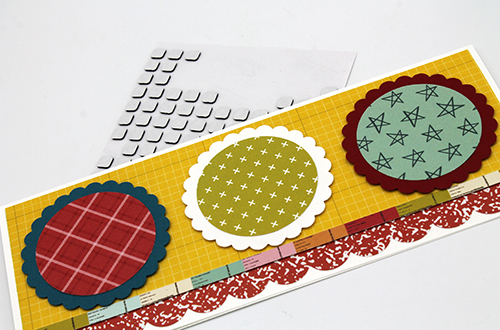
Choose your die cut pieces from the collection to accent your Back to School Card and attach to the layered circles, again using Thin 3D Foam Squares Black Mix. I used a sticker phrase for the card sentiment.
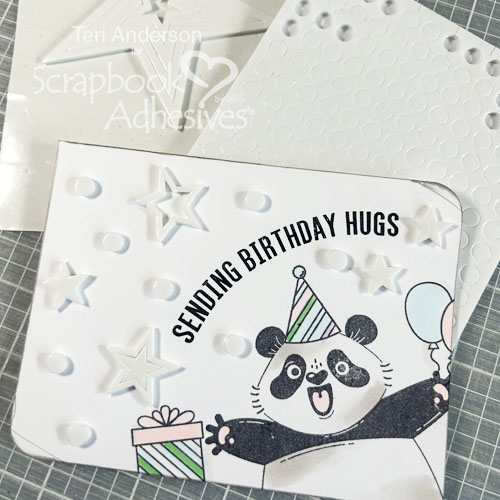
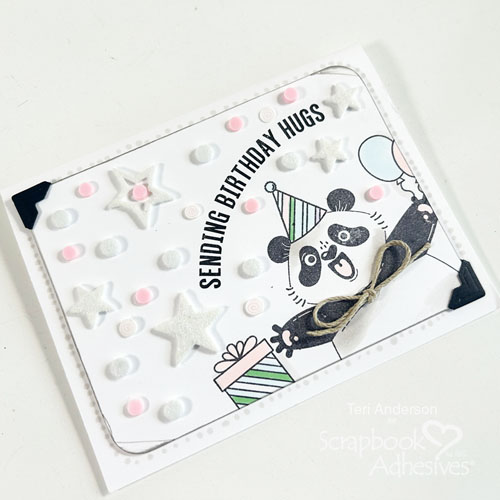
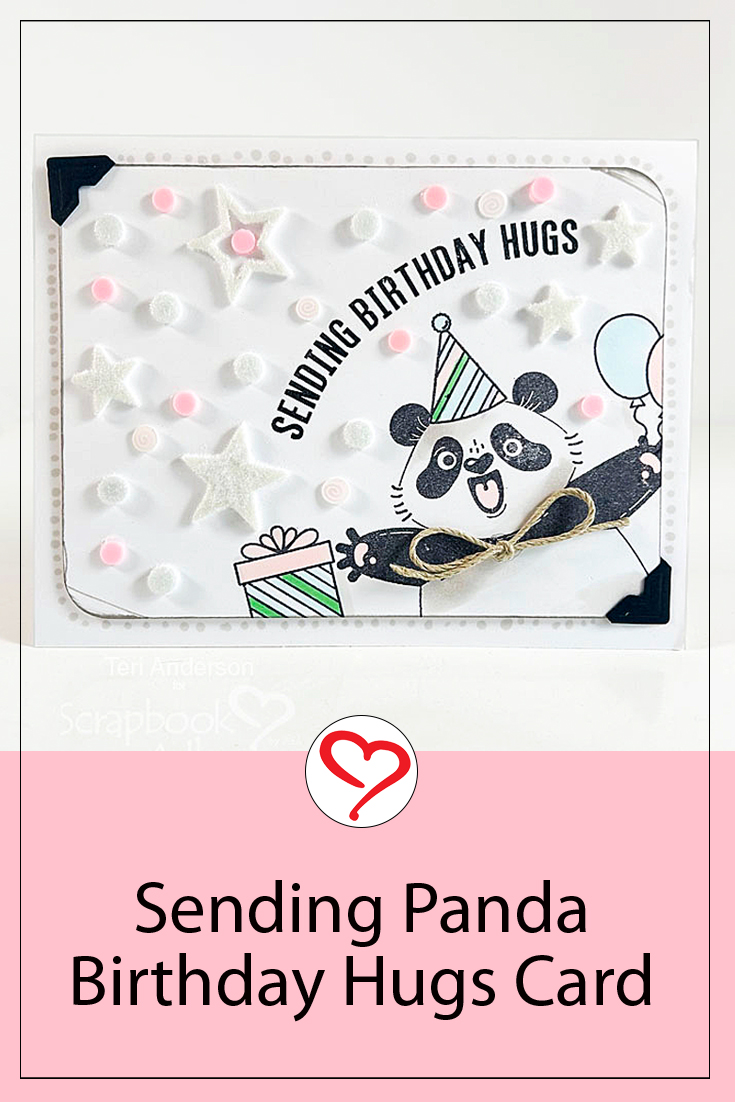
Hi, everyone! Raise your hand if you like to send out handmade birthday cards to your favorite people! Teri here to show you a fun Sending Panda Birthday Hugs Card to make with basic stamping supplies and 3D Foam Shapes from Scrapbook Adhesives by 3L.
Stamp a Birthday Scene
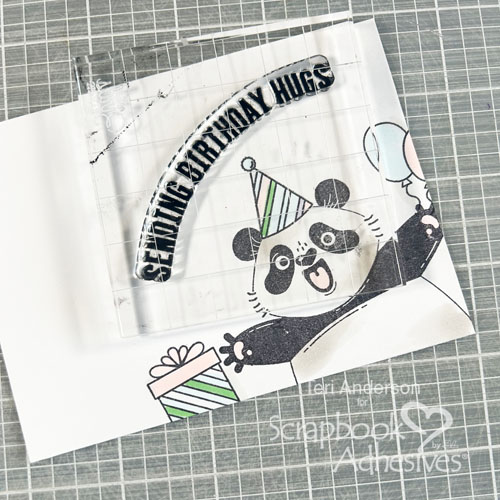
Start by cutting a panel of white cardstock and stamping a few birthday images in the corner and a birthday sentiment. If you are using a clear stamp, consider bending the stamp as you put it on the block to curve it over the stamped images. Color the images in with markers.
Build a Background with 3D Foam Shapes
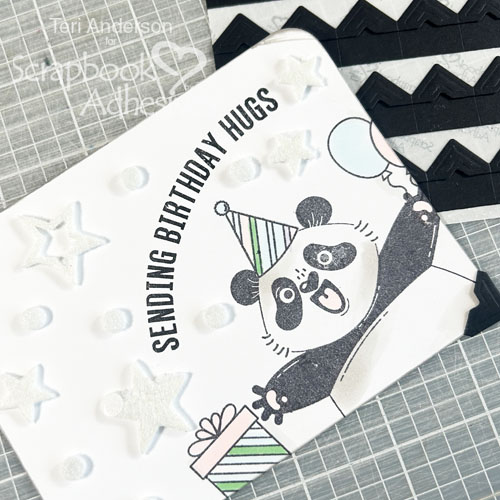
Take a corner rounder and round two corners. Randomly place a combination of the smaller sizes of the 3D Foam Stars and 3D Foam Circles onto the panel. Remove the liner and cover them with flock. Press into the adhesive to secure and tap off excess. Designer’s Tip: Like a little bit of glitz? Then use Metallic Transfer Foil instead.
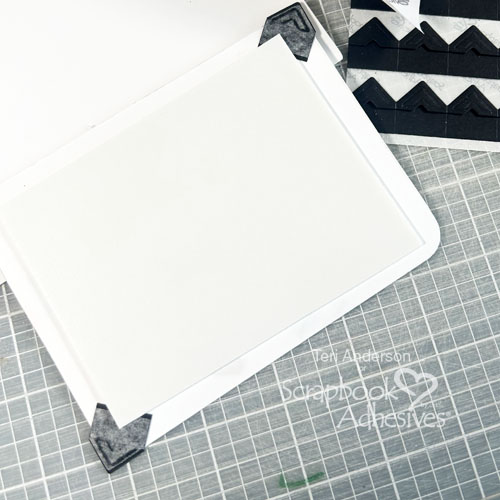
Fill in more of your design by adding some sequins or small clay pieces to it. Use Adhesive Dots Small to secure each one to your panel. Next, add two Creative Photo Corners in Black on two opposite corners. Designer’s Tip: I find it helpful to apply a bit of E-Z Runner® Petite Permanent Dots on the back of the corners before adding the photo corners.
Add Some Finishing Touches
This panel might be a little bulky. Rather than using strips of Crafty Foam Tape to anchor it to a card, use a 3D Foam Creative Sheet instead. Simply cut the sheet down to fit your panel.
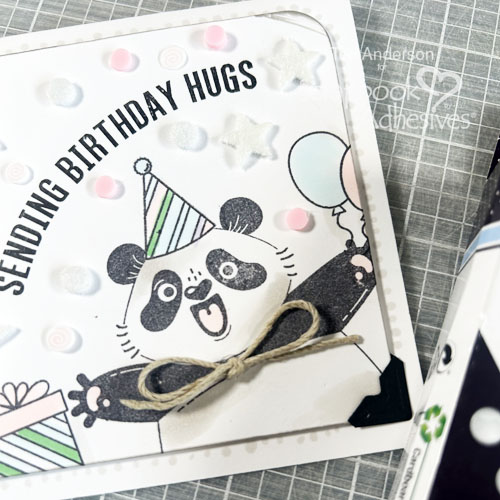
Finish your card by adding some dots or stitch marks around the panel with a marker. Add a cute twine bow to your critter with an Adhesive Dot to secure it in place.
I hope you enjoyed today’s tutorial! I’d love to see the next birthday card you create! Share it with me by leaving a link in the comments.
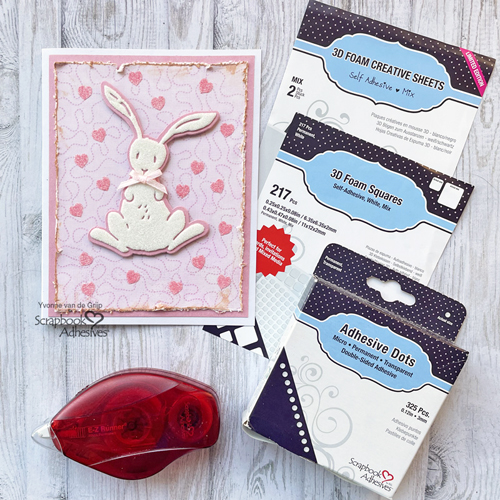
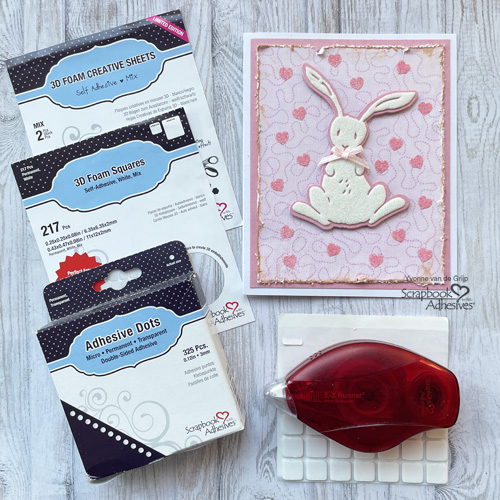
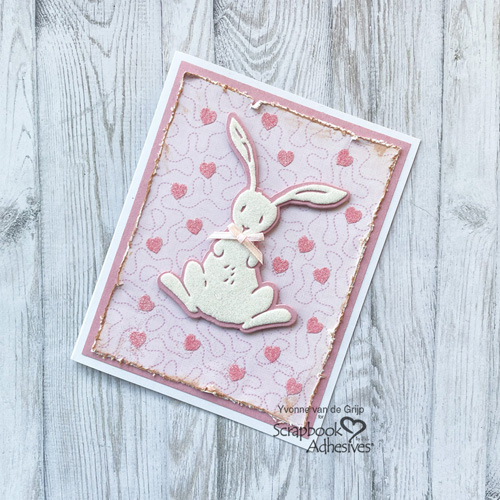
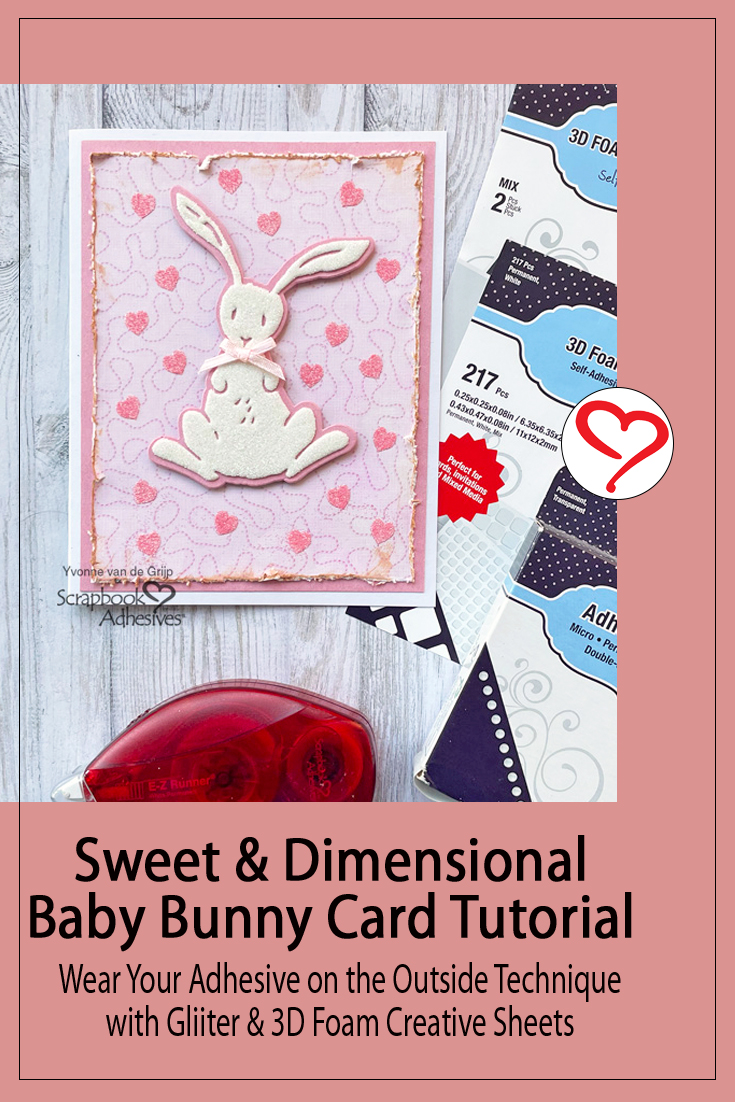
Hi everyone, Yvonne here with a cute Baby Bunny Card. For my card, I chose girlie pink. Simply changing the color, you can fit the color theme of your choice 🙂 Sharing my cardmaking process with the Wear Your Adhesive on the Outside technique. Shall we create this card together?
Baby Bunny Card Focal Point
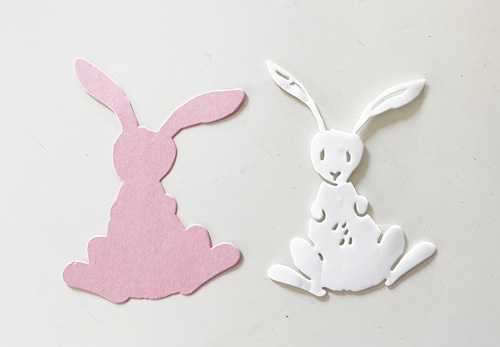
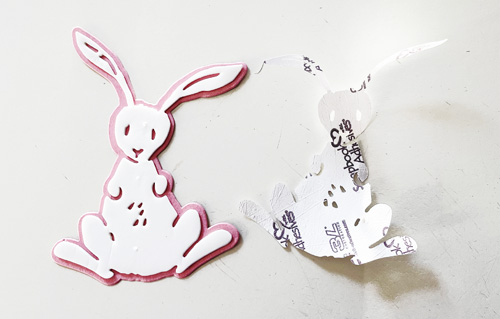
Start by die-cutting the outline layer of the bunny from pink cardstock. Next, die-cut the top bunny layer with a sheet of 3D Foam Creative Sheets Mix. Carefully remove the bunny die-cut from its cutting die. Remove the back liner and adhere it to its pink outline piece.
Now, remove the top liner from the bunny and cover it with white glitter. Secure the glitter by rubbing it into the adhesive, and tap off excess. Make your adhesive shine as an embellishment with this Wear Your Adhesive on the Outside technique!
Baby Bunny Card Base
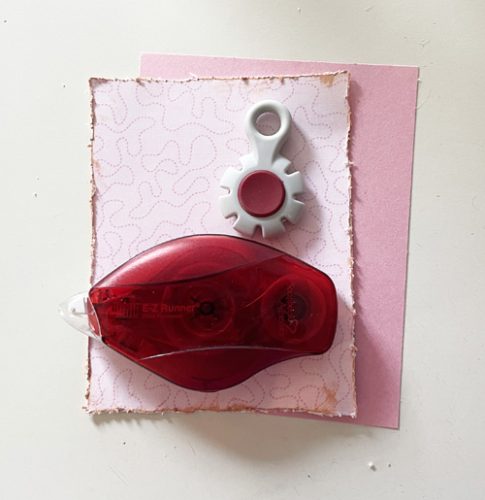
To create the card base by cutting a rectangular card panel from pink patterned cardstock. Use a distressing tool to alter the edges and ink them with brown color to highlight.
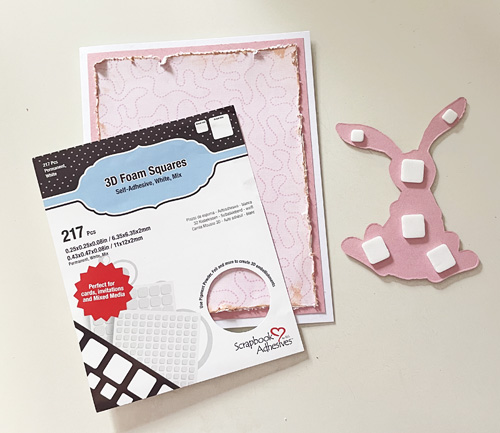
The Bunny is the focal point of the card, so I used 3D Foam Squares White Mix to make it dimensional. Then add a cute little pink bow on the bunny’s neck using Adhesive Dots Micro.
Background Hearts
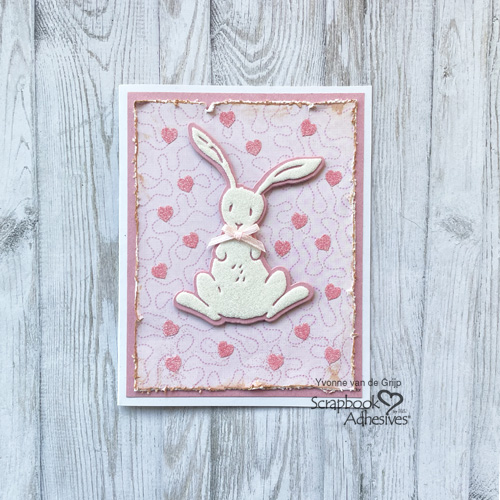
To create an extra cute effect on my card, I used the Wear Your Adhesive on the Outside technique to make a wonderful background! I rolled some E-Z Runner® Hearts Refillable Dispenser all over the panel. Next, I used pink glitter to cover the hearts, rubbed them in to secure, and tapped off the excess.
And voilá, the Baby Bunny Card is ready! I hope you enjoyed this tutorial and wish you happy crafting!
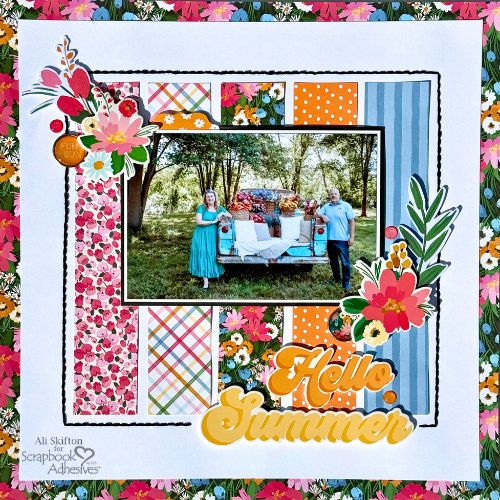
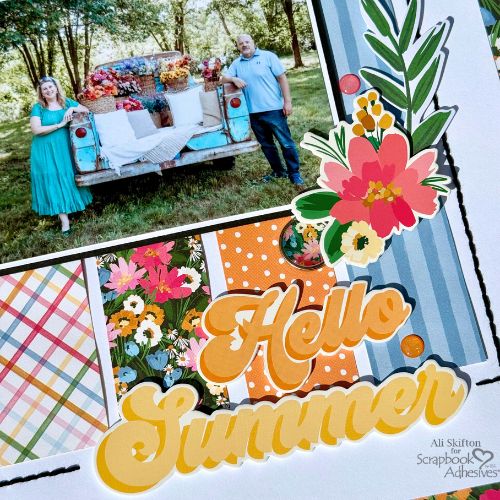
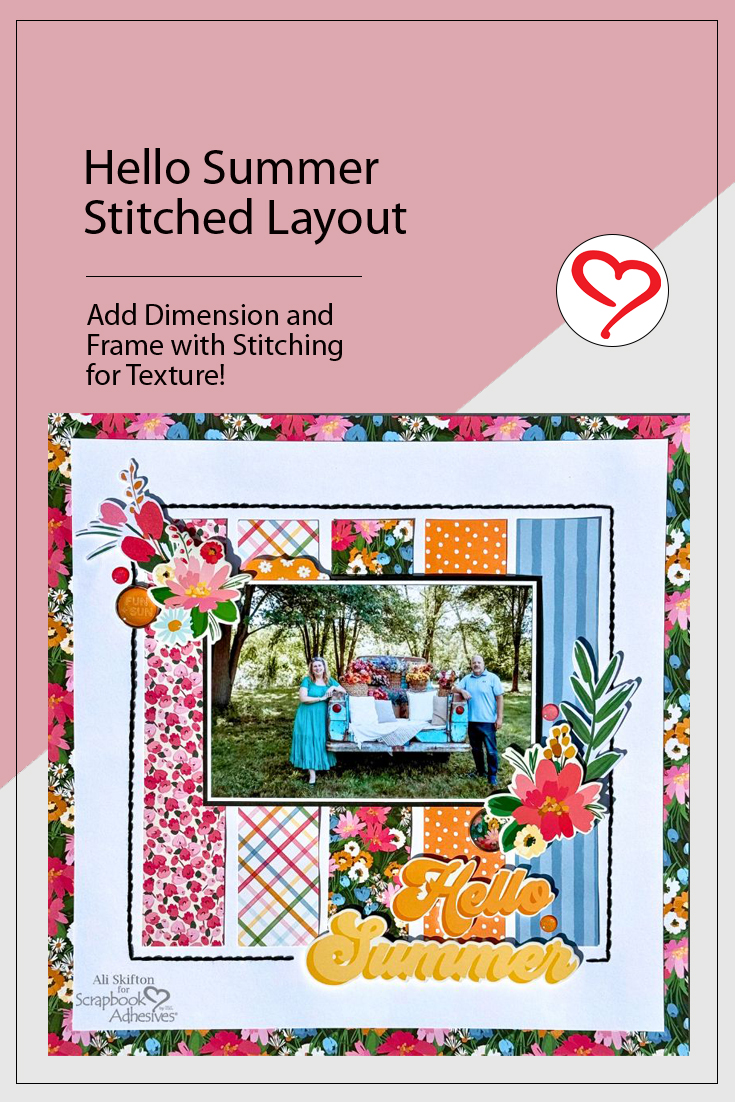
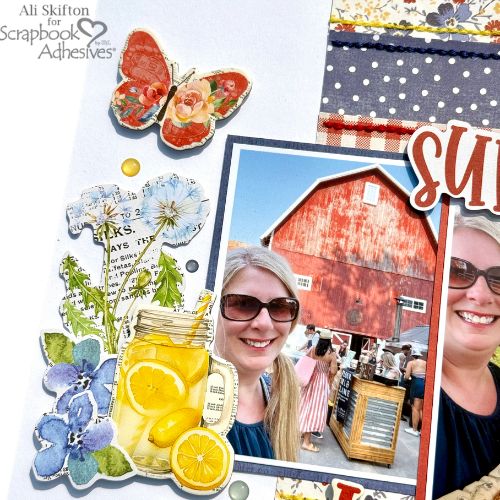
Hi there, crafty friends! It’s Ali (FunAdventuresWithAli) here, and I’m so excited to share another bright and cheerful Hello Summer Stitched Layout with you—this one is extra special because it features one of my go-to crafting tools, the E-Z Runner® Grand Refillable Dispenser from Scrapbook Adhesives by 3L®!
🌸 A Day at the Flower Farm
Jeff and I recently visited the most charming flower farm, and it was the perfect day for making memories—and of course, taking photos! We wandered through rows of vibrant blooms, picked our own bouquet, and even made a new four-legged friend: a curious little pig who seemed very interested in what I was up to. 🐷
There was also an adorable vintage truck filled with fresh flowers (photo op, obviously!) and some friendly chickens roaming around the property. The sun was shining, the sky was clear, and it was another warm summer day that just needed to be documented in my scrapbook.
🧷 Building the Layout with Sunny Days Collection
To bring this memory to life on paper, I reached for the Simple Stories “Sunny Days” collection. The bright colors and cheerful florals were the perfect match for my flower-farm photos.
I started with a white cardstock base and chose five of my favorite patterned papers from the 6×8 paper pad. Using my E-Z Runner® Grand Refillable Dispenser, I evenly spaced and adhered them to the center of the layout. This adhesive glides on so smoothly—it makes designing quick, clean, and easy!
I then matted my main photo with coordinating cardstock and popped it up using Crafty Foam Tape White to give it a little extra dimension and draw the eye to the center of the layout.
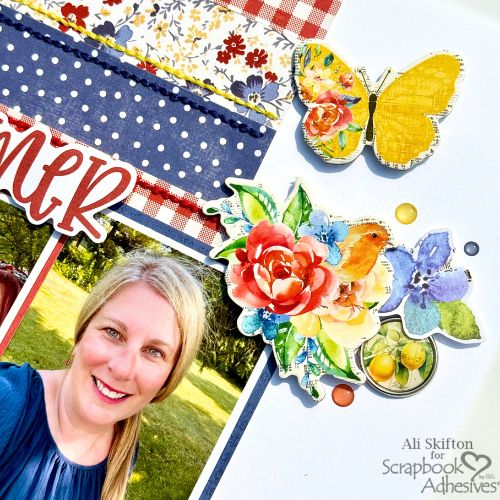
🌼 Embellishments & Finishing Touches
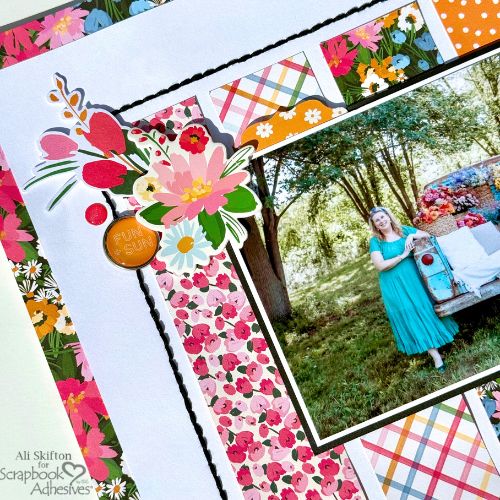
For embellishments, I layered foam flower stickers and floral die cuts from the collection around the photo. To really make them stand out, I used the 3D Foam Squares White Mix behind each element for dimension and shadowing. I even used a foam strip behind the tab at the top of the photo—little details like that make a big difference in how a page feels!
Once everything was in place, I hand-stitched a black border around the patterned paper strips for some texture and contrast. To tie it all together, I matted the entire layout onto a dark floral background paper. I love how the rich tones of the floral print really make the bright summer colors pop!
🌞 Savoring the Last of Summer
Can you believe summer is almost over? There are only a few weeks left of sunny days, warm weather, and outdoor adventures. If you haven’t already, I highly recommend documenting some of your favorite moments before the season slips away. Whether it’s flower farms, beach days, or backyard BBQs, summer memories are just too good to forget.
This layout was such a joy to create, and I hope it inspires you to craft your own summer stories. Let me know if you’ve used the E-Z Runner® Grand Refillable Dispenser before—once you try it, it’s hard to scrapbook without it!
Wishing you happy crafting, lots of sunshine, and maybe one last summer adventure before fall rolls in. 🍂
Hugs & happy crafting, Ali Skifton (FunAdventuresWithAli)
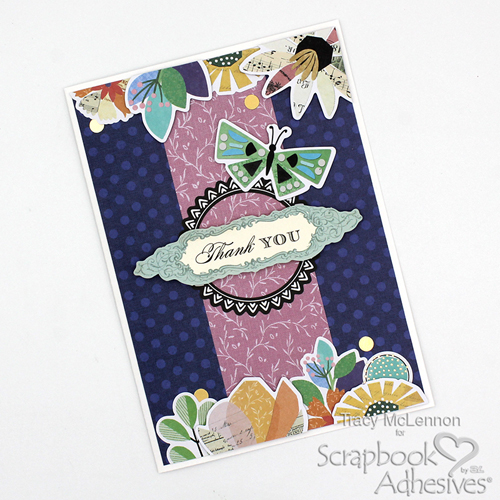
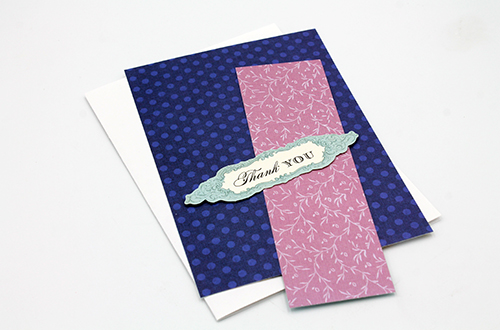
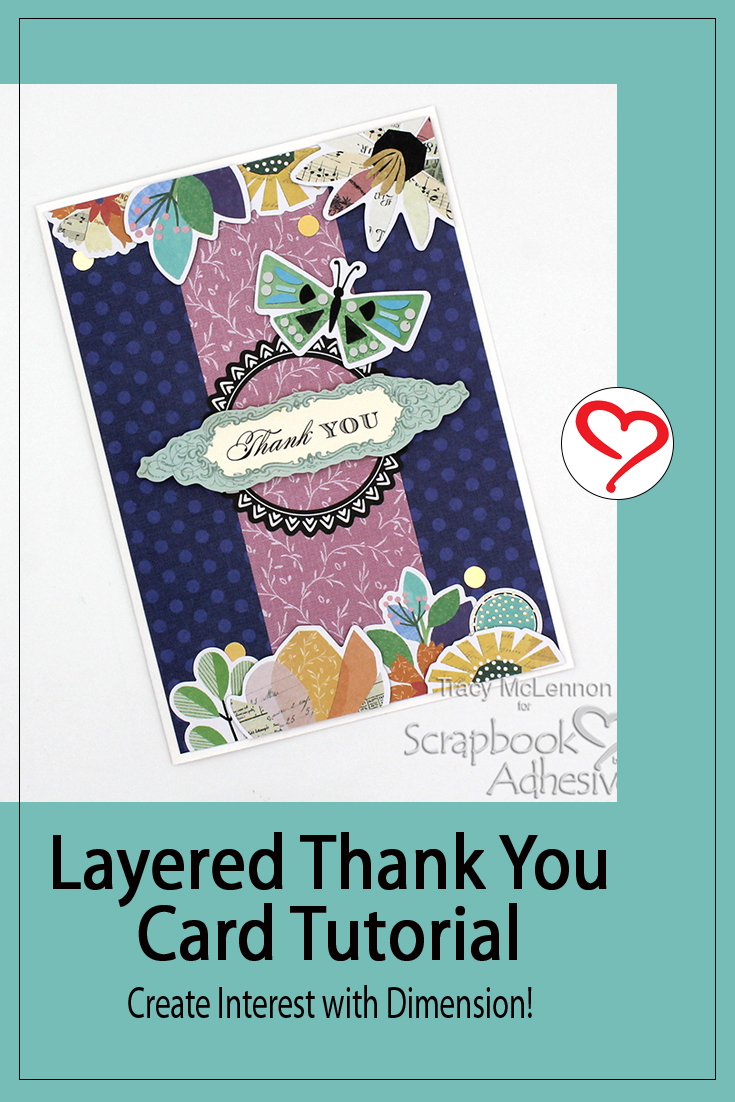
Hello crafty friends! Tracy here, and today I have a pretty Layered Thank You Card to share. Here are all of the crafty details.
Layered Thank You Card Pieces
First, I cut a 5×7 card base from white cardstock and a card front from blue patterned paper. Next, cut a strip of pink patterned paper to go up the middle of the card front. I also chose a die-cut sentiment shape to focus the design around.
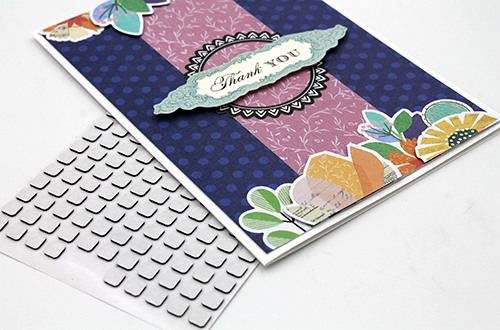
The borders at the top and bottom of the card front are created using a mix of stickers and die cuts. I used the stickers first, placing them straight on the card front. Then I added the die-cut pieces with Thin 3D Foam Squares Black Mix for dimension but not TOO much thickness.
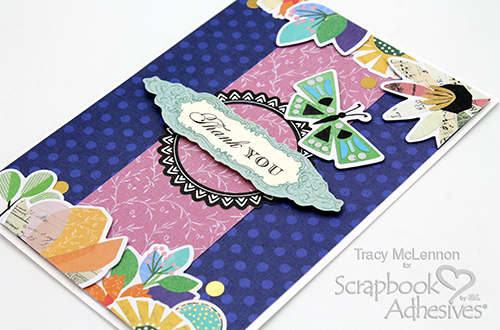
The finishing touches were to add some gold sticker pieces and the die-cut butterfly shape using the Thin 3D Foam Squares Black Mix.
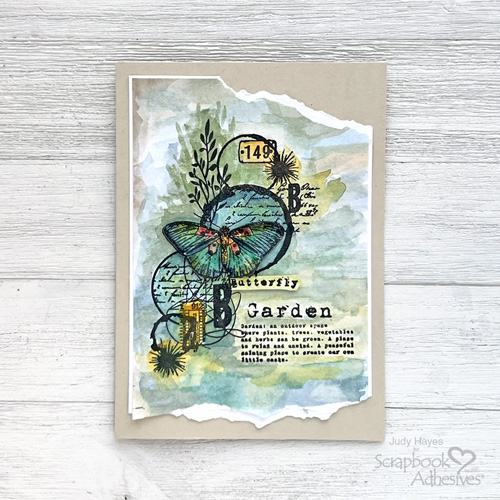
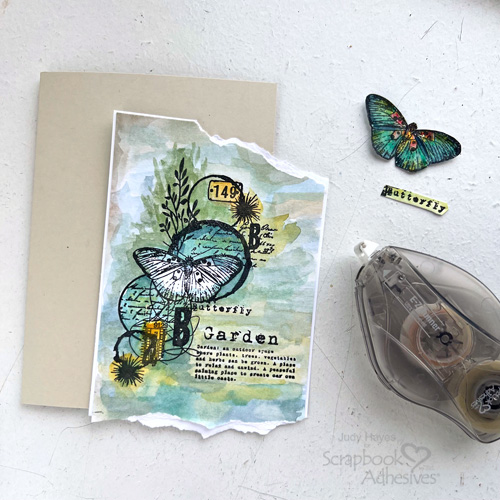
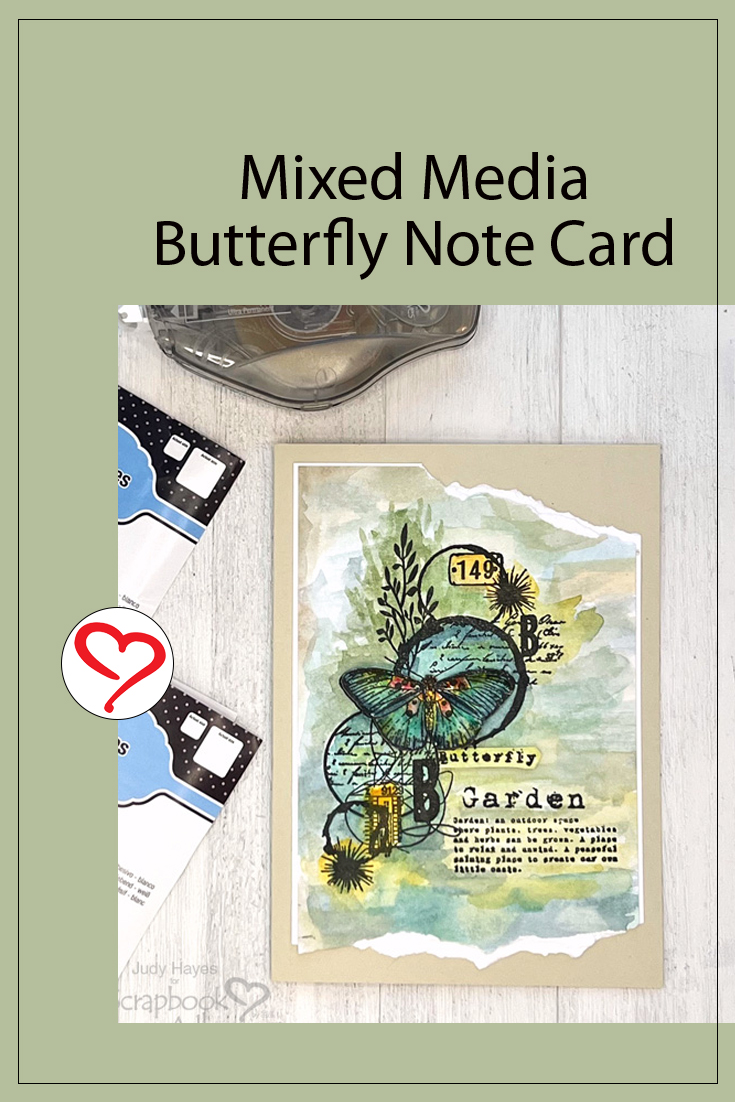
Hi, Judy here today! I put together this pretty Butterfly Note Card with a collage stamp image painted with watercolors. I stamped a second butterfly separately, cut it out and fastened it with 3D Foam Squares White Mix and Thin 3D Foam Squares White Mix to create dimension. The word butterfly also has slight dimension from Thin 3D Foam Squares White Mix. I’m really happy with how it turned out!
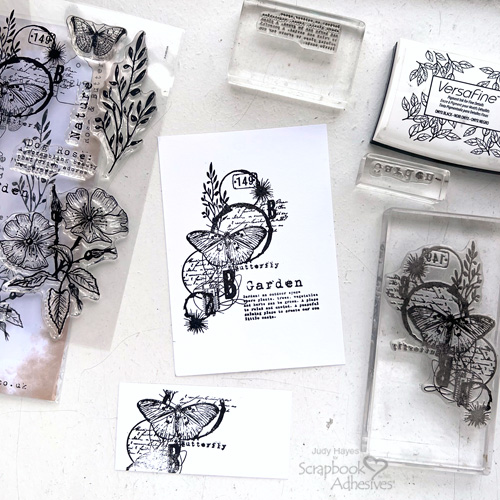
Stamp Image
Cut a piece of Distress Watercolor Paper to 4.25 x 6 inches and a scrap piece about 2 x 3 inches. Stamp the butterfly collage stamp with black ink on the smooth side of large watercolor paper towards the left edge. Below it, stamp “Garden” and its definition stamp towards the lower right. On the smooth side of the smaller piece, stamp just the butterfly and word area of the collage stamp. Then heat set ink.
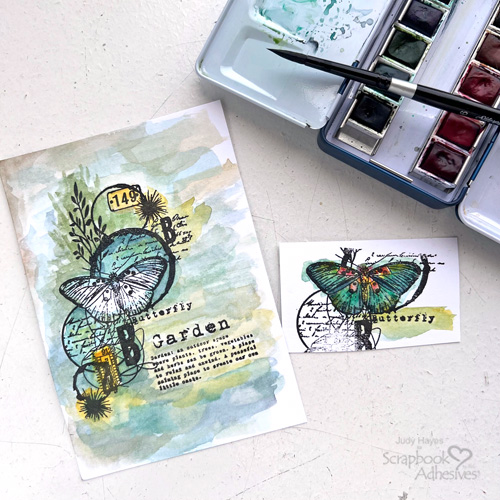
Paint with Watercolor
Use watercolor paints to color the image and background on the larger piece. But leave the butterfly unpainted. On the smaller piece, watercolor the butterfly and the “butterfly.” Then cut out the butterfly and cut around the “butterfly.”
Assemble the Card Front Layers
Trim the watercolor piece to 3.875 inches wide. Tear off about 0.5 inches of the bottom and tear a slight angle on the right top corner. Use E-Z Runner® Ultra Strong Refillable Dispenser to adhere the watercolor piece to a 4 x 6-inch white cardstock mat. Next, tear the edges of the white cardstock close to the torn edges of the watercolor piece.
Cut Saw Grass cardstock to 6.25 x 9 inches, score and form 4.5 x 6.25 inch side fold card. Adhere the matted watercolor piece to the card base with E-Z Runner® Ultra Strong Refillable Dispenser.
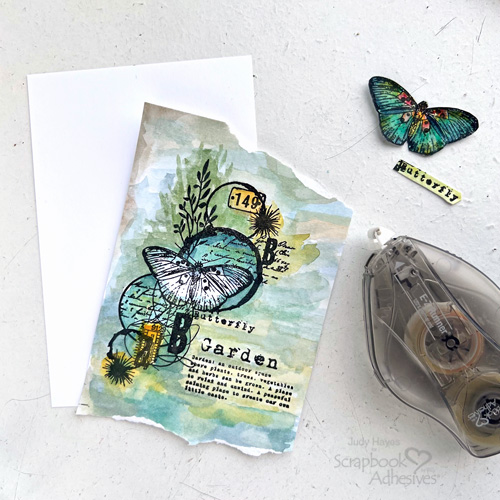
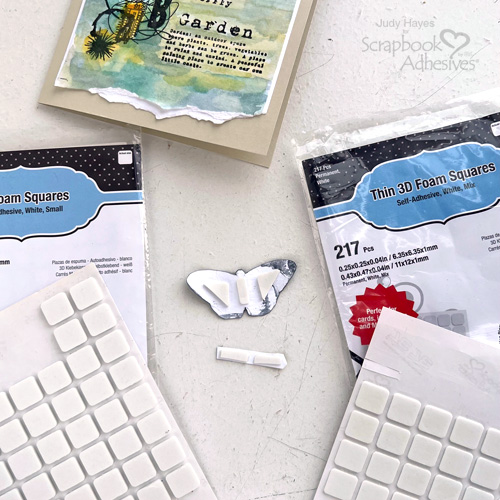
Add Butterfly and Word
Slightly bend butterfly wings near butterfly body and curl wings slightly. Cut a large foam square from 3D Foam Squares White Mix diagonally in half and place each half on back of butterfly wings. Next cut a narrow strip from a large square of Thin 3D Foam Squares White Mix, and place it on back of butterfly body.
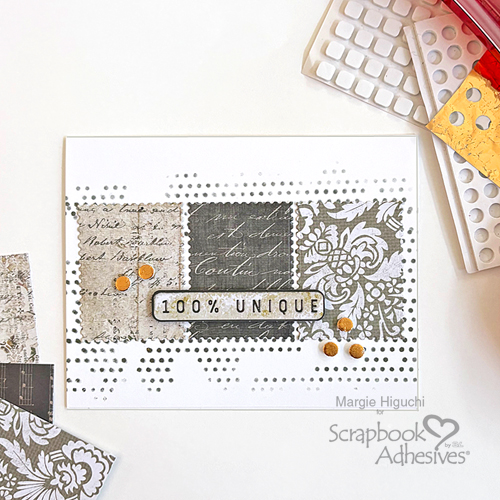
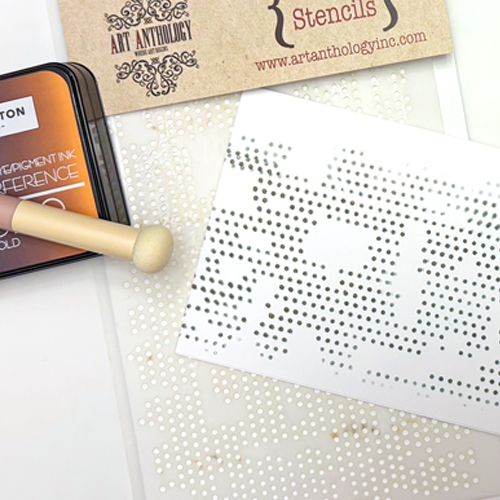
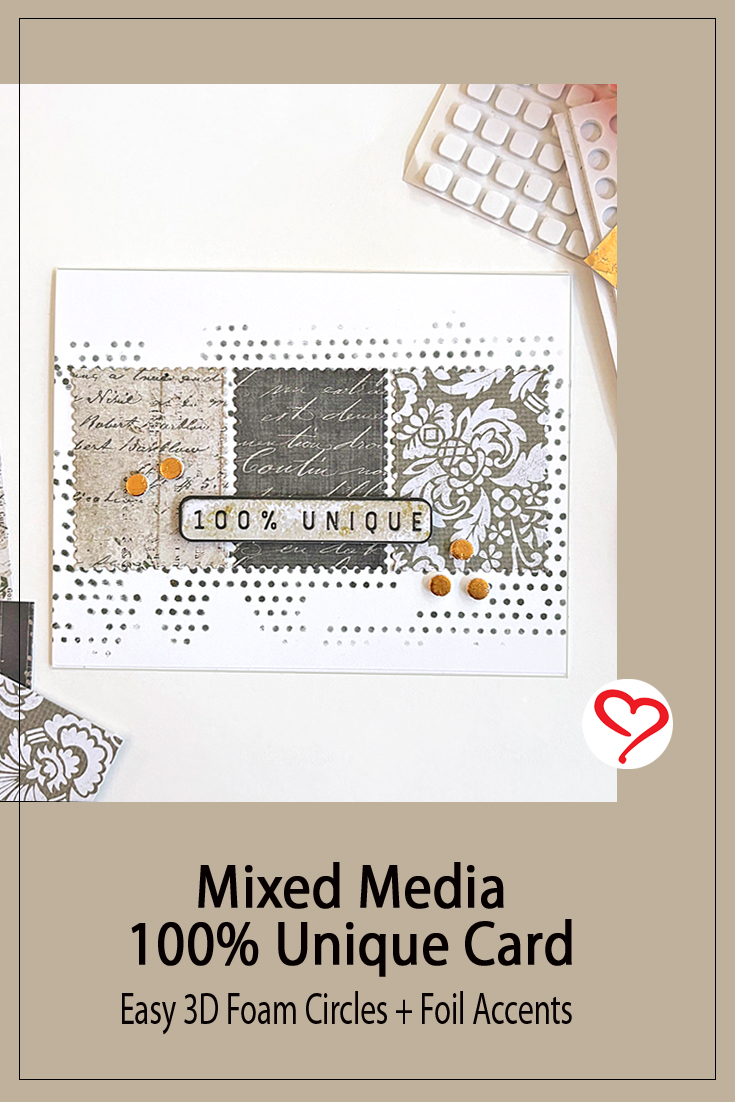
Do you have a drawer full of stencils? I decided to grab one of my favorites to create this Mixed Media 100% Unique Card with some shimmery ink. Hi, Margie here today! Let me show you my process.
Mixed Media 100% Unique Card Front
Grab an A2-size (5.5 x 4.25-inch) top-fold white cardstock card base and a dotted stencil. Use the shimmer ink. I love this ink color because it has movement (changes color from a dark color to gold).
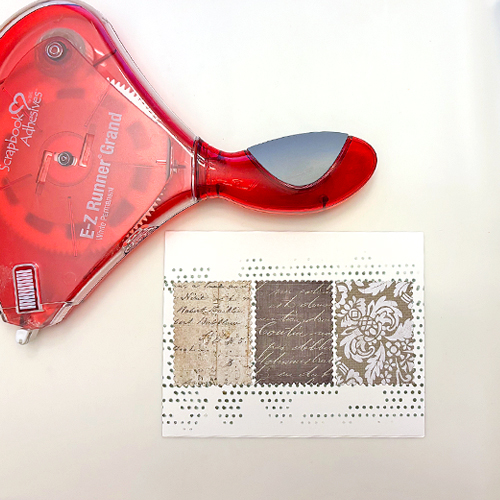
Die-cut three small postage-edge rectangles in patterned papers. Center and put them three in a row with the E-Z Runner® Grand Permanent Strips Refillable Dispenser. I punched out a sentiment from the same paper pad and popped it up with several 3D Foam Squares White Small. Place it on the lower center of the postage rectangles.
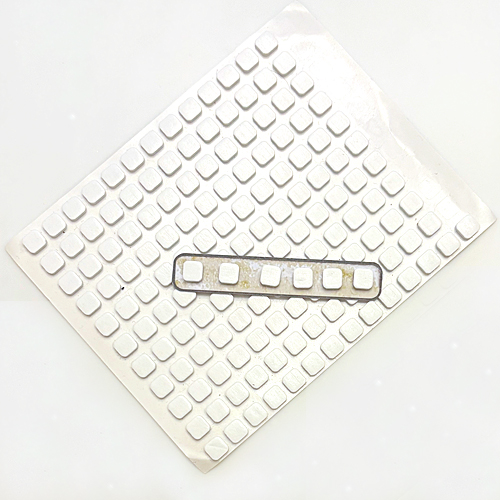
Wear Your Adhesive on the Outside with 3D Foam Circles
Instead of using sequins, gems or enamal dots, I use the 3D Foam Circles White Mix as accents. Using the Wear Your Adhesive on the Outside technique, I placed several small 3D Foam Circles at each side of the sentiment.
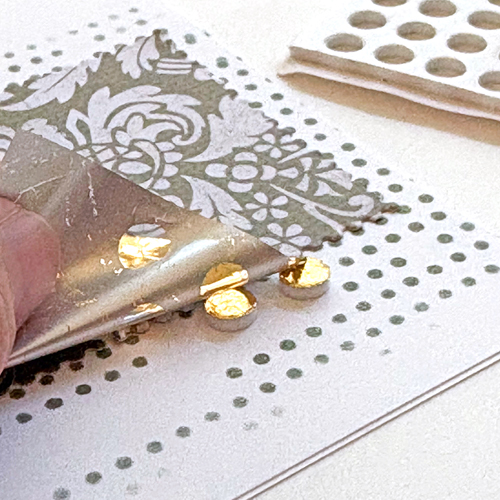
Next, remove the top liner and place a piece of gold foil from the Metallic Transfer Foil Sheets Nature Colors with the color side facing you over the exposed adhesive. Rub the foil to transfer the color to the circles. Done!
I hope you enjoyed this Mixed Media 100% Unique Card Tutorial. Give these tips a try!
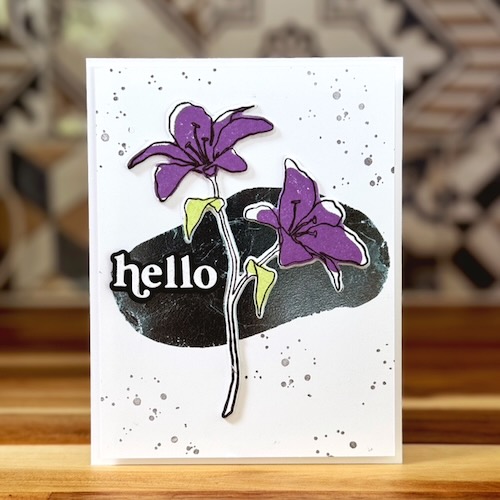
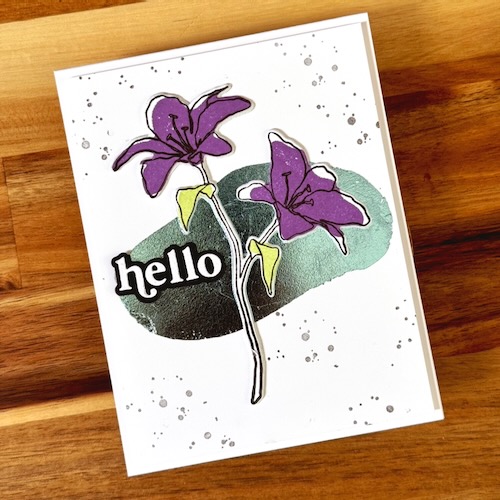
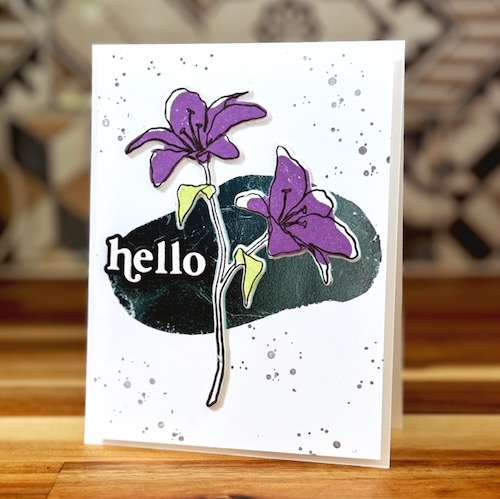
Hi, Jingle here today! I have a fun way to create a background that really shines in my Foiled Background Hello Card.
I love finding new ways to use my Metallic Transfer Foil Sheets in Variety Colors in new and interesting ways. When I pulled out this stamp set to create a card, I wanted to find a way to use the cool background stamp (the sort of blob shape) with foil.
Wear Your Adhesive on the Outside with Adhesive Sheets
I stamped the image using a permanent ink onto the back of one sheet from the Adhesive Sheets 4 x 6in. packet. I carefully cut around the image, leaving the backing papers in place. Once trimmed, I removed the backing and placed the image onto the card. Next, remove the other backing to place the foil (color side facing you) to the adhesive. Gently smooth it out to transfer the color and then remove to reveal a really cool, shiny background image! Stamp the splatter around the foil to complete the look.
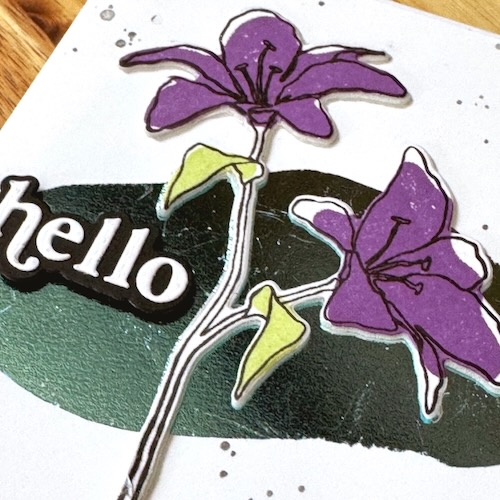
Add Your Focal Image
Let’s add those florals and a perfect sentiment on this gorgeous background! Place a sheet of 3D Foam Creative Sheet Small White behind a piece of white cardstock. Stamp your floral image onto the cardstock and die-cut with its matching die. Adhere it over the foiled element. Love how it gives the entire shape dimension and keeps those narrow bits stable even when mailed.
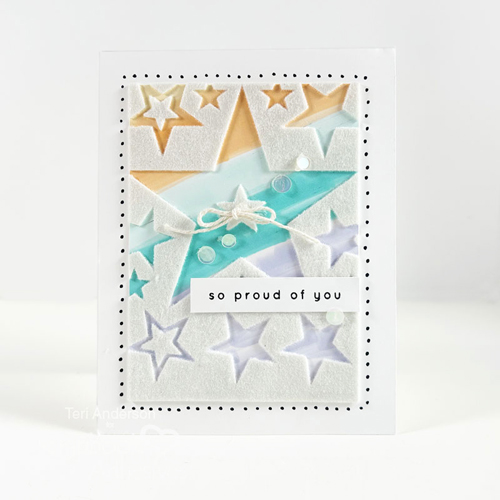
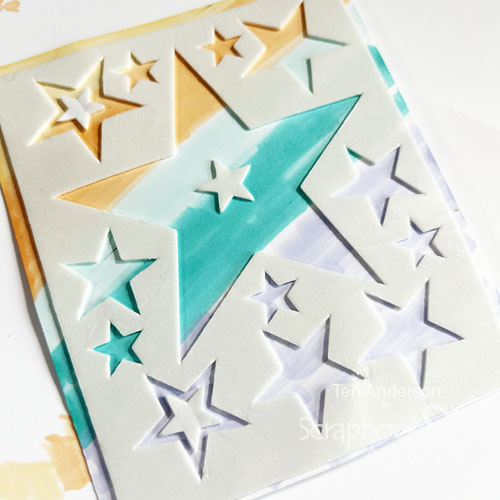
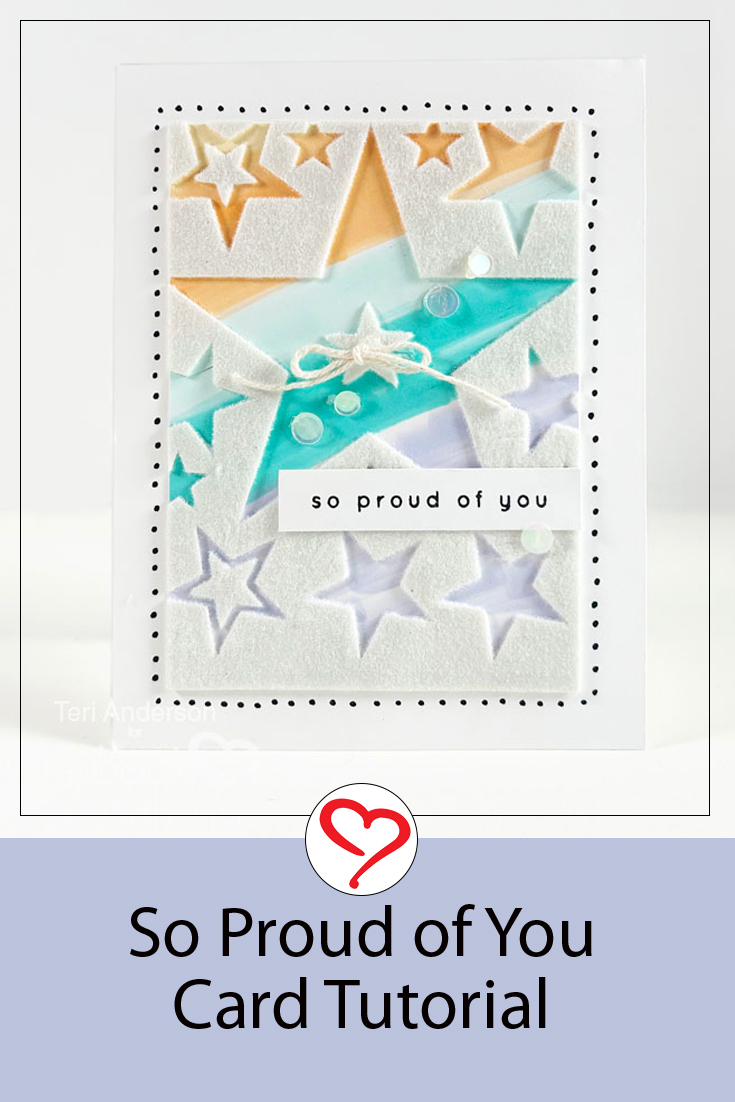
Hi, everyone! Like to make cards with lots of texture? Teri here to show you how to create my So Proud of You Card filled with flock and 3D Foam Shapes!
Proud of You Card Background
Use markers to randomly scribble stripes on a piece of white cardstock. It doesn’t have to look perfect. Set it aside. Designer’s Tip: Save time by using a piece of patterned paper instead.
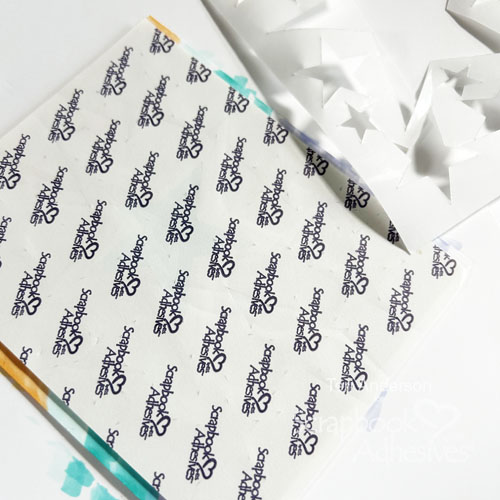
Wear Your Adhesive on the Outside with a 3D Foam Shape Sheet
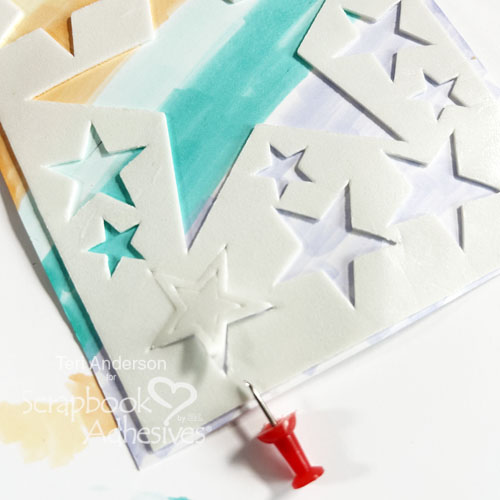
Pick a sheet 3D Foam Shapes that has a negative frame. I’m using 3D Foam Stars. Remove the backing sheet and place it on the striped paper. Be sure to press it firmly down. If you have any shapes left in the foam sheet, use a piercing tool, pushpin or a craft knife to remove them.
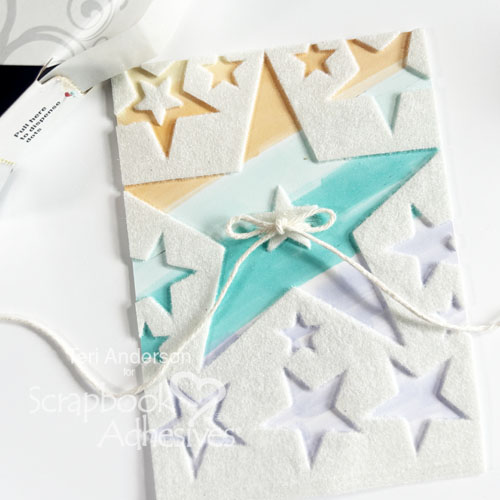
Add some smaller 3D Foam Shapes to your design. Next, remove the paper from the foam adhesive and cover with flock. Sometimes it’s helpful to rub a little bit of wax paper over the flock to secure coverage.
Add Finishing Details
Trim your panel to fit onto a card base. Center a small shape, apply flock, and pierce two holes through your panel. Tread string through and tie a bow, using an Adhesive Dot Small to keep it in place.
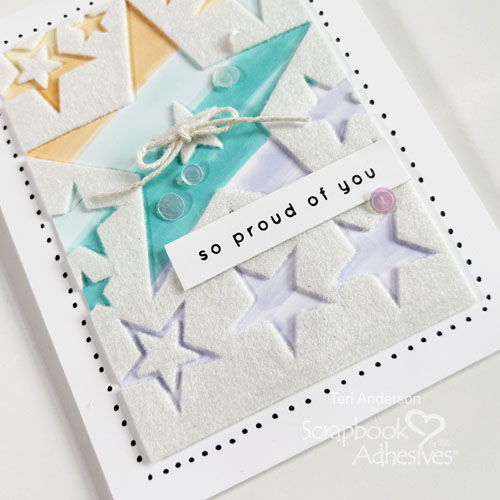
Complete the Card
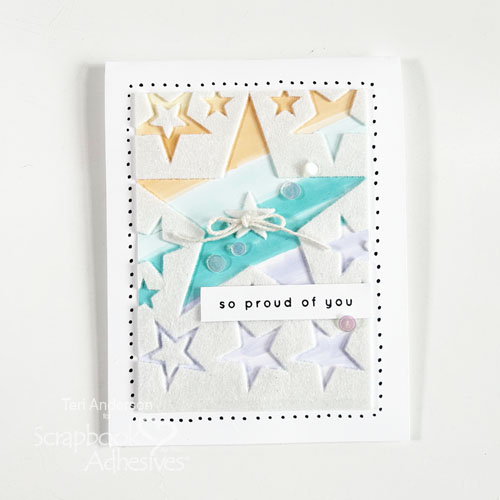
Stamp a sentiment onto a strip of cardstock. Add it to your flocked panel with the Adhesive Dot Small, and then mount the panel onto a card using the E-Z Squares® Dispenser. Use a marker to add tiny piecing marks around the edges of your foam panel. This will help make it stand out.
Lastly, embellish with a few sequins or gems. I find it easiest to apply Adhesive Dots Micro onto my projects first, and then add the embellishments to them.
I hope today’s So Proud of You Card tutorial is something you might want to try! Let me know if you do!
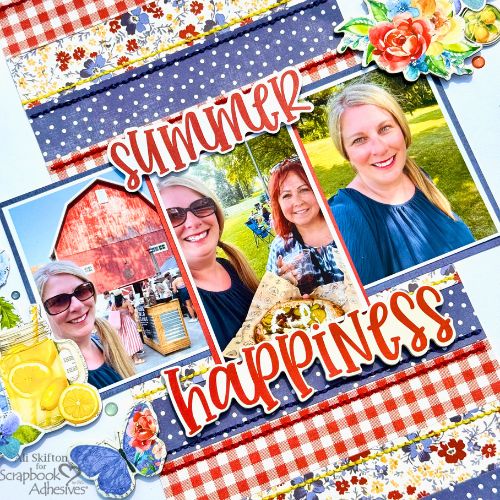
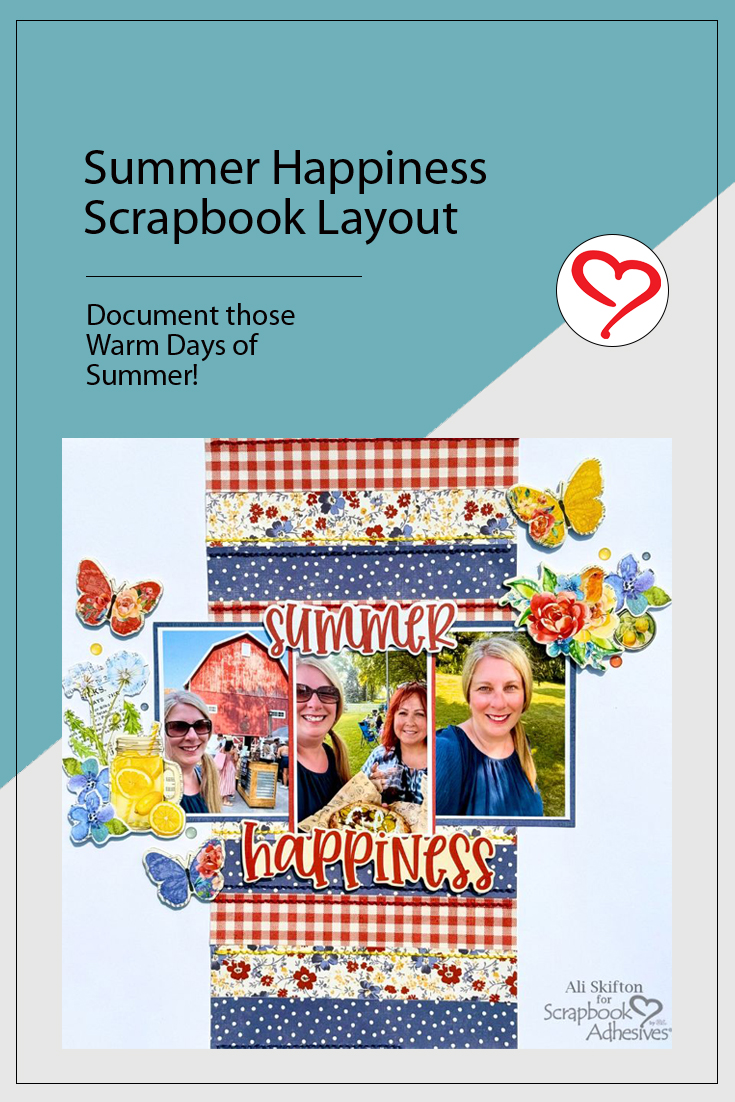
Hi there, Ali (FunAdventuresWithAli) here. I’m so excited to share a fun summer scrapbook layout I recently created featuring my absolute favorite adhesive, the E-Z Runner® Grand Refillable Dispenser!
Back Story on the Summer Happiness Layout
This layout documents the first time April and I experienced Pizza on the Farm. Let me tell you, it was delicious! I tried the Big Dill pizza (yes, dill!), and instantly fell in love. We sat on the lawn, enjoyed our drinks, shared laughs, devoured our pizza, and just soaked in the amazing farm atmosphere. We finished the evening with the most delicious homemade ice cream—made completely from scratch!
Summer Happiness Background
To document this special summer outing, I used the Simple Vintage Linen Market collection from Simple Stories. Adhered strips of my favorite patterned papers right down the center of my page. Then added hand stitching to each strip for a little extra texture and charm.
To make my embellishments pop, I used the 3D Foam Squares White Mix. They gave interest to my butterflies, flowers, and even my “summer” title! The dimension makes the page feel like it’s coming to life. Almost like you’re right there with us on the farm.
If you get the chance to attend one of these fun summer experiences, I highly recommend it! Don’t forget to document it using my favorite adhesive tools! These little memories are worth preserving for years to come.
Happy crafting and happy summer! ☀️🌻 xo, Ali Skifton (FunAdventuresWithAli)