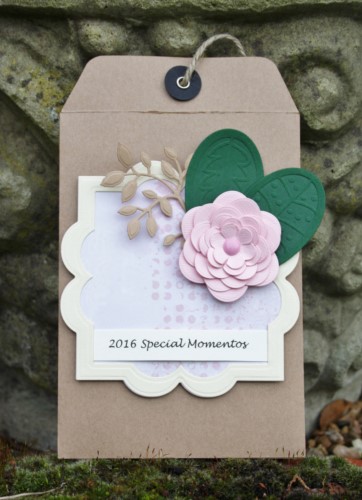
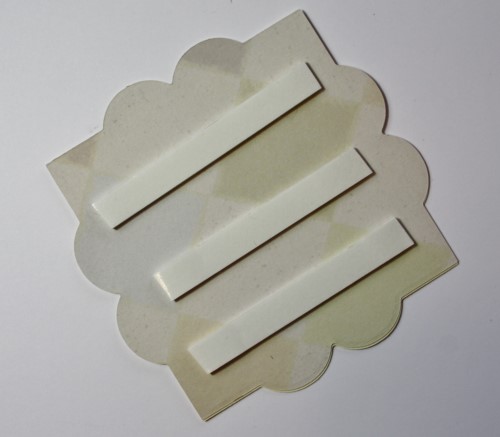
Hello everyone! Asia King here. This is my first post here in 2016 so let me say ‘Happy New Year!’ (it’s still January so I think I’m allowed lol). Today I have an art tag for you with a beautiful shimmery background I made using gorgeous pigment powders.
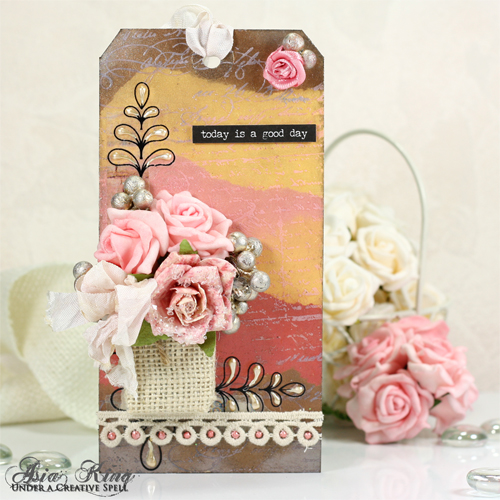
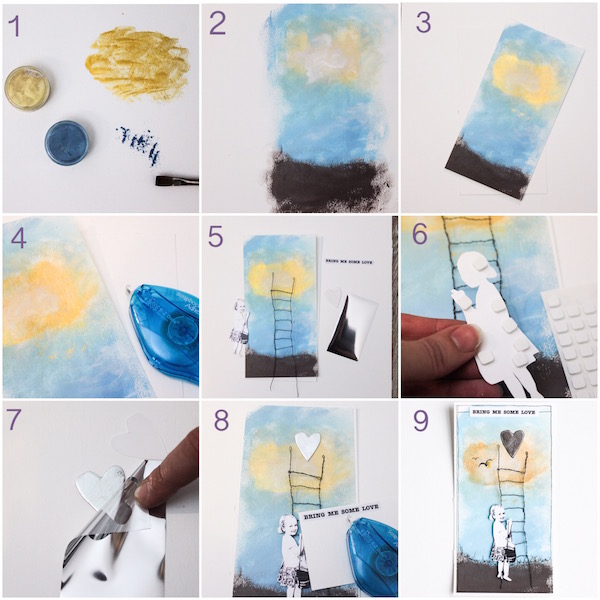
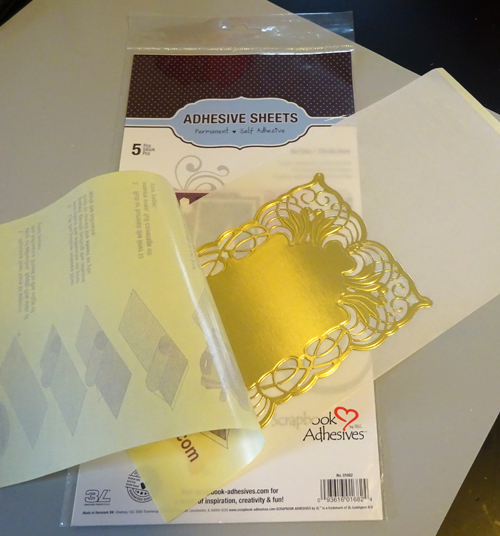
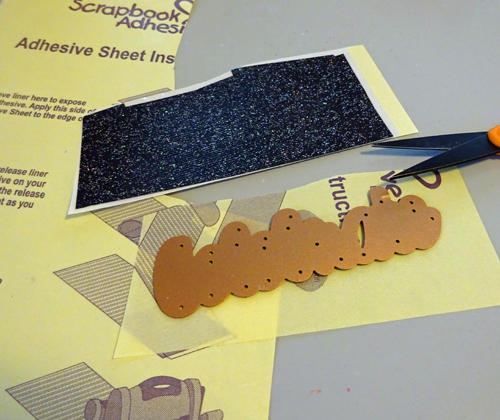
I started my background by covering a manila tag with Adhesive Sheets 4×6″. I peeled the protective sheet off in stages, tearing sections off one at a time and covering them with different colours of Pigment Powders. From the bottom up I used Silver, Brown, Wine, Gold, Pink, Gold again, Brown and Silver.
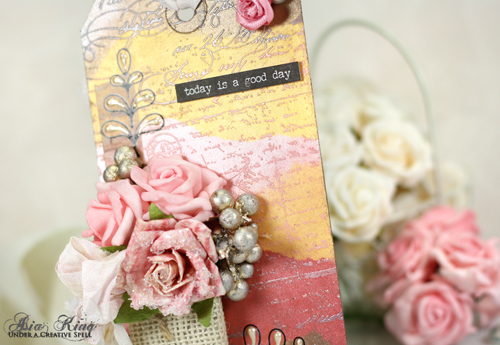
Next I stamped the script with Chiffon ink and heat embossed it with clear embossing powder. The Pigment Powders reacted with the ink and heat embossing in different ways creating cool colour variations. Next, I added a few pieces of Ash Washi Tape and added some black rub-ons.
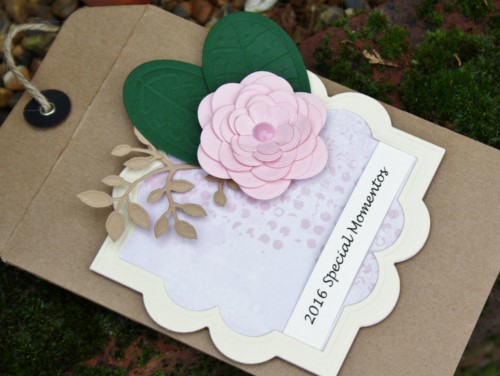
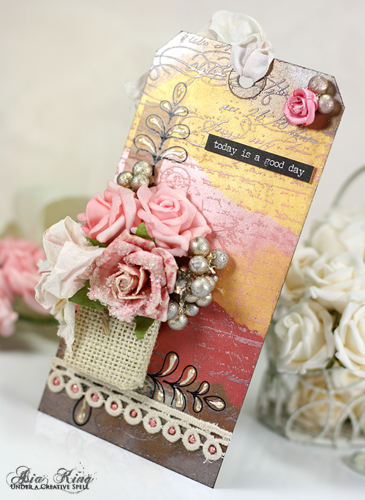
I tucked my flower bouquet in a little canvas bag embellishment but if you don’t have one it would be really easy to make your own using Canvas Ribbons. To secure my flower basket I used layers of DODZ 3D. I then added a seam binding ribbon hand dyed with my DIY Pigment Powder shimmer mists.

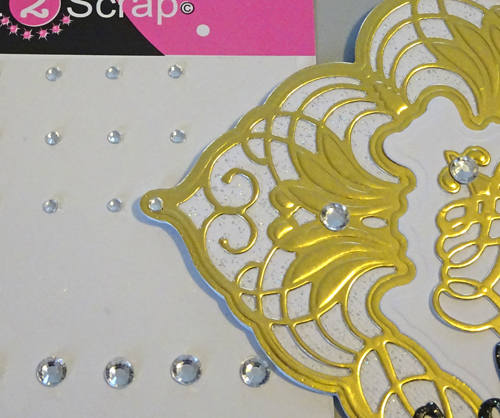
I also added a small Lace Ribbon trim under the basket adhered with the Adhesive Sheets 4×6″. The smaller rose and berries at the top were secured with DODZ Small. I finished the tag with Liquid Pearls accents and with a quote sticker popped over small Thin 3D Foam Squares – Mix Black.
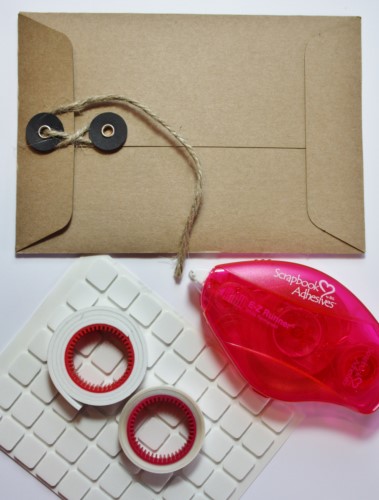
Supplies:
Adhesive Sheets 4×6″, DODZ Small, DODZ 3D, Thin 3D Foam Squares – Mix Black
Other supplies:
- Stampendous: Cling Vintage Letter stamp, Clear Detail Embossing Powder
- Clearsnap MIX’D MEDIA INX – Chiffon
- Liquid Pearls, flowers, ornamental berries, manila tag, seam binding ribbon
I hope you like my first project of the year! Thank you for stopping by and your lovely comments!
Big crafty hugs