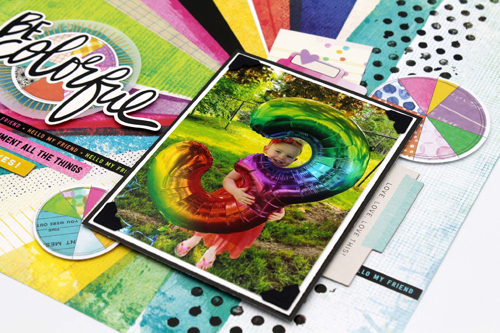
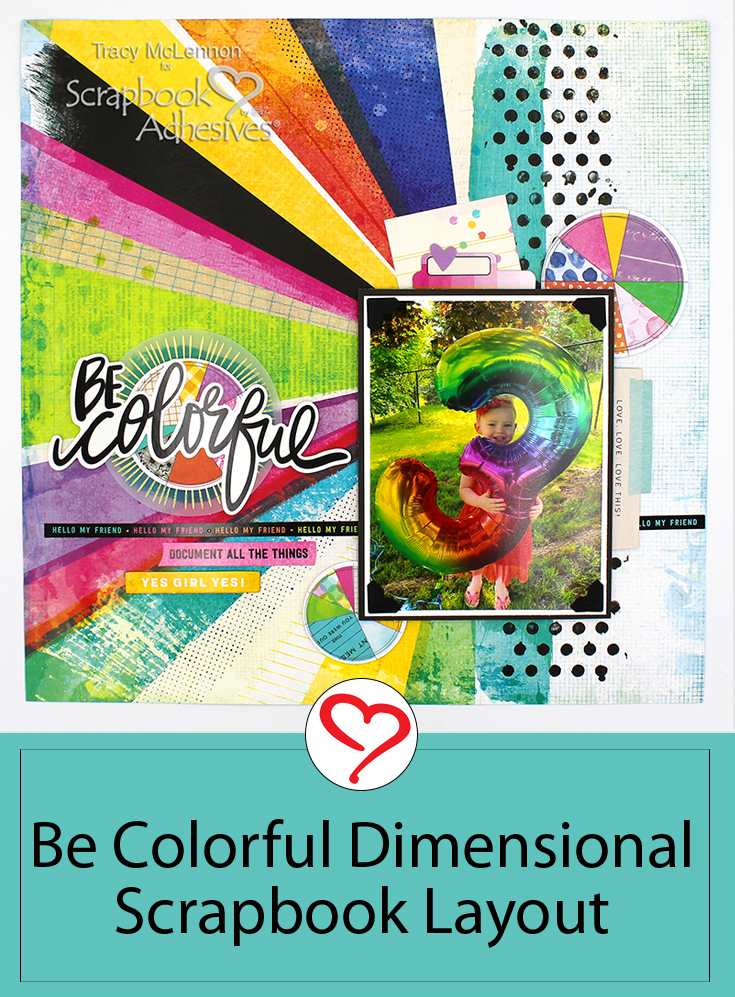
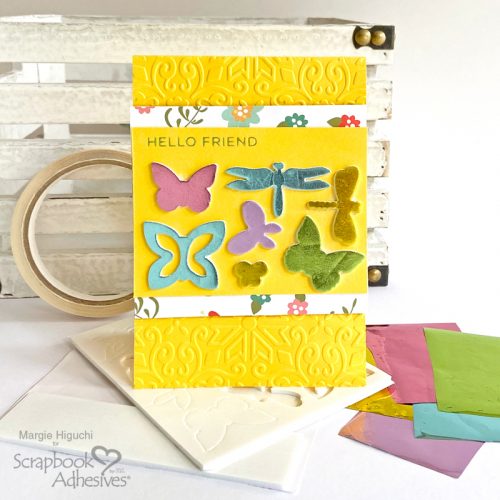
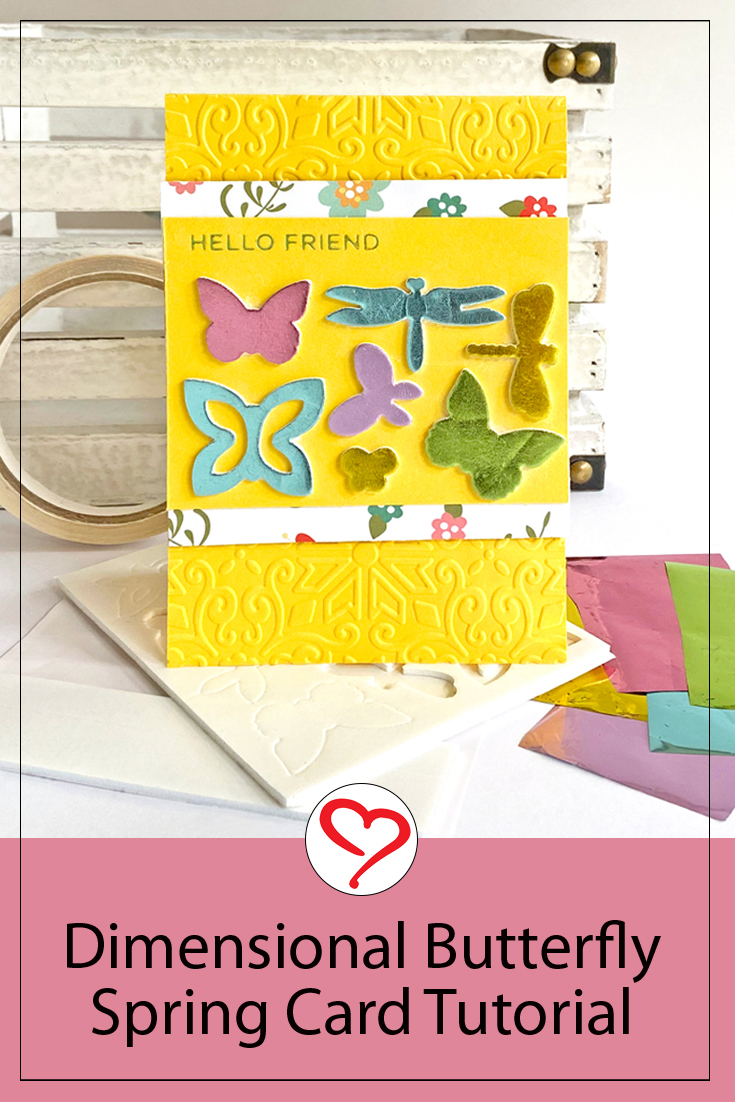
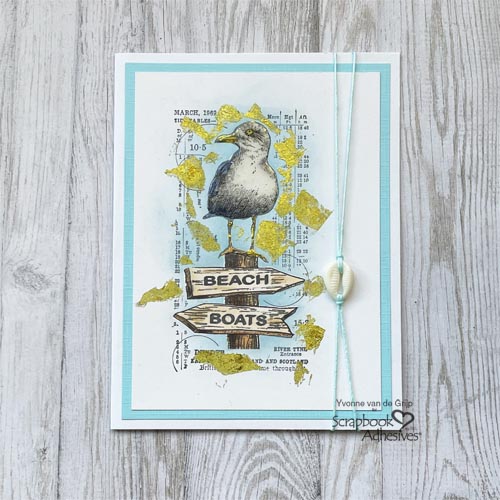
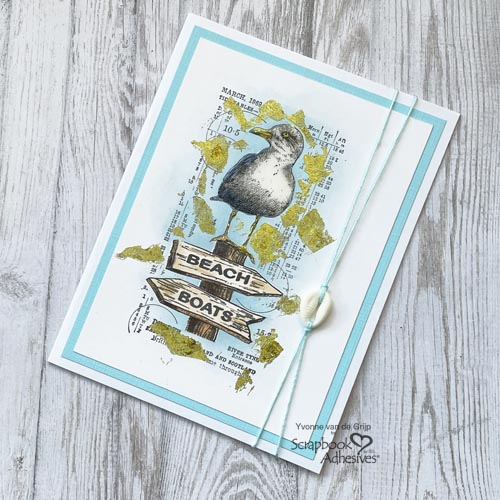
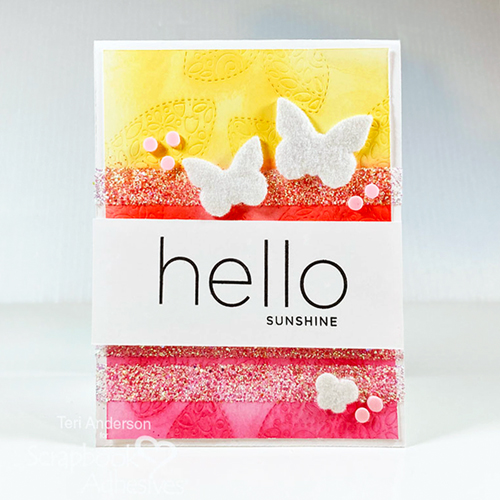
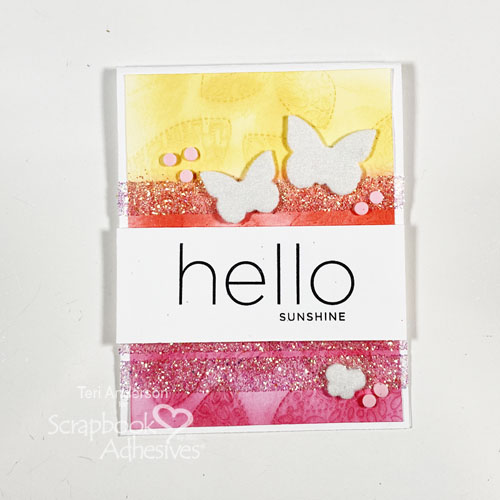
Hi, everyone! Raise your hand if you love butterflies! Teri here to show you how to make a card with lots of butterflies like my Hello Butterfly Card!
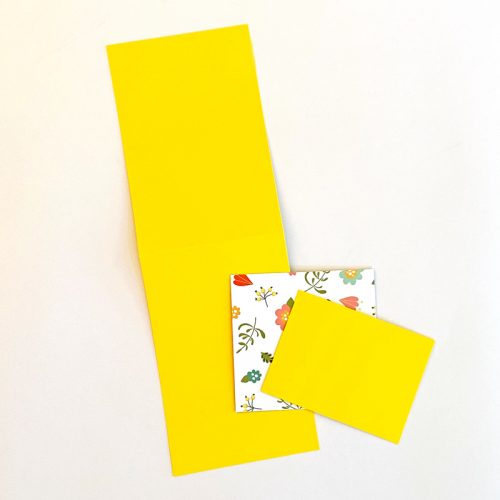
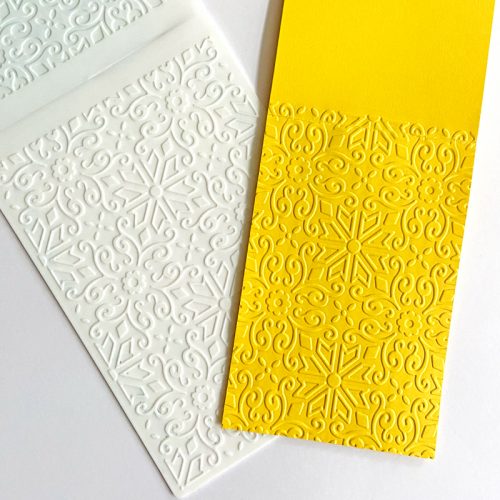
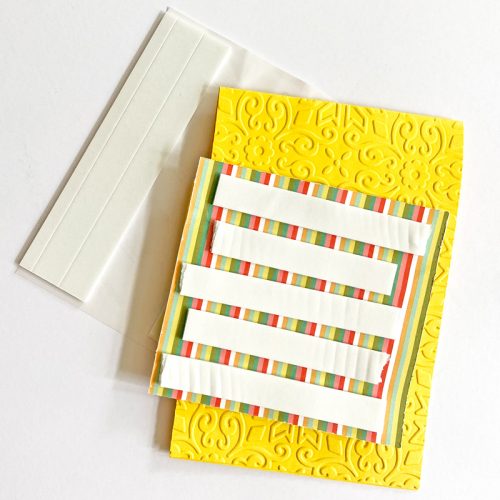
Hello Butterfly Card Panel Background
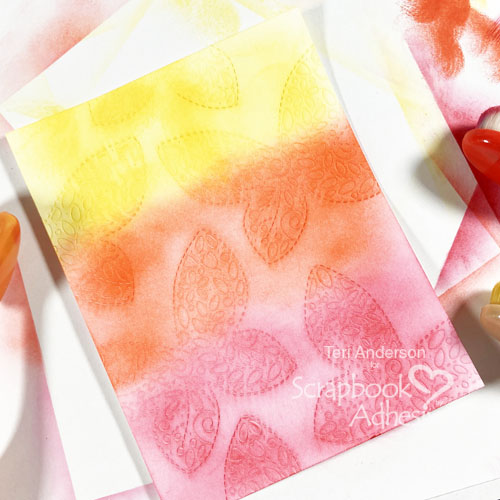
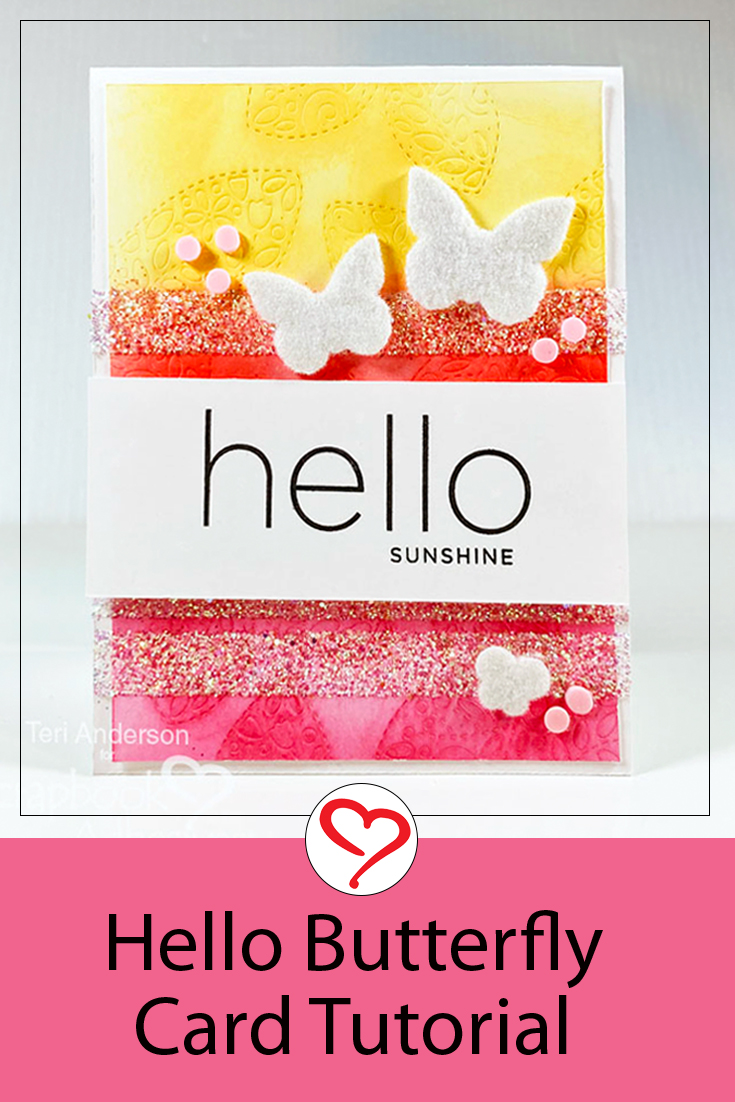
Emboss a butterfly pattern onto a white cardstock panel. Next, blend ink onto the panel with three different colors. Adhere the panel onto a top-folded notecard with the E-Z Runner® Petite Permanent Dots Refillable Dispenser.
Wear Your Adhesive on the Outside with Glitter
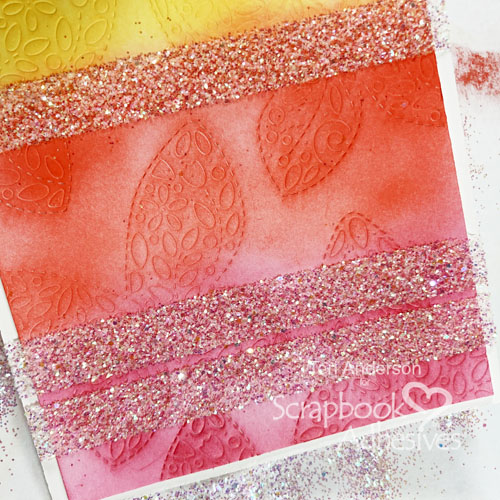
Place three strips of Premium Double-Sided Tape 1/2″ onto the card. Cover them with glitter. Make sure to press the glitter into the tape to secure it. Then remove the excess by tapping or brushing it off.
Adding Finishing Touches
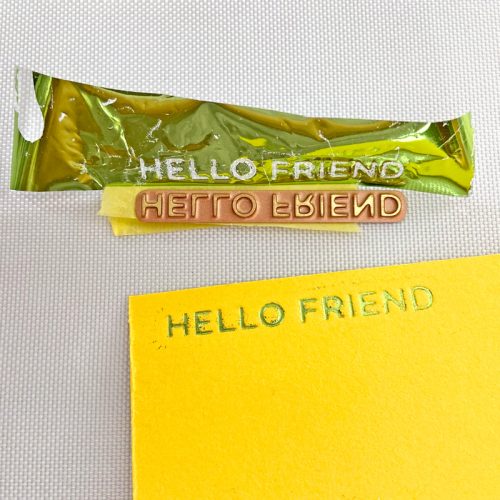
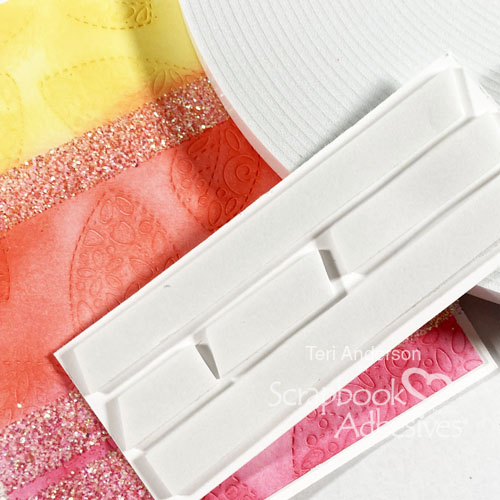
Stamp a sentiment on a strip of cardstock. Cut several strips of Crafty Foam Tape White 54ft and place them on the back of the sentiment strip. Then adhere it to the card.
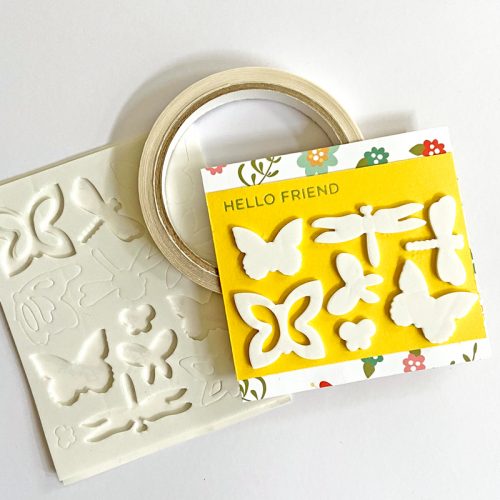
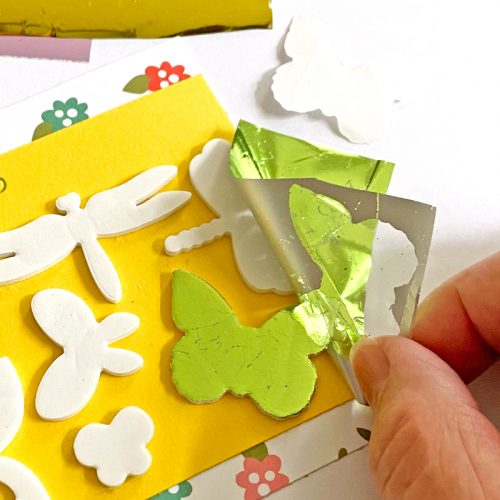
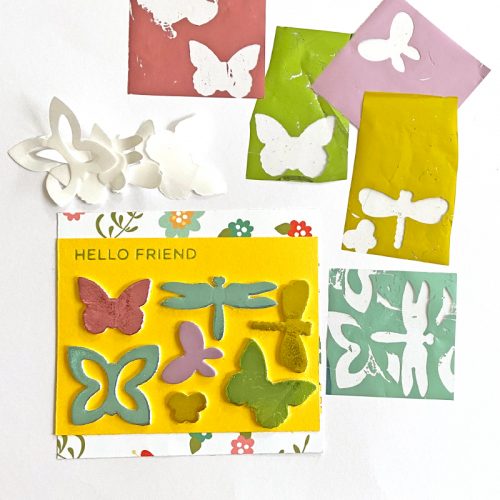
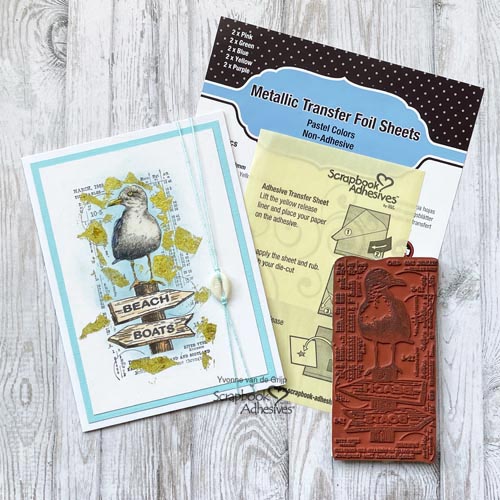
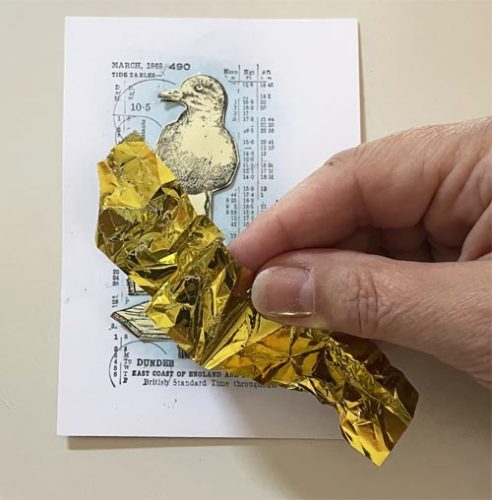
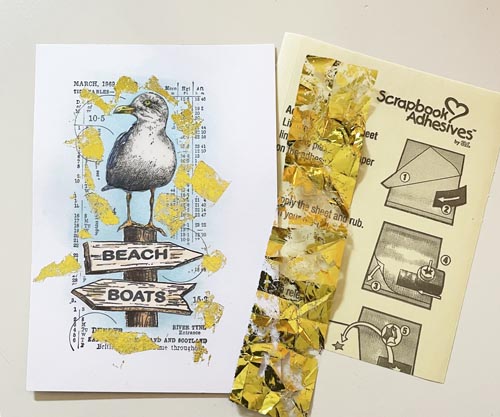
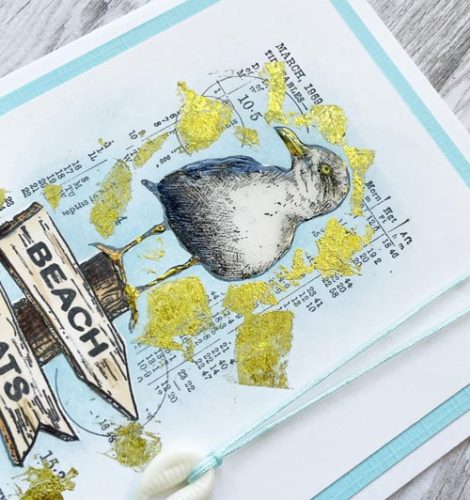
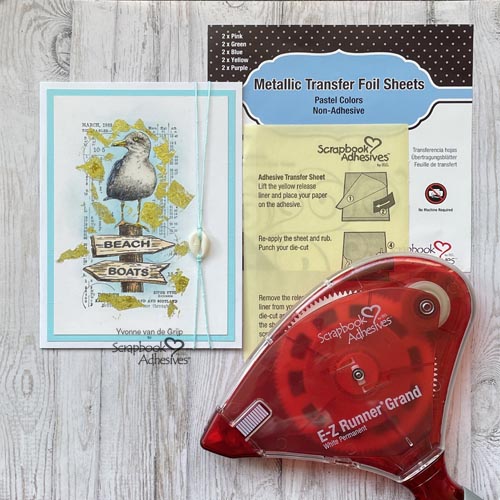
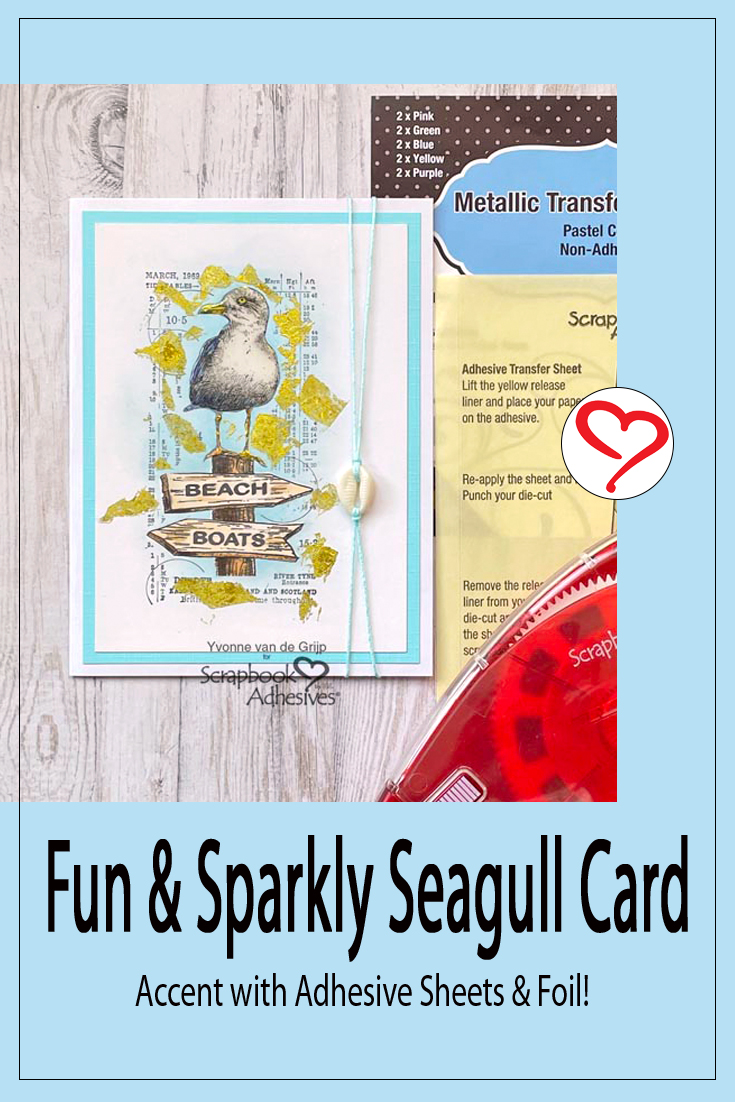
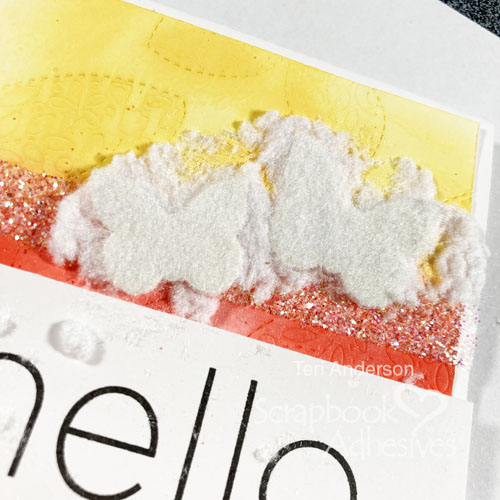
Adhere three 3D Foam Butterflies onto the card. Cover them with flock. If you don’t like flock, try changing their look with any of our Metallic Transfer Foil Sheets. It’s a great way to add a little extra sparkle and glitz.
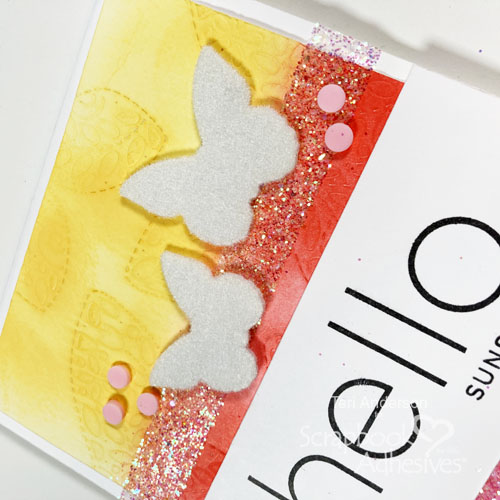
Finish the card by adding small embellishments to the card front using the Adhesive Dots Micro! Clay shapes, gems, or sequins are great for this.
I hope today’s tutorial inspired you. Not a Butterfly fan? Try using these techniques to create a card with hearts, stars, flowers, or other shapes!
Happy Creating!
Teri Anderson
Creative Time: 60 minutes
Skill Level: Intermediate
Materials needed:
Scrapbook Adhesives by 3L®
E-Z Runner® Petite Permanent Dots Refillable Dispenser
HomeHobby™ by 3L
Premium Double-Sided Tape 1/2in
Other: Cardstock: Neenah; Stamps: Simon Says Stamp (Cathy Zielske Clean Line XL Stamp Set); Die: Simon Says Stamp (Filigree Butterfly); Inks: Catherine Pooler (Red, Orange and Yellow), Ranger Ink (Black); Embellishments; Buttons Galore (Cupcake Sprinkletz); Flock: Stampendous; Glitter: American Crafts
Save to Pinterest!
Visit our Website and Blog!
Sign up for our Newsletter so you never miss a contest or giveaway!