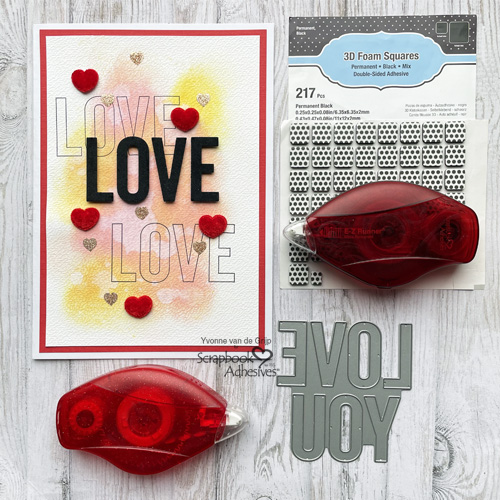
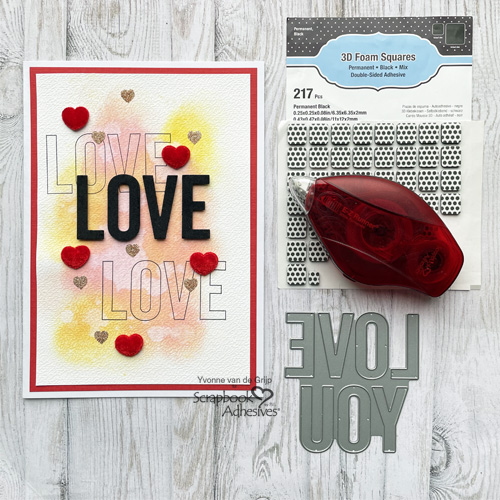
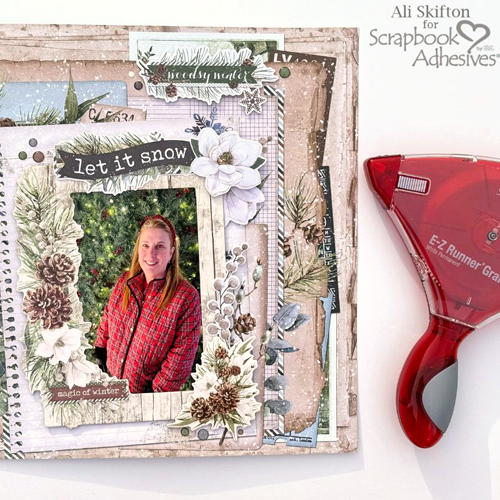
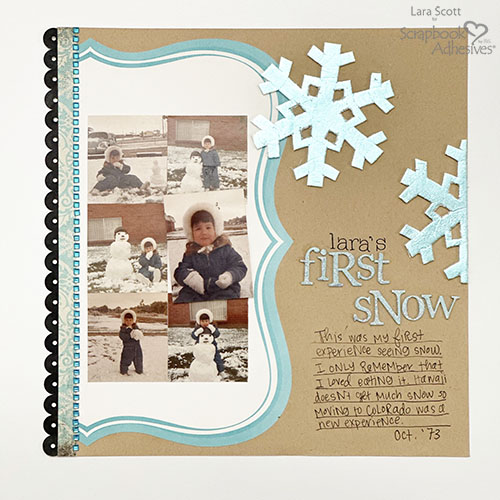
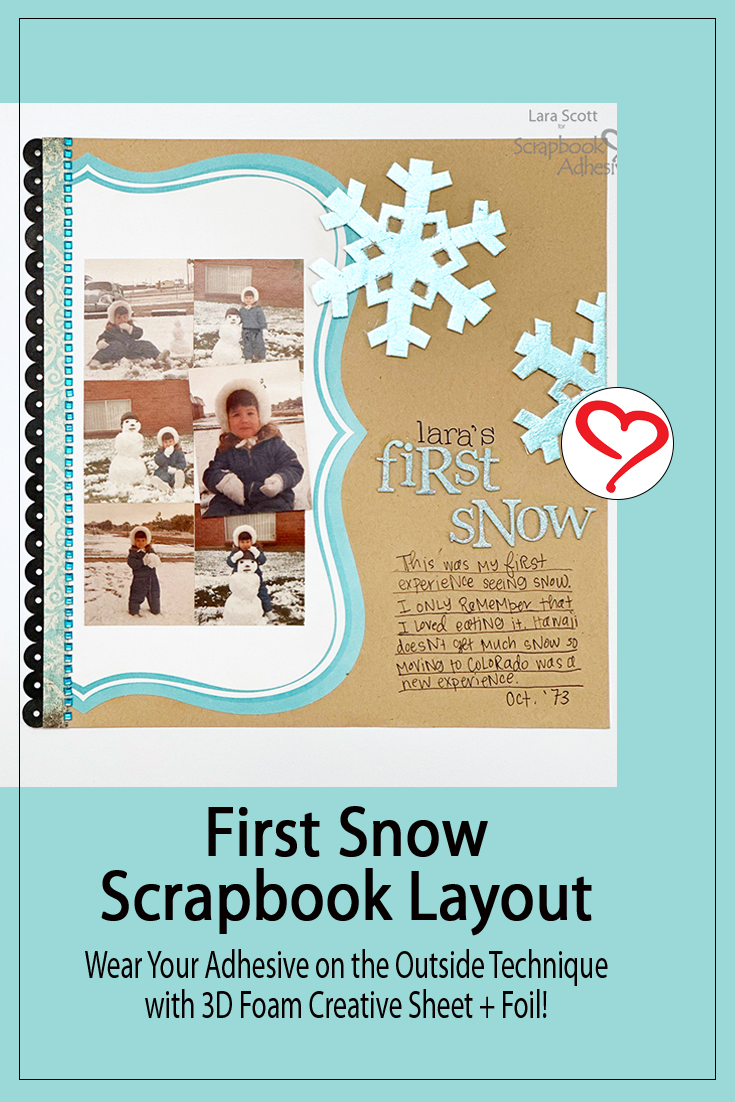
Hi, Lara here today! Being born in Hawaii, you really don’t get to experience snow at all. We moved to Colorado just before I turned 3. The only memory I have of it was that I loved to eat snow and it wasn’t like sand. I haven’t done any scrapbook pages for a long time so I decided to share this First Snow Scrapbook Page of my childhood. This is a fairly simple page but I love how it came together.
First Snow Page Design
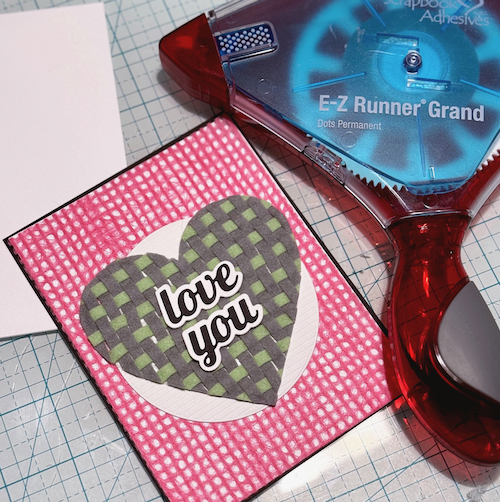
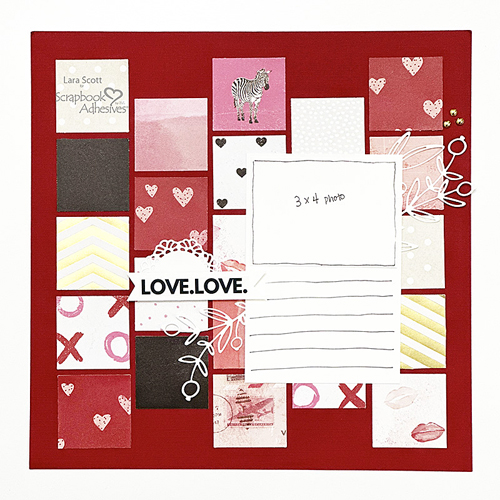
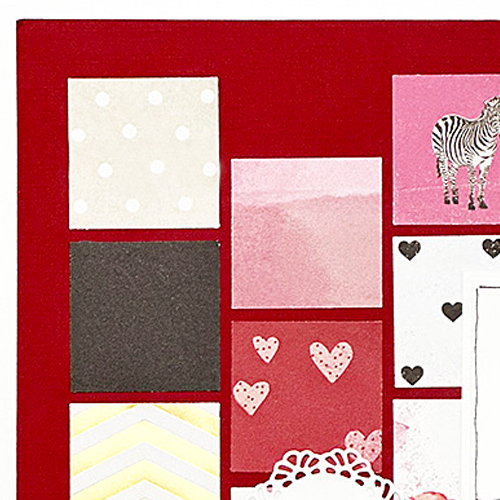
To create this First Snow page, I started with a 12 x 12″ Kraft cardstock. Next, layer it with a strip of patterned paper on the left side. In my stash, I had a label-shaped paper that was cut a little over half and secured it down with the E-Z Runner® Grand Ultra Strong Refillable Dispenser.
Photo Placement
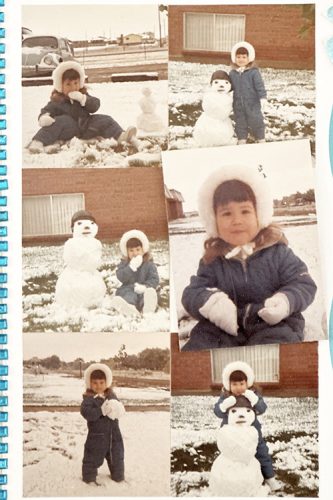
Since I had about six photos at hand, I thought a photo gird design would be the best to showcase them. So I cut the photos down to a 2 x 2″ size except for the main photo. It is a little larger and slightly tilted for interest. The 2 x 2″ pictures were adhered with the E-Z Dots Permanent Refillable Dispenser.I used the 3D Foam Squares White Mix to pop up the main photo.
First Snowflakes
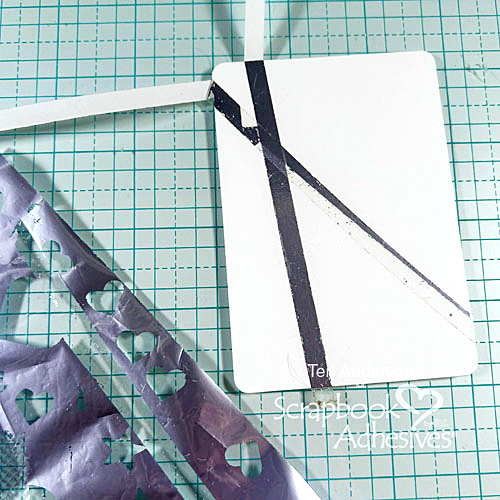
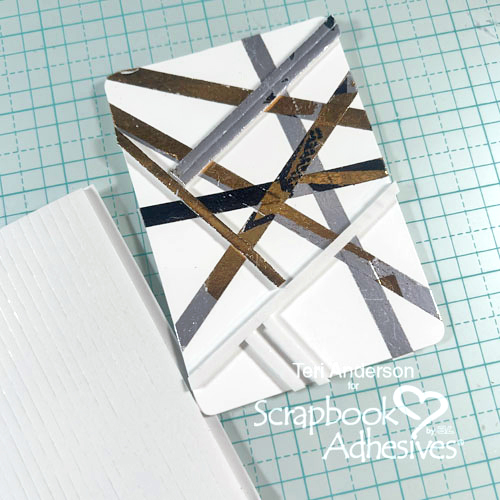
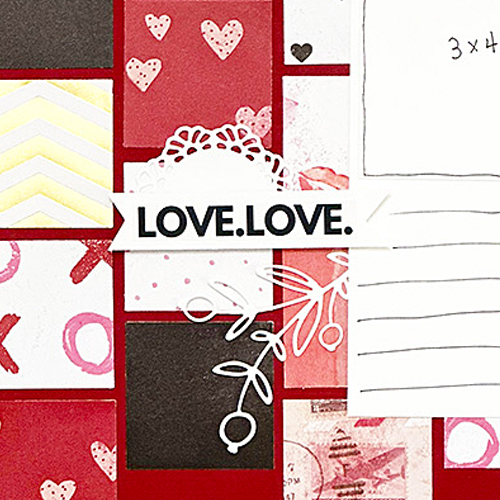
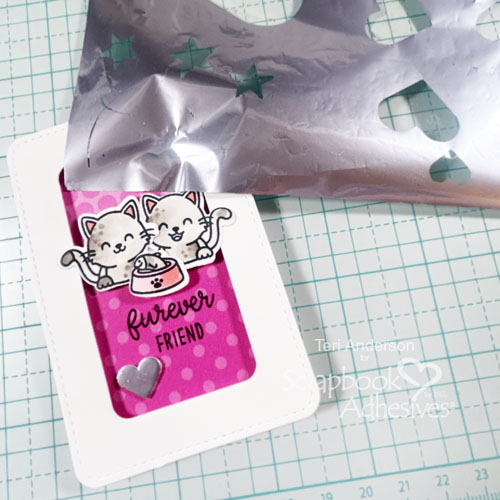
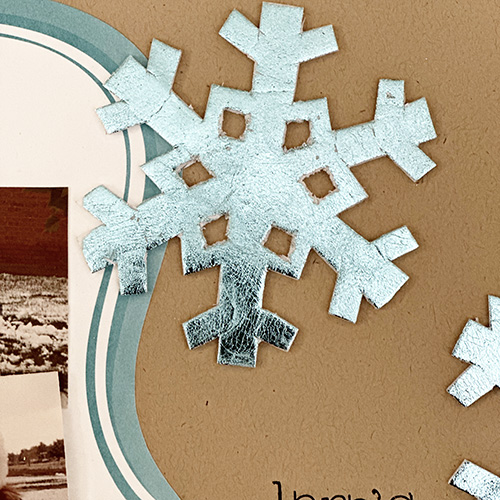
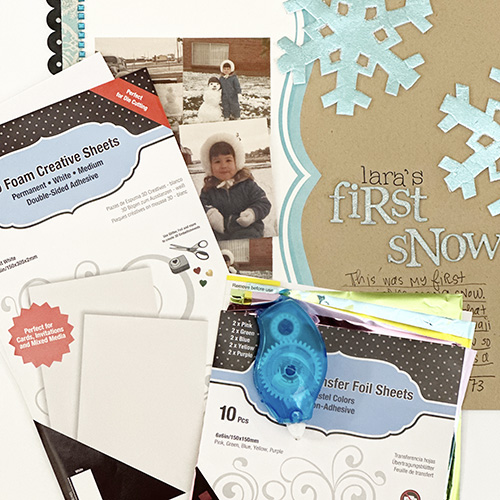
Create the title with plain chipboard letters. To match the theme of the page, I painted them and covered them with glitter while the paint was wet. Set aside to dry. To create the foiled snowflakes, I cut out a snowflake with paper and traced it on the 3D Foam Creative Sheets Medium White. Then I cut them out and add to the page and used the Metallic Transfer Foil Sheets Pastel Colors to create custom snowflakes using the Wear Your Adhesives on the Outside method.

Finishing Touches
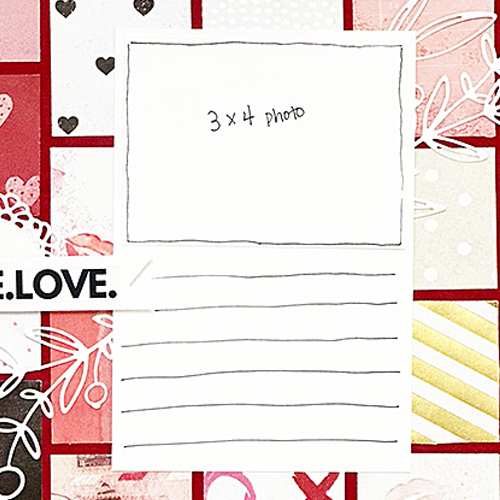
Using a black pen, I drew some lines and added journaling. Lastly, I added the blue gem border that I have hoarded for a very long time.
Adhesives Used
Have you documented your snow days? I hope the process of my page inspires you!
Thanks for stopping by!
Lara Scott
Creative Time: 60 mins
Skill Level: Intermediate
Materials Needed:
Scrapbook Adhesives by 3L®
E-Z Dots Permanent Refillable Dispenser
3D Foam Creative Sheets Medium White
Metallic Transfer Foil Sheets Pastel Colors
Other: Patterned Papers; Chipboard Letters; Glitter; Kraft Cardstock; Black Pen
Click Preferred Retailers List
Save to Pinterest!
Visit our Website and Blog!
Sign up for our Newsletter so you never miss a contest or giveaway!