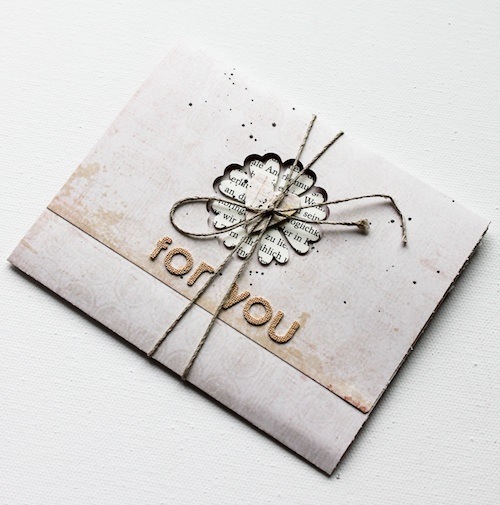
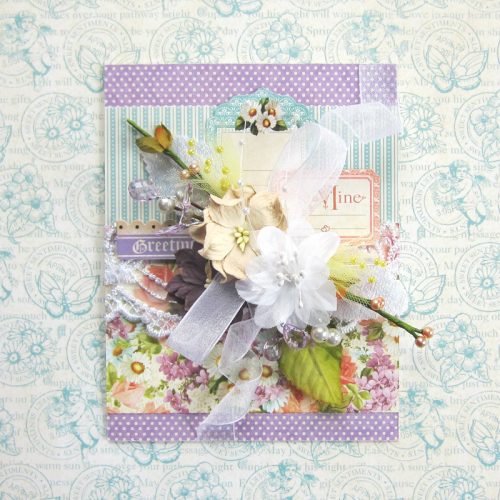
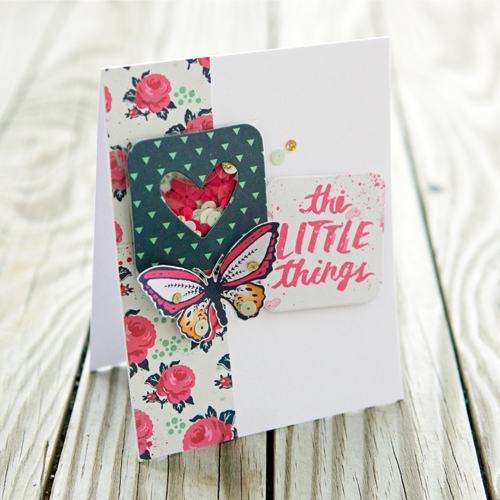
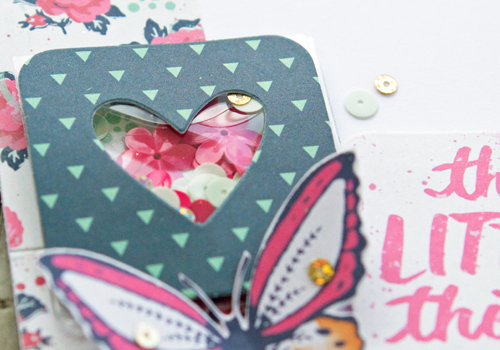
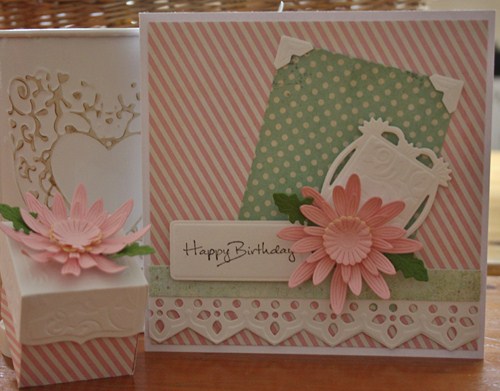
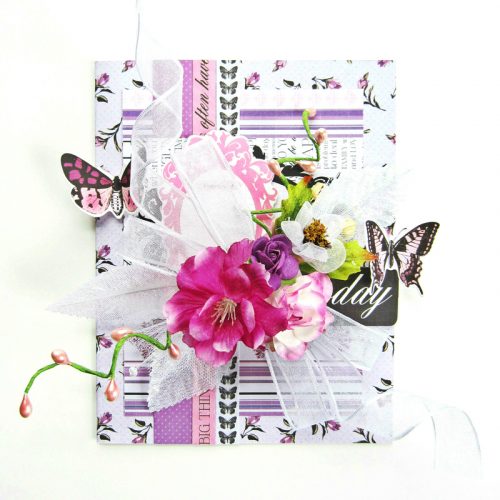
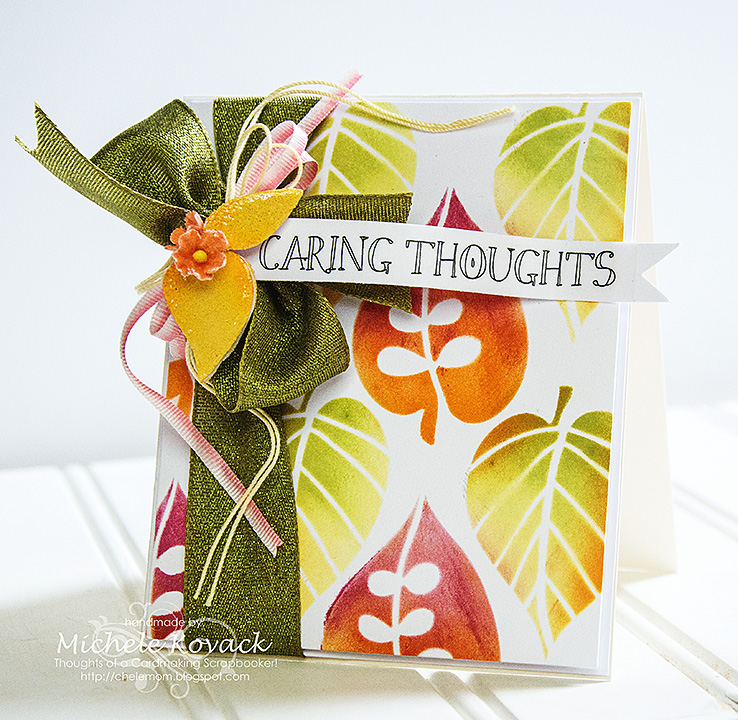
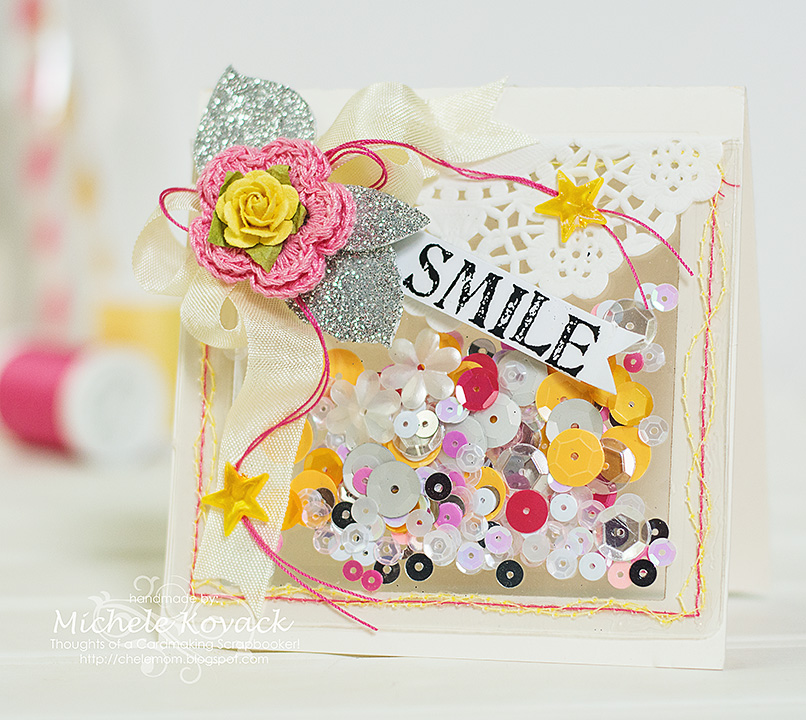
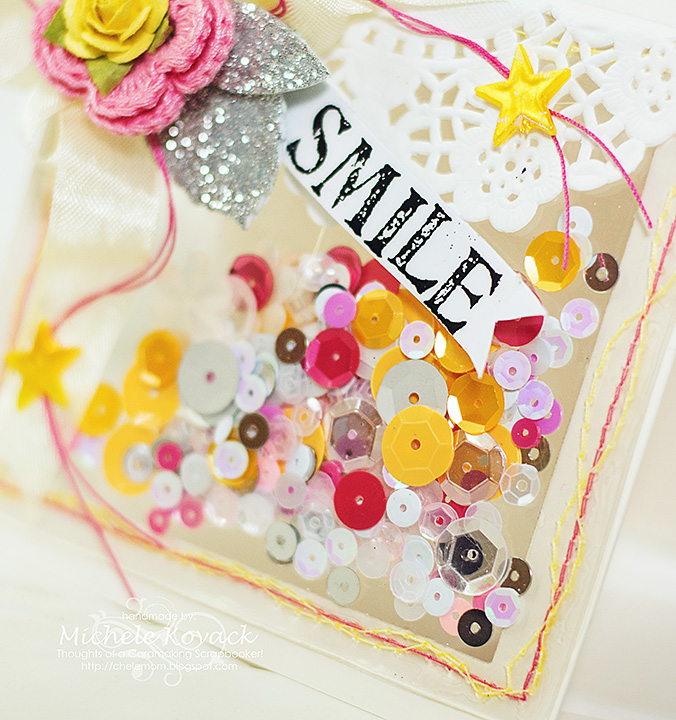
Good morning! Michele here with a fun shaker/window card! There is something so fun about an interactive card that is sure to make the recipient “smile!” (Pun totally intended!) LOL!
I used several Scrapbook Adhesives by 3L products to create this fun card!
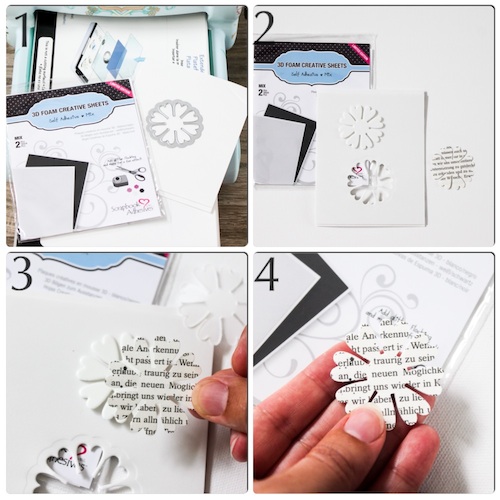
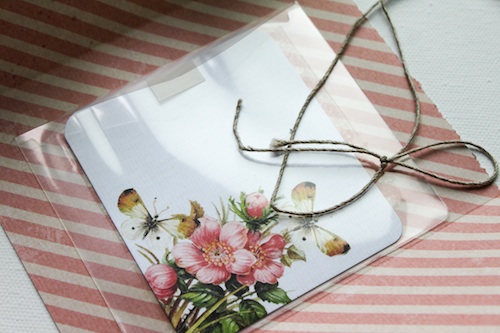
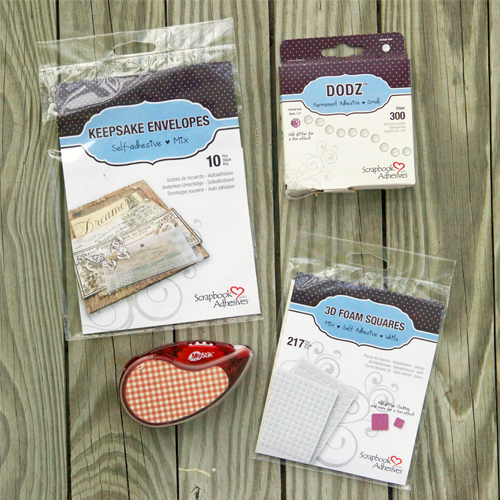
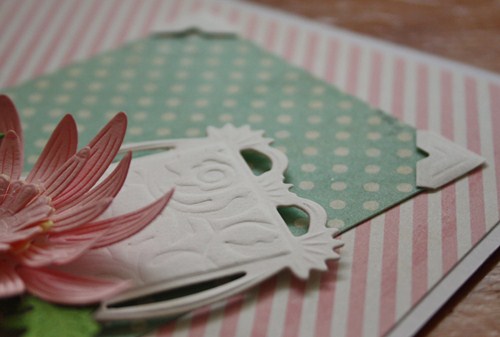
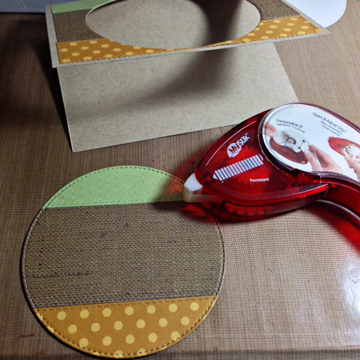
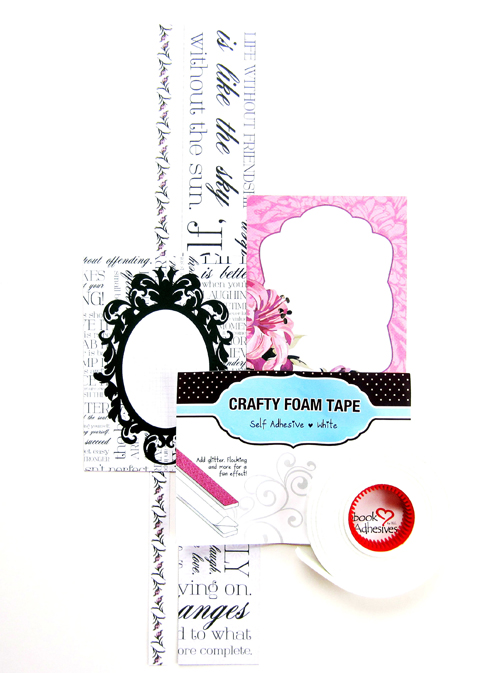
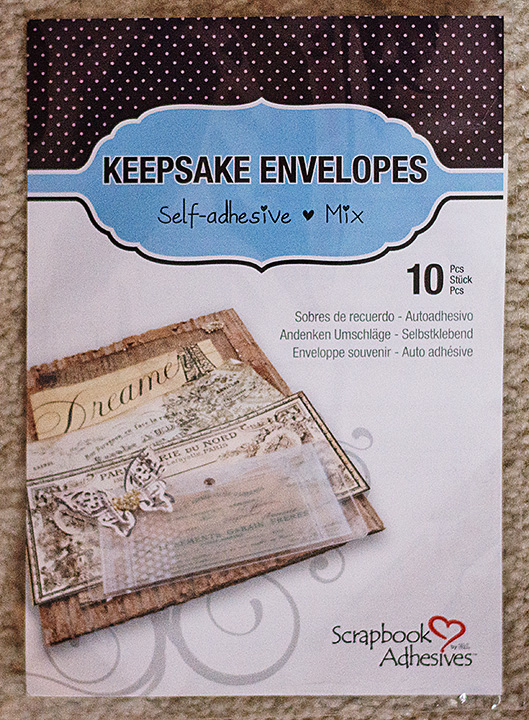
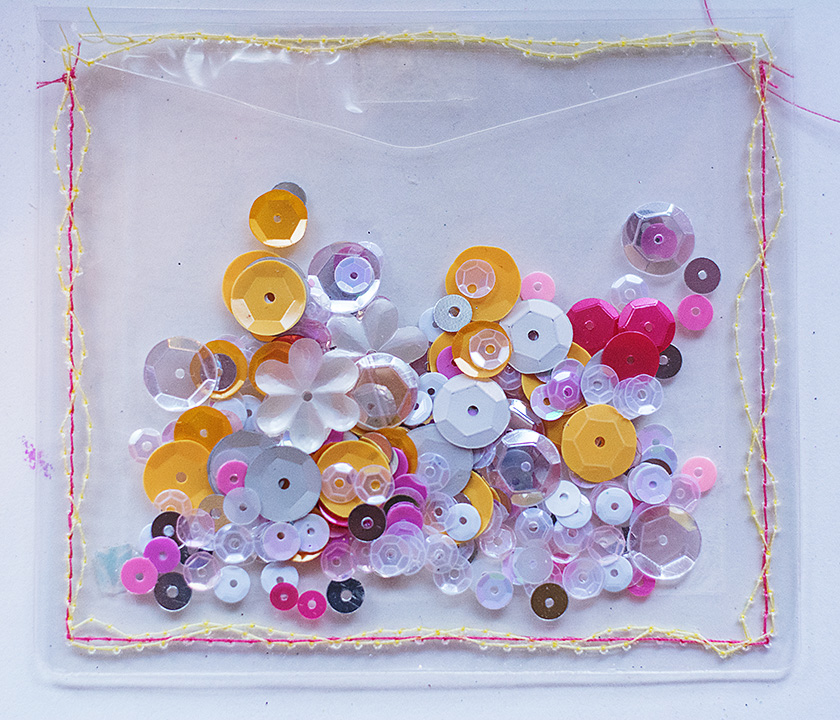
 I love these Keepsake Envelopes! They are super easy to transform into a shaker!
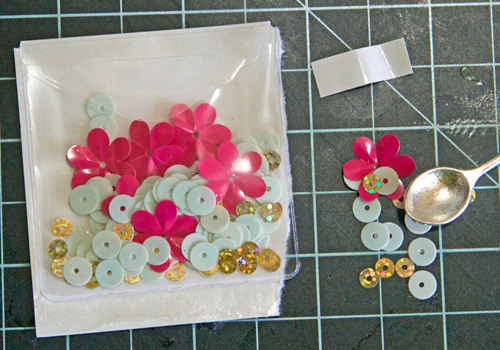
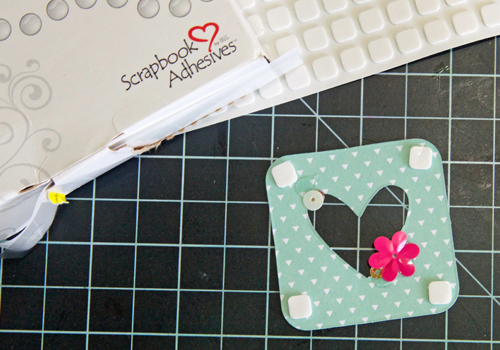
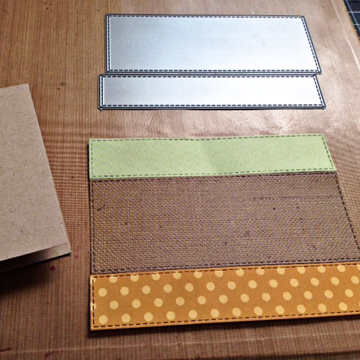
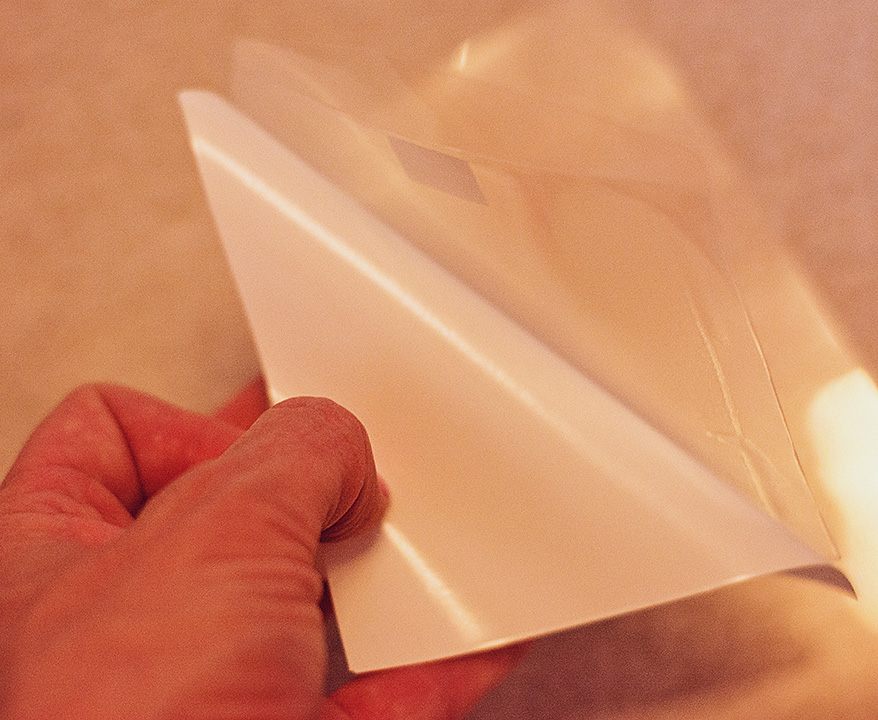
I pulled out one of the smaller envelopes for my card and also grabbed a clear acetate sheet to adhere it to.
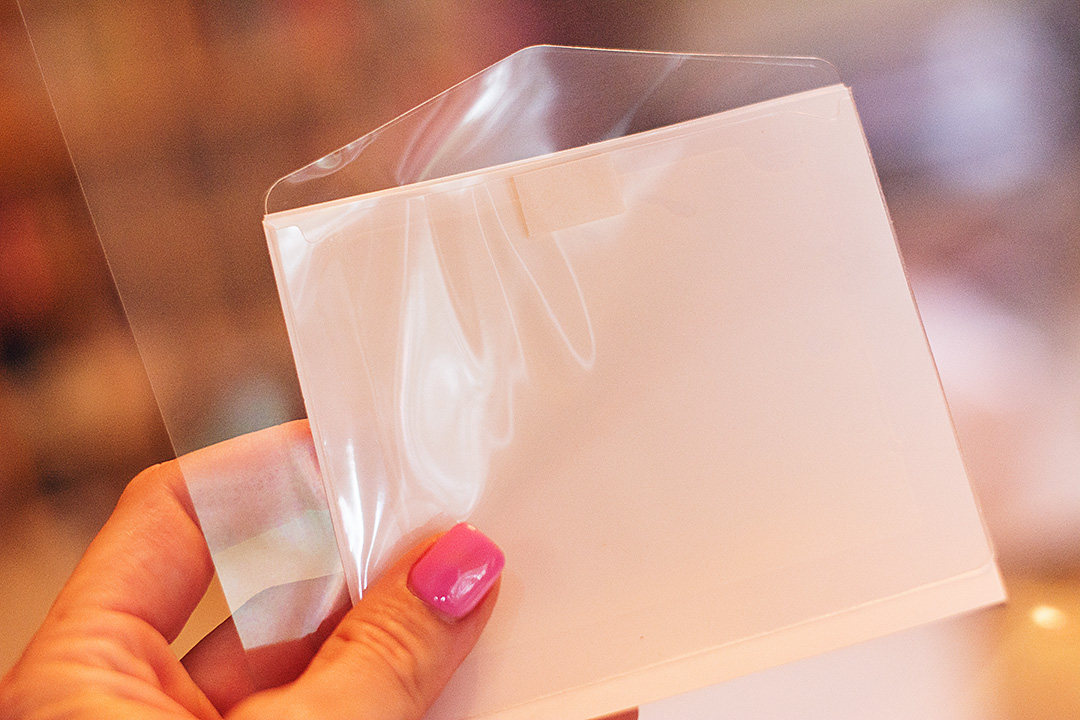
I love that it has a sticky back. I can just adhere it to the acetate with no messy glue!
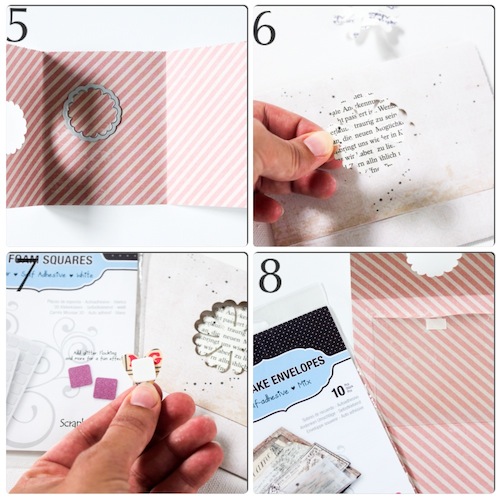
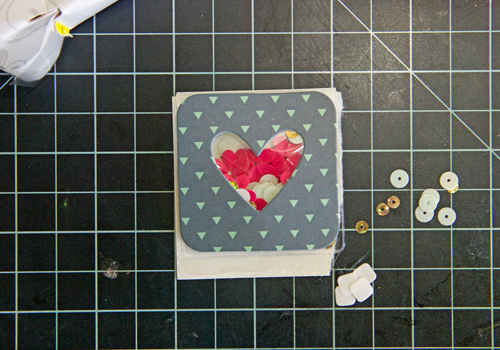
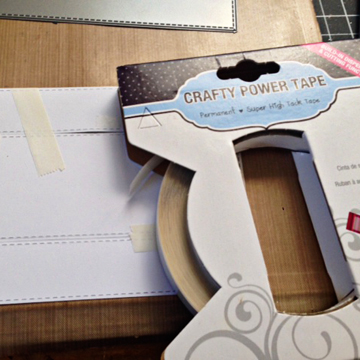
I wanted to define the edges a bit and give it a pop of color, so I did a bit of sewing with yellow and pink thread. Since I am not generally a very straight sewer, I purposely sewed in a wavy pattern. (Good cover up right?) 😉 I then filled it with sequins I liked and finished sewing the top shut.
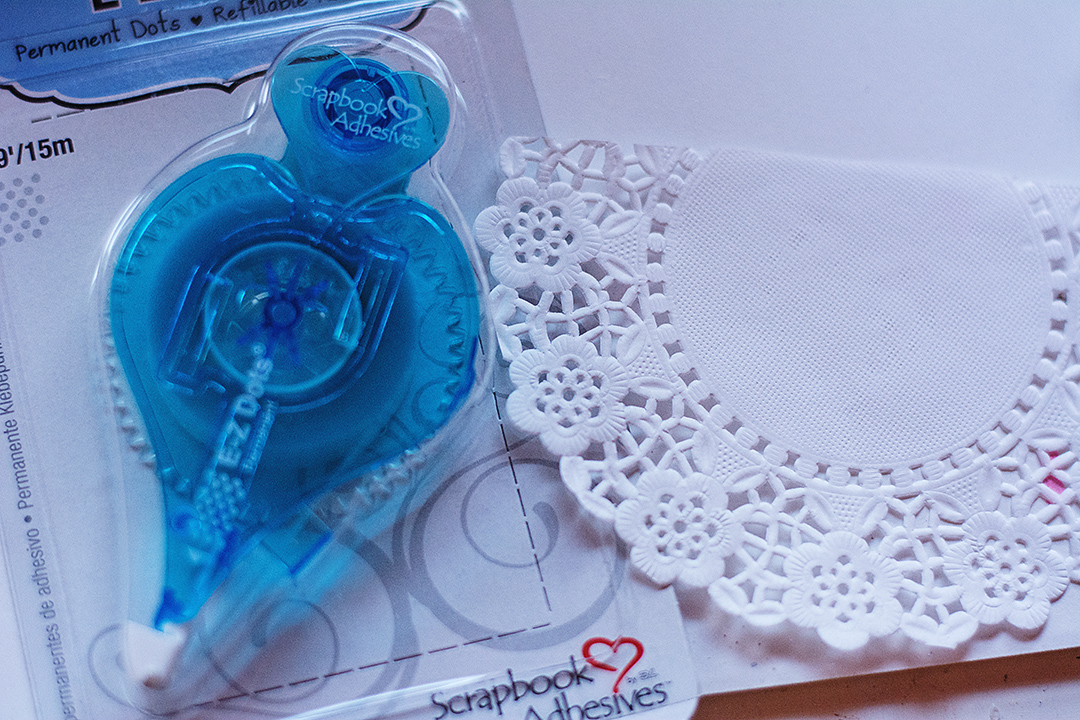
I love doilies and can’t seem to stop using them, so I wanted a touch of one at the top of the envelope. I used the E-Z Dots® Permanent to adhere the doily to the top.
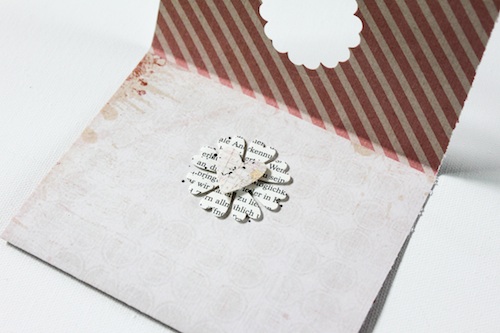
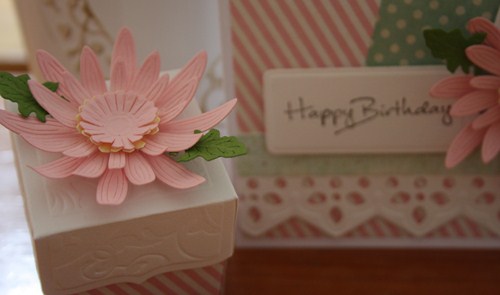
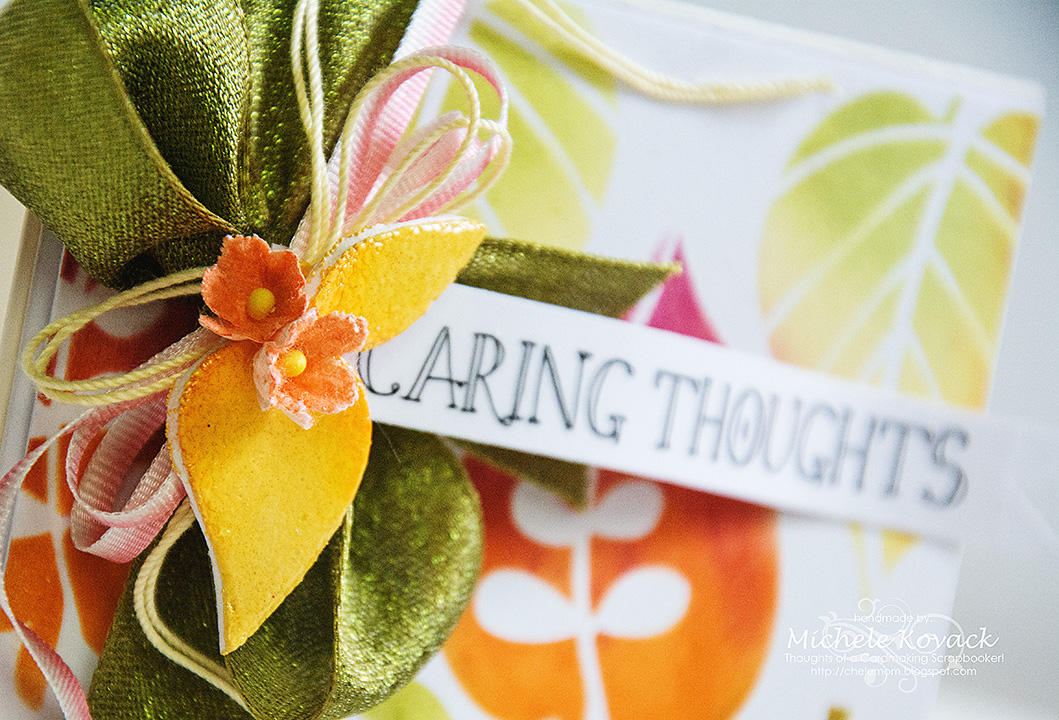
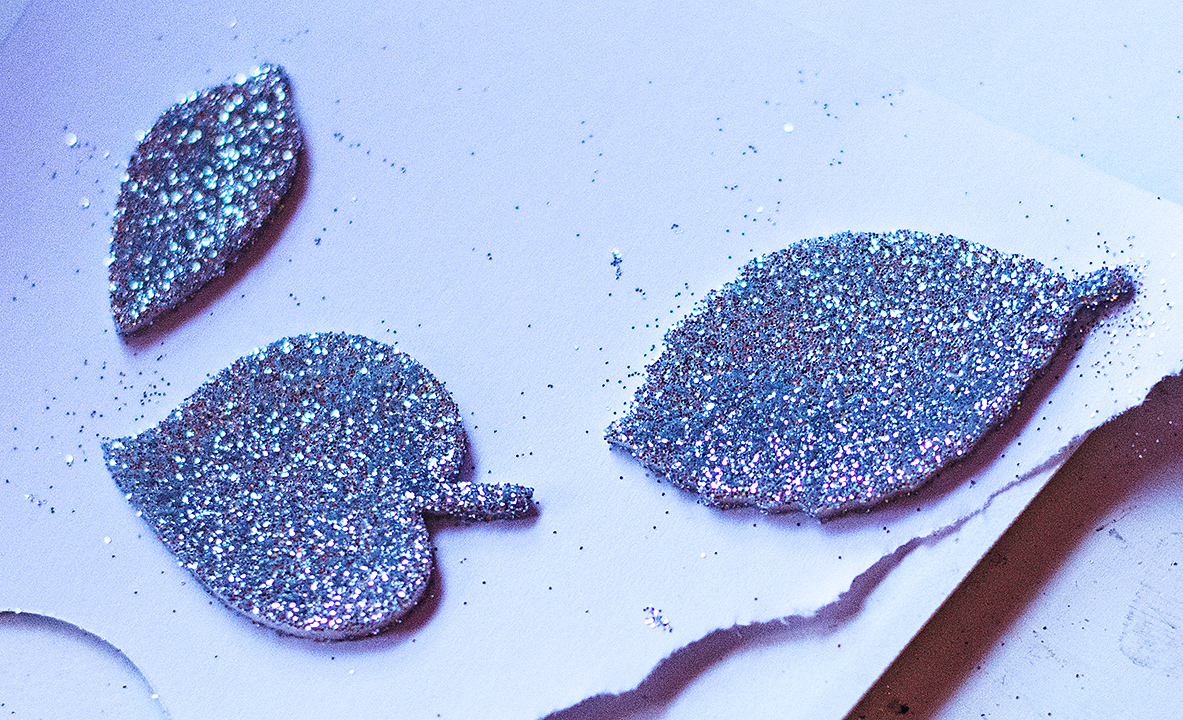
I wanted to add some leaves to my crocheted flower so I opened up the package of 3D Foam Leaves and gave it a good dose of silver glitter. Because who says leaves have to be green?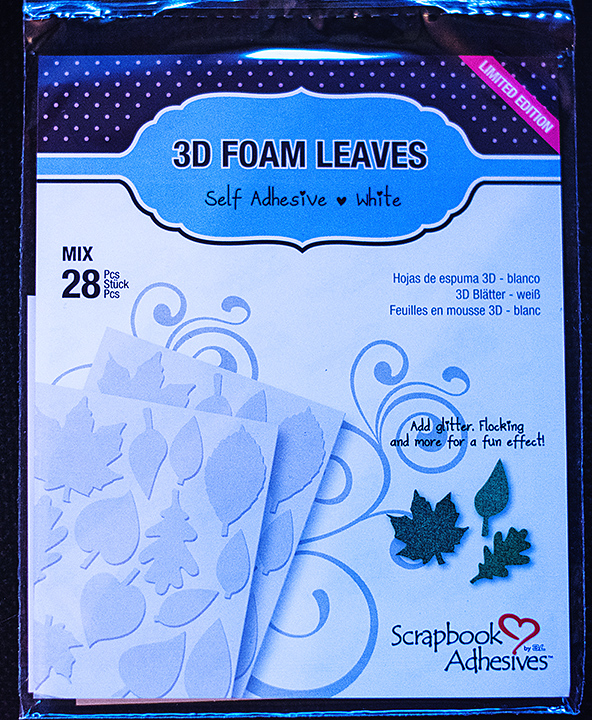
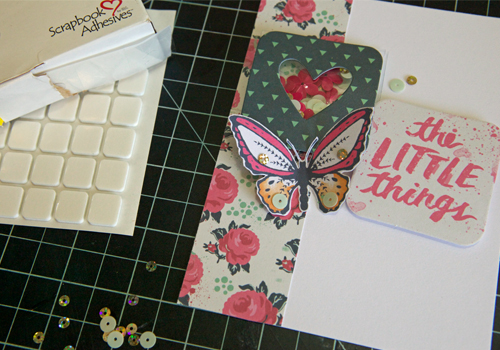
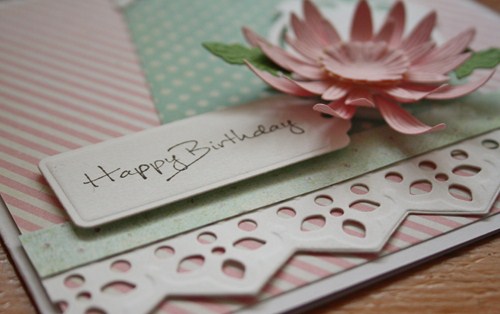
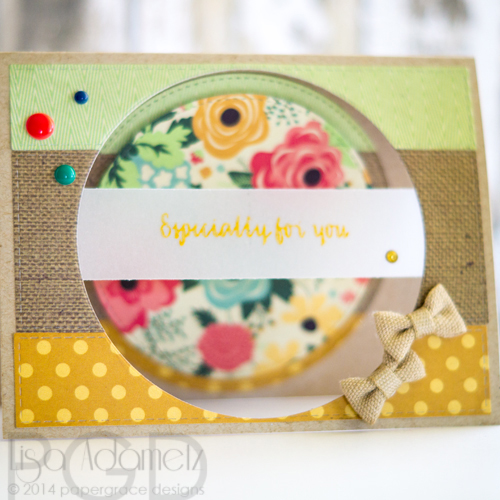
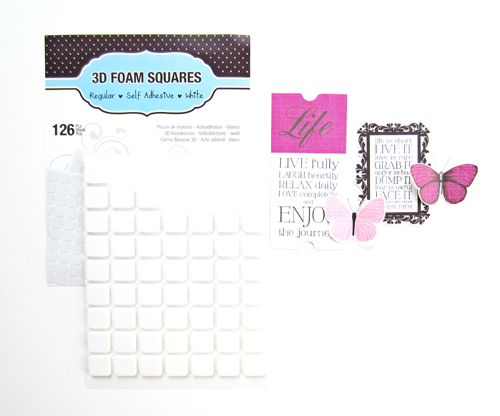
I pulled out a sentiment from SRM stickers and placed it on white card stock.
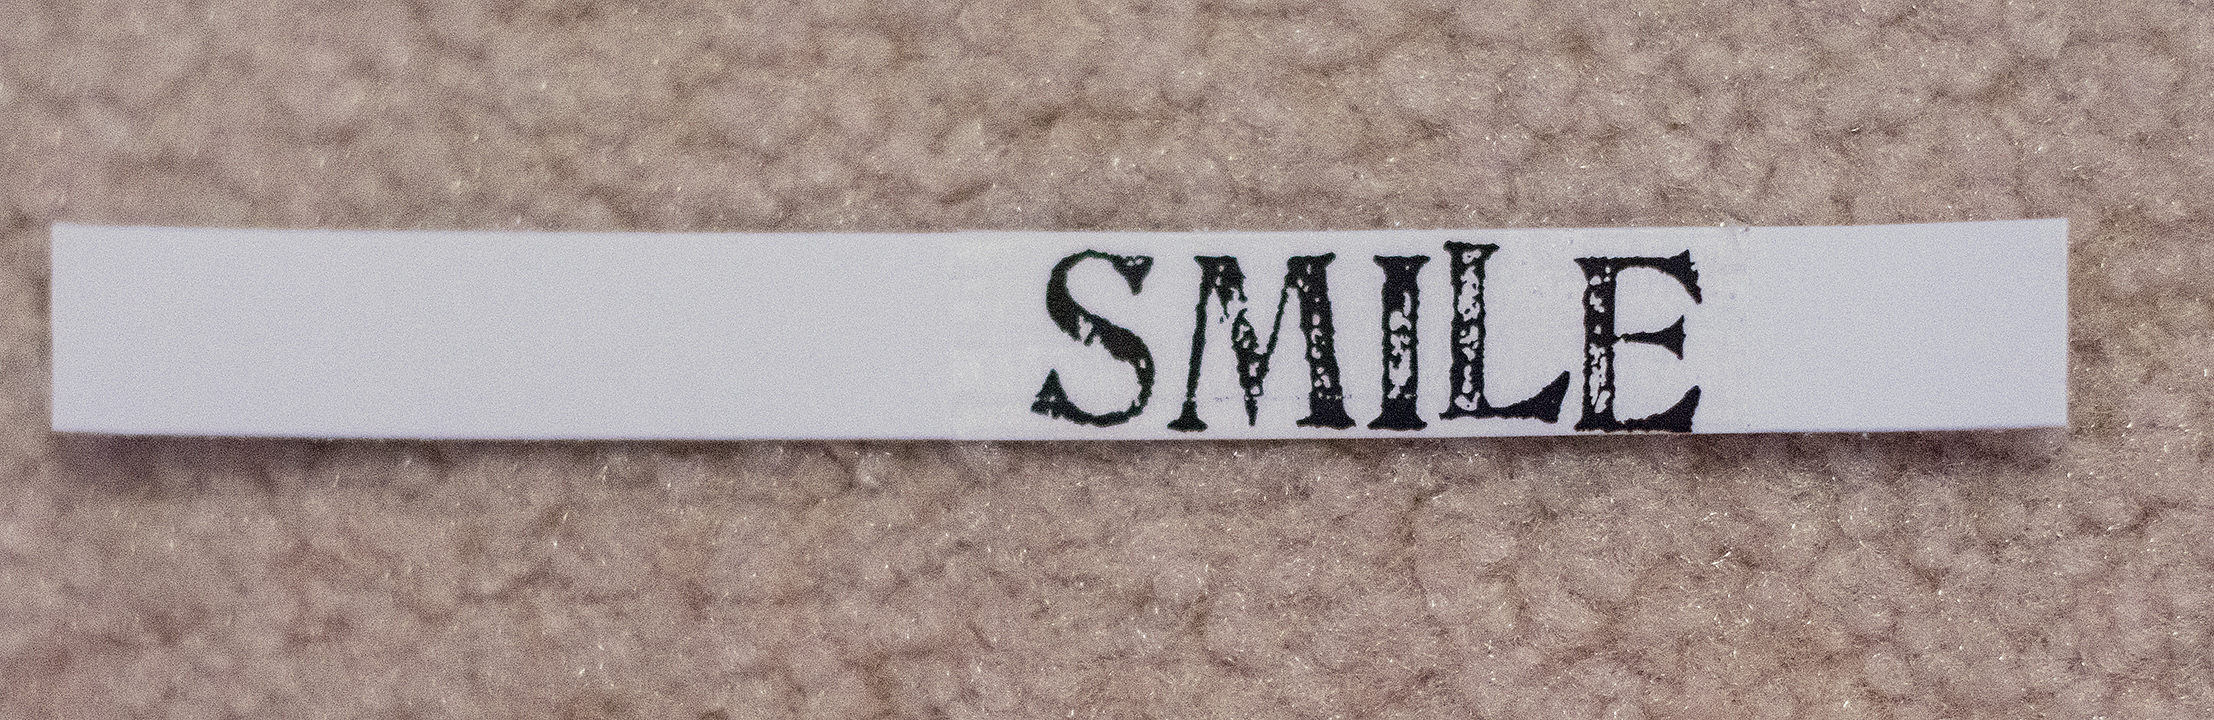
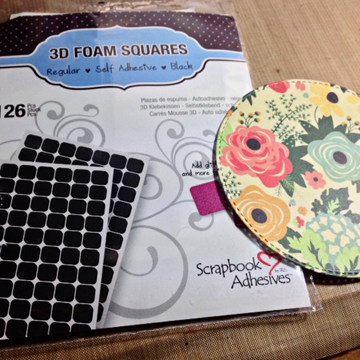
I used the 3D Foam Squares to adhere it to the card.
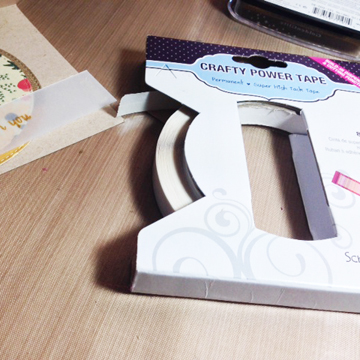
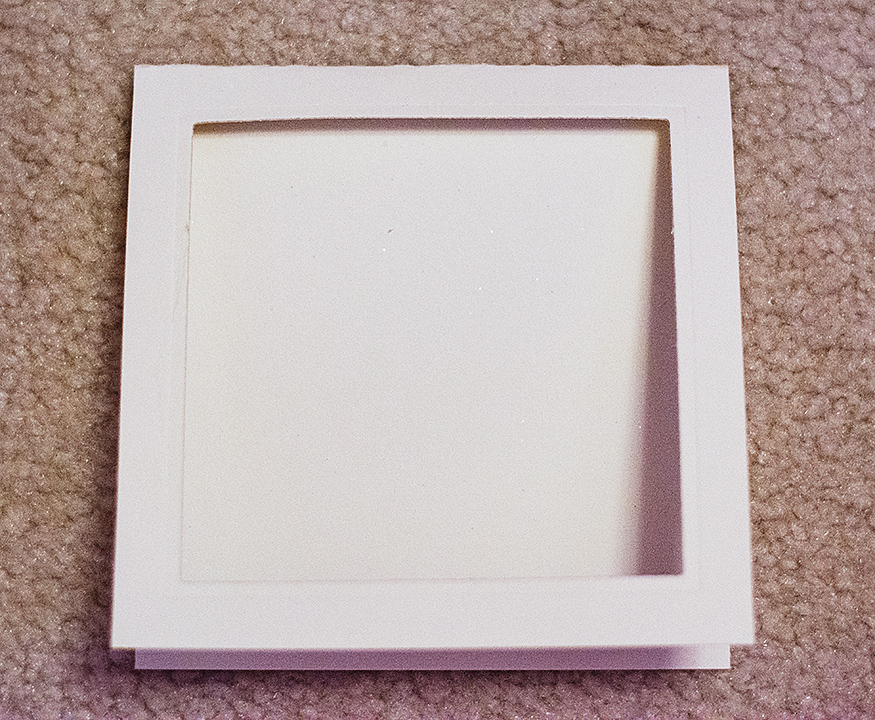
I cut a window out of my card using a square Spellbinder’s die.
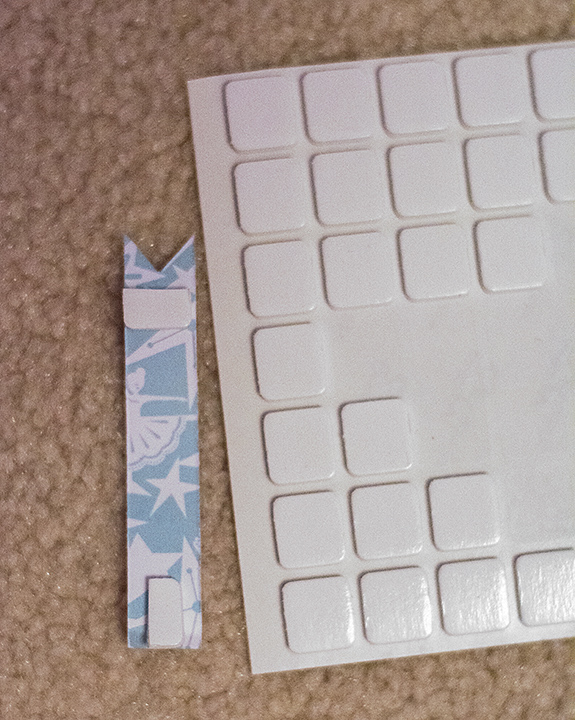
I used the Dodz™ to secure my little embellishments, like the stars and flowers.

Supplies:
- Dodz™-small
- 3D Foam Squares
- 3D Foam Leaves
- E-Z Dots® Permanent
- Keepsake Envelopes
- Spellbinder’s square die
- SRM sticker
- Sequins
- Acetate
- Sewing machine
- Doily
Thanks so much for joining me today!