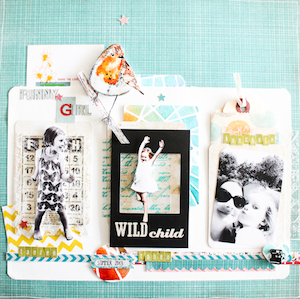
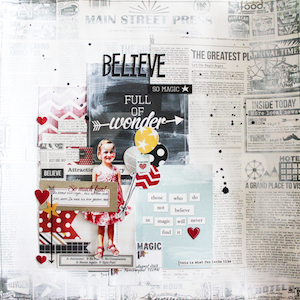
Welcome to Day 1 of our Blog Hop with Stampendous! We’re thrilled to bring you a week of creative and fun projects! Today I’m starting with … keepsake mini album pages!
The canvas cover for my album was one of my recent DT projects for Stampendous but now it was time to decorate the pages. And what better week to share the finished album than during the blog team up of my two favourite companies :). There are quite a few pages in my album so the ones shown here are just a selection – if you’d like to see the rest of the album, I’d love you to visit my blog and see my today’s post.
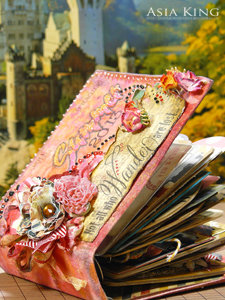
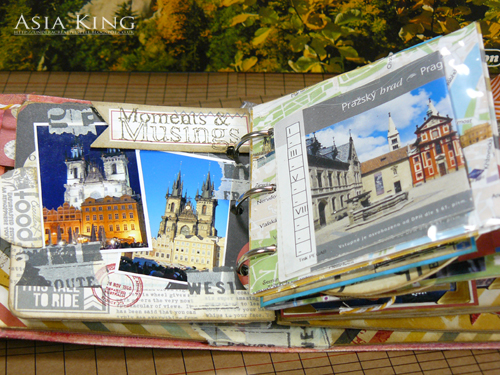
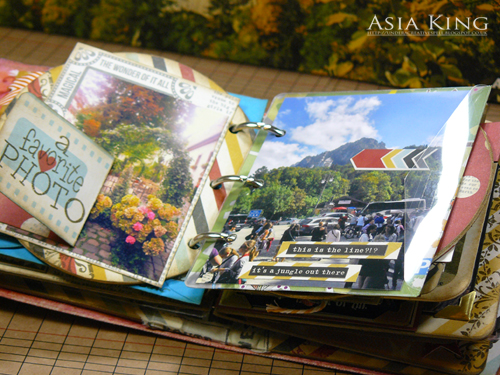
There are lots of photos here today so grab yourself a cuppa, make yourself comfortable and let’s begin! For my album pages I used fabulous papers and stickers from Say Cheese collection by Simple Stories.
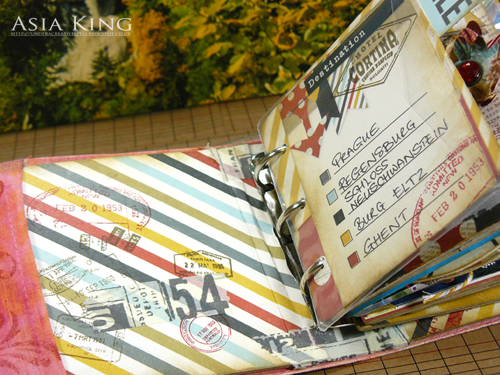
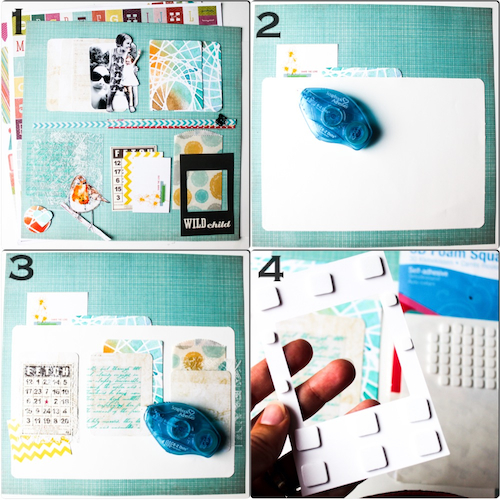
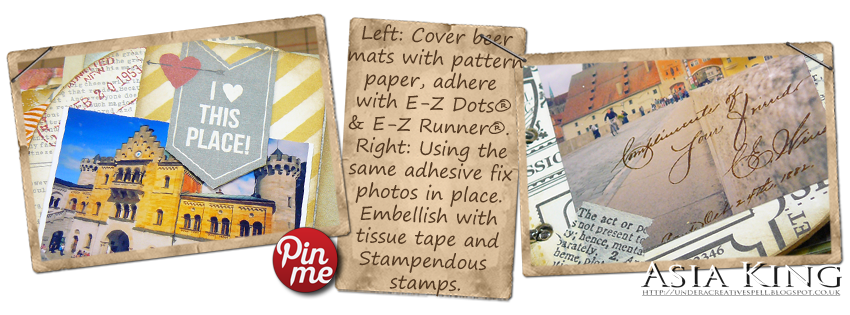
The inside chipboard covers were decorated with papers, adhered with E-Z Dots® Permanent around the curved edges and filled with E-Z Runner®.
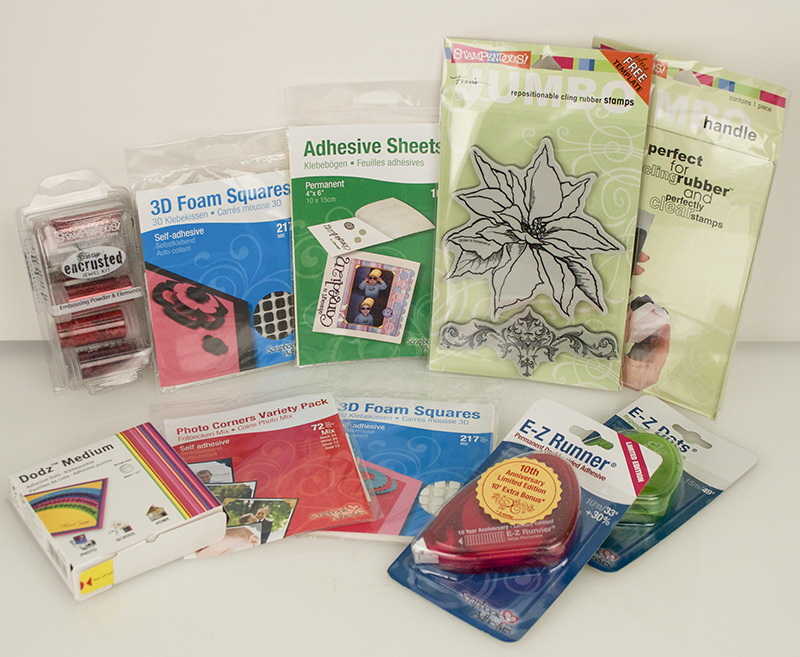
Throughout my album I used a generous bunch of Stampendous stamps:
Cling Better Travel and Fresh Bloom, Perfectly Clear™ stamps Smashing Notes, Soaring Sentiments, Butterfly Charms, Air Travel, Baggage Claim, Elegant Borders, Tiny Alphabet.
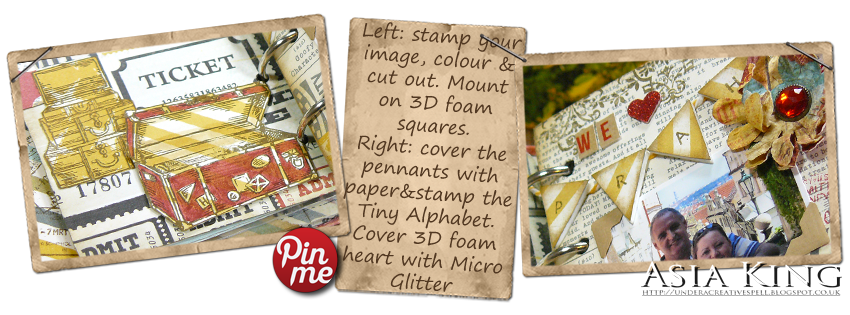
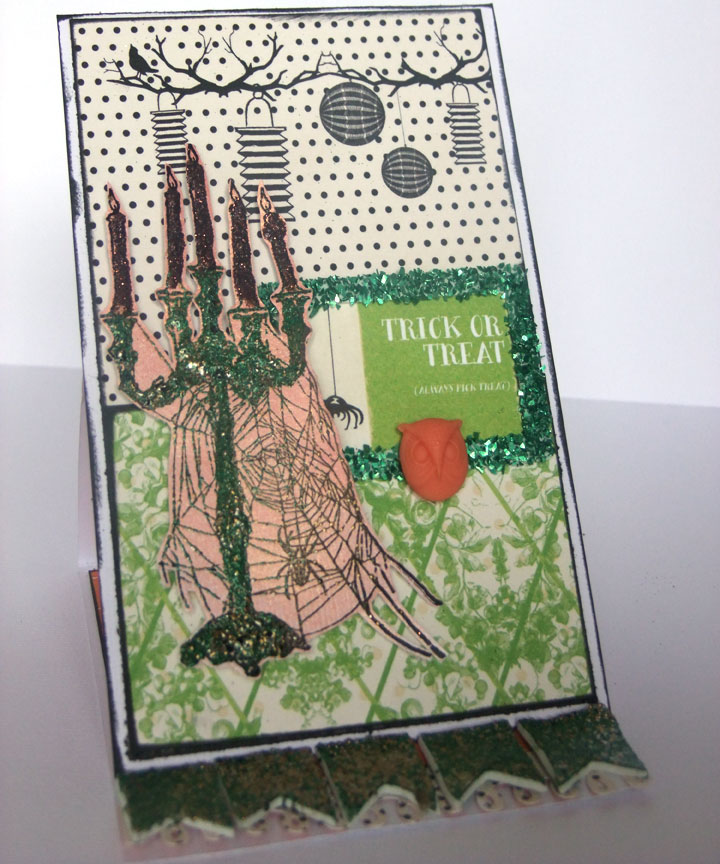
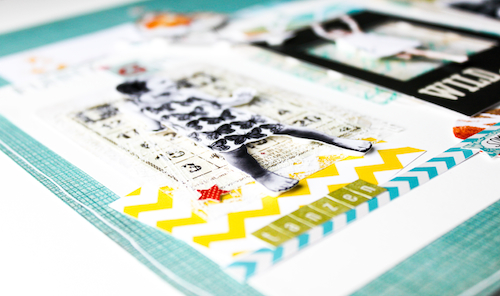
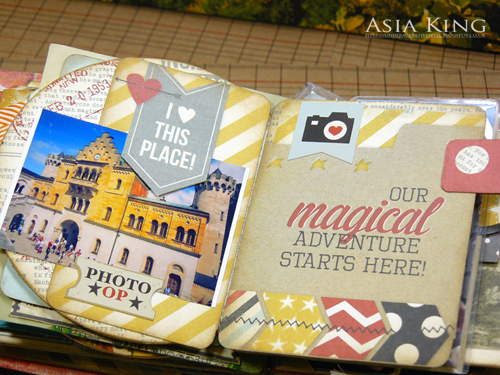
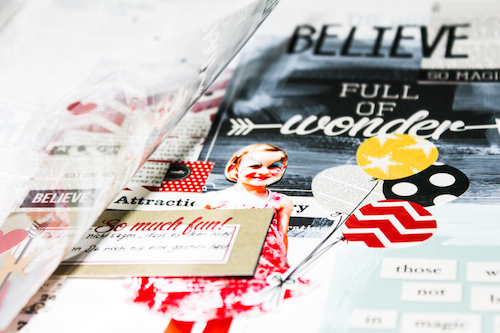
Have you tried our new 3d foam shapes yet? This cool banner was made with 3D Foam Pennants covered with patterned paper and stamped with the Tiny Alphabet.

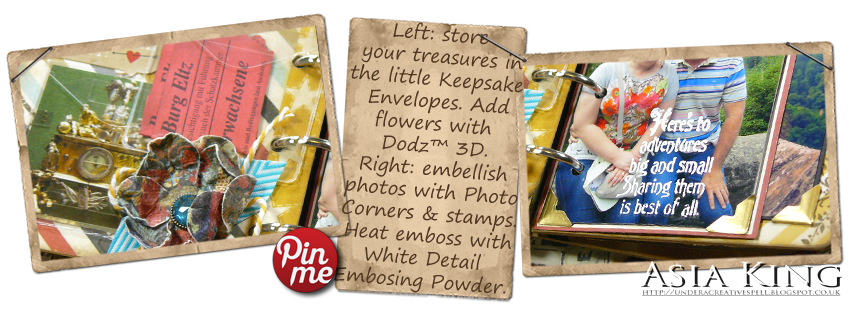
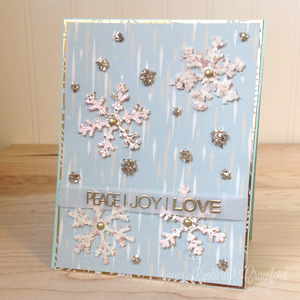
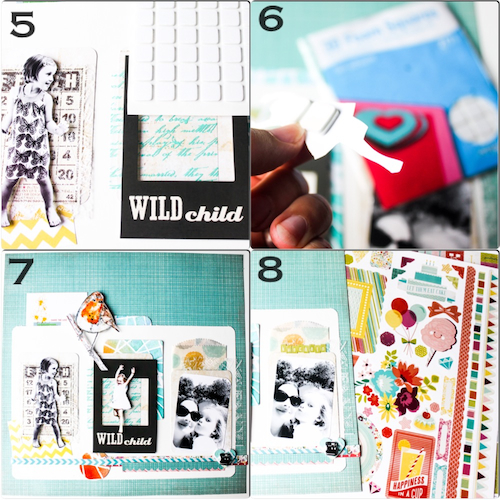
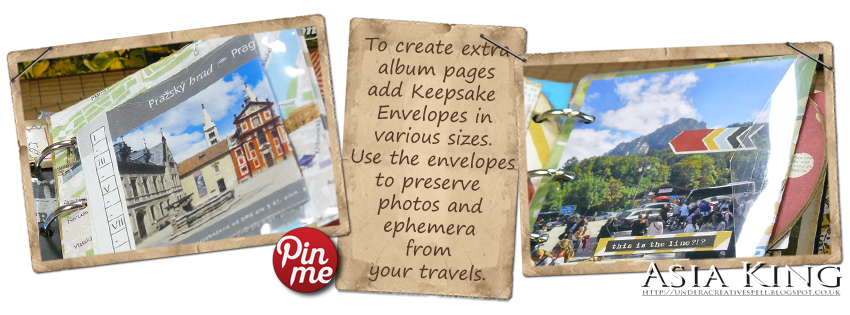
You can hide all your little treasures, entry tickets etc in those cute little Keepsake Envelopes. Also add stamping to your photos with embossing ink and White Detail Embossing Powder.
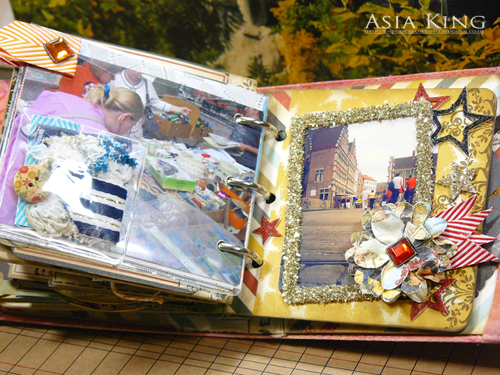

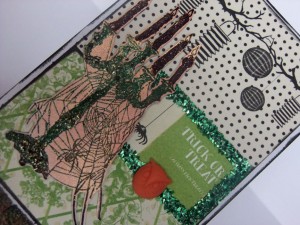
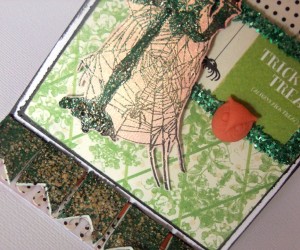
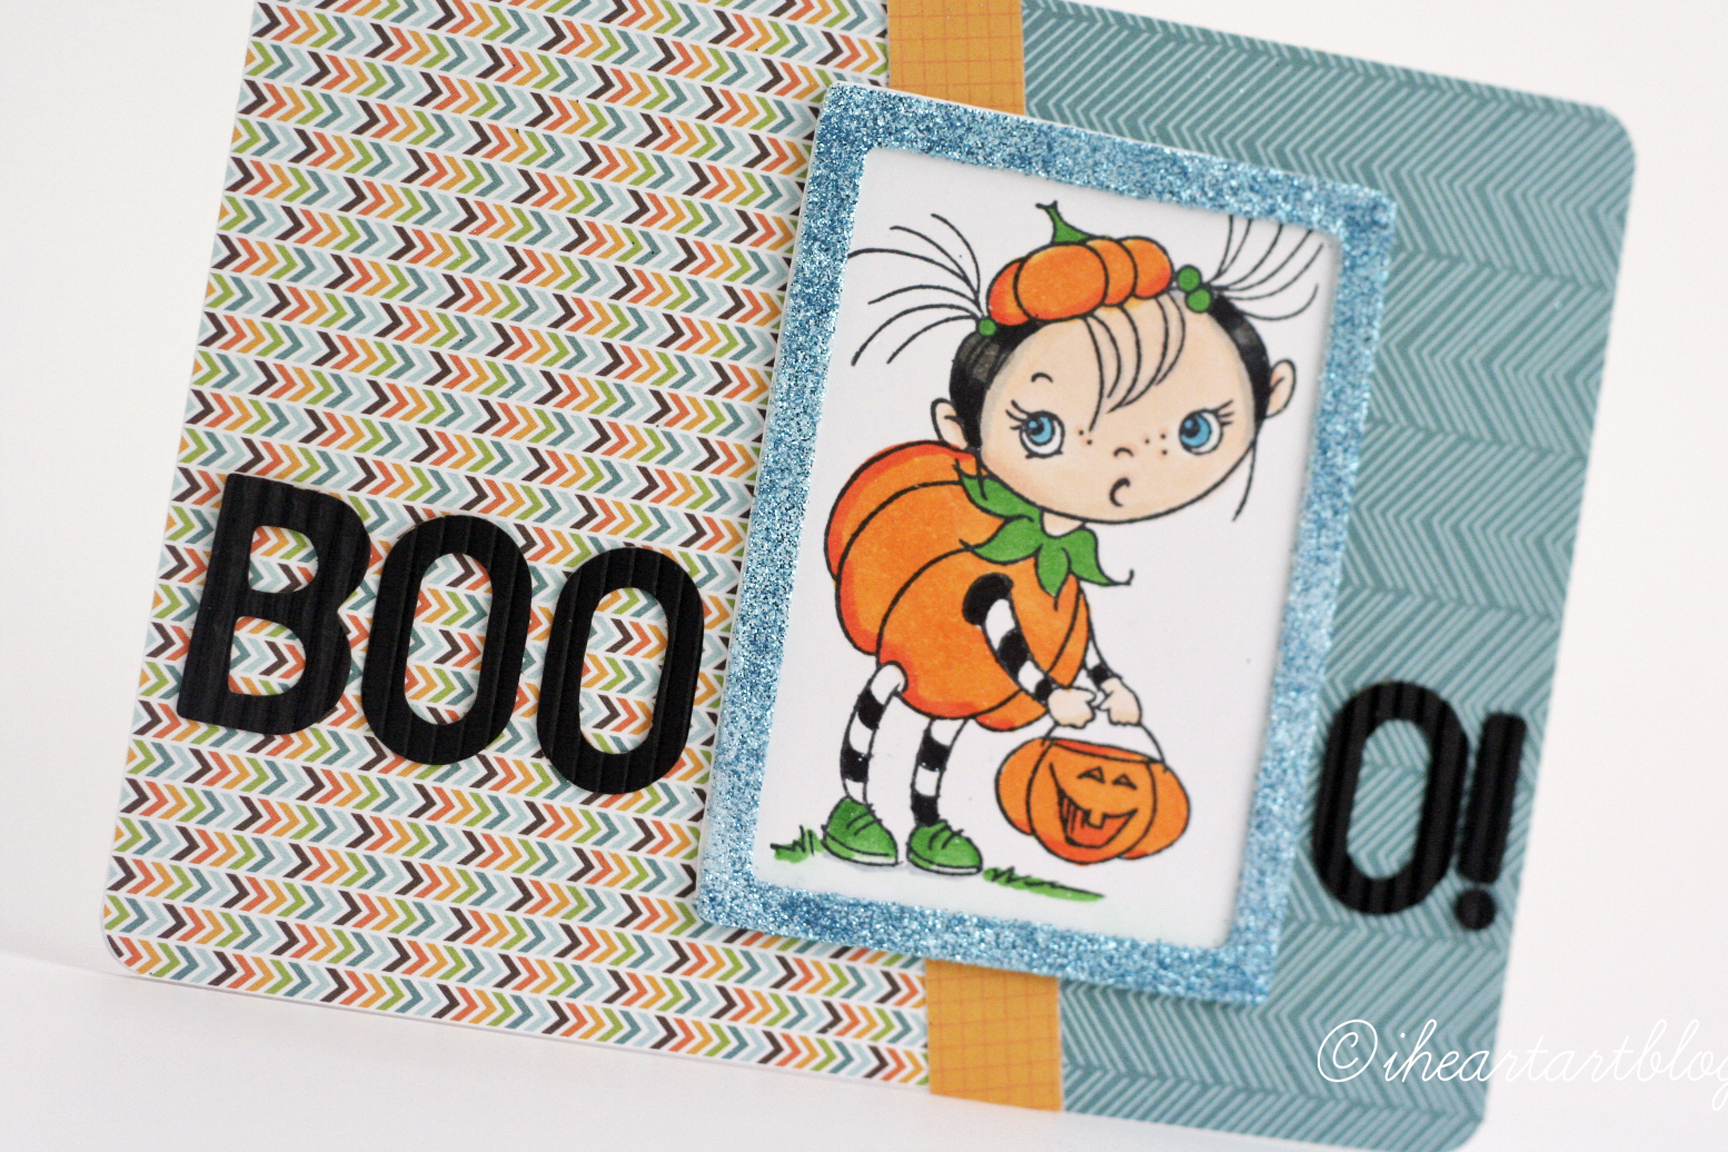
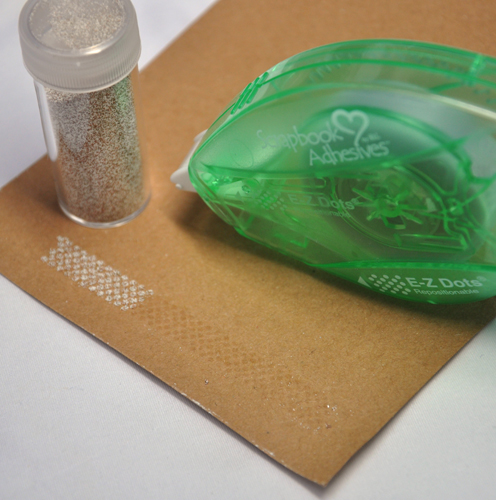
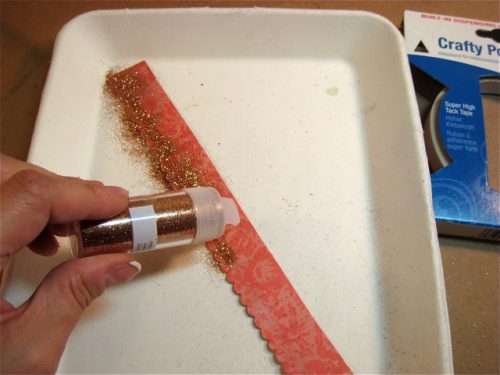
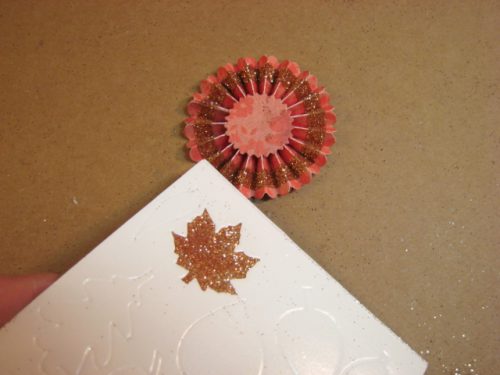
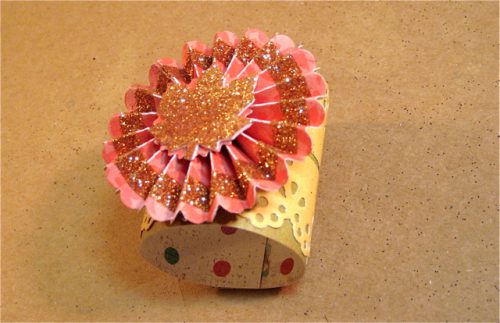
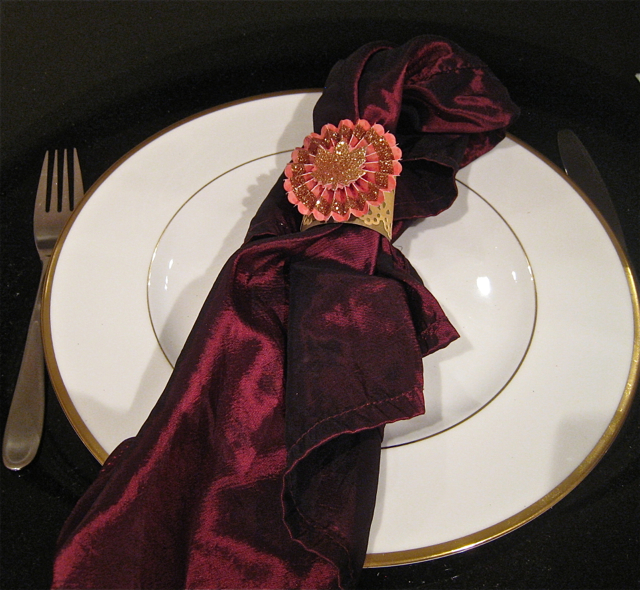
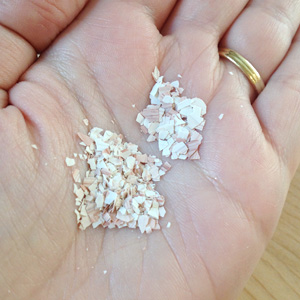
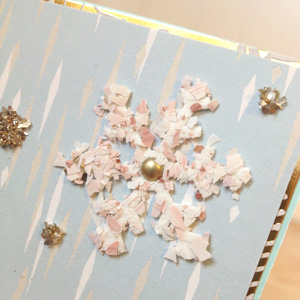
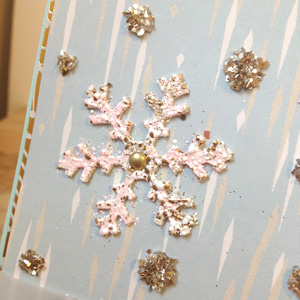
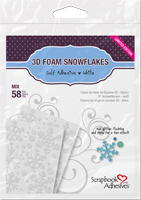
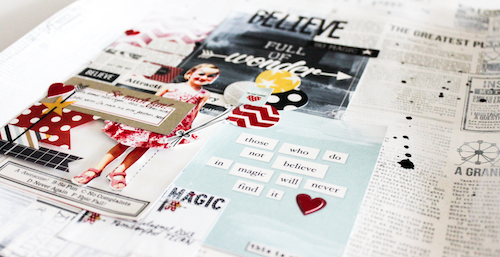
Add sparkle to your 3D Foam Stars and Frames with Champagne Crushed Glass Glitter, Red Micro Glitter and Black Detail Embossing Powder.

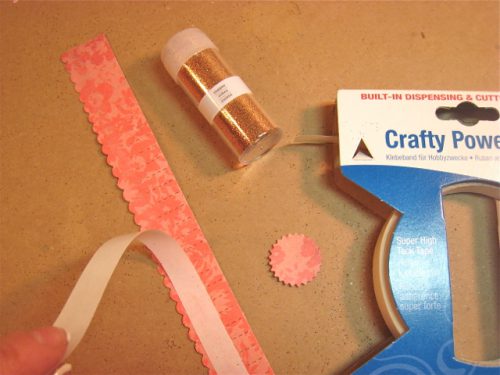
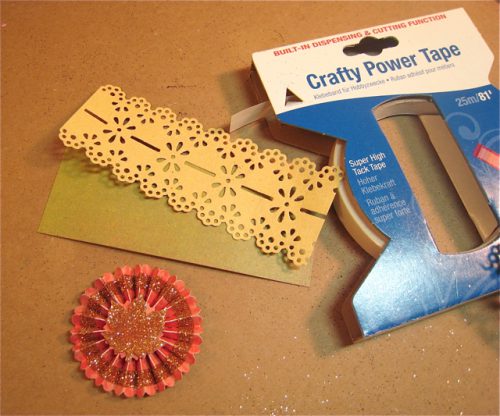
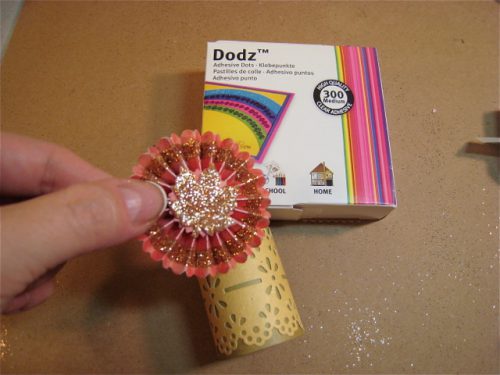
To mount my paper and ribbon tabs I used MyStik and to adhere the layered flowers I used DODZ™ – 3D.
We’re hopping all week, so please come back each day for new posts!

Each day is a new chance to comment to win one of three prize packages! (note that stamp designs & glitter colors will vary). Comment here, then hop over to Stampendous for their inspiring projects and more chances to win!

So here is who’s playing today:
Asia King (yours truly!)
Kristine Reynolds
Stampendous! Impressions
Other:
Simple Stories – Say Cheese collection
Prima Marketing – Essentials 5 flowers
Ranger – Archival Coffee ink, Archival Vermilion ink, Frayed Burlap Distress Ink
Maya Road – mini album
May Arts – ribbon
Save


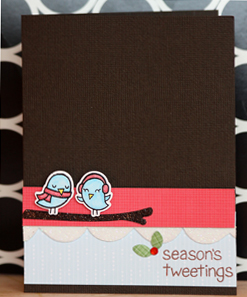
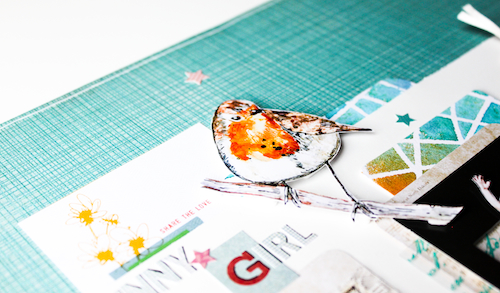
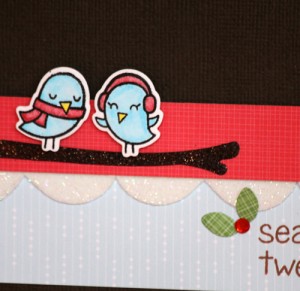 Aren’t those birds cute! I {heart} them!