Greetings from the Scrapbook Adhesives by 3L® home office in Denmark! It’s Beth, and I’m blogging from Denmark! I’ve had a wonderful week here with meetings, the chance to meet my co-workers in the office and even a member of our Design Team, Iben Hojholdt!

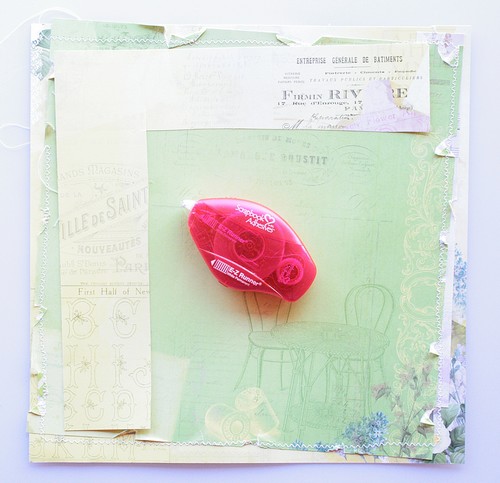
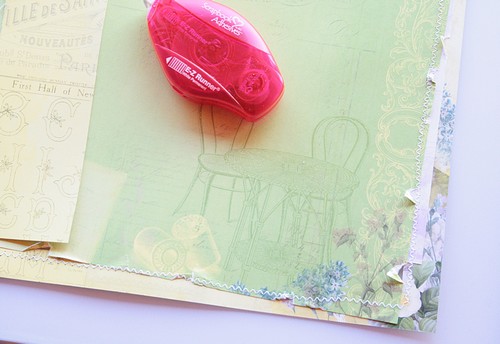
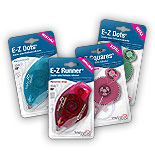
And they even made me work the assembly line in the factory! Those are the new 10th Anniversary E-Z Runners® with additional 10% more adhesive in them! Ask for them at your favorite retailer!

Denmark is beautiful, even though my Global Marketing Director Betina Lind Krarup has apologized for the weather (it’s no better in Chicago!), I have had a wonderful welcome here! Let me be honest, I’ve never traveled to Europe before, so I was a little bit nervous, but the travel was smooth. I’m a picky eater and I was afraid of the cuisine, but I have had nothing but delicious food, and I even tried new things (that’s huge for me!)
Betina has been a wonderful hostess, we’ve had a chance to visit historical places such as a restaurant from 1640, a church from the 1800’s, a fishing village and a castle,where we were able to climb to the top of the tower.


Oh yes, we’re getting a lot done on the business front, but just wanted to share a bit of the behind the scenes fun too!
Happy Friday!
Beth Pingry