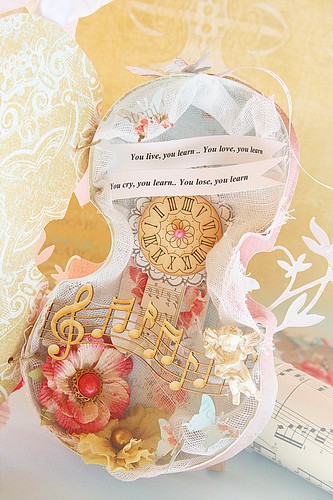
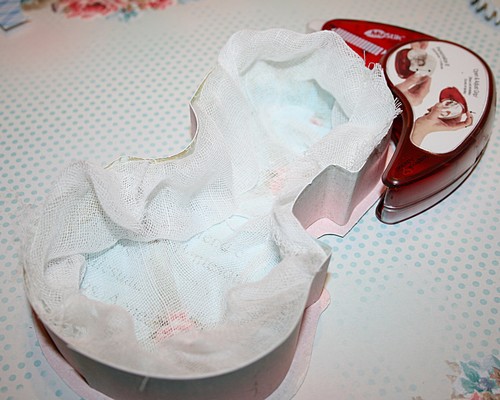
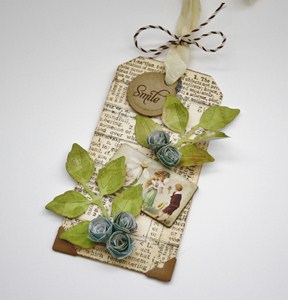
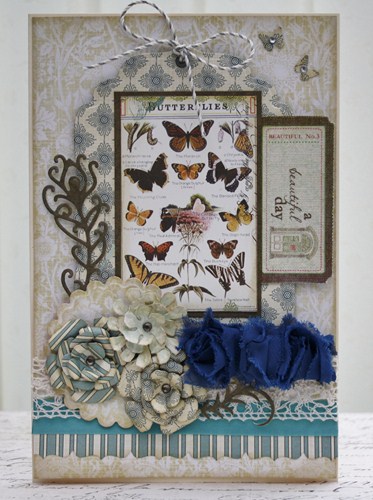
Hi, it’s Beth! I can’t believe it’s June 1 already! Today I used Repositionable Adhesive as a mask. I used E-Z Dots® Repositionable adhesive and Glimmer Mist on the dress form to create the pattern!

To make the pattern I die cut the shape, then covered it with lines of E-Z Dots® Repositionable adhesive.

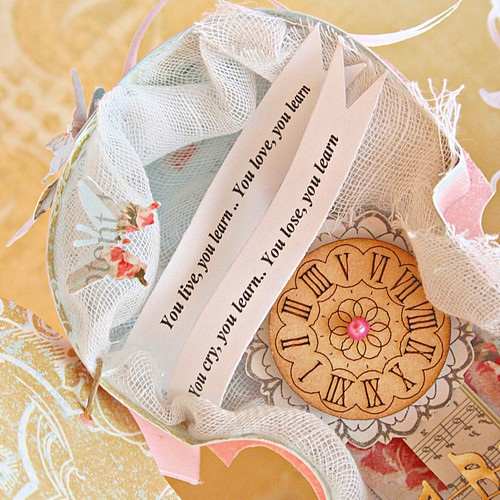
I sprayed 2 shades of Glimmer Mist, allowed it to dry, then rubbed the E-Z Dots® off with my finger to reveal the background color. I stamped an image, added bling, a flower and a wire hanger to finish it off.
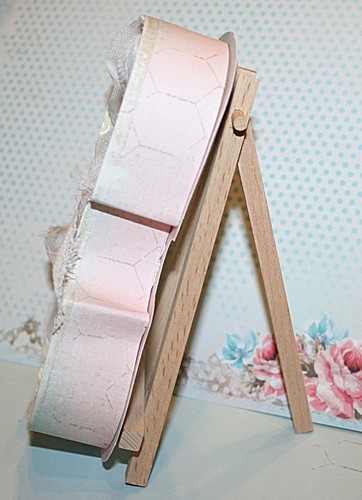
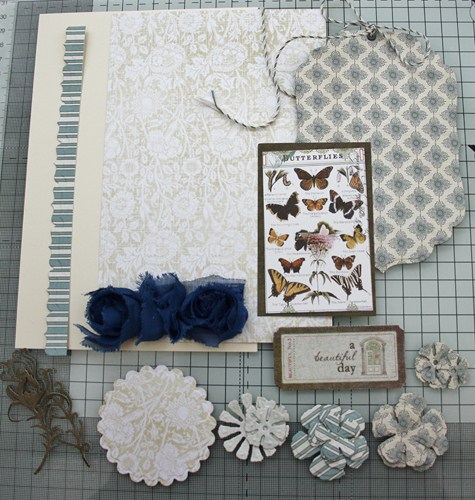
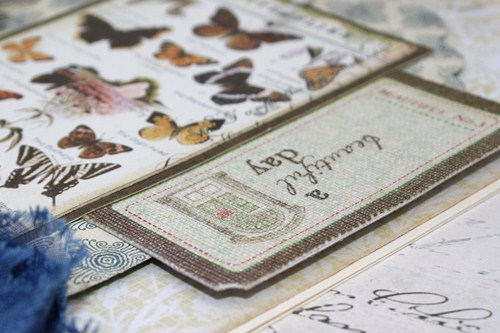
The rest of the tag used burlap, a printed image, flowers, ribbon and more bling!
Thanks for stopping by today!
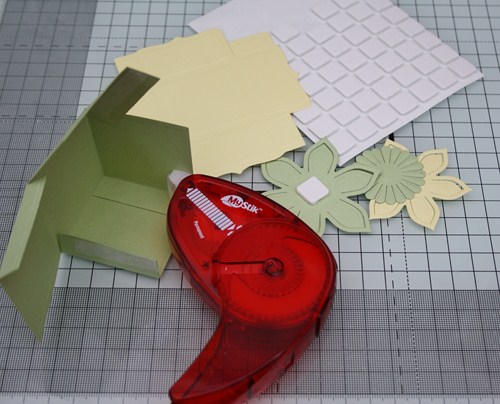
I used these supplies:
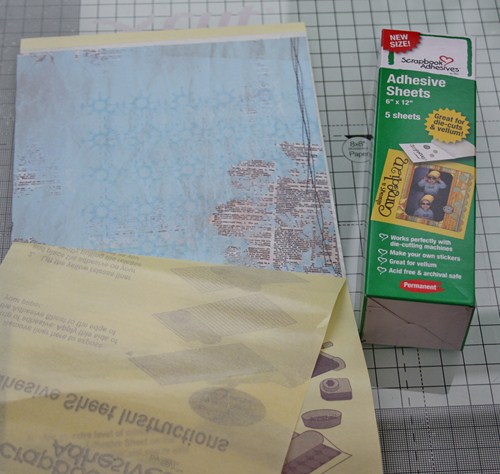
- Scrapbook Adhesives by 3L™:
- E-Z Dots®, Adhesive Sheets, 3D Foam Squares, DODZ™ Small
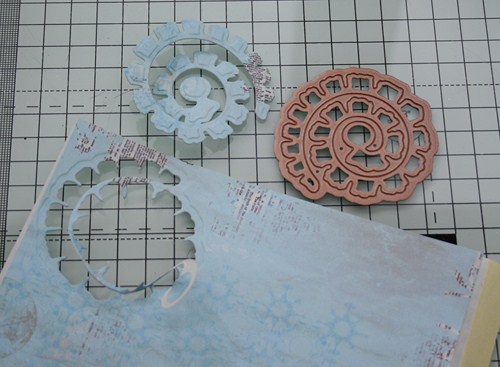
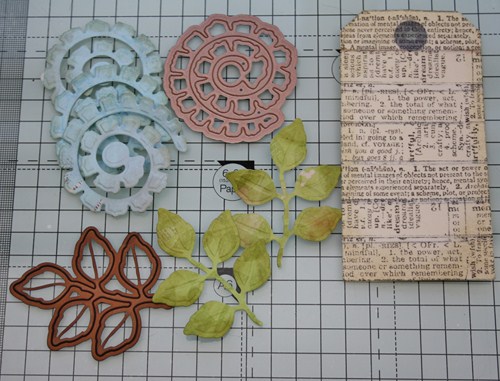
- Spellbinders™: Grand Calibur® machine, Decorative Dress Forms die
- Prima Marketing: Delightful Day Col Glimmer flowers, Say it in Crystals
- Glitz Design: Whatnot French Kiss image
- Tattered Angels: Antique Brass, Sugar Maple Glimmer Mists
- Canvas Corp: Burlap sheet
- Creative Impressions: Silk Ribbon
- Inkadinkado®: Paper Artsy Post mark stamp
- Tsukineko®: Memento Tuxedo Black ink
- Stanislaus Imports: Elements wire hangers
- Other: mailing tag
Have a great day!


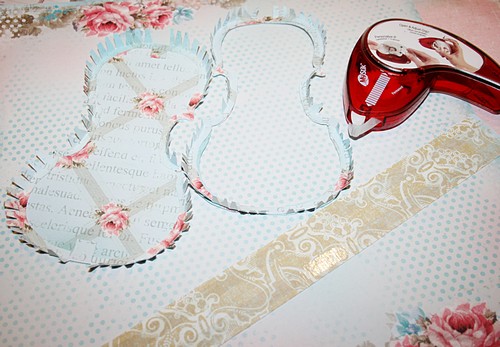


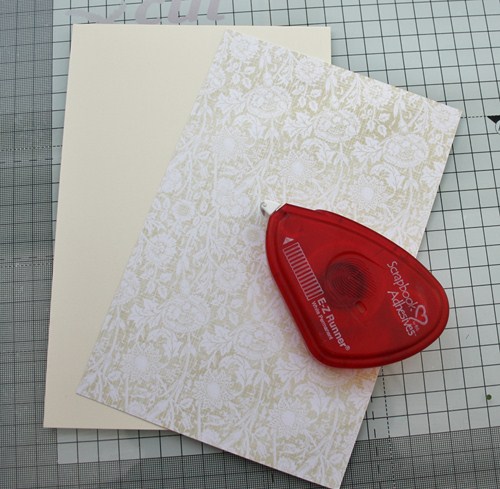
 Place your die template of choice cutting side up on your base plate. Make sure to lay your folded card stock on top of the die, folded part of the card inside the cutting edge as shown. This will create your shaped card base.
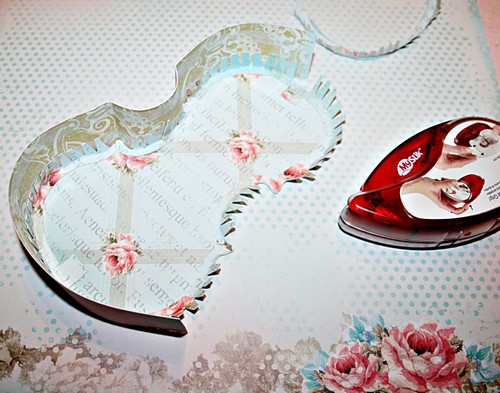
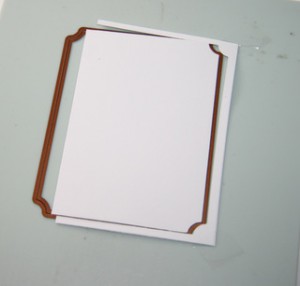 This should be the what you have after cutting.
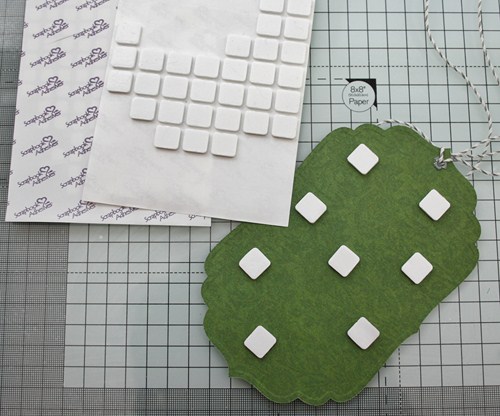
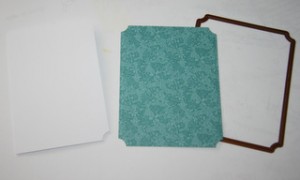 Die cut and emboss your card front from patterned paper and the same die. Die cut a piece of white cardstock with a slightly smaller die, set aside.
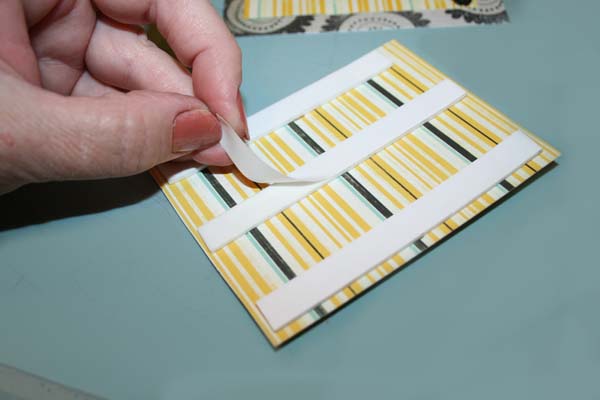
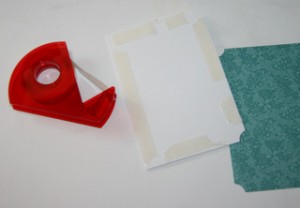 Place strips of
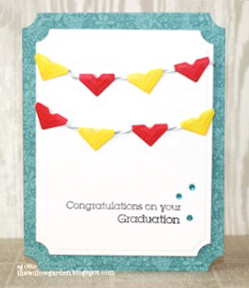
 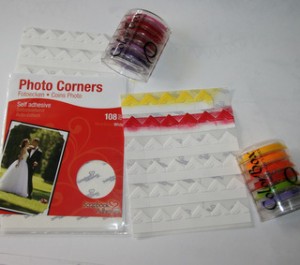 Pick your ink colors for the banners, and ink the
 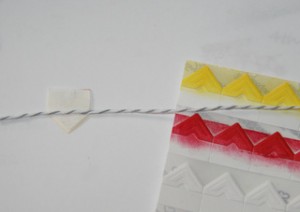 Take one
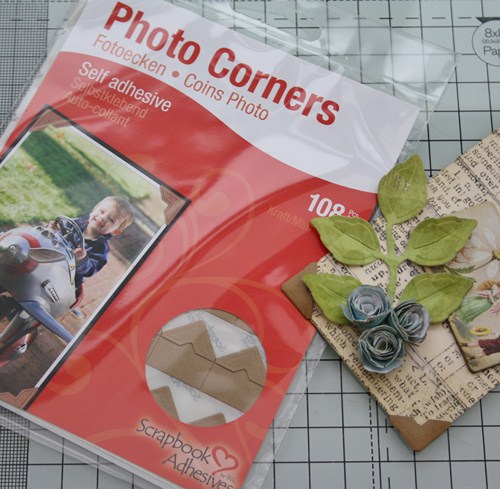
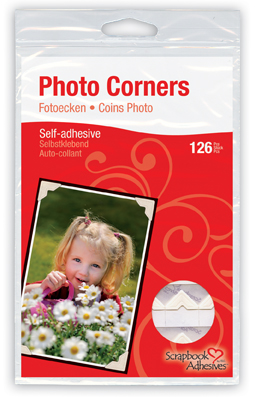
 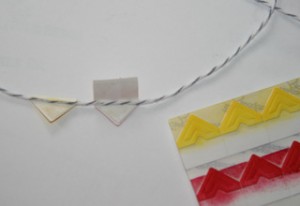 After trimming the square down, fold the what’s left of the flap over the string. Since the Creative Photo Corners are self-adhesive, it will hold itself to the twine. Repeat as needed with alternating colors.
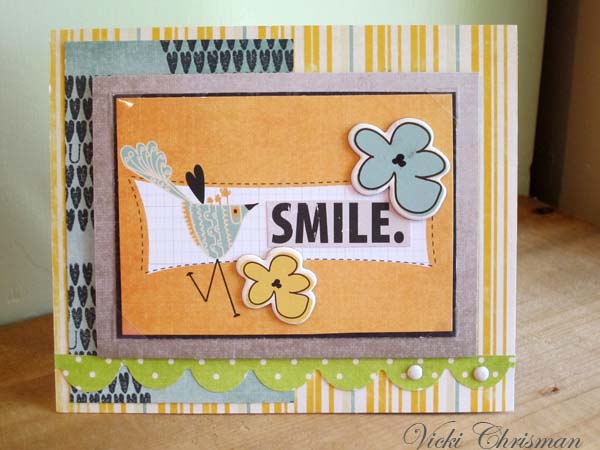
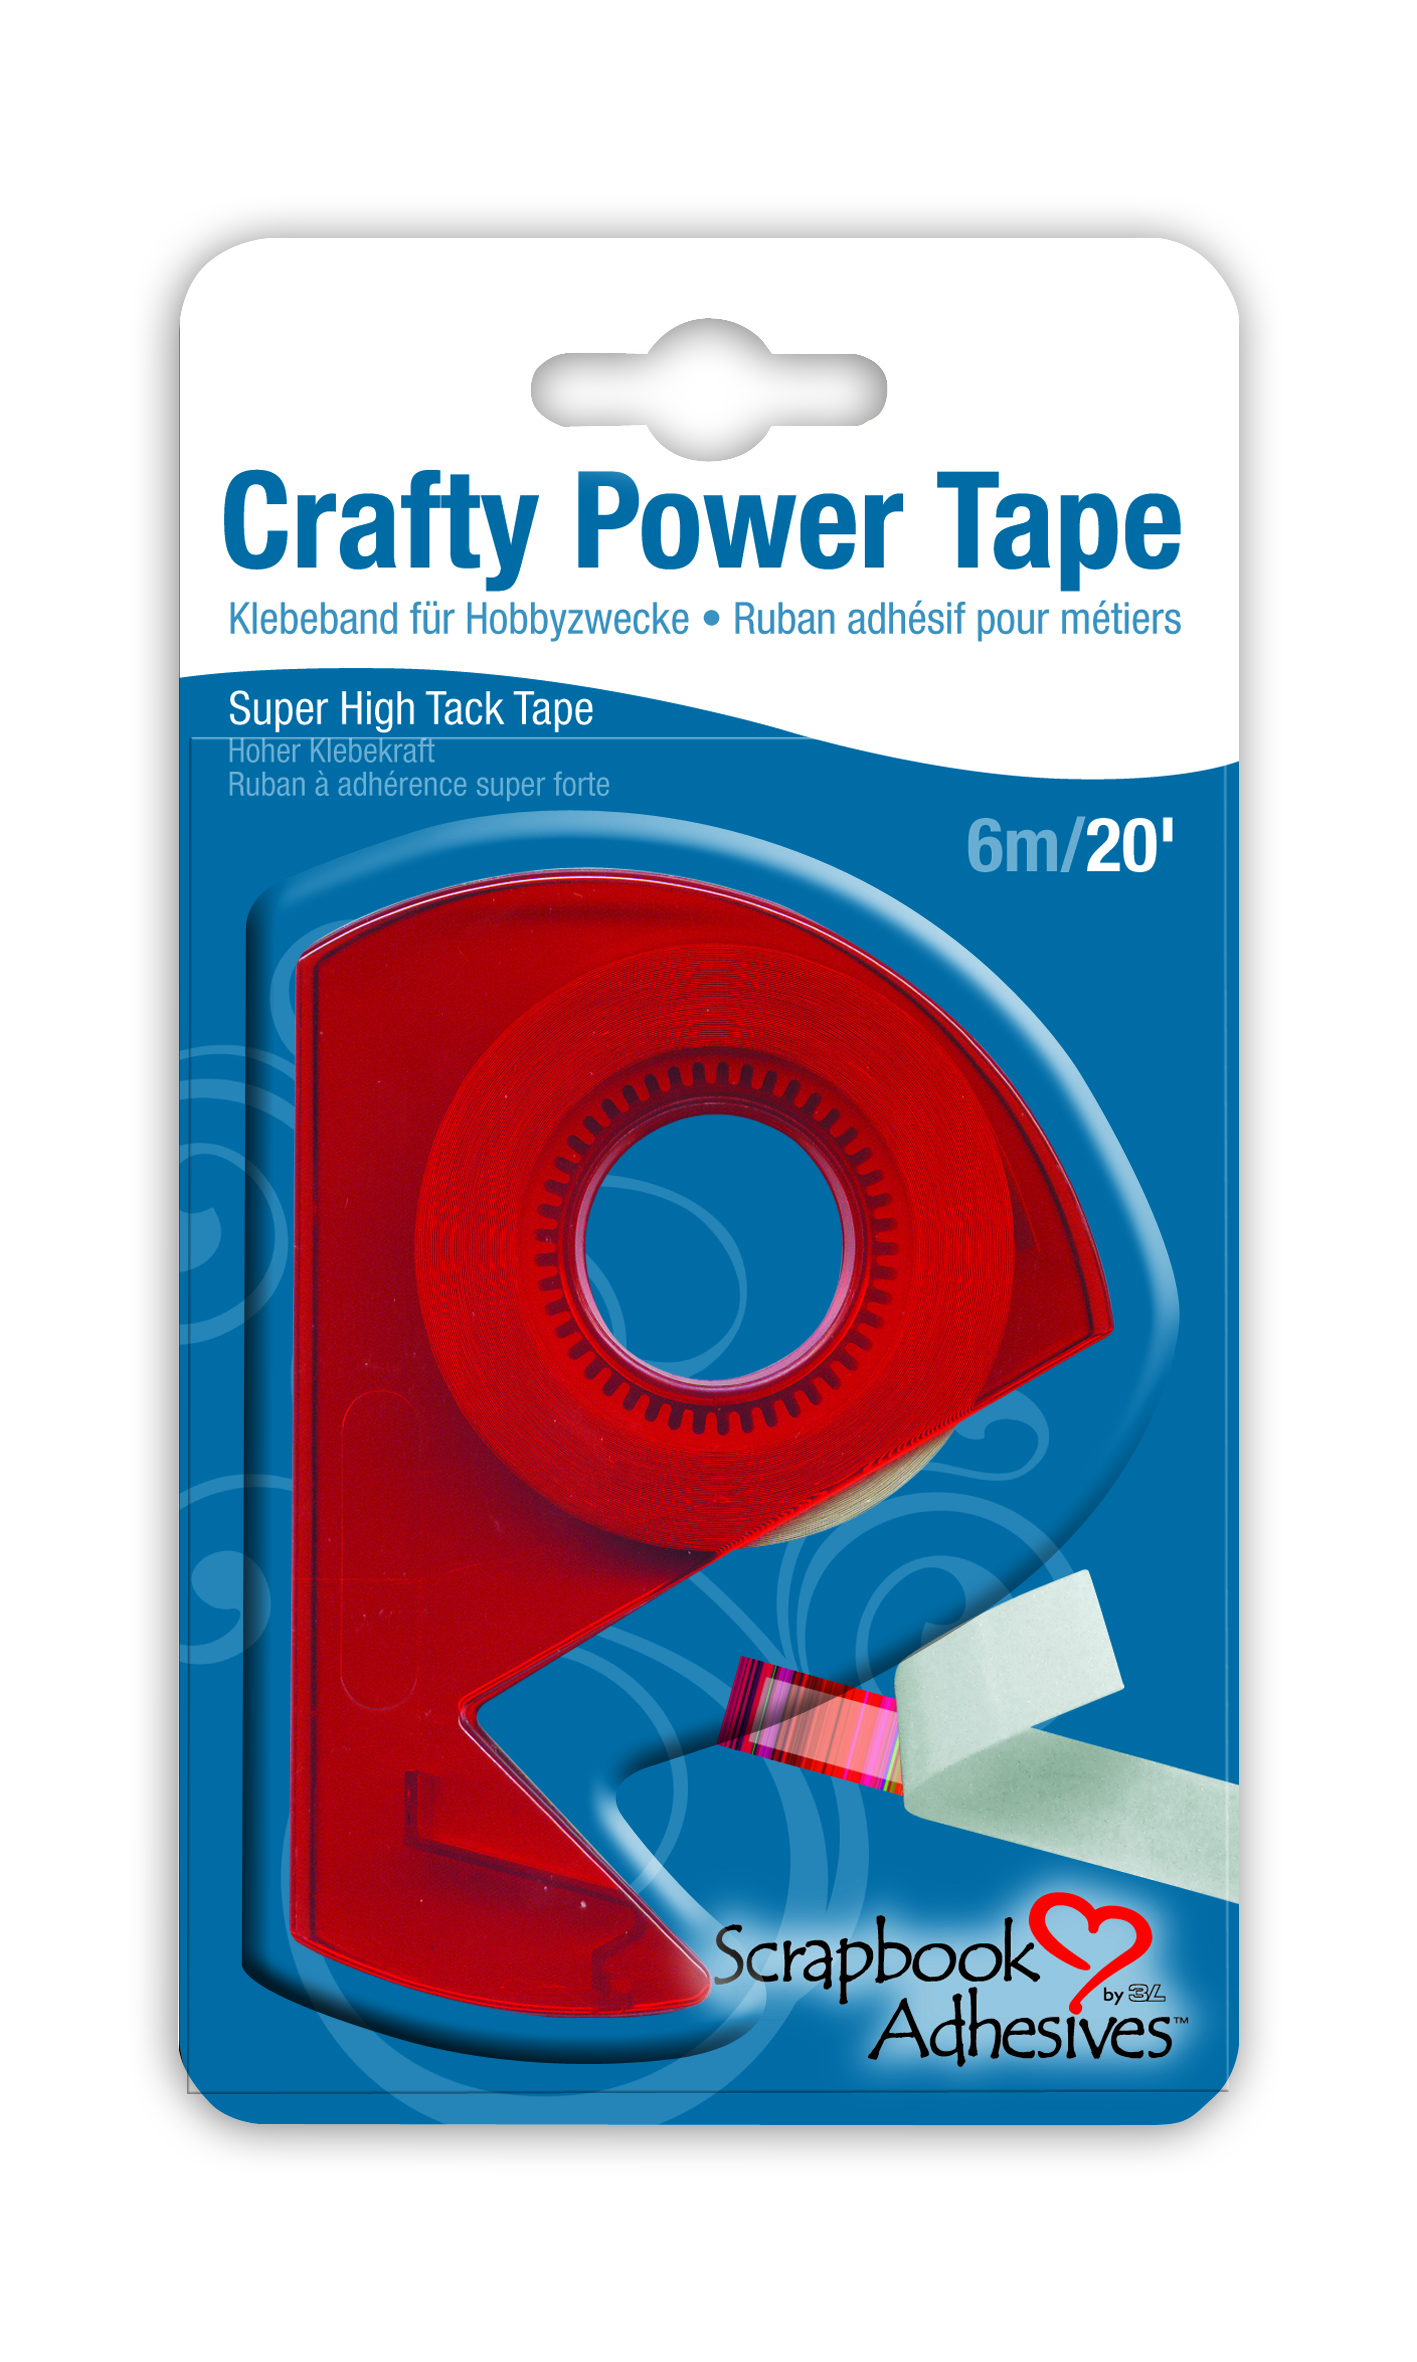
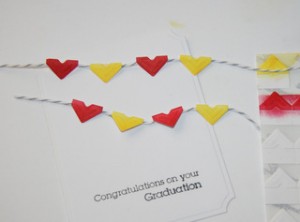 Now you have self adhering banners. Place them on your stamped layer, and secure the twine to with Crafty Power Tape on the backside of the cardstock.
 Attach