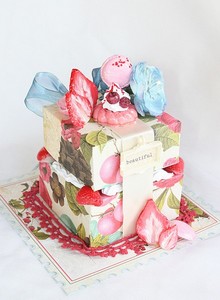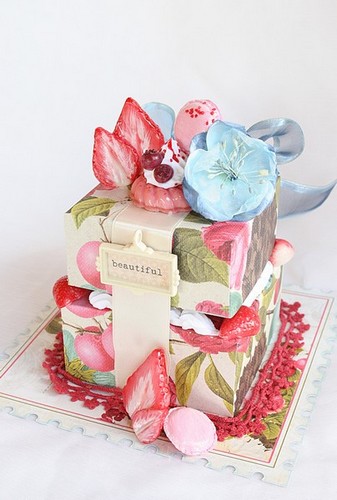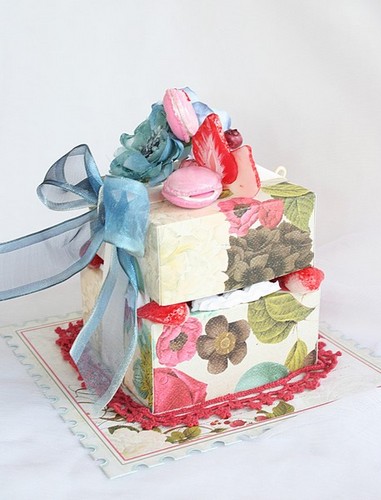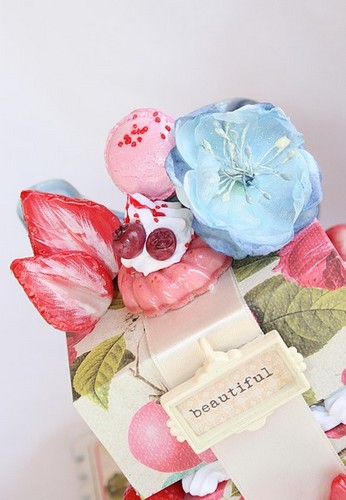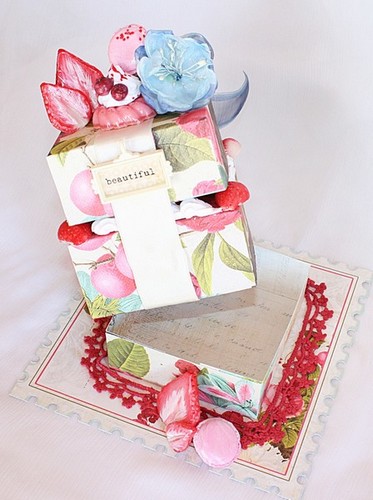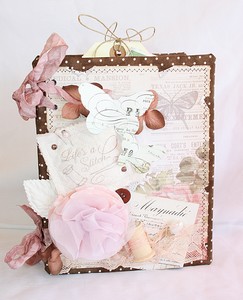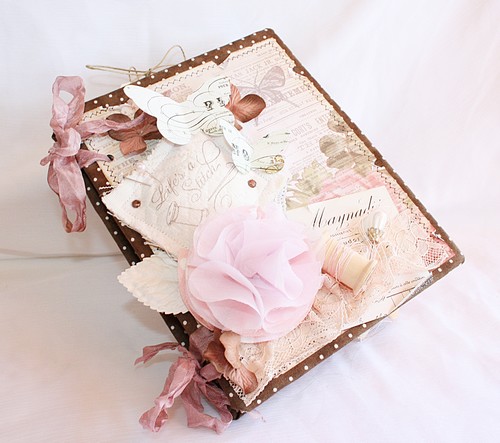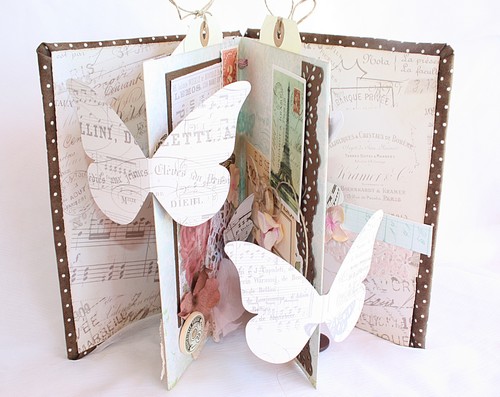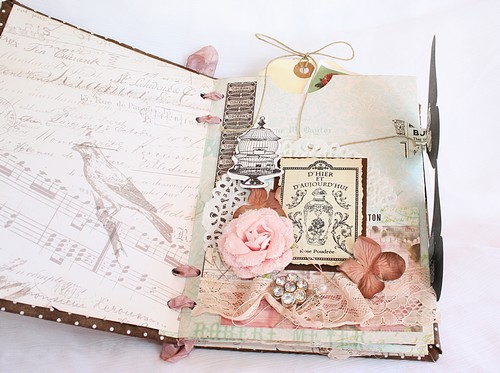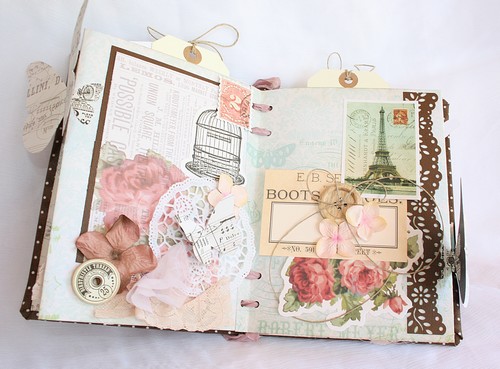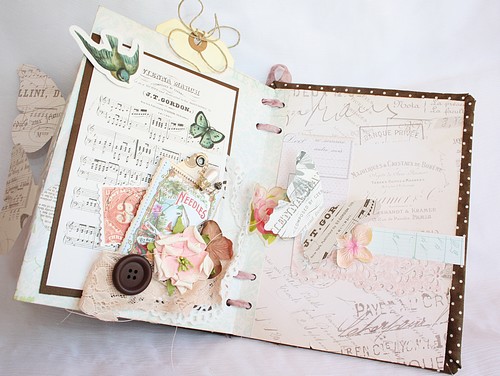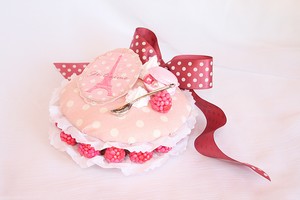
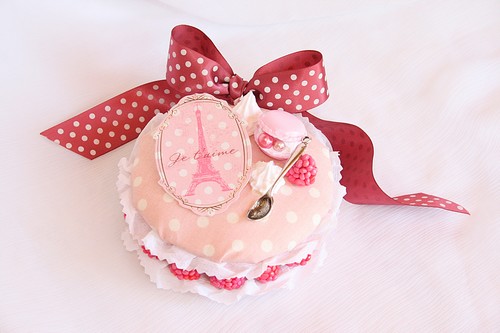
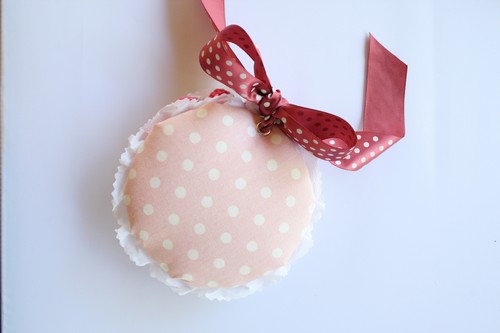
Hi there !!! Flo for another post today !! I love coming here to present my projects! Today I want to show you how to make a mini album original and delicious!
I show you the pictures, then the instructions to make your own!
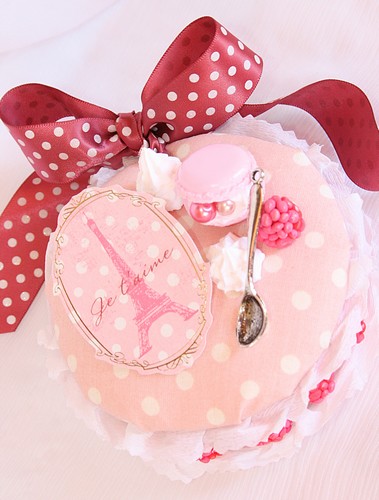
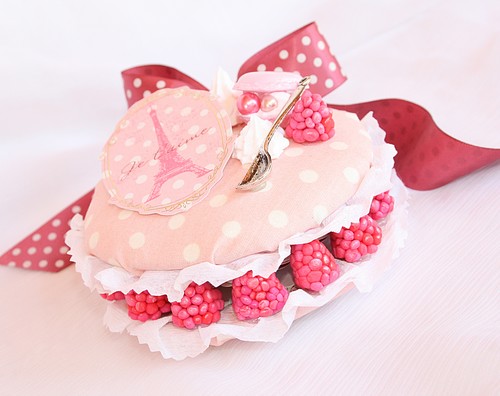
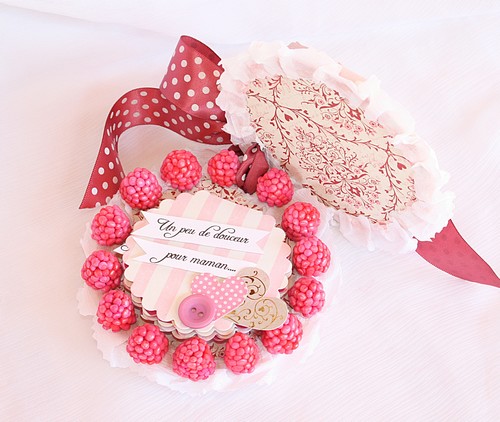
To create the structure :
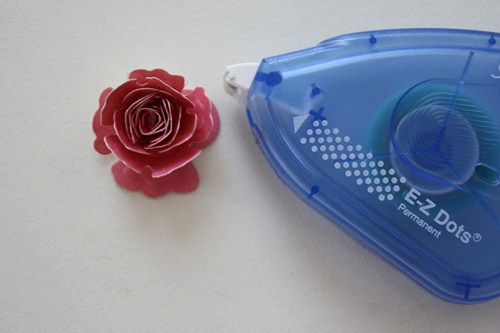
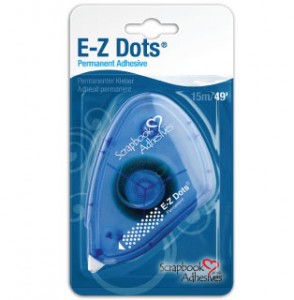
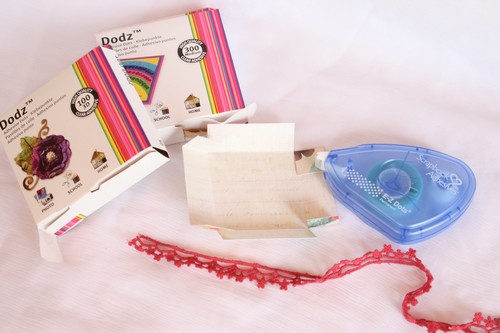
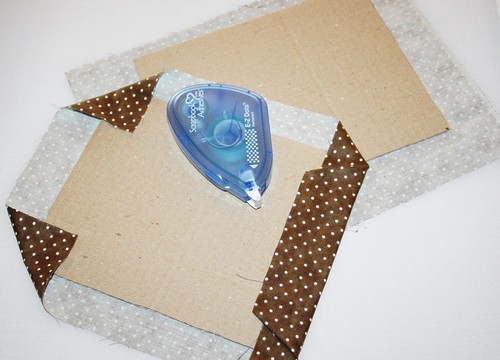
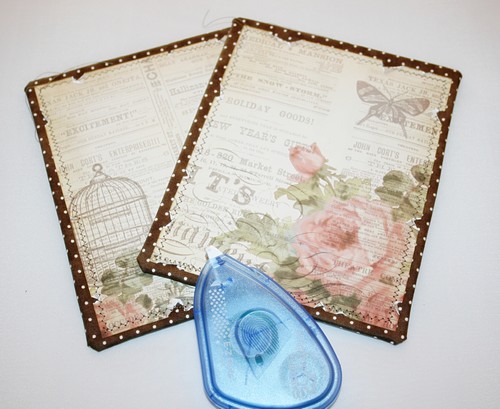
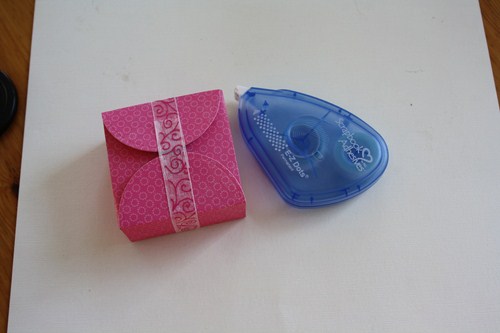
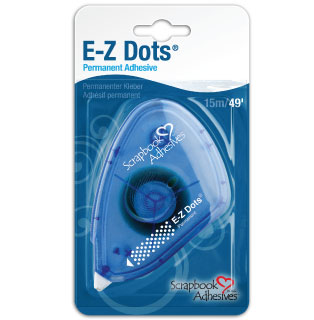
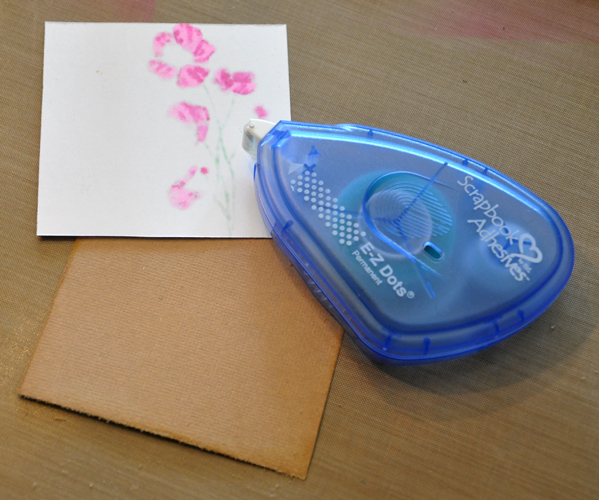
Attach wadding with E-Z Dots® Permanent adhesive on each cardboard round (EmbelliScrap). Cut around the shape to reproduce the form.
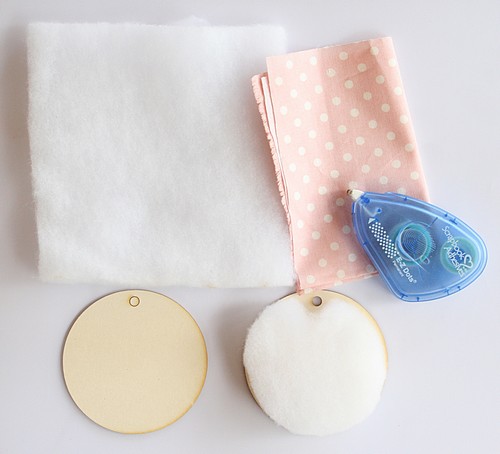
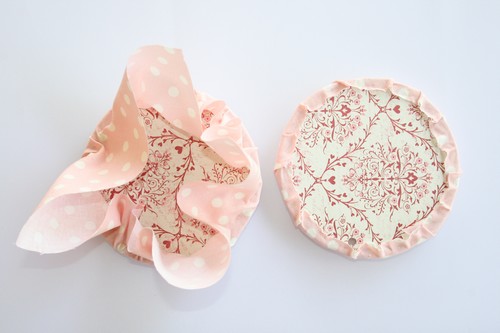
Attach on the back side, paper with the same form (also recreate the hole binding). On the “wadding” side, place a piece of fabric and return. Secure with Dodz ™ – Medium on the edges.
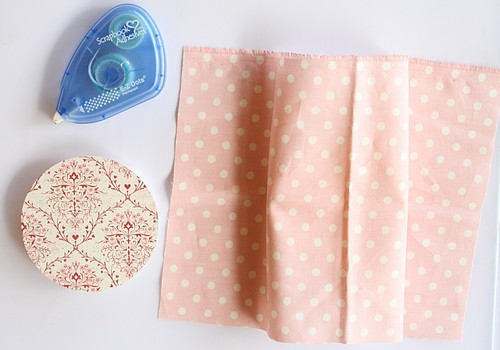
Cut the excess fabric.
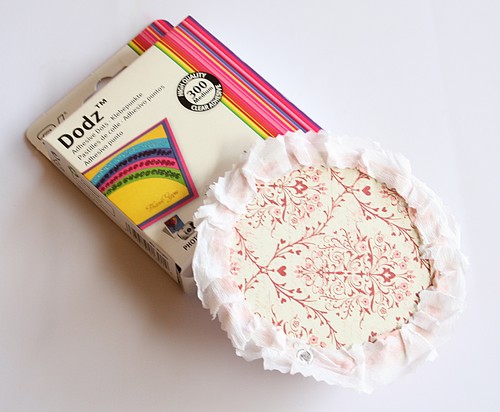
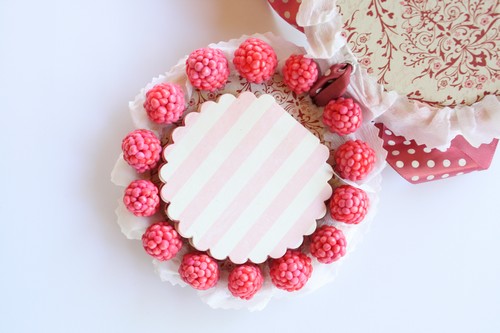
Cut several strips of white crepe paper of about ½ inches. Attach on the back side on the fabric with the Dodz™ – Medium making “froufrou”. Add eyelets on both covers created.
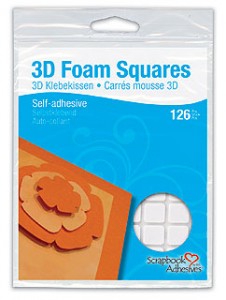
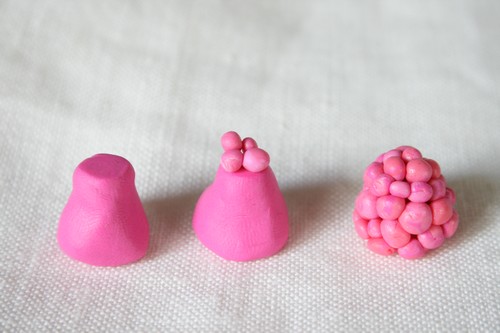
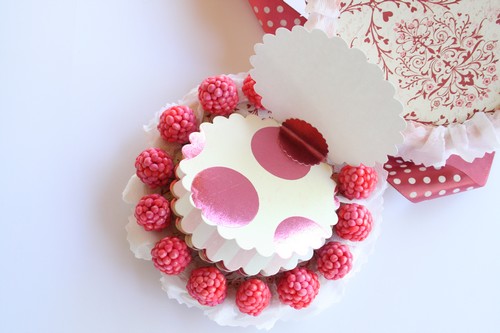
On a cover, fix with DODZ™ – 3D , on the crepe paper, raspberries made with Fimo.
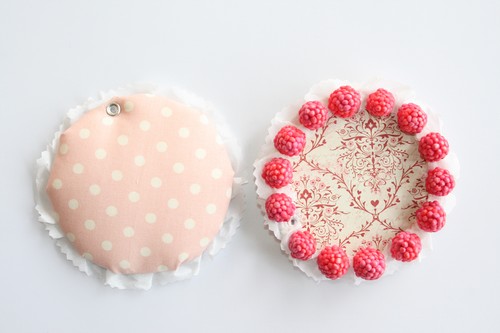
Bind your two covers with a big ribbon.
The interior of the mini album :
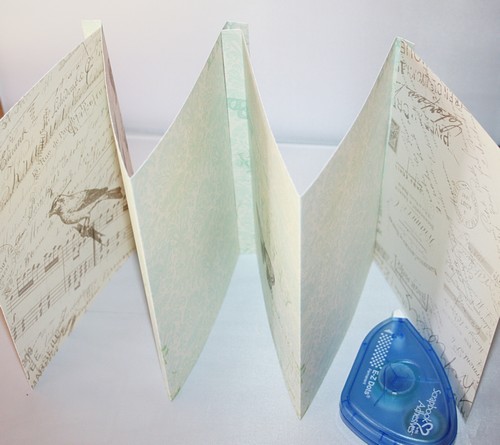
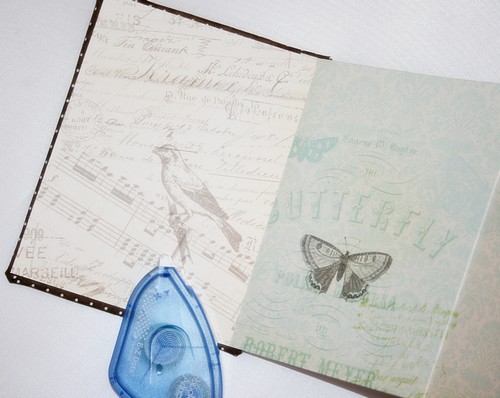
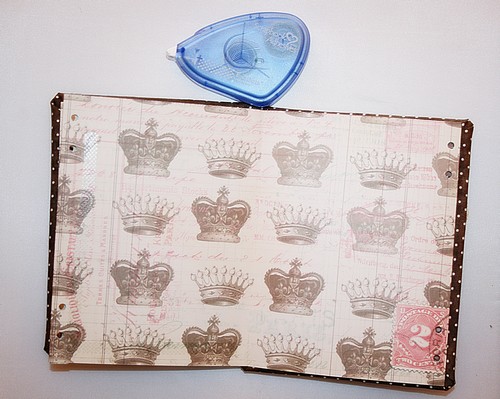
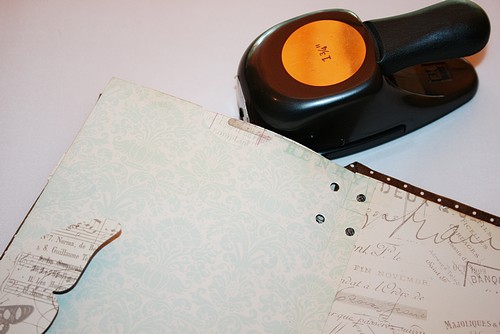
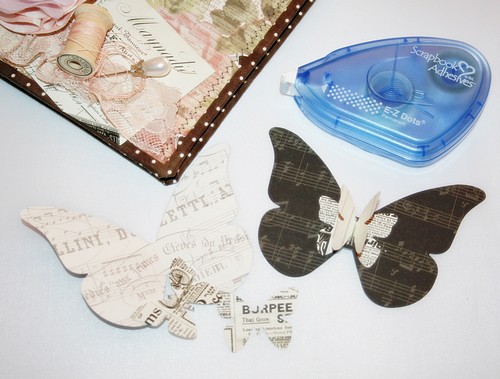
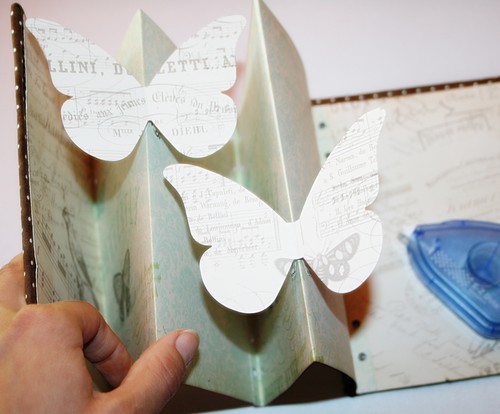
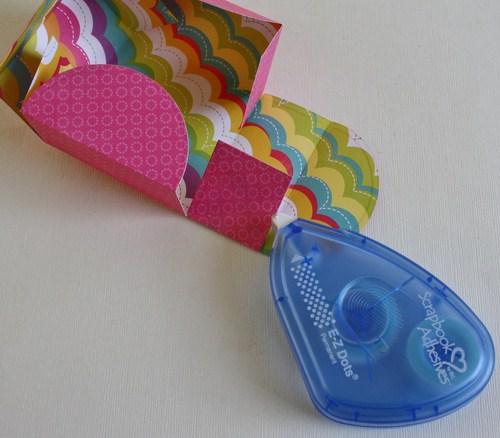
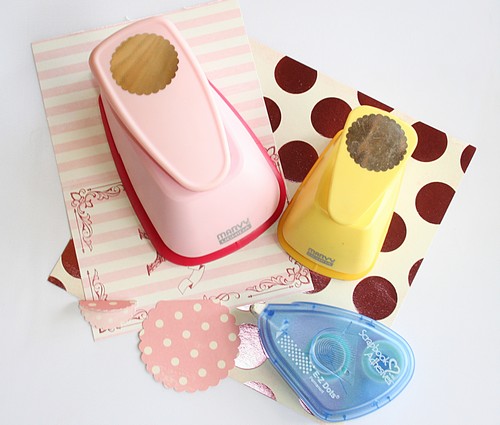
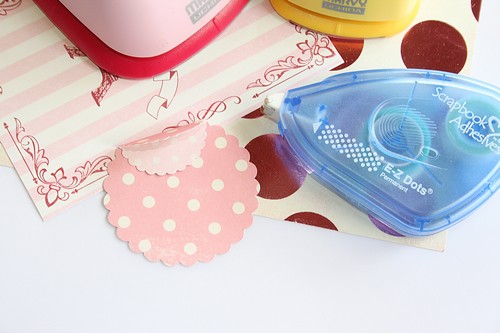
Punch circles, cut the top of each circle. For binding, punch the same number of small circles, fold in half and attach like on the pictures with E-Z Dots ® Permanent. Attach on the mini album and decorate your pages.
Supplies :
SCRAPBOOK ADHESIVES BY 3L™: E-Z Dots® Permanent, DODZ™ – Medium and DODZ™ 3D .
Marvy Uchida punches.
Fimo and paper clay.
Making Memories papers.
Embelliscraps
Thank you for stopping by our blog today!
Flo