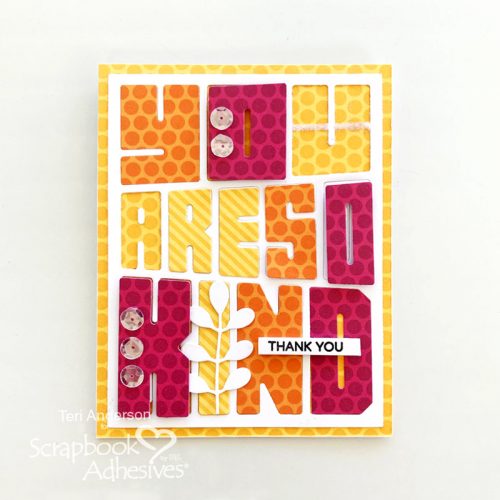
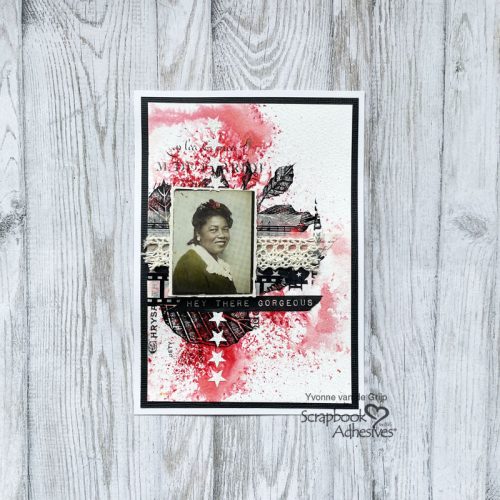
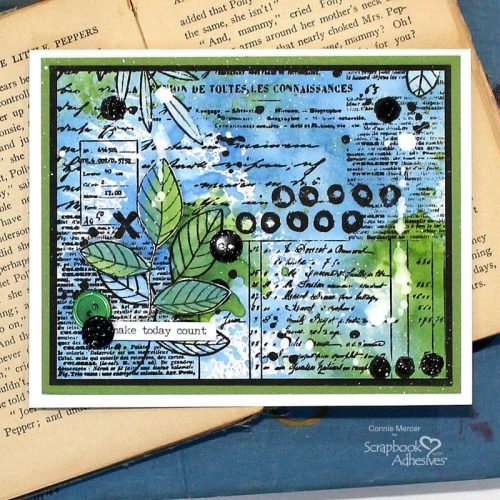
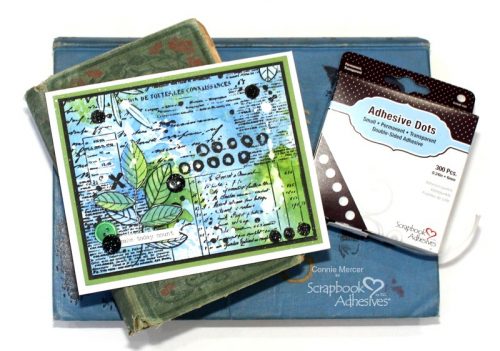
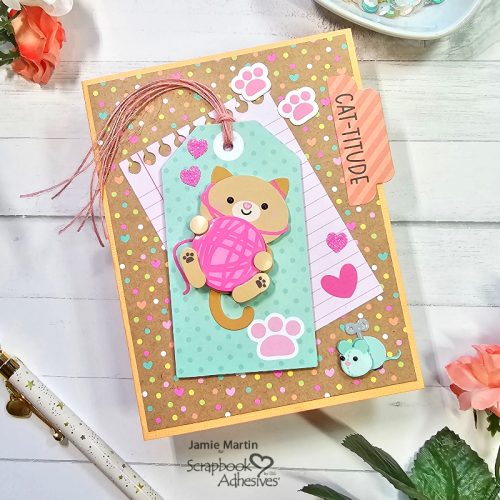
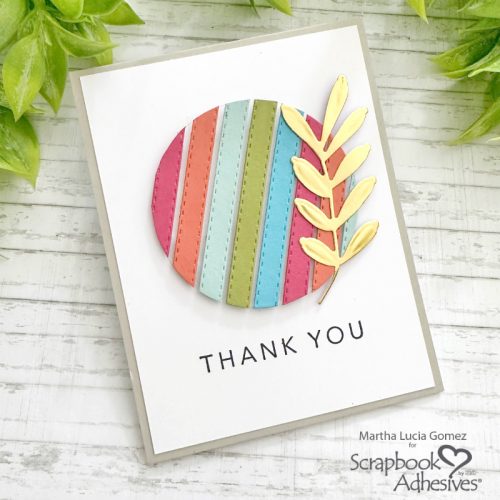
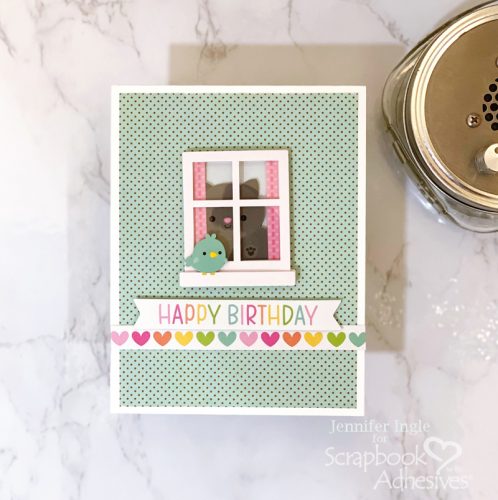
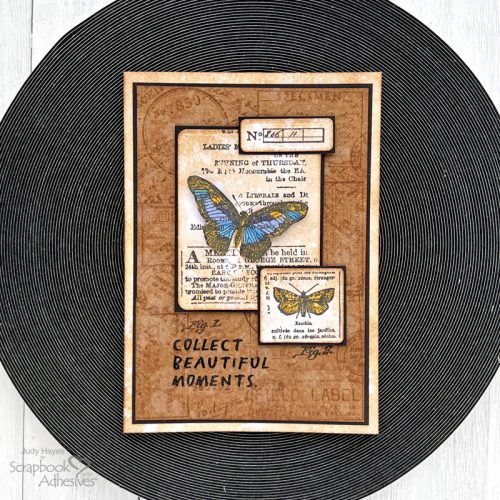
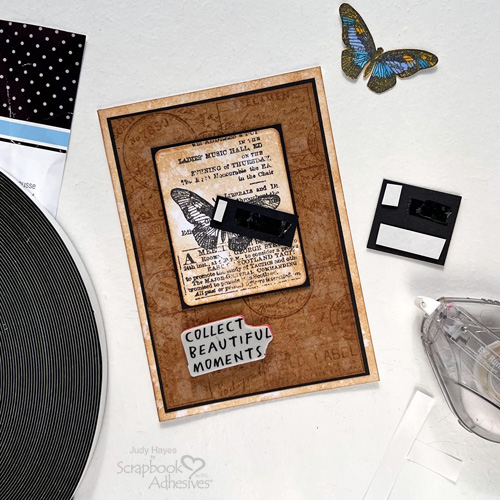
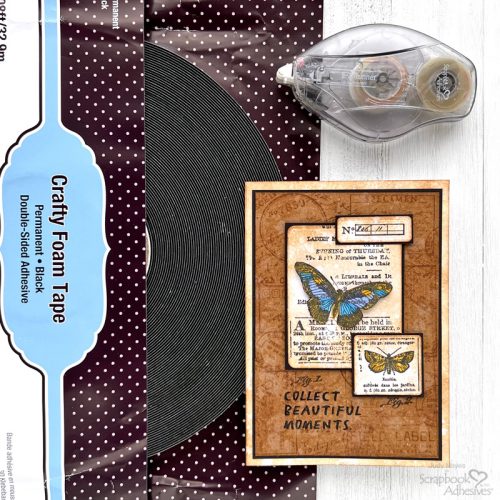
Hi, Judy here today! I’ve put together a layered card of botanical images to make the Collect Beautiful Moments Card. Once the stamped elements were created, it goes together easily with E-Z Runner® Ultra Strong Refillable Dispenser and Crafty Foam Tape Black 108ft.
Beautiful Moments Card Base
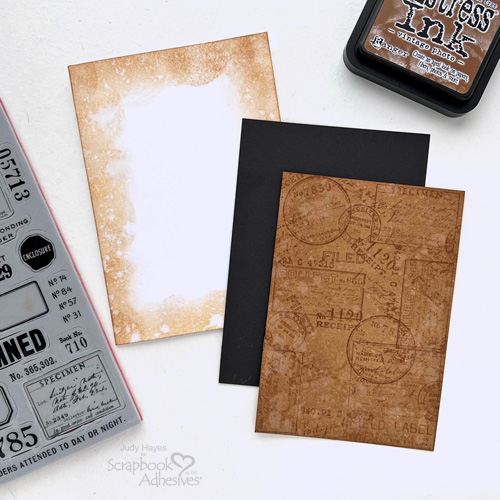
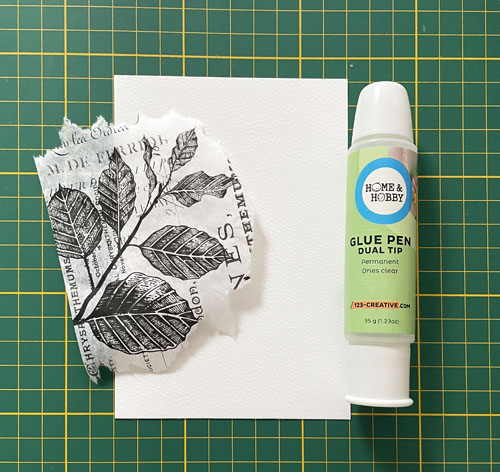
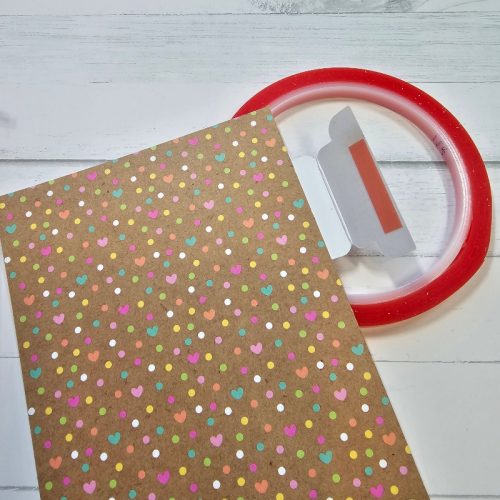
From white cardstock, cut an 8.5 x 6-inch piece and fold it to make a 4.25 x 6-inch card. Use a foam applicator to apply Vintage Photo ink around the edges. Cut a 3.75 x 5.5 inch Kraft cardstock. Use stamps from Field Notes with Vintage Photo ink to stamp the background and then rub Vintage Photo ink over the entire piece. Cut a piece of 3.875 x 5.625-inch mat from black cardstock.
Stamp and Die Cut Images
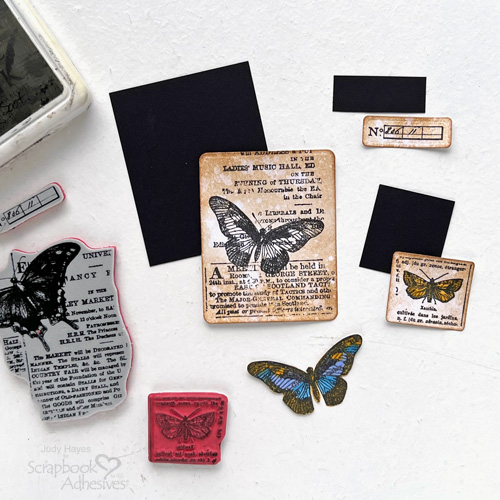
Stamp a large butterfly image two times on white cardstock, stamp a small butterfly once, and the number image once. Use a rectangle die to die-cut one of the large butterfly images. Fussy cut around the other butterfly image and color with markers.
For the small butterfly, align a small rectangle die horizontally across the image and along the left side and die cut. Then place the die over the opposite edge of the image, aligning the top and bottom edges in the die and die cut again to get a square image
Align narrow die over number image and die cut. Cut black cardstock mat for each stamped die-cut image (not for cut-out butterfly).
Assemble the Beautiful Moments Card Base
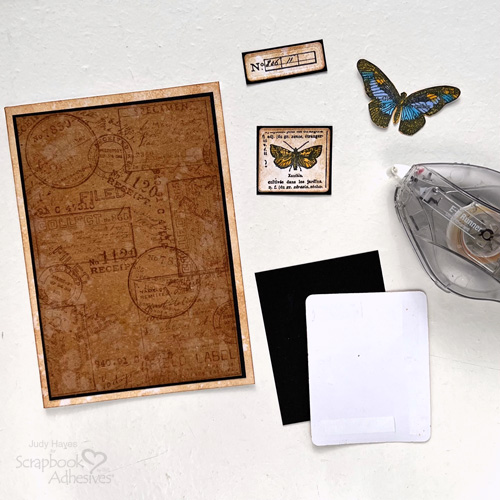
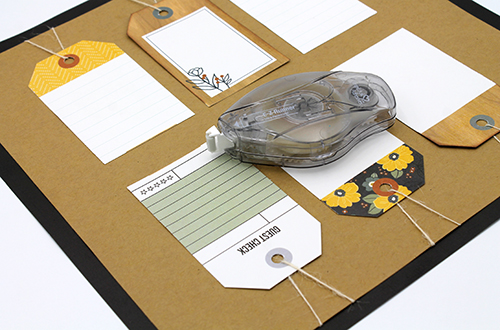
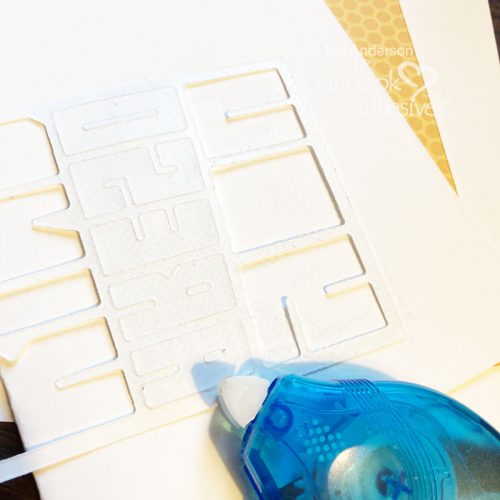
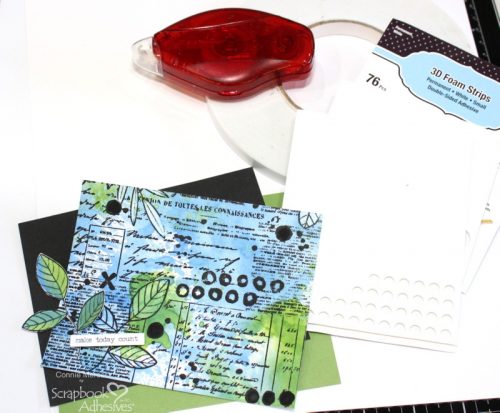
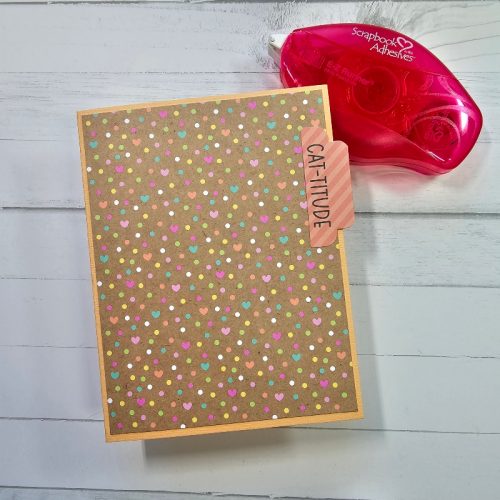
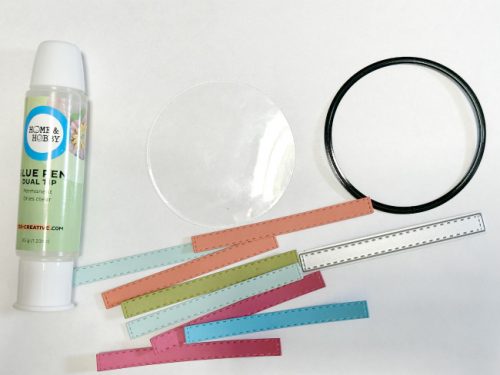
Secure each image to the corresponding mat using the E-Z Runner® Ultra Strong Refillable Dispenser. Using the same adhesive, layer the Kraft piece onto a black mat. Adhere it to the card base.
Adhere the Images to the Card Front
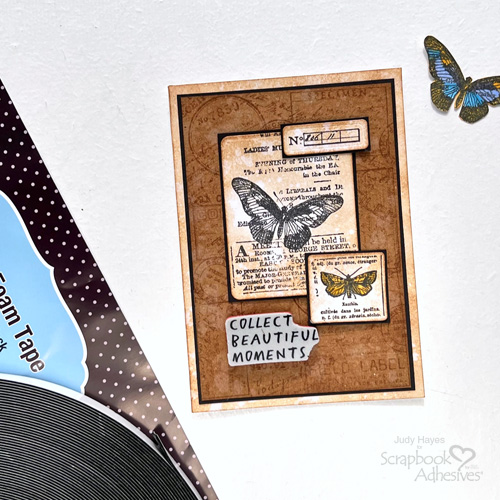
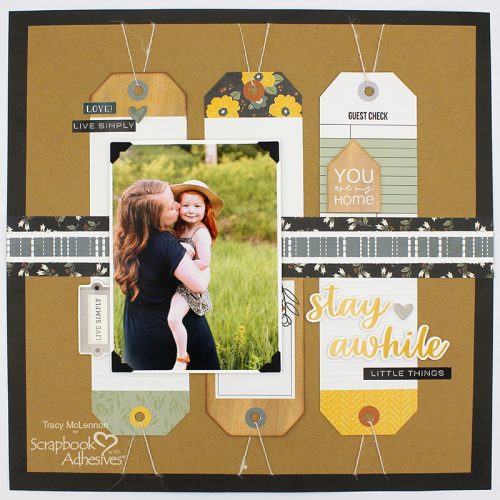
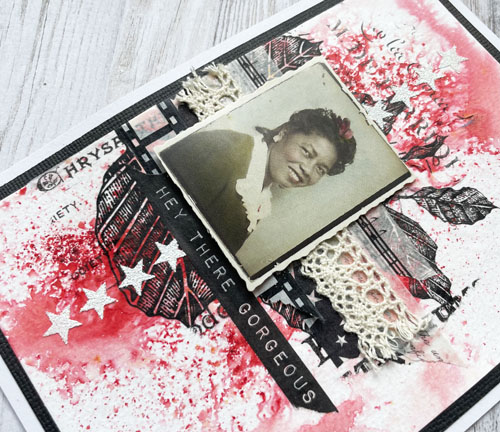
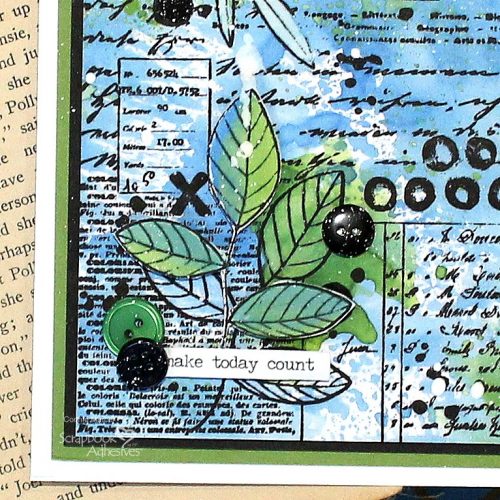
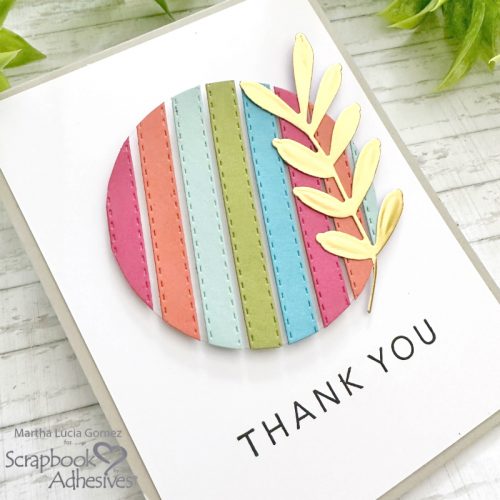
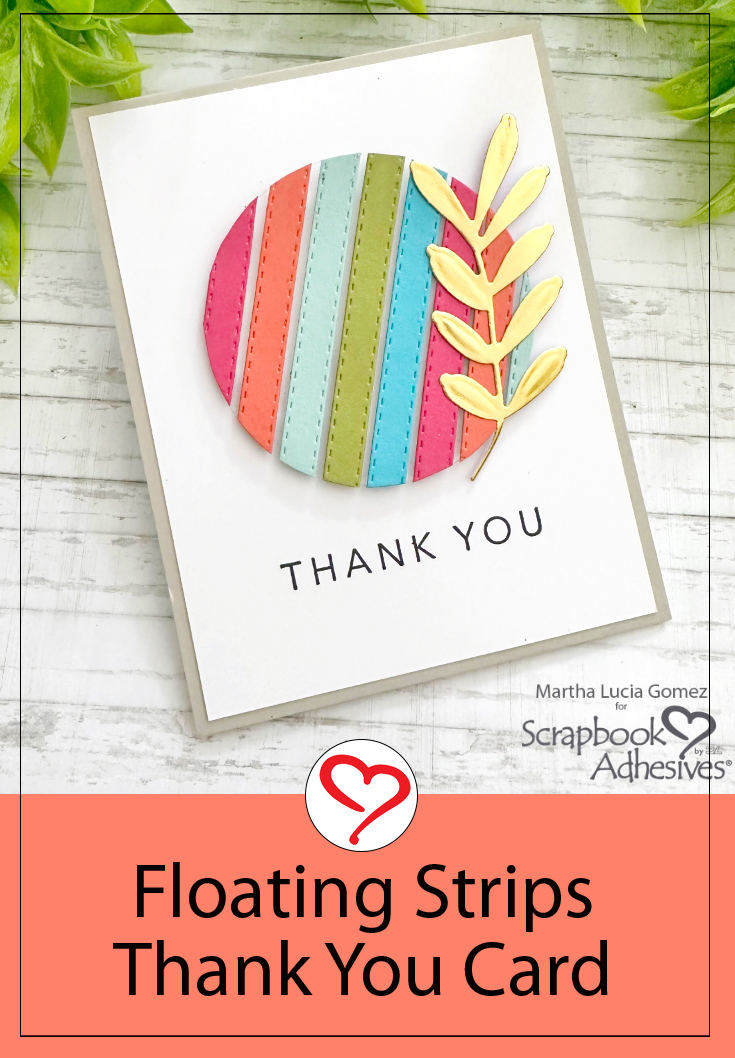
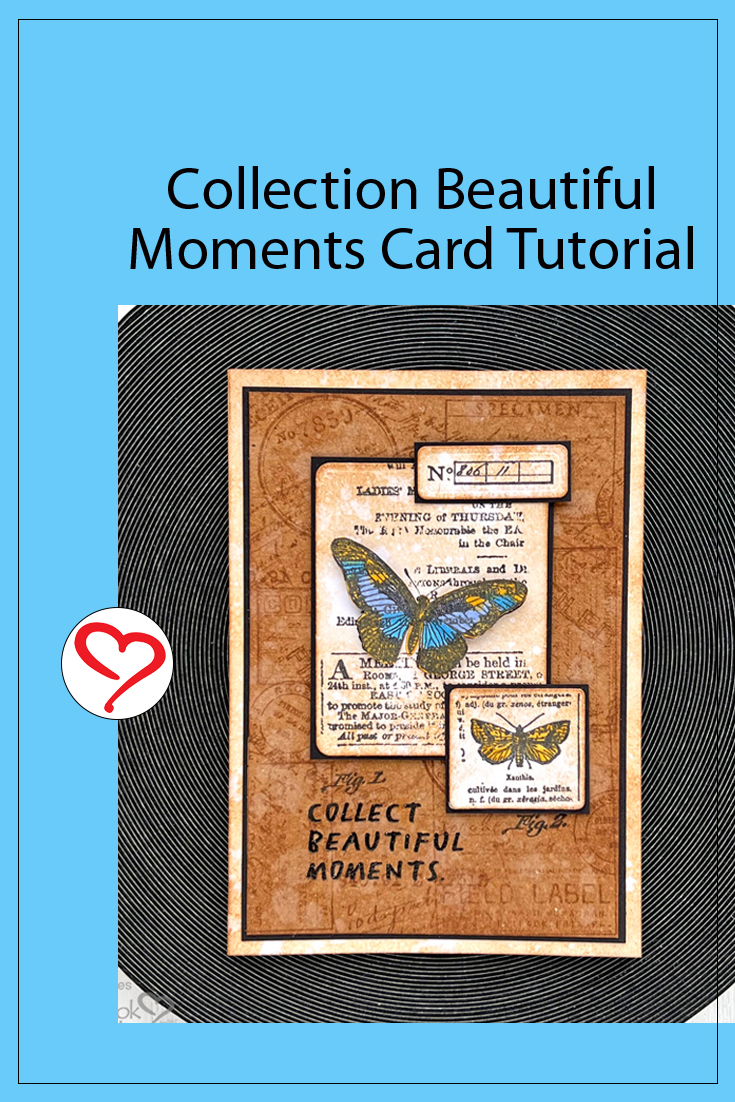
Arrange images on the card front allowing space for stamped verse. See the photo for the verse stamp placement on the card.
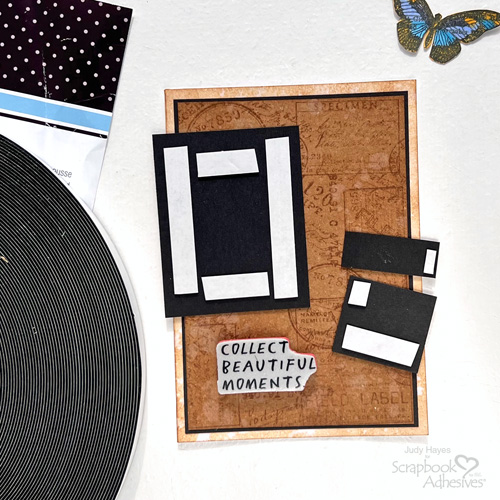
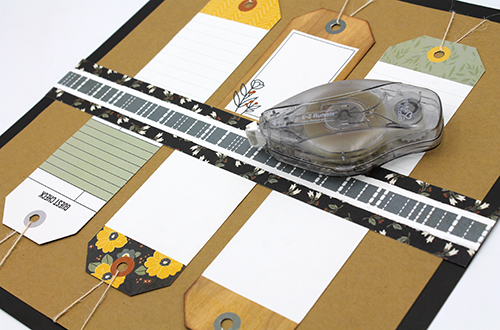
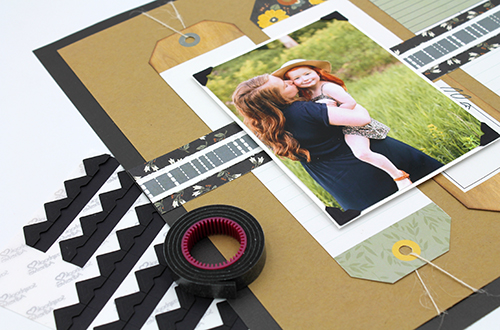
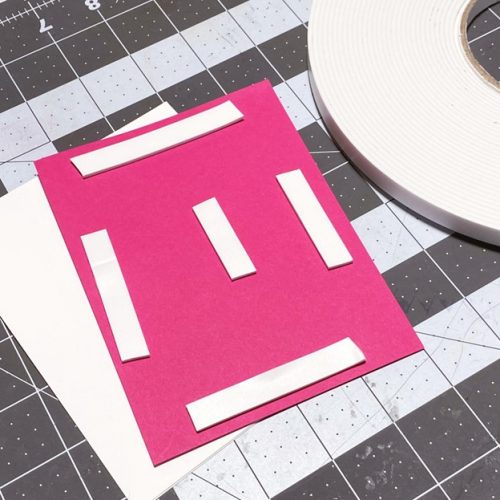
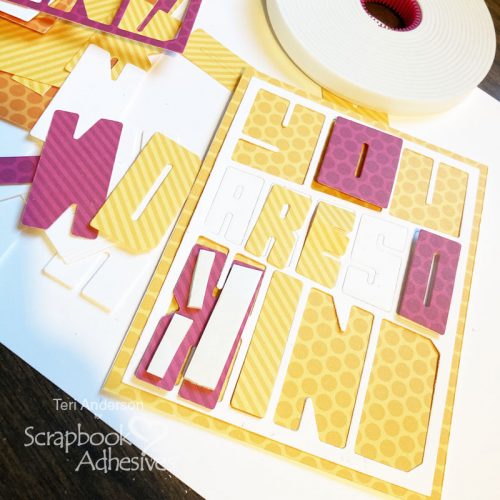
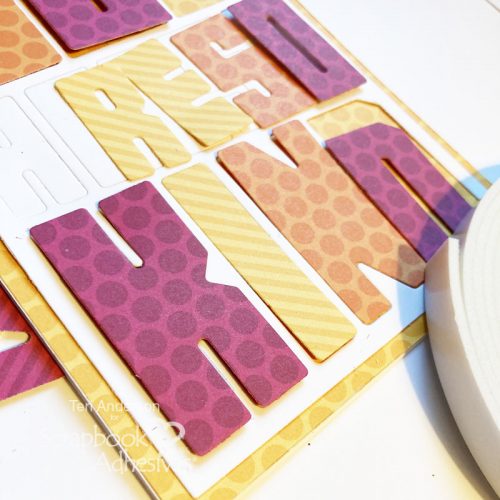
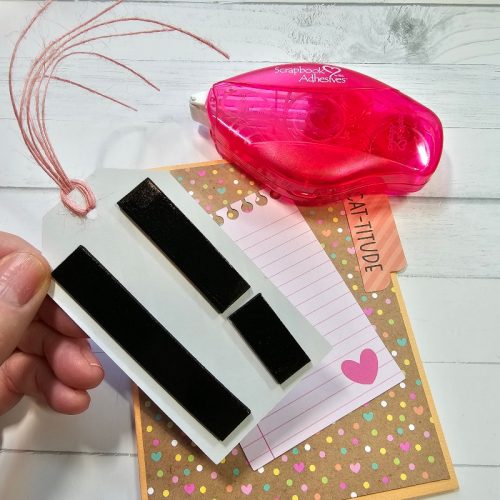
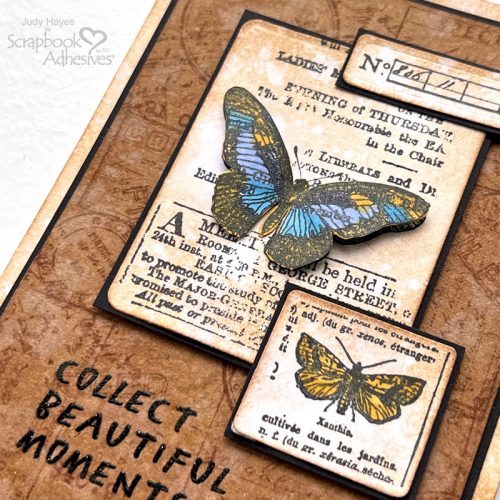
Apply strips of Crafty Foam Tape Black 108ft. to the back of the main image, peel liners and fasten to the card.
Place strips of Crafty Foam Tape Black 108ft. at the bottom and top right corner of the small butterfly image. Apply the E-Z Runner® Ultra Strong Refillable Dispenser along the top edge. Peel liners and press in place on the card.
To the number image, apply a small piece of Crafty Foam Tape Black 108ft. at the right end (use the end that will extend beyond the main image). Apply adhesive to the rest of it with E-Z Runner® Ultra Strong Refillable Dispenser. Peel the liner and press in place over the top edge of the main image.
Stamp Verse
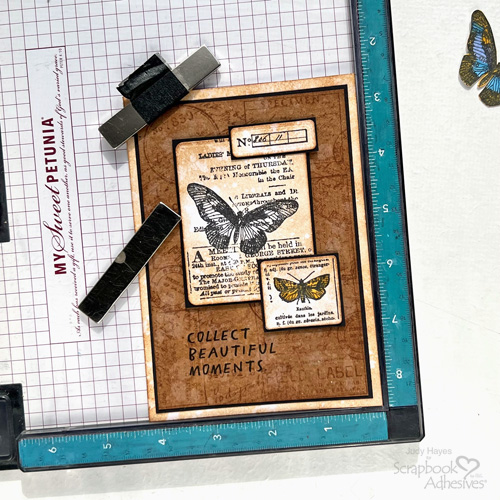
Stamp the verse with a stamping positioning tool and ink. Cover the stamped verse with clear embossing powder, remove excess, and heat to emboss. Designer’s Tip: Use a small brush to remove stray embossing powder as needed
Lift the Butterfly
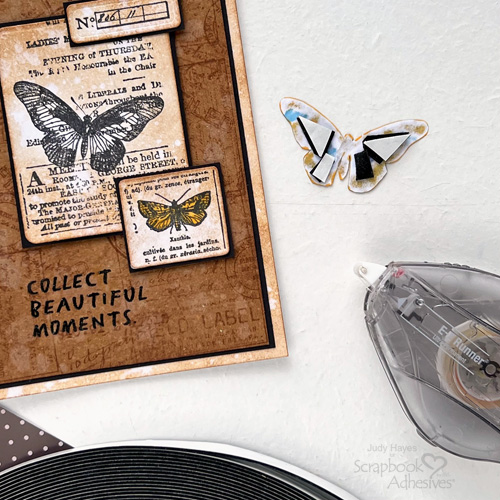
Cut pieces of Crafty Foam Tape Black 108ft. and place them on the back of the wings of the cut-out butterfly. Add a second layer of Crafty Foam Tape Black 108ft. to larger wings. Use E-Z Runner® Ultra Strong Refillable Dispenser to apply adhesive to the body only. Peel the foam tape liners and attach it to the card aligning the butterfly body first and then press the wings in place.
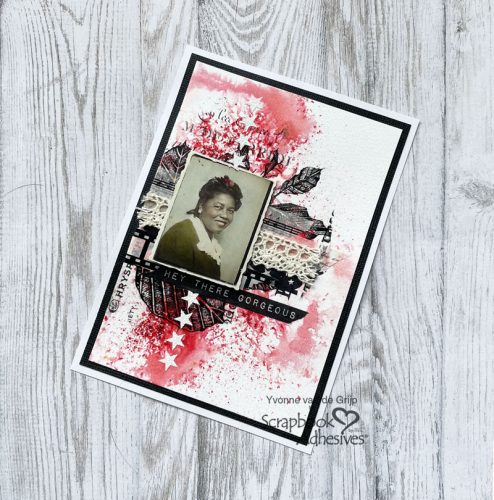
Thanks for Visiting!
Judy Hayes
Creative Time: 30 mins
Skill Level: Intermediate
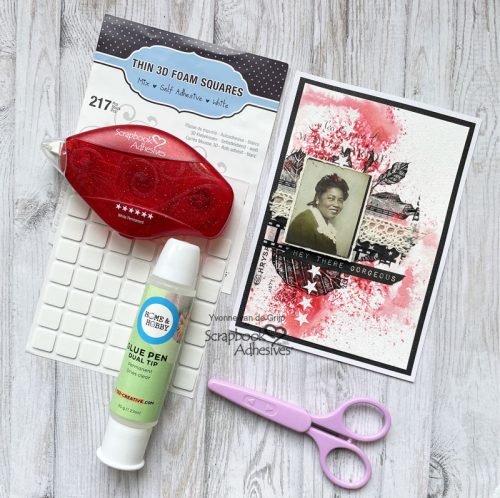
Materials Needed:
Scrapbook Adhesives by 3L®
E-Z Runner® Ultra Strong Refillable Dispenser
Other: Stamp: Stampers Anonymous Tim Holtz (Field Notes, Botanic Collage, Noteworthy); Ink: Ranger Ink (Distress Vintage Photo and Archival Distress Black Soot), Tsukineko (Versafine Onyx Black); Clear Embossing Powder: Ranger Ink; Craft Dies: Sizzix (Tim Holtz Specimen); Markers: Copic; White, Black + Kraft Cardstock
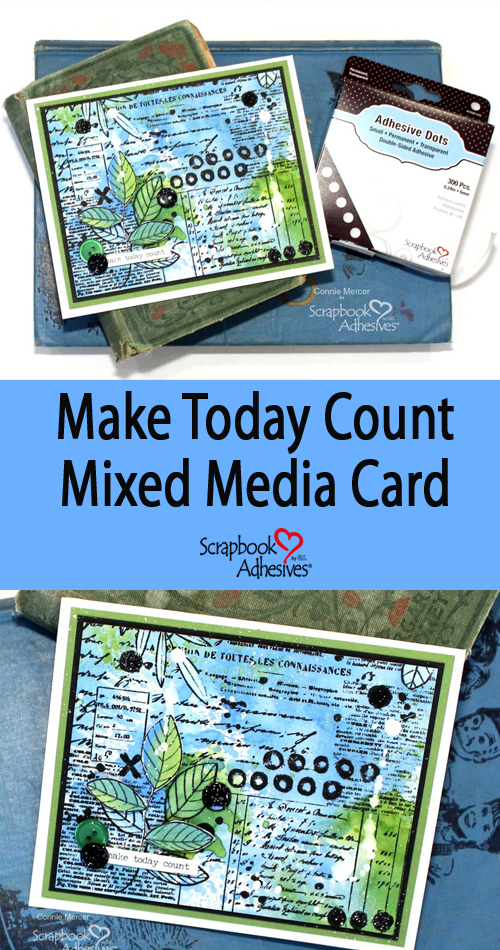
Save to Pinterest!
Visit our Website and Blog!
Sign up for our Newsletter so you never miss a contest or giveaway!