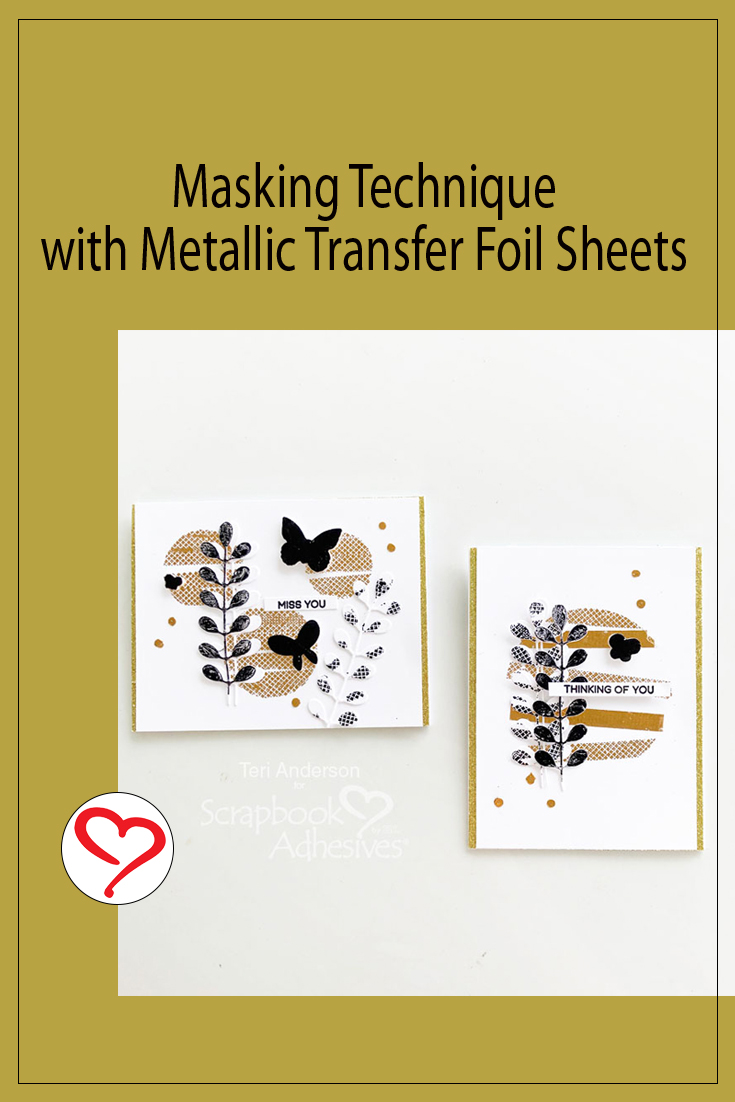
Hi, everyone! Metallic Transfer Foil is a such fun way to add a hint of glitz and sparkle to your handmade cards! Teri here to show you how to pair it with a masking technique to create some super sparkly cards!
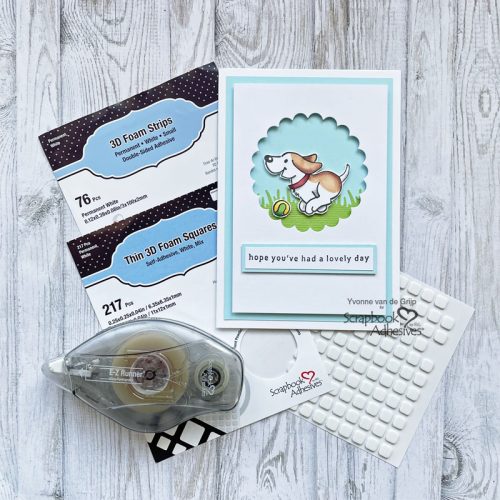
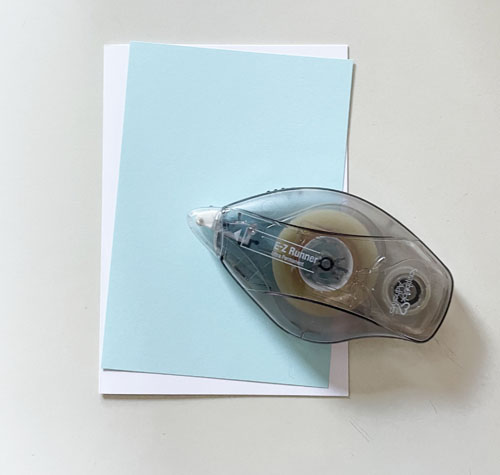
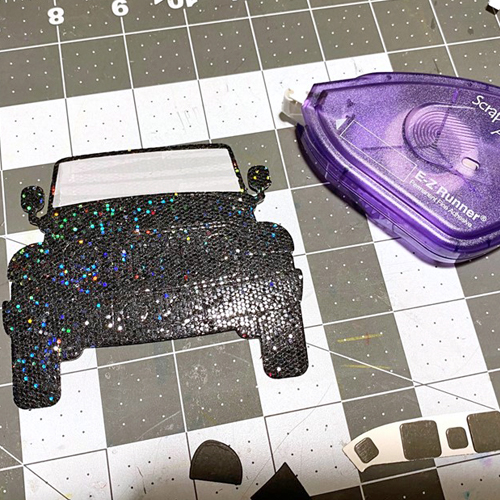
This technique is so easy! You just need a few adhesive dispensers, some Metallic Transfer Foil and cardstock!
Prep the Masking Technique and Create the Background
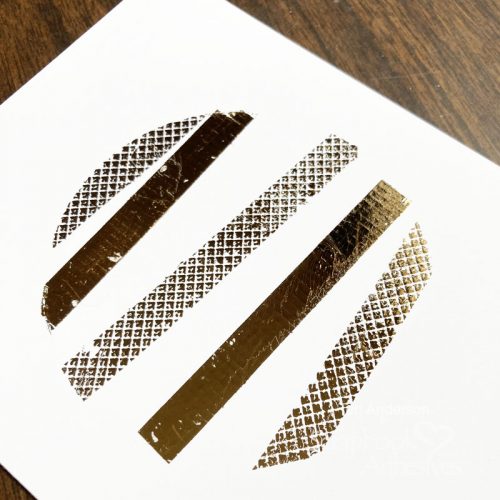
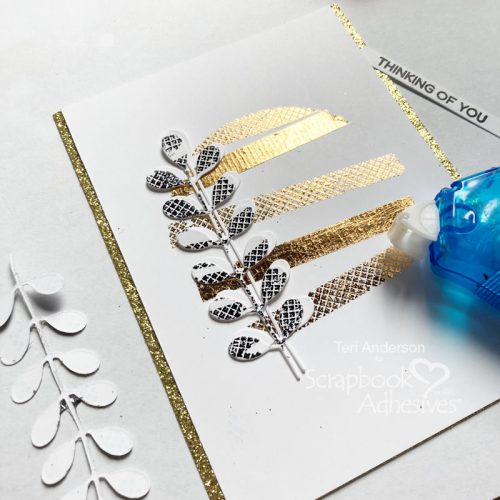
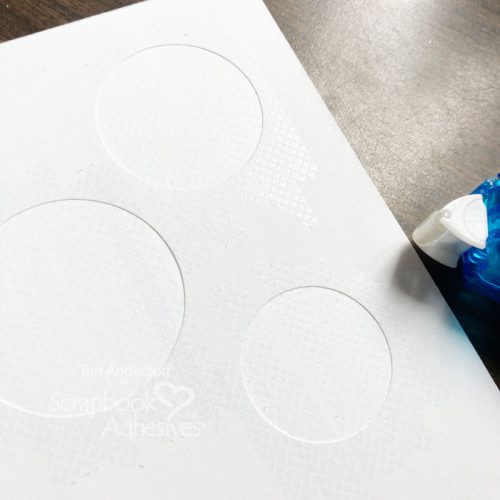
Start by cutting a circle (or some other simple shape) from a piece of paper. This is your mask. Set your mask on a panel of cardstock. Randomly place lines of adhesive across it.

Carefully remove mask from the panel of cardstock. If you are having a difficult time removing it, use a craft knife or your scissors to gently cut and loosen any adhesive holding it down.
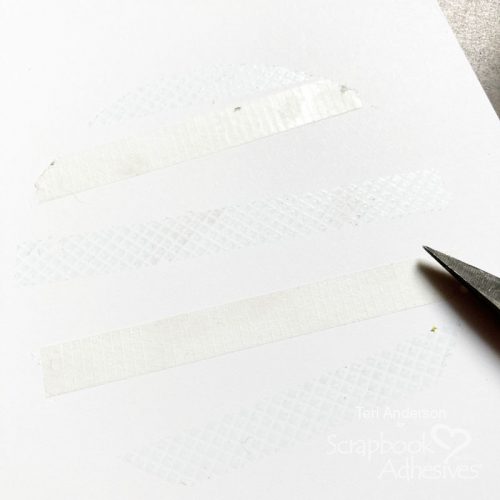
Burnish foil onto your adhesive strips until they are completely covered. If you miss a spot, just place the foil on it again and burnish some more onto it. Set your background aside and work on some elements to turn it into a card.
Embellish Die-Cut Shapes
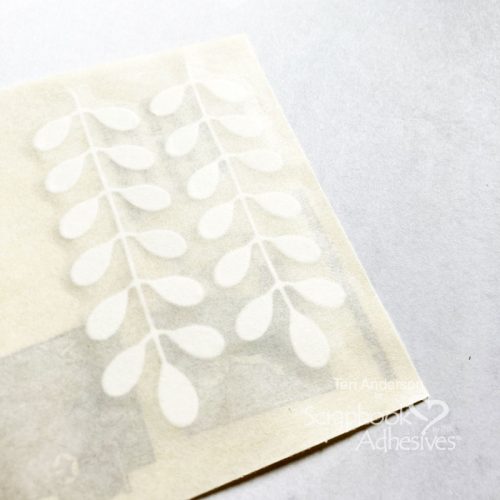
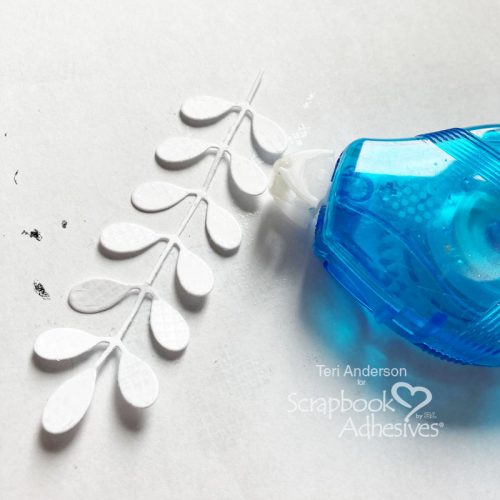
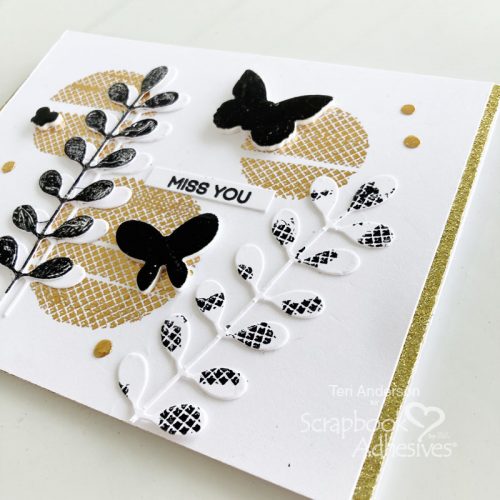
Die-cut a couple of leaves from white cardstock.
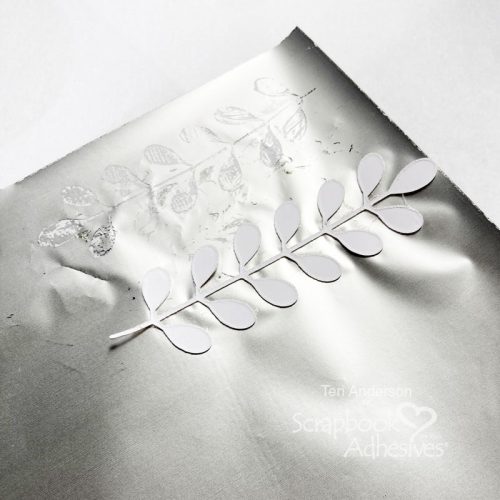
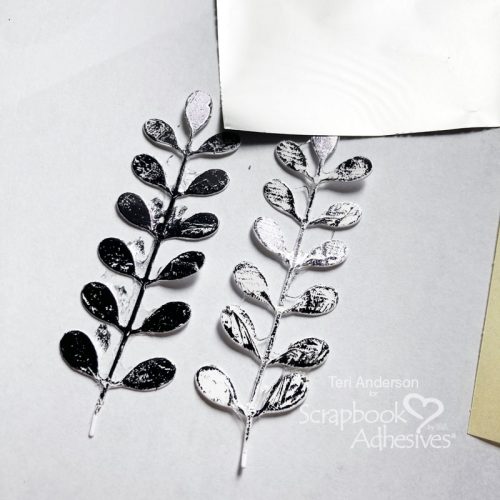
Set them on an adhesive sheet and pick up some of the adhesive. Place a die-cut on the non-pretty gray side of the foil and pick up a little bit of the foil. This will result in a distressed look. Flip the foil over with the die-cut on it and apply a little pressure with your fingers to randomly add more foil to the die-cut. The more pressure you add, the darker the foil will be.
Another way to embellish your leaf die-cuts is to simply apply some dots to it. Burnish foil onto to the dots for a unique look.

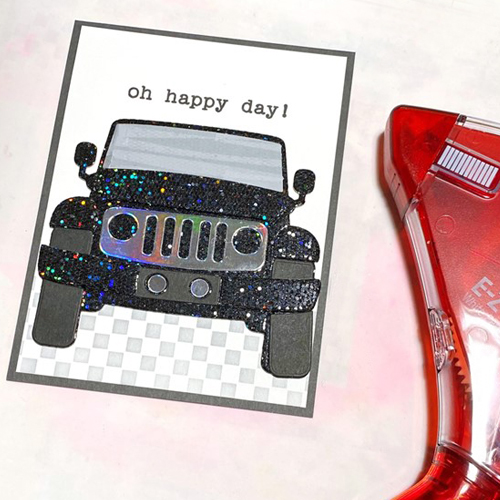
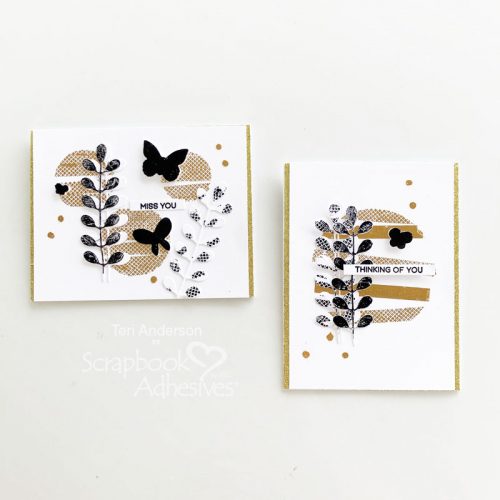
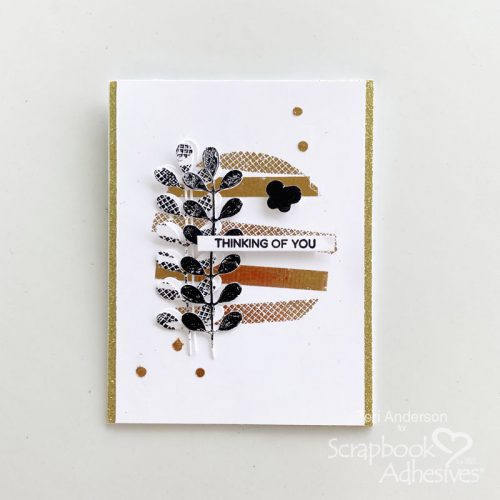
Use Your Background and Die-cuts to Make a Card
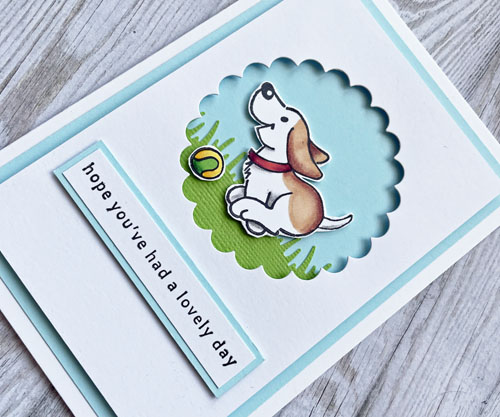
Turn your elements into a card by mounting your masked cardstock panel to glitter paper and then to a card. Add some leaf die-cuts to it.
Decorate the card by applying Adhesive Dots and 3D Foam Shapes onto it and applying foil onto them.

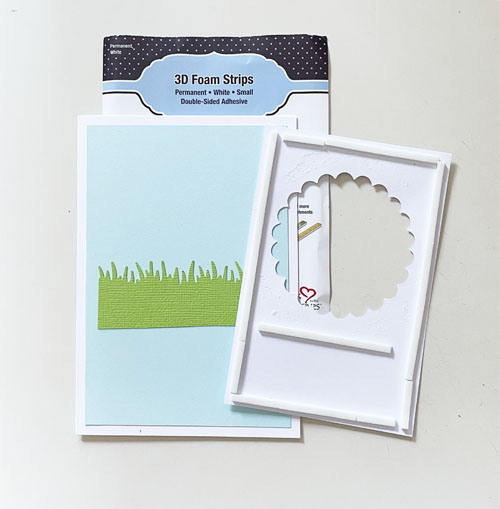
Complete your card by mounting a sentiment strip onto it with a 3D Foam Strip.
Create a Masked Background with Multiple Shapes
You are not limited to masking off just one shape for your card. Try using multiple shapes as I did here.
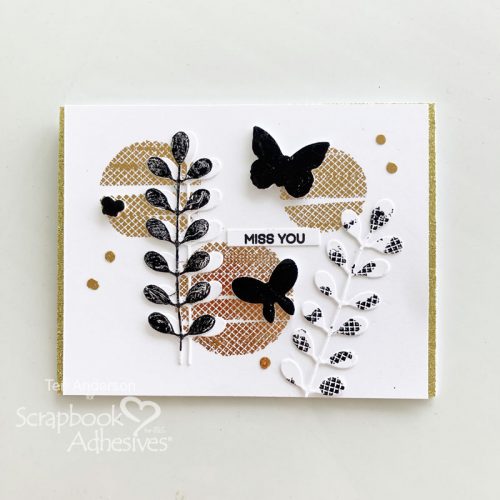
I created a mask with three different circle sizes for a unique look.
I hope you are inspired to pull your Metallic Transfer Foil Sheets out and try doing this masking technique with them!
Happy Creating!
Creative Time: 60 mins
Skill Level: Intermediate
Materials Needed:
Scrapbook Adhesives by 3L®
E-Z Runner® Permanent Strips Refillable Dispenser
E-Z Runner® Petite Permanent Dots Refillable Dispenser
Metallic Transfer Foil Sheets Nature Colors
Other: Cardstock: Neenah; Glitter Paper: American Crafts: Stamps and Dies: Hero Arts (Everyday Sentiments Stamp Set, Circles Dies, Sentiment Strips Die), Simon Says Stamp! (Leaf Column Background Die); Ink: Ranger Ink (Black)
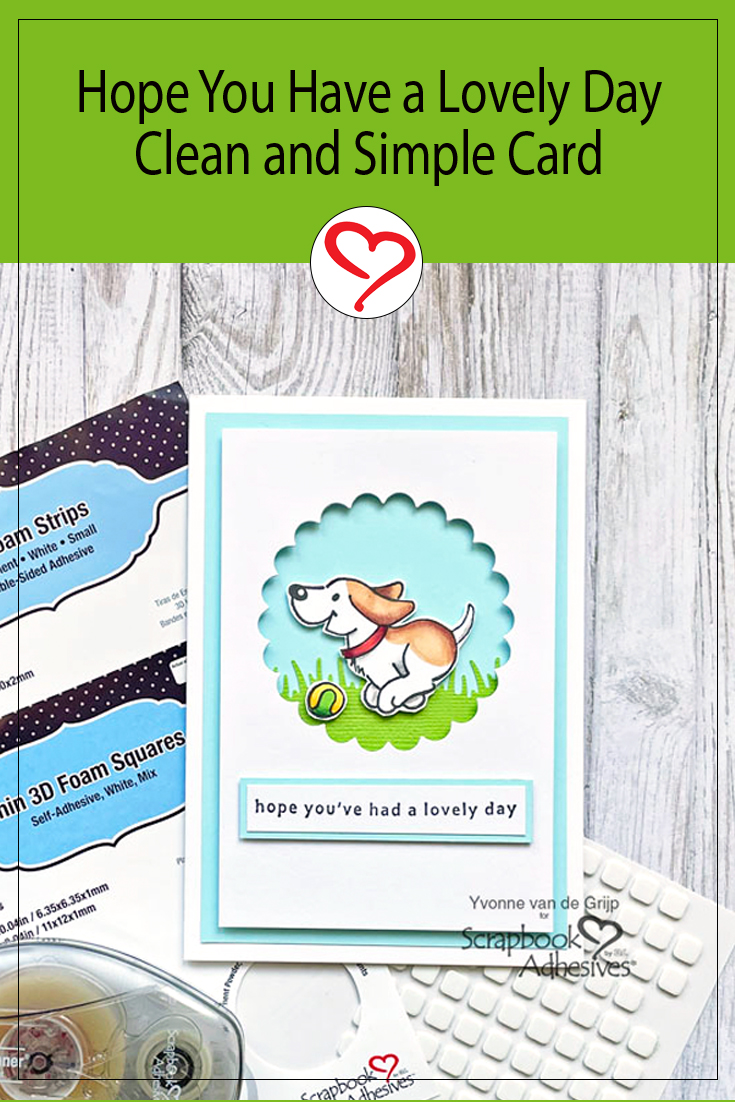
Save to Pinterest!
Visit our Website and Blog!
Sign up for our Newsletter so you never miss a contest or giveaway!