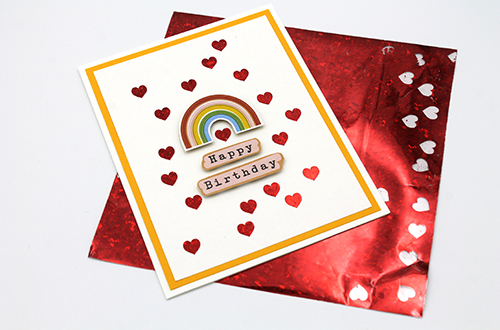
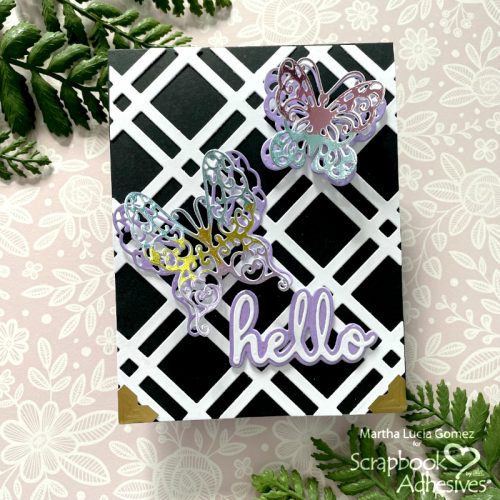
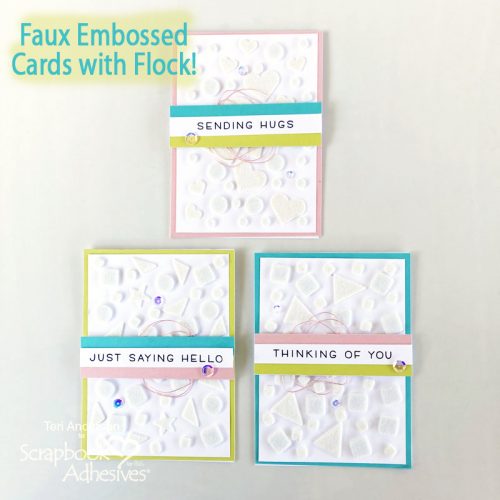
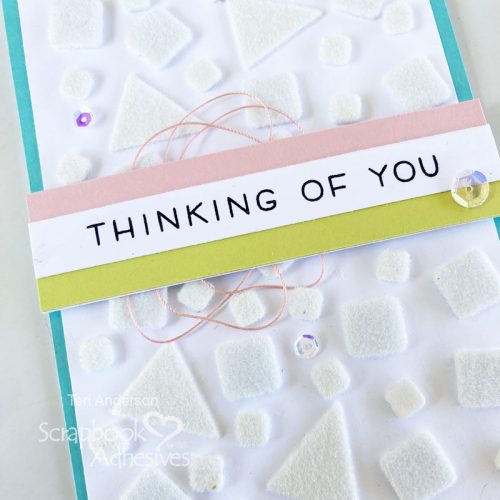
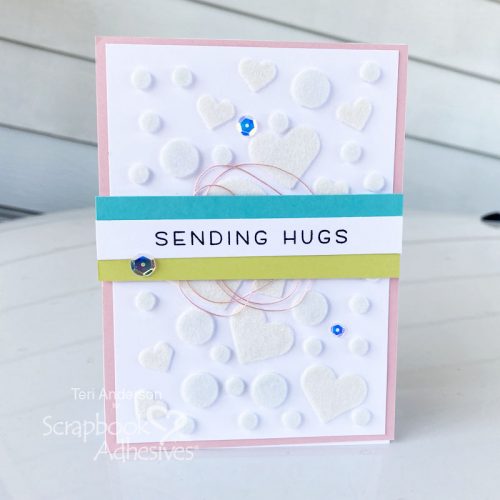
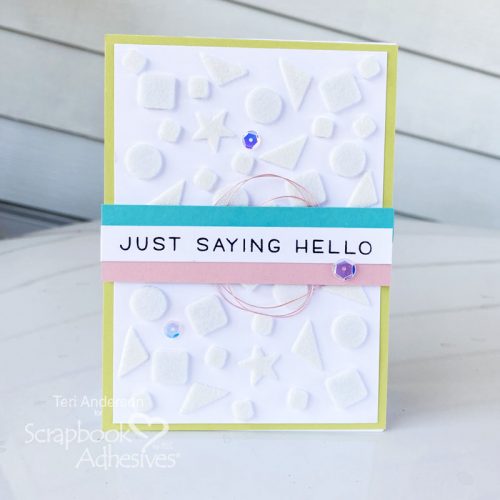
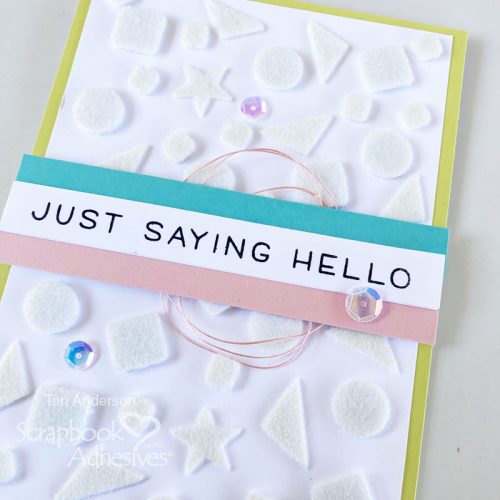
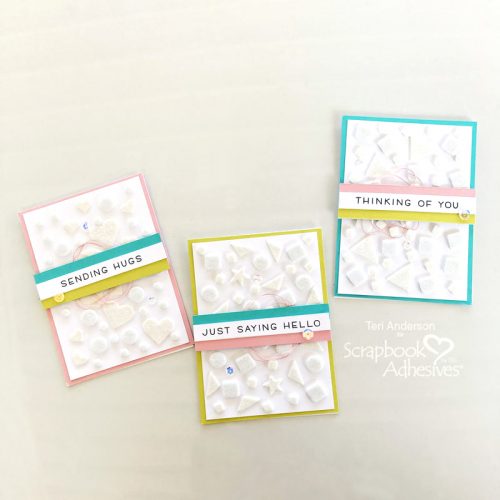
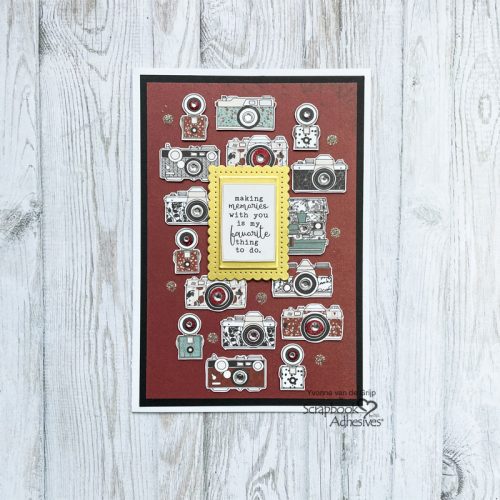
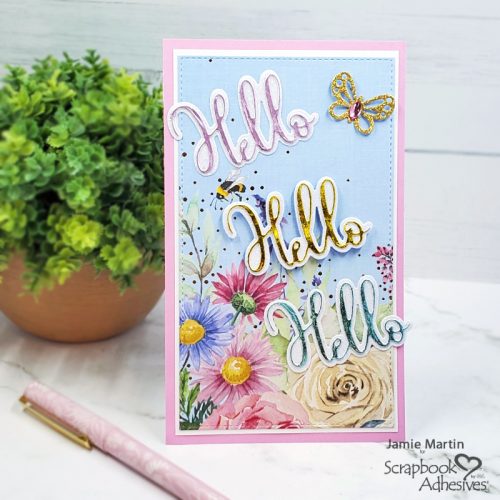
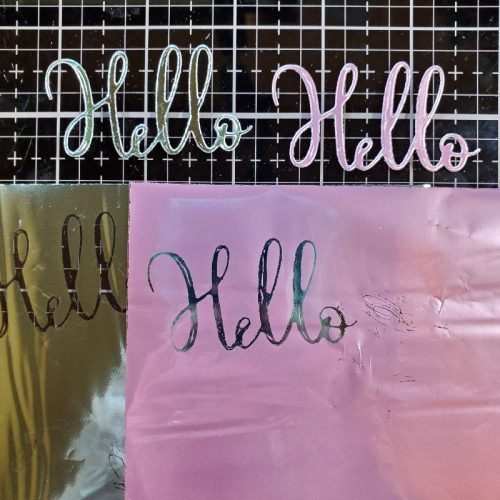
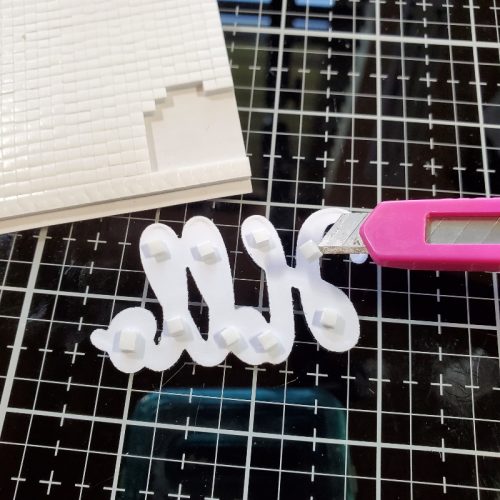
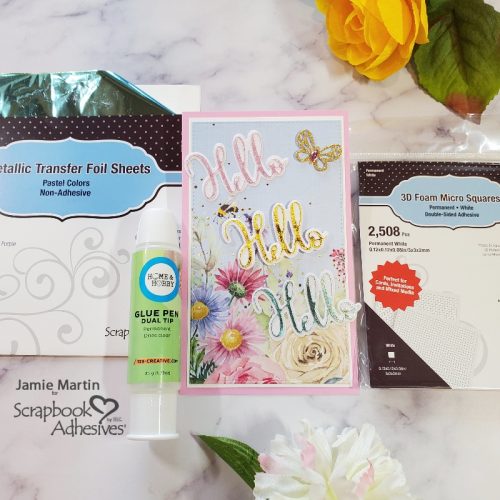
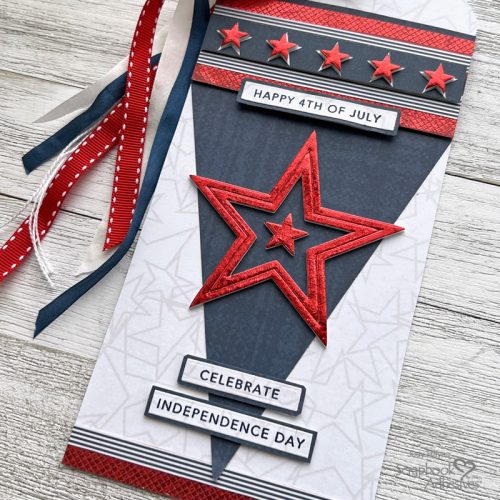
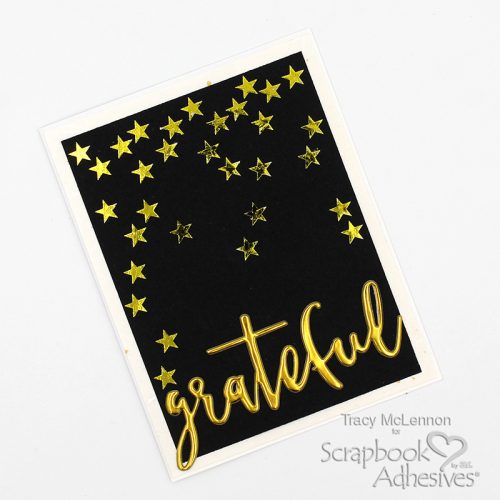
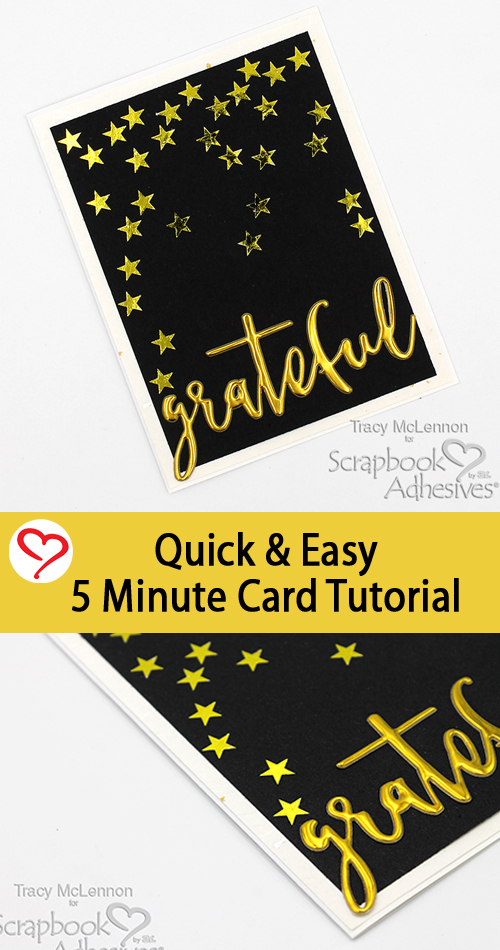
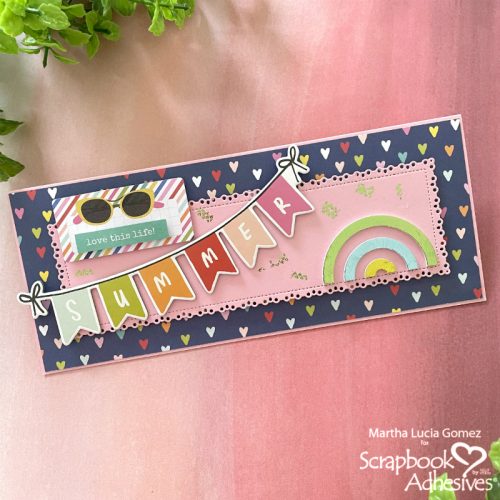
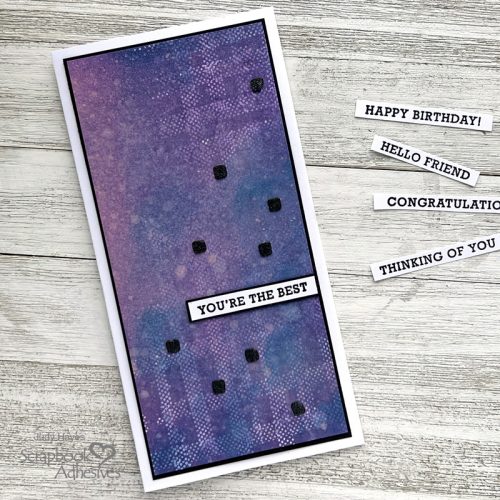
Hello crafty friends! Here’s an all-occasion card with an easy-to-do mixed media background. Make multiple backgrounds ahead to have ready to add an appropriate verse when an occasion arises. A quick and easy way to add a bit of interest to the background is to randomly place Thin 3D Foam Squares on it, cover it with clear embossing powder and heat emboss.
Make Mixed Media Background
Cut a piece of white cardstock about 8.5 inches square. This will make 2 background pieces.
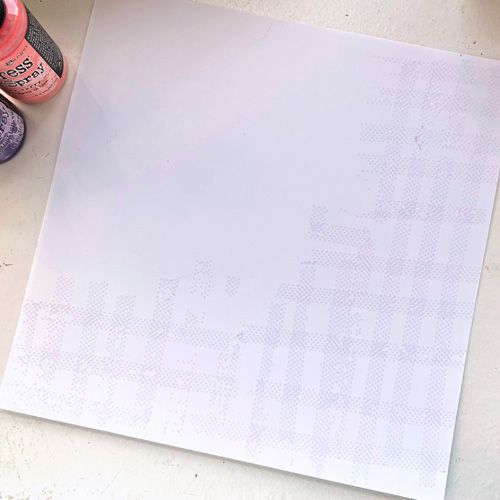
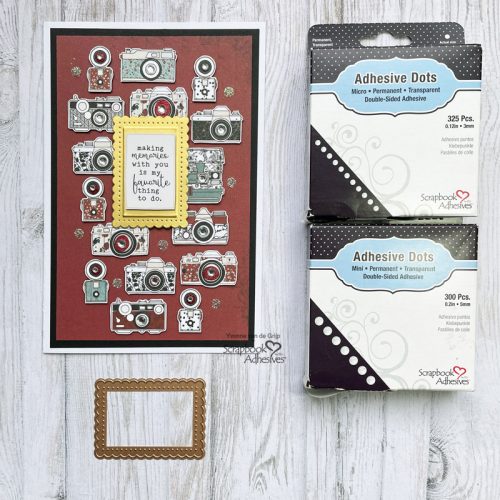
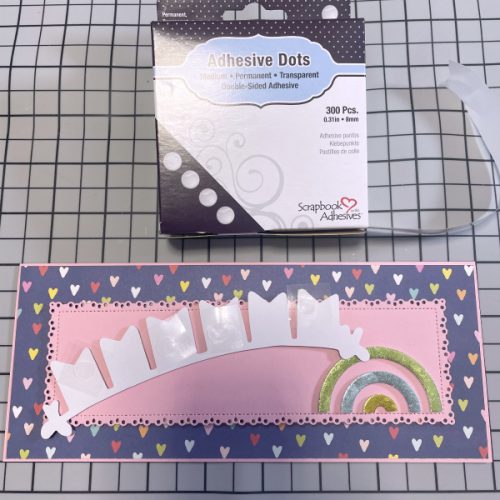
Apply adhesive dots with E-Z Dots® Repositionable Refillable Dispenser in a grid pattern over part of the paper.
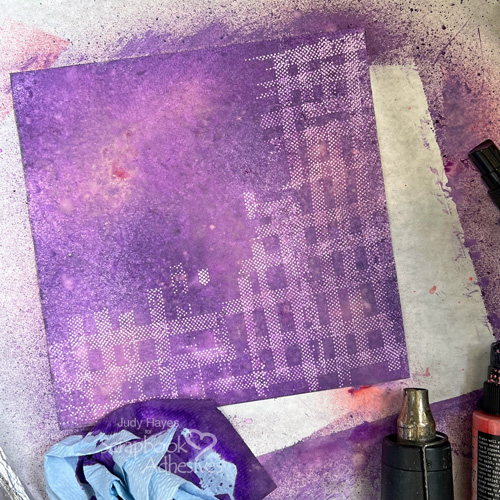
Spray Distress Oxide Sprays Villainous Potion and Saltwater Taffy over the paper, then mist with water. Allow to dry or dry with a heat gun and repeat until the desired color is achieved.

Once dry, rub repositionable adhesive dots off the paper.
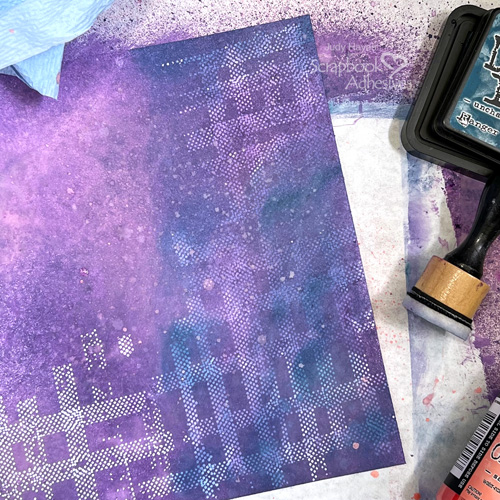
Sponge on Distress Uncharted Mariner in various random spots, mist with water and rub to spread the color. Repeat as desired.
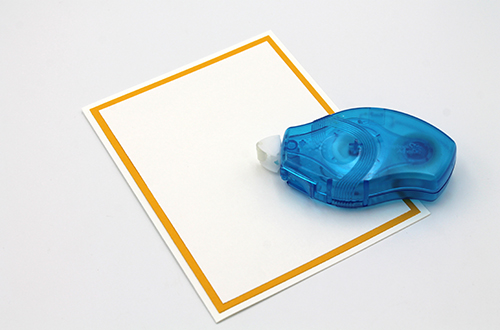
Assemble Card Base
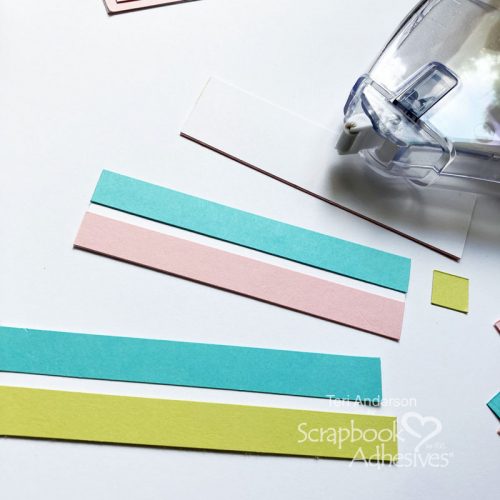
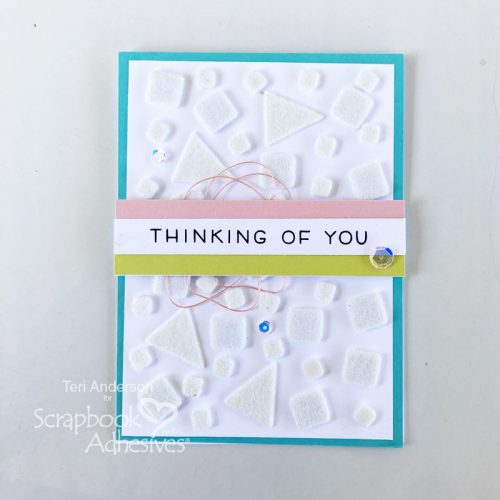
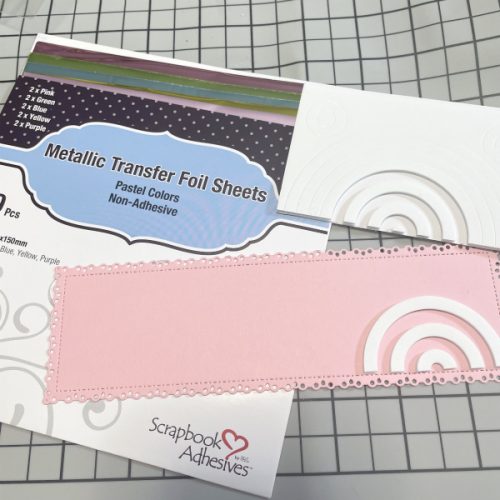
Form card from 8.5 x 8.5-inch piece of white cardstock folded to 4.25 x 8.5 inches. Trim inked mixed media paper to 3.75 x 8 inches. Cut black cardstock 3.875 x 8.25 inches.
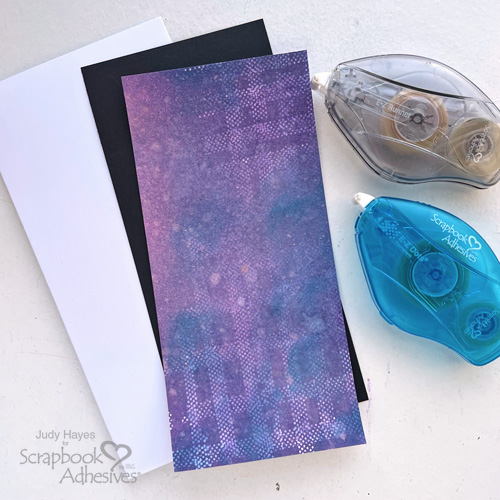
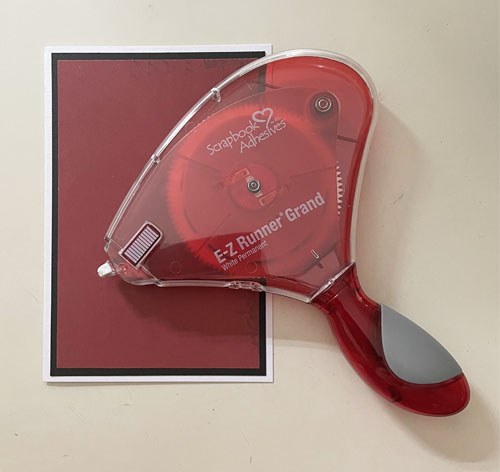
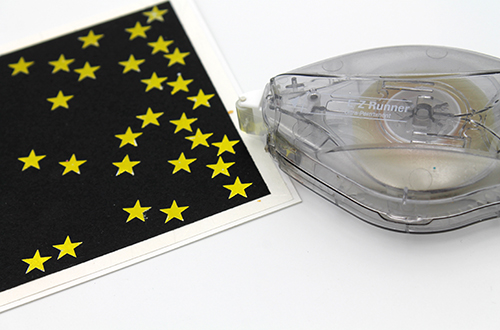
Fasten background piece to black cardstock using E-Z Runner® Ultra Strong Refillable Dispenser at corners and E-Z Dots® Permanent Refillable Dispenser along edges. The Ultra adhesive will hold corners securely which is especially good if the paper has curled from wet media. Use same adhesives to fasten the matted mixed media piece to the front of the card.
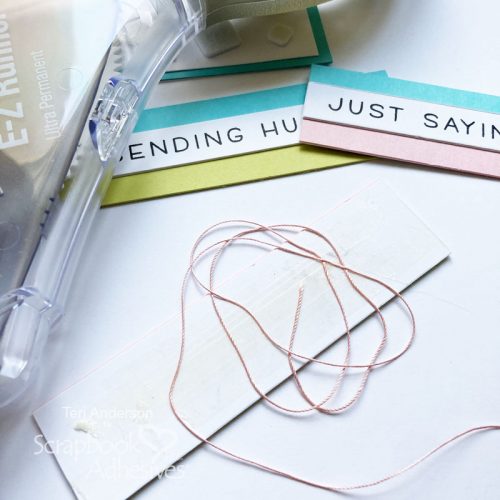
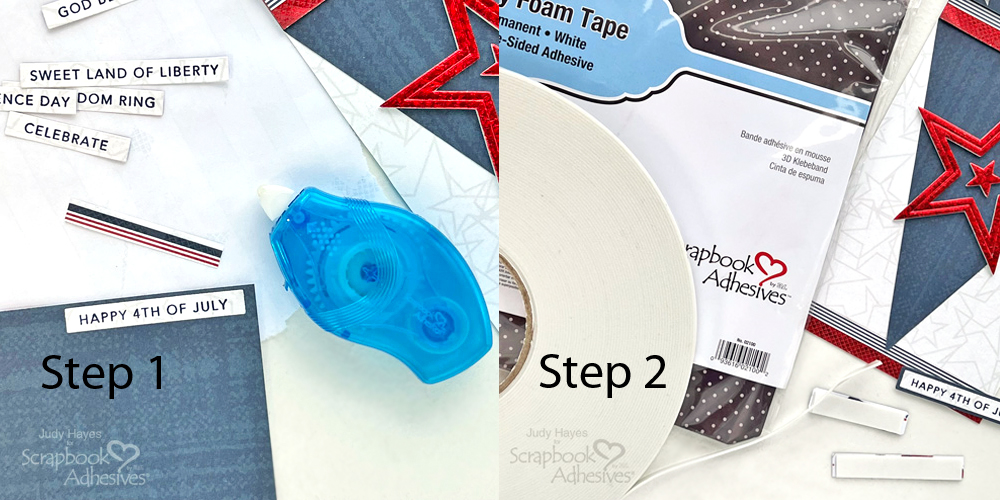
Stamp Verse
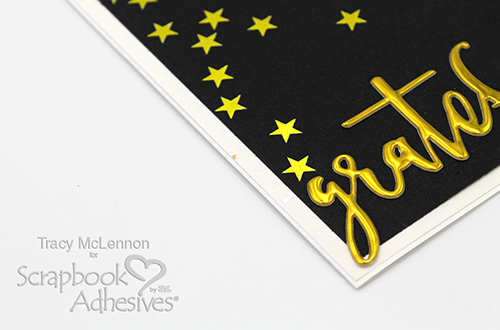
Stamp verse with black ink on white cardstock, cover with clear embossing powder and heat emboss. Trim around the verse. (Designer Tip – Stamp multiple verses to have on hand and apply to the card as needed.) Cut narrow black mat for verse.
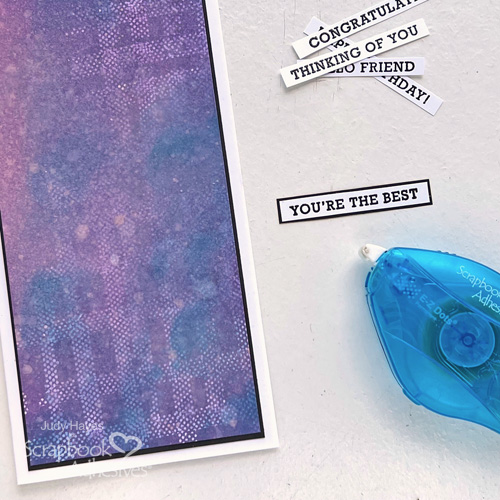
Apply adhesive to the back of the verse with E-Z Dots® Permanent Refillable Dispenser and fasten it to the black mat.
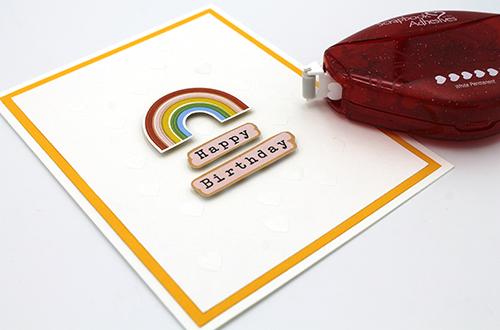
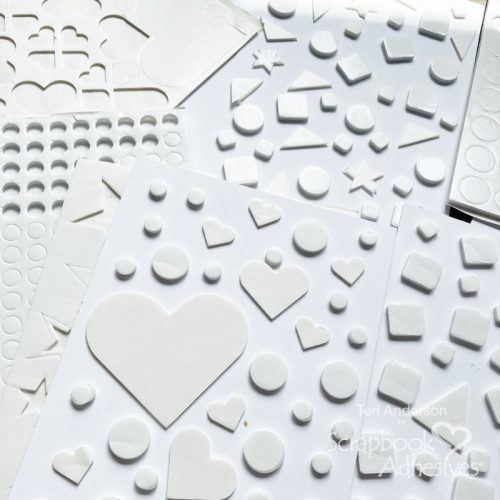
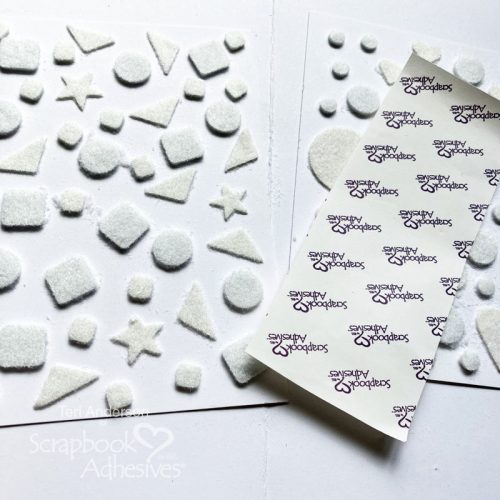
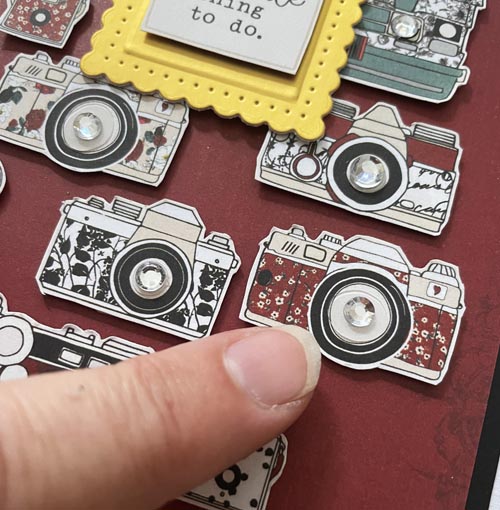
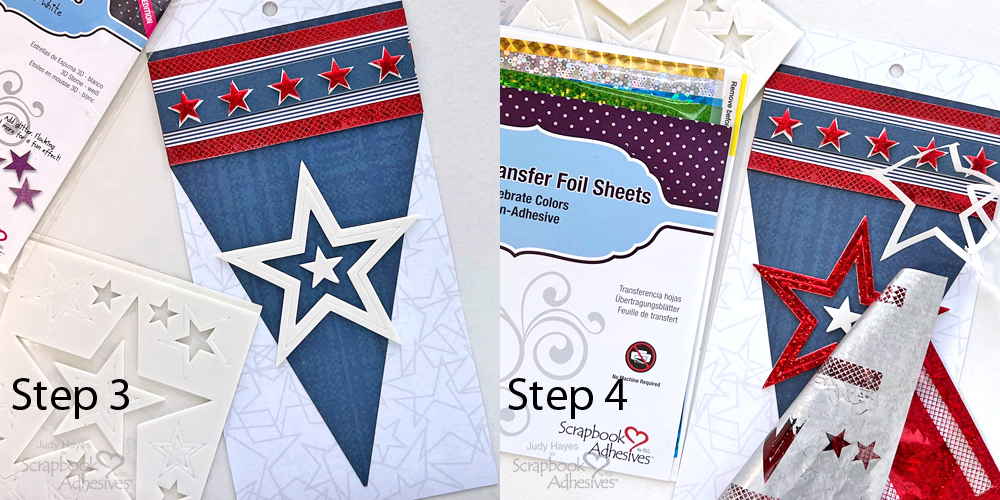
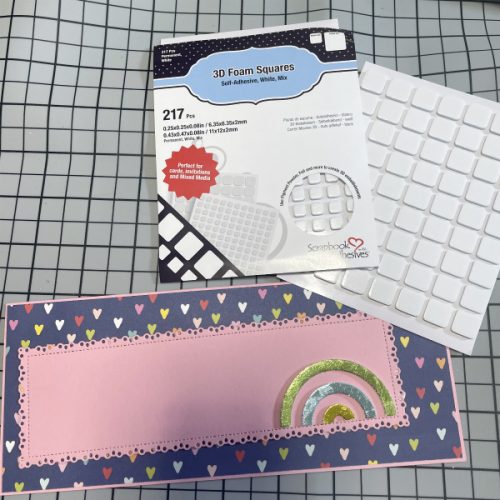
Add Thin 3D Foam Squares
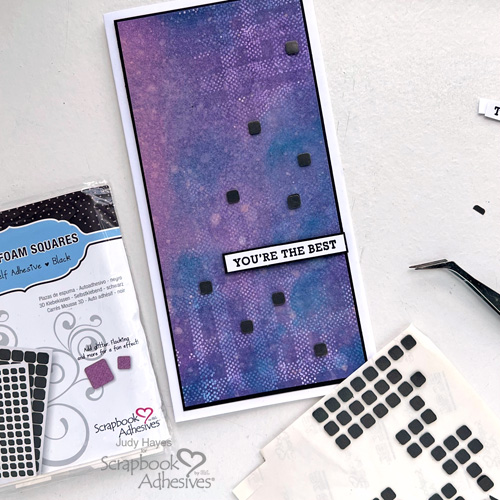
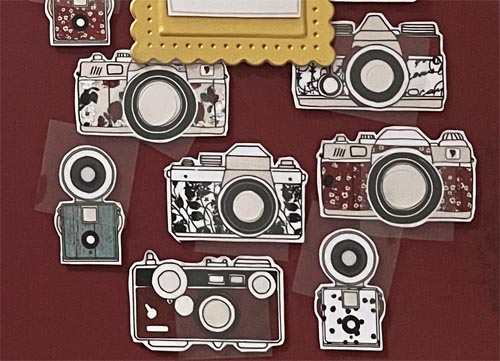
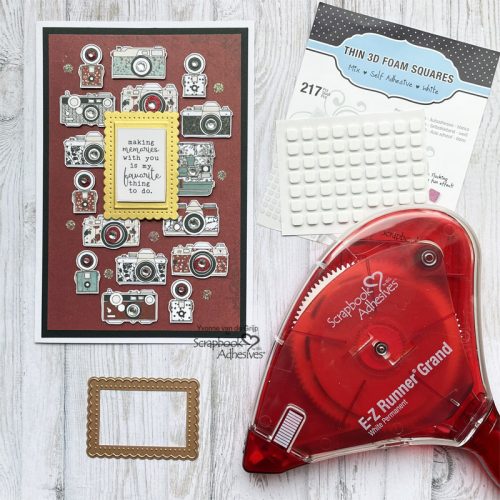
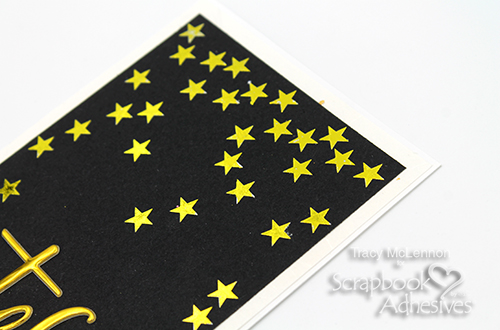
Lay the verse in place on the card front as desired but don’t fasten. Randomly place small Thin 3D Foam Squares Black Mix across card above and below verse. Set verse aside
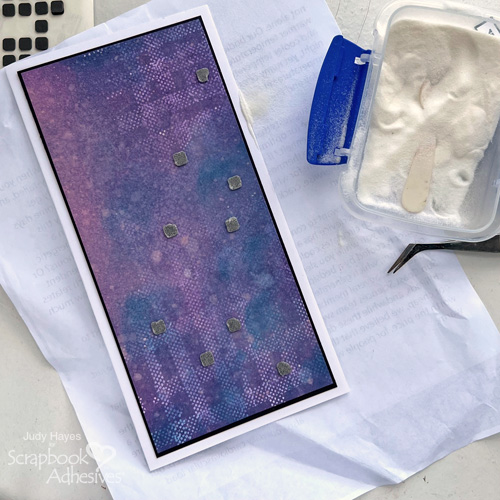
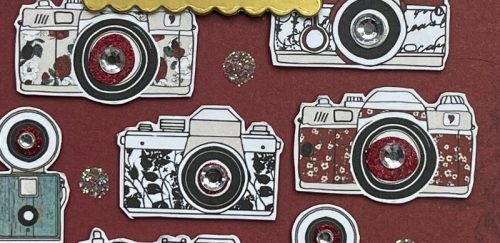
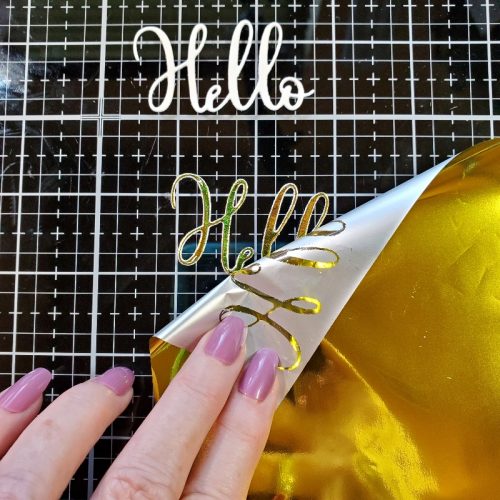
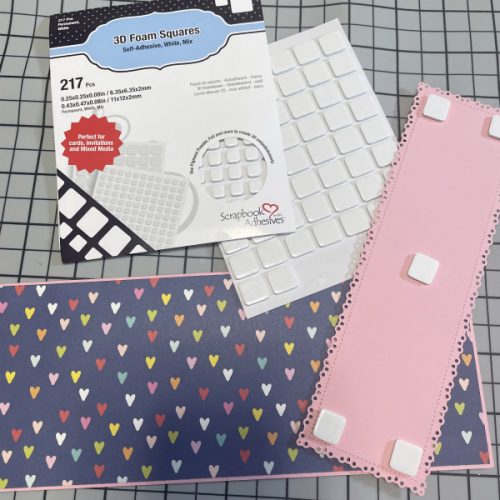
Peel liners from Thin 3D Foam Squares, cover with clear embossing powder and heat emboss with heat gun.
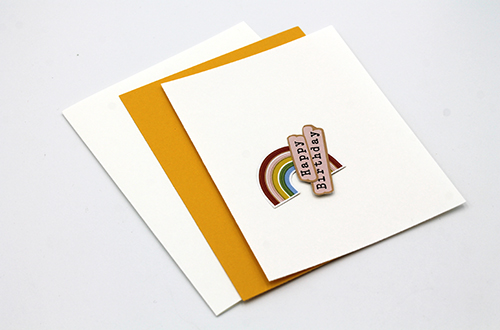
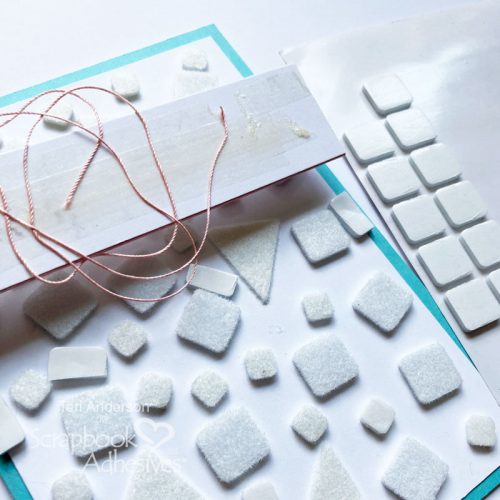
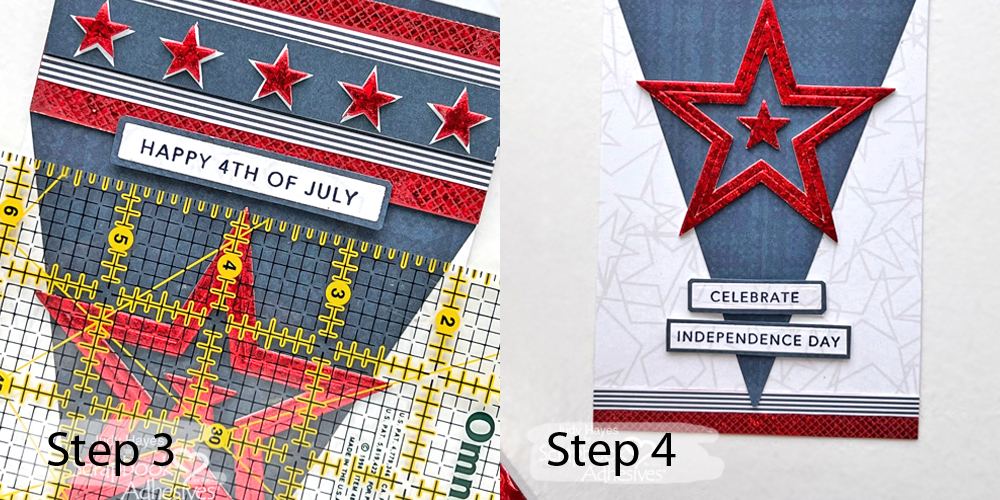
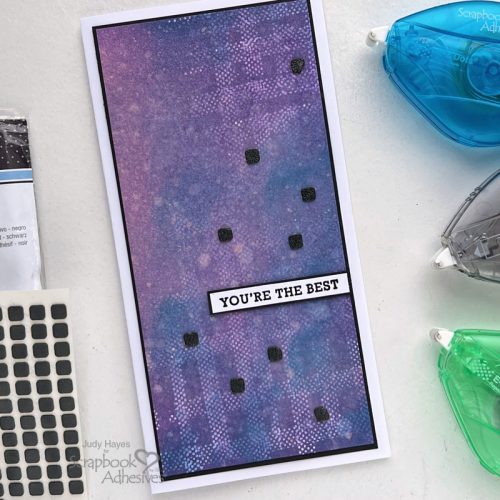
Fasten Verse
Place a small Thin 3D Foam Squares Black Mix on the back of the verse, peel liners, and fasten the verse to card front.
Thanks for Visiting!
Judy Hayes
Creative Time: 30 Minutes
Skill Level: Intermediate
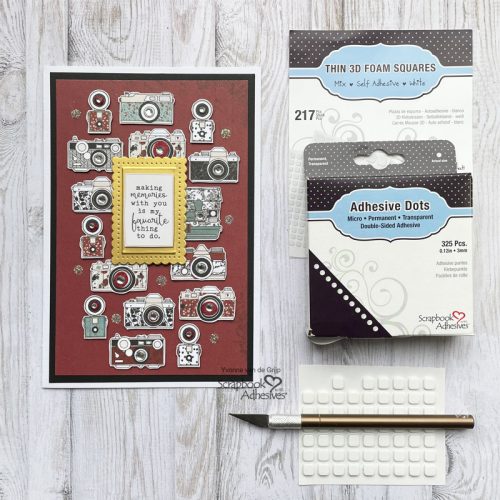
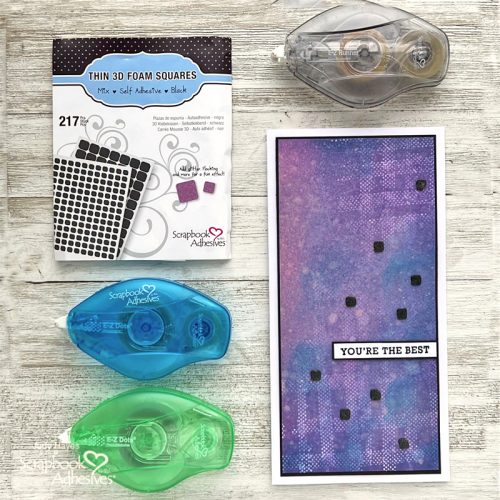
Materials Needed
Scrapbook Adhesives by 3L®
- E-Z Dots® Repositionable Refillable Dispenser and E-Z Dots® Permanent Refillable Dispenser
- E-Z Runner® Ultra Strong Refillable Dispenser
- Thin 3D Foam Squares Black Mix
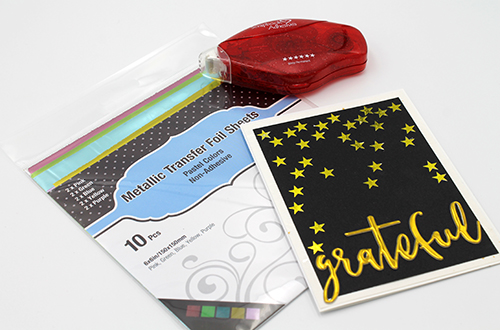
Other: Hero Arts (Sending Love Mail Stamp Set); Imagine Crafts/Tsukineko (Versafine Onyx Black Ink Pad); Ranger (Clear Embossing Powder, Distress Oxide Sprays (Villainous Potion, Saltwater Taffy, Distress Ink Pad (Uncharted Mariner); Cardstock (White, Black)
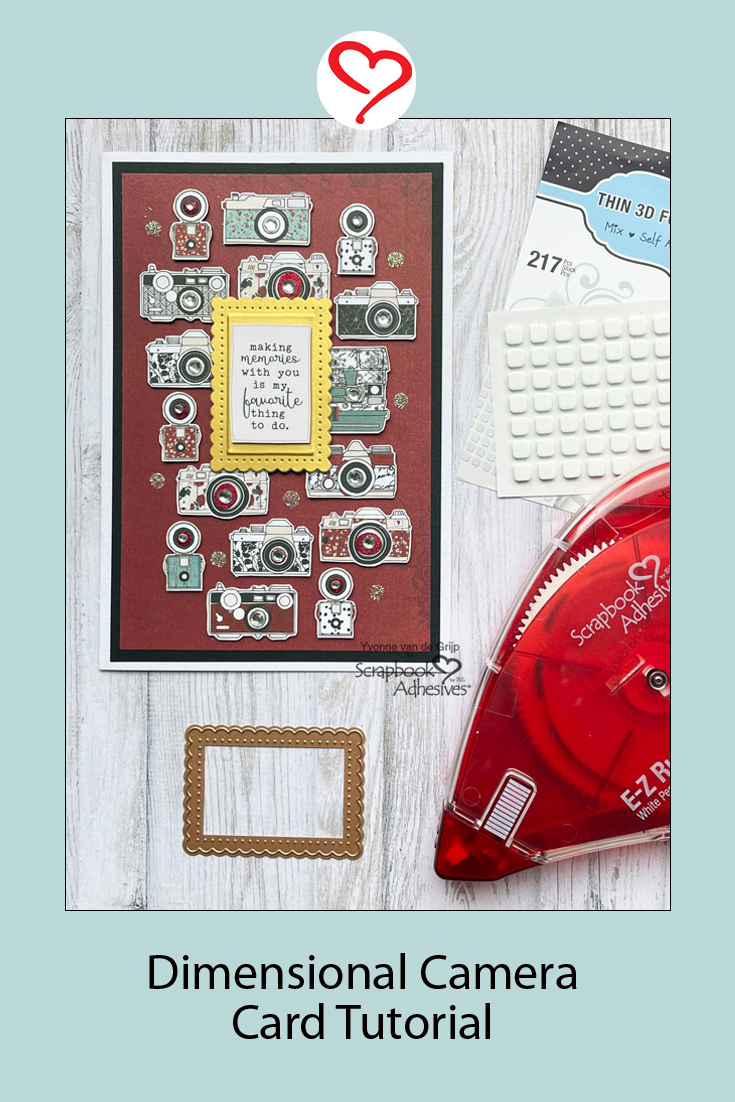
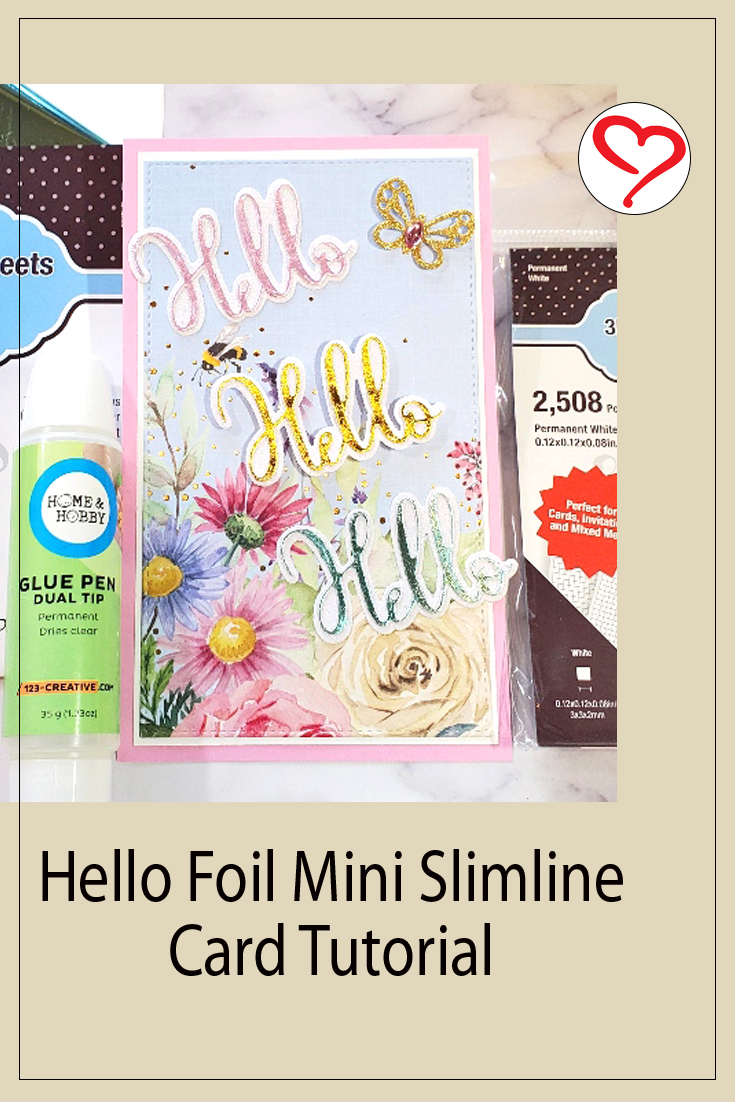
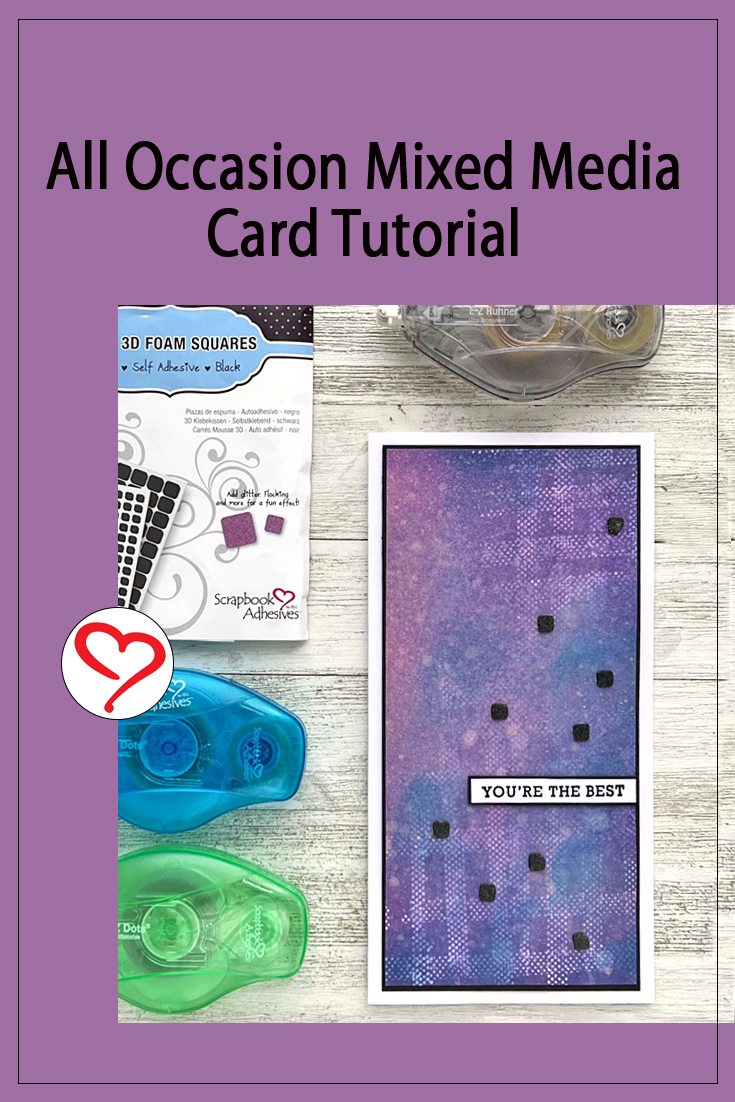
Save to Pinterest!
Visit our Website and Blog!
Sign up for our Newsletter so you never miss a contest or giveaway!