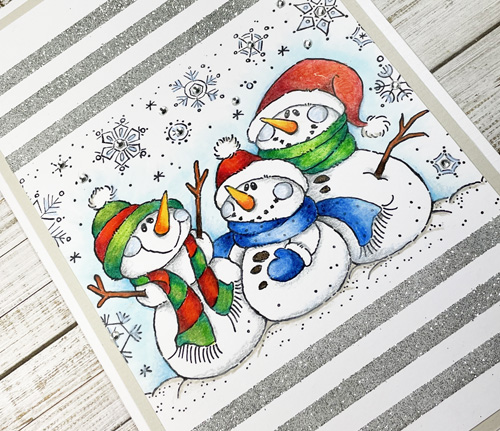
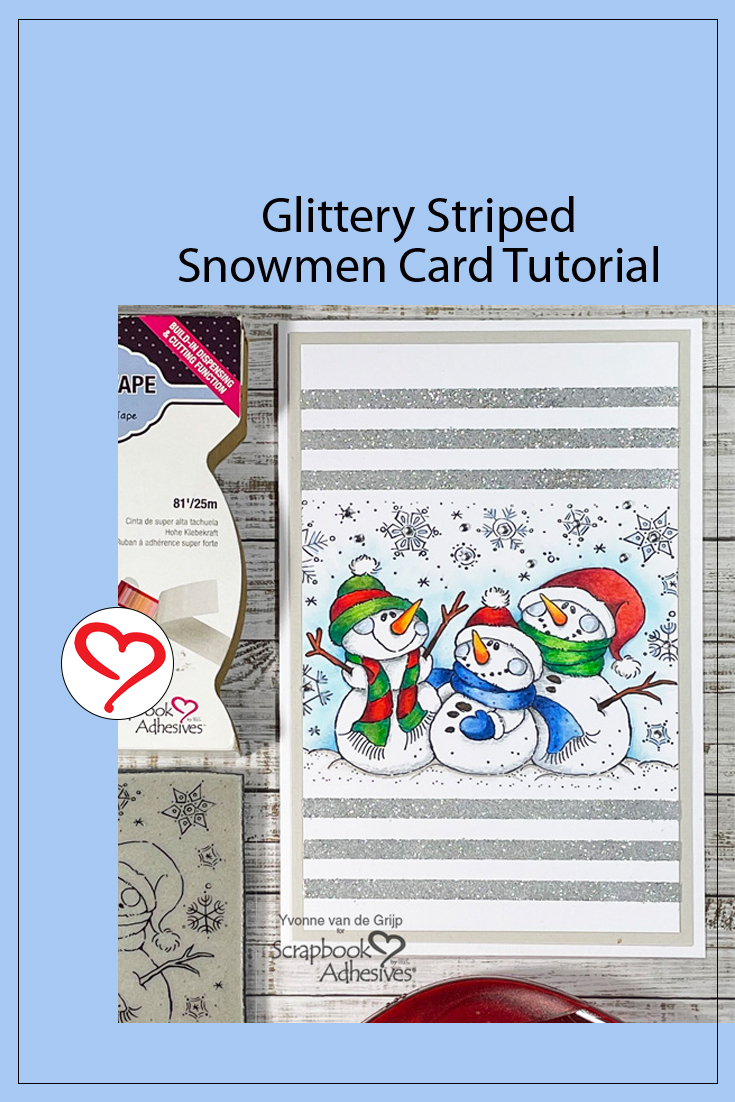
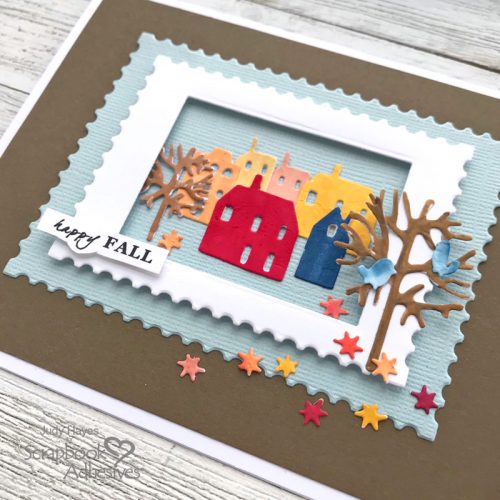
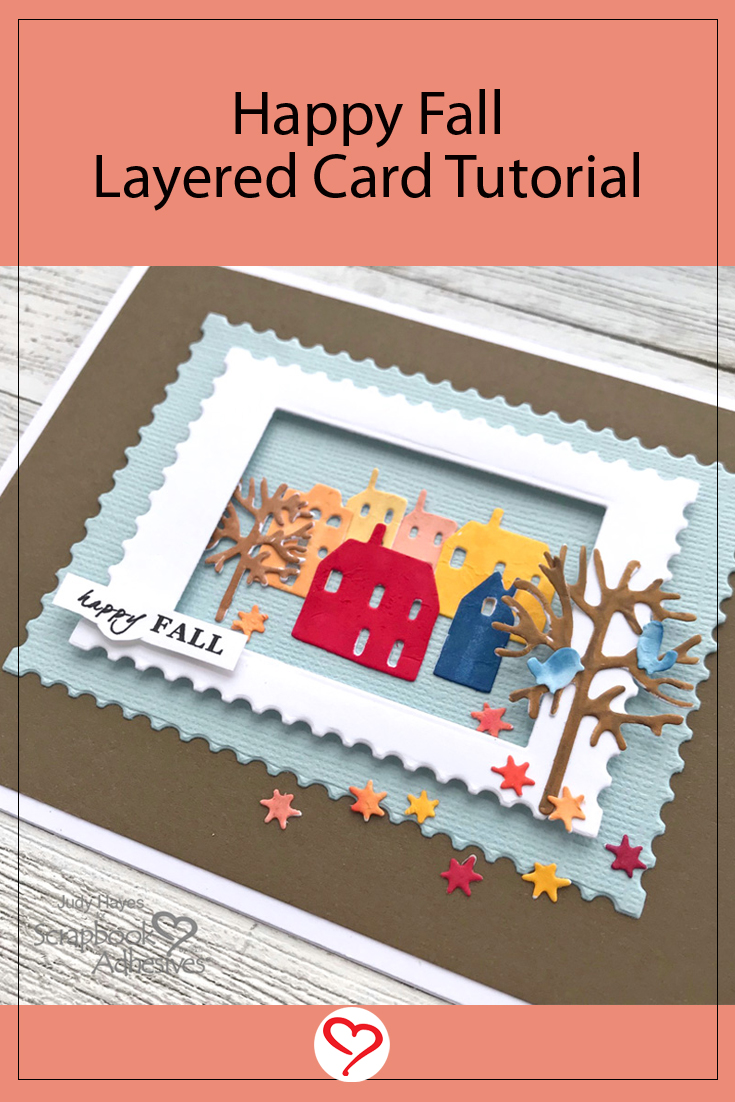
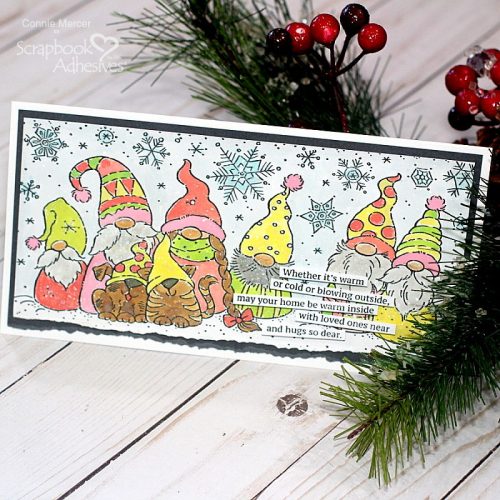
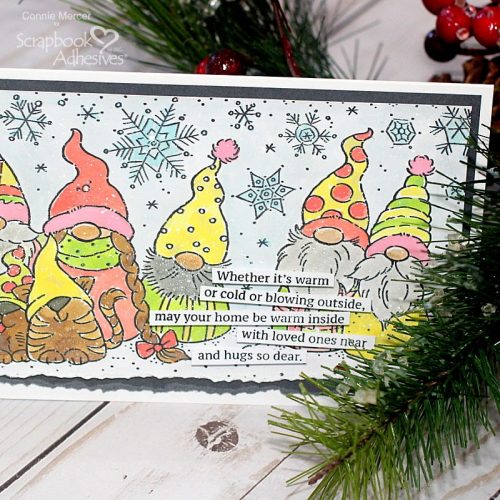
Hi, Connie here with a Christmas card showcasing a bunch of cute Winter Gnomes by Stampendous! Stamps. Such a fun card to create using Distress Oxide inks, a glitter pen, and some awesome 3D adhesive. Keeping it simple and cute.
Coloring the Winter Gnomes
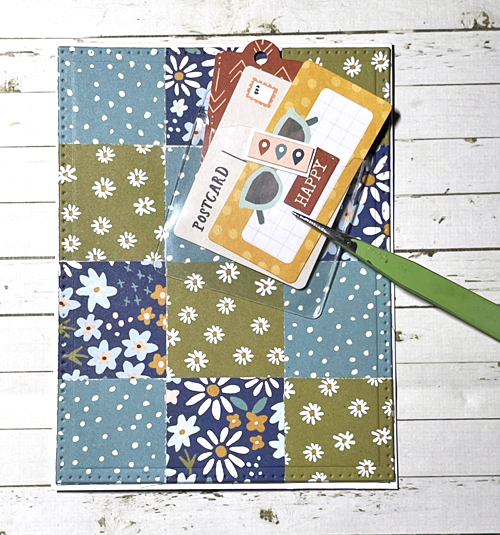
Start by stamping the Gnome Christmas stamp on a stamping platform. It’s perfect for a slimline card format! Choose the colors you like and with watered-down Distress Oxide ink, start painting.
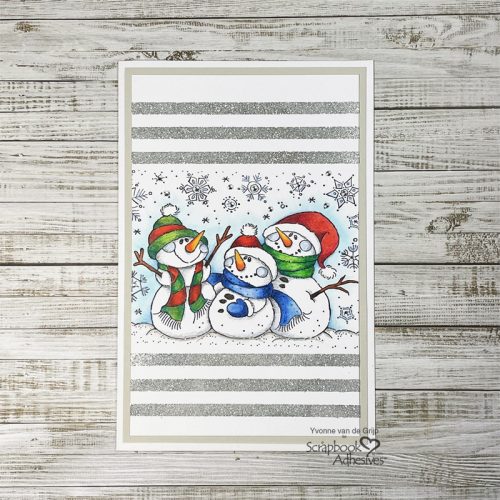
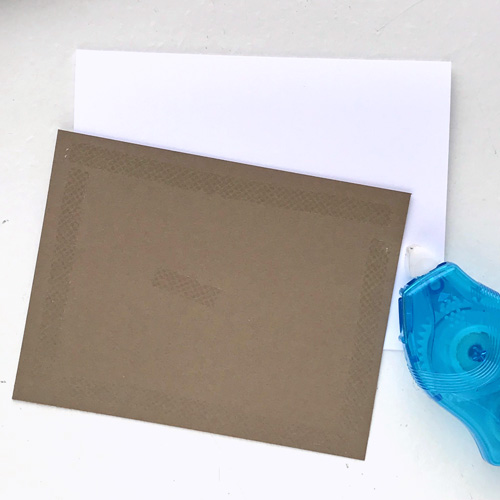
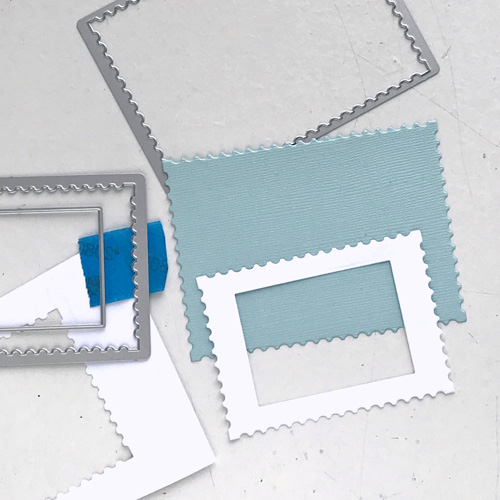
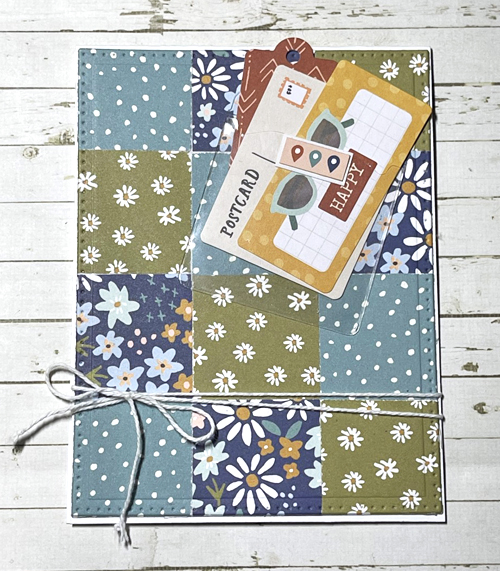
Then stamp the sentiment on white cardstock and cut it into word strips. Select a coordinating piece of cardstock to mat the card front on.
Add the glitter to the snowflakes, on the card front, and tear the bottom, of both the card front and the mat, to give a jagged edge look.
Assembling the Gnome Christmas card
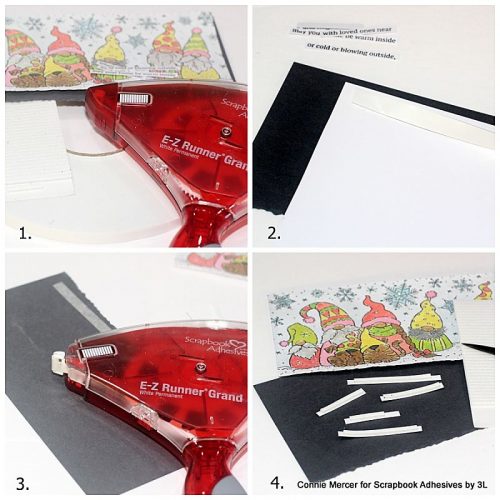
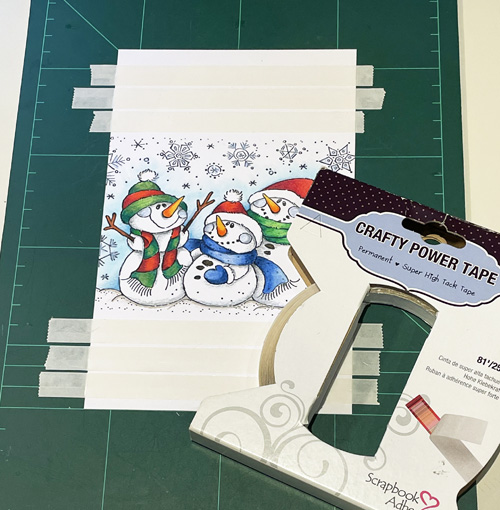
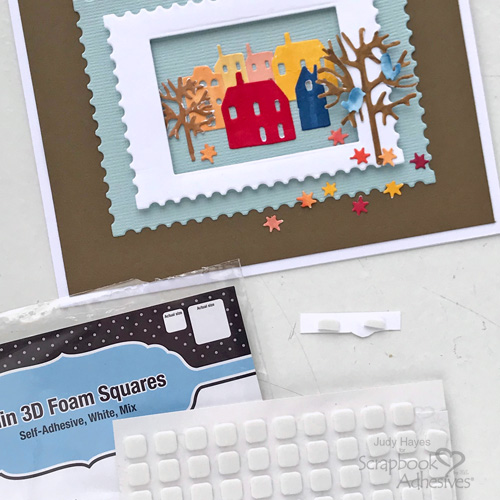
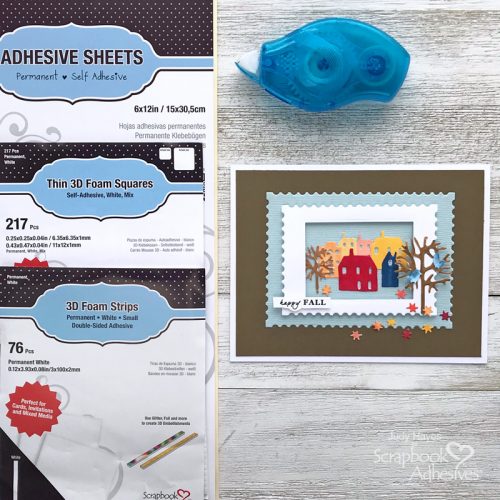
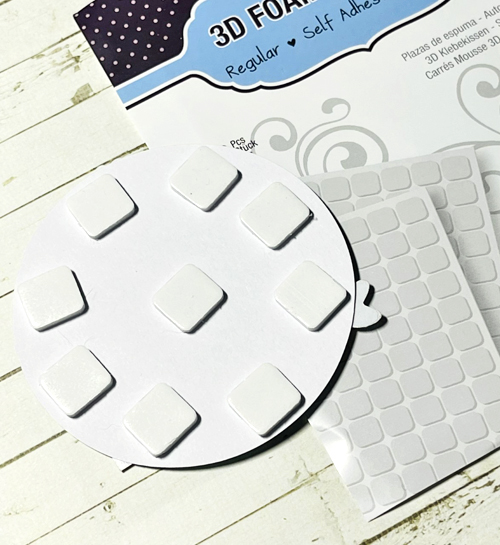
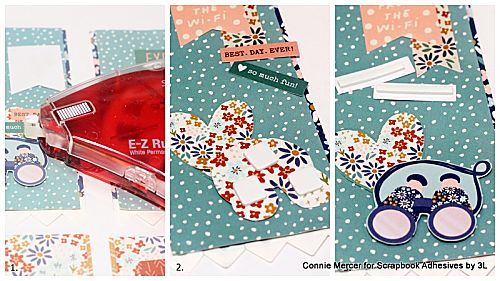
- 1. Photo of all adhesive used to complete the card.
2. Add Crafty Foam Tape 108′ to the back of the card front and adhere to the dark grey cardstock mat.
3. Add E-Z Runner Grand Refillable Dispenser to the back of the grey cardstock mat and adhere to a folded white cardstock base.
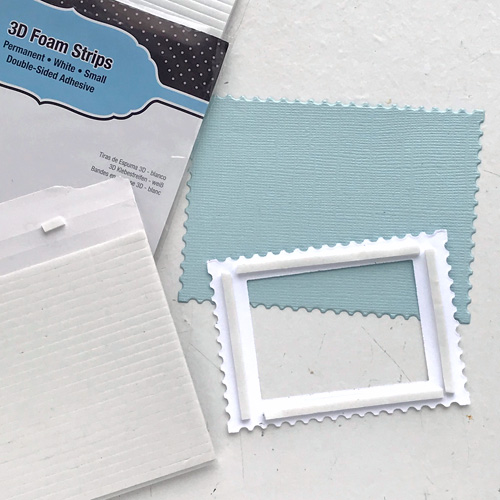
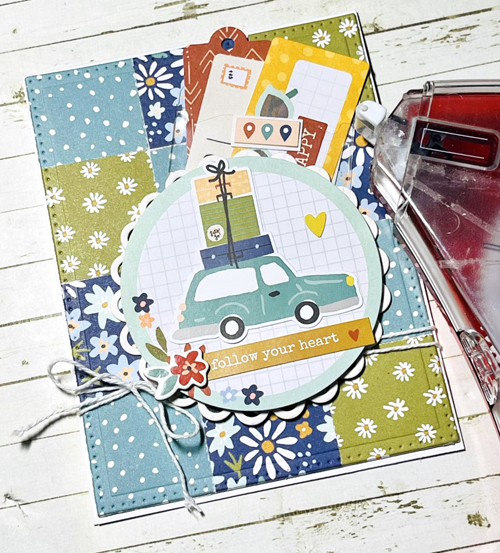
4. Add the sentiment word strips to the card front with 3D Foam Strips.

Thanks for stopping by~
Connie Mercer
Creative Time: 45 Minutes
Skill Level: Beginner
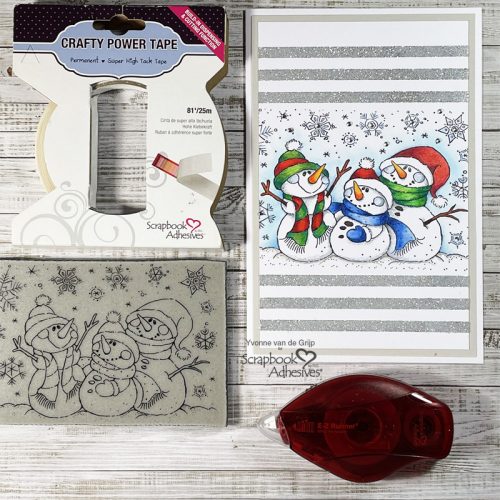
Materials Needed:
Scrapbook Adhesives by 3L®
E-Z Runner Grand Refillable Dispenser
E-Z Runner Grand Permanent Strip Refill
3D Foam Strips
Crafty Foam Tape 108 ft.
Other
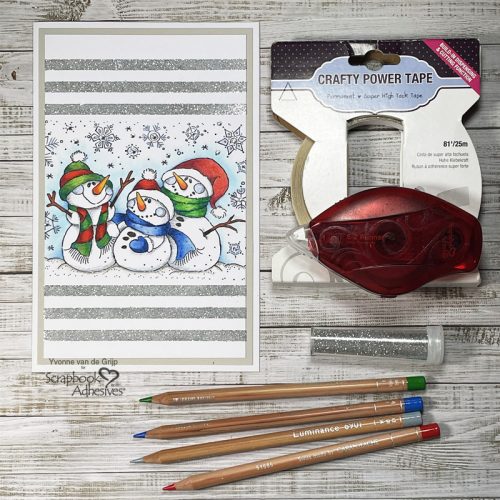
Stampendous! Stamps: Slim Winter Gnomes and Times Together, Distress Oxide Inks, Glitter Pen, Grey and White Cardstock
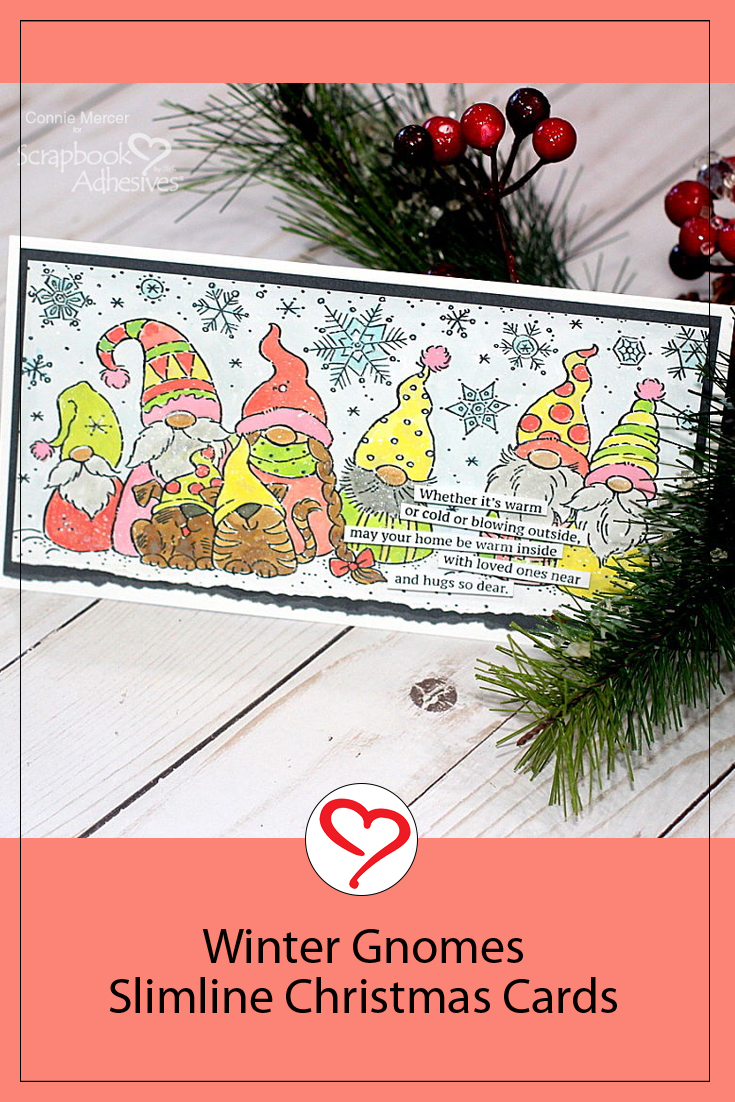
Save to Pinterest!
Visit our Website and Blog!
Sign up for our Newsletter so you never miss a contest or giveaway!