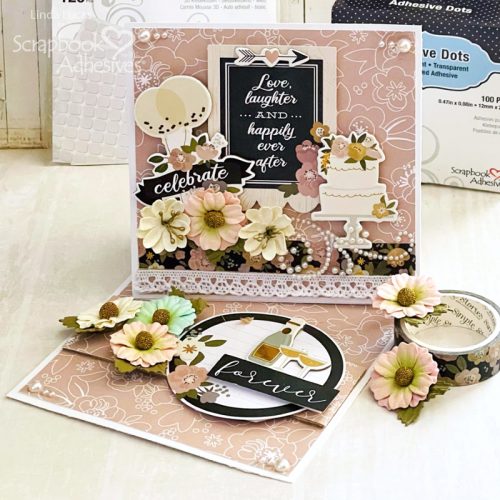
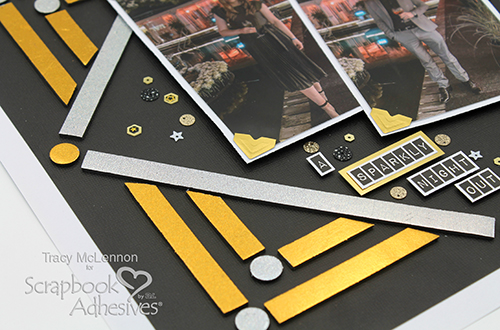
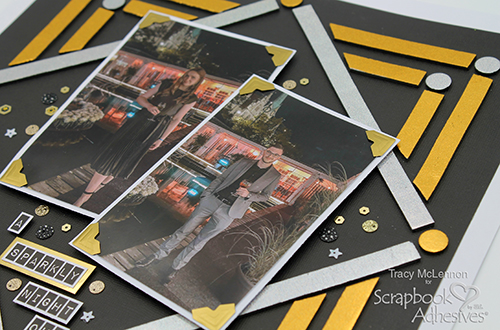
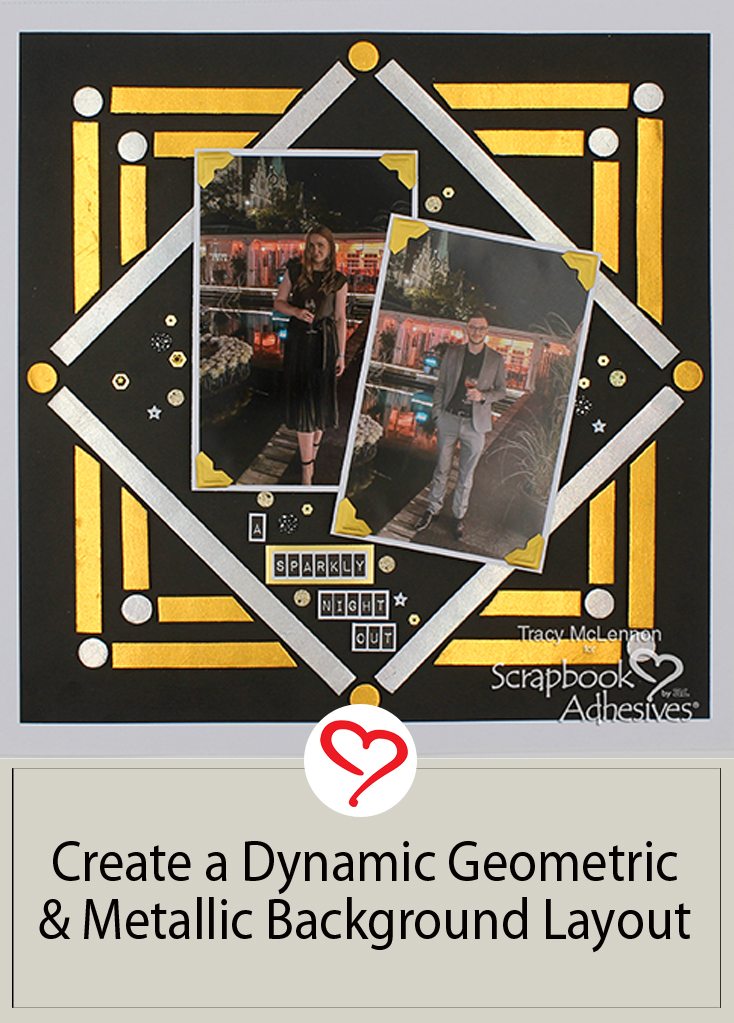
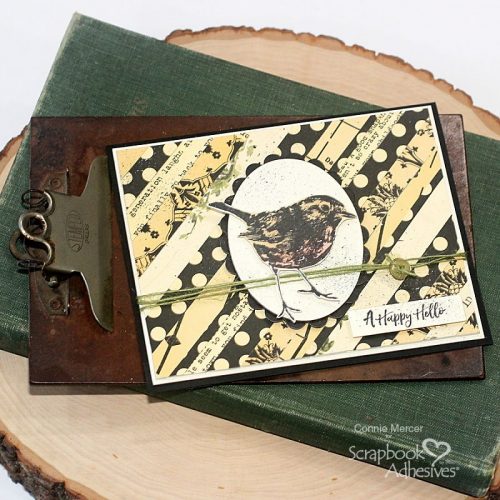
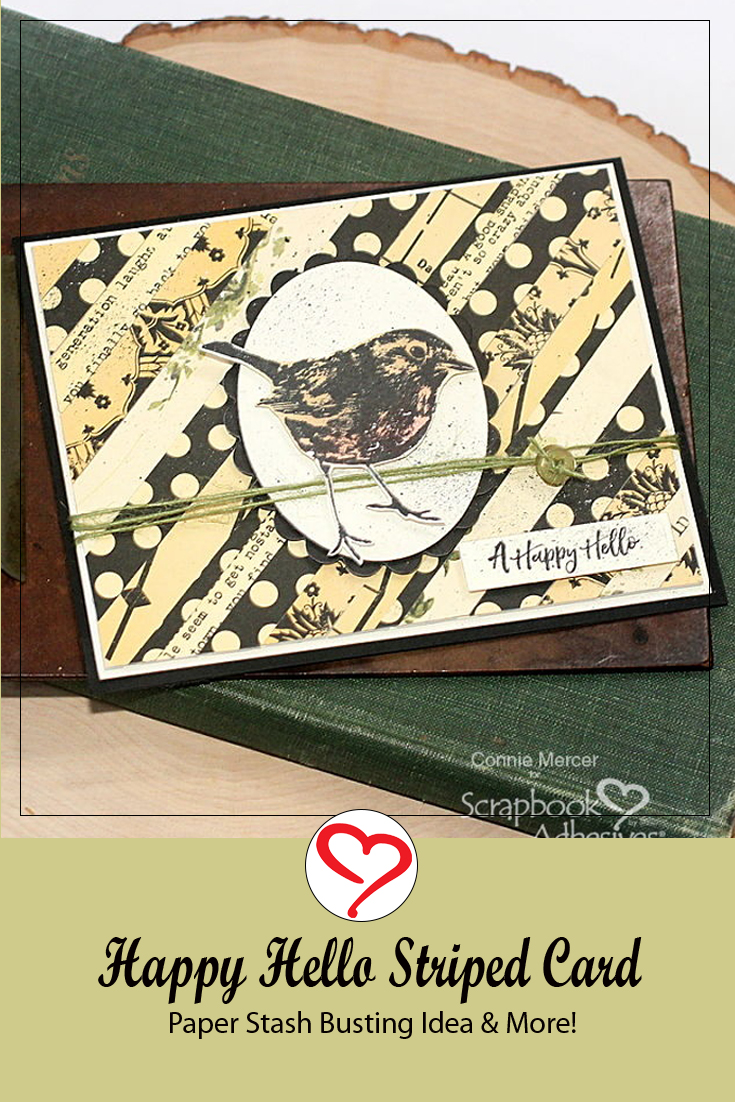
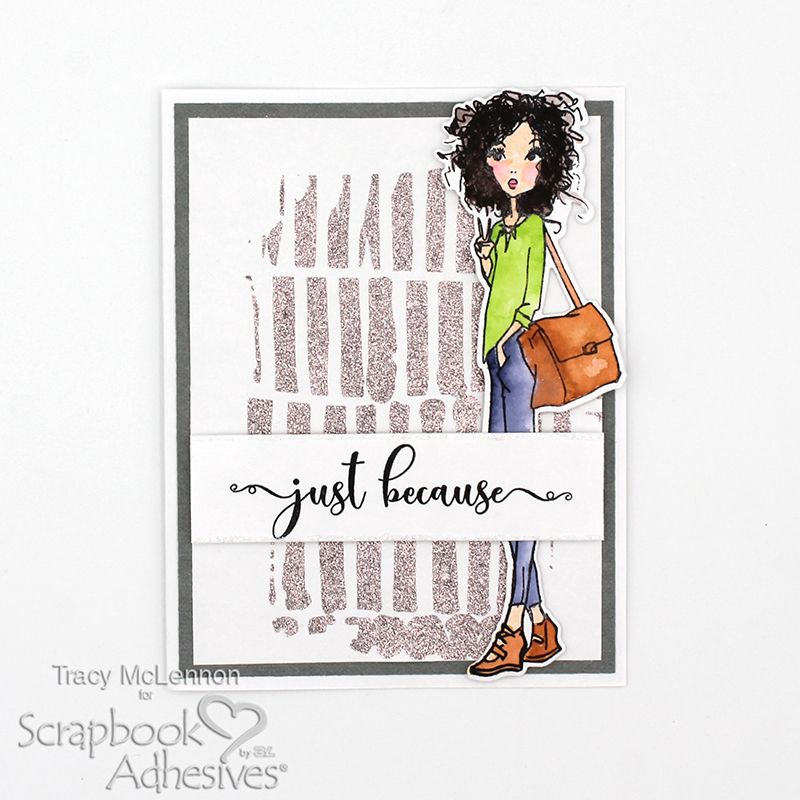
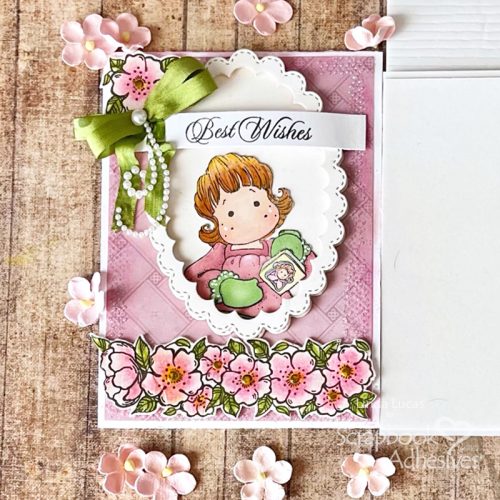
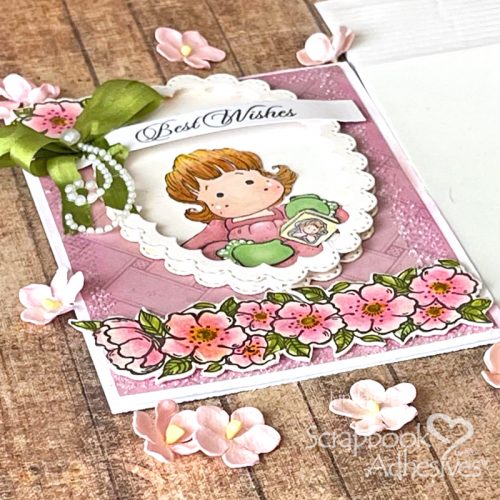
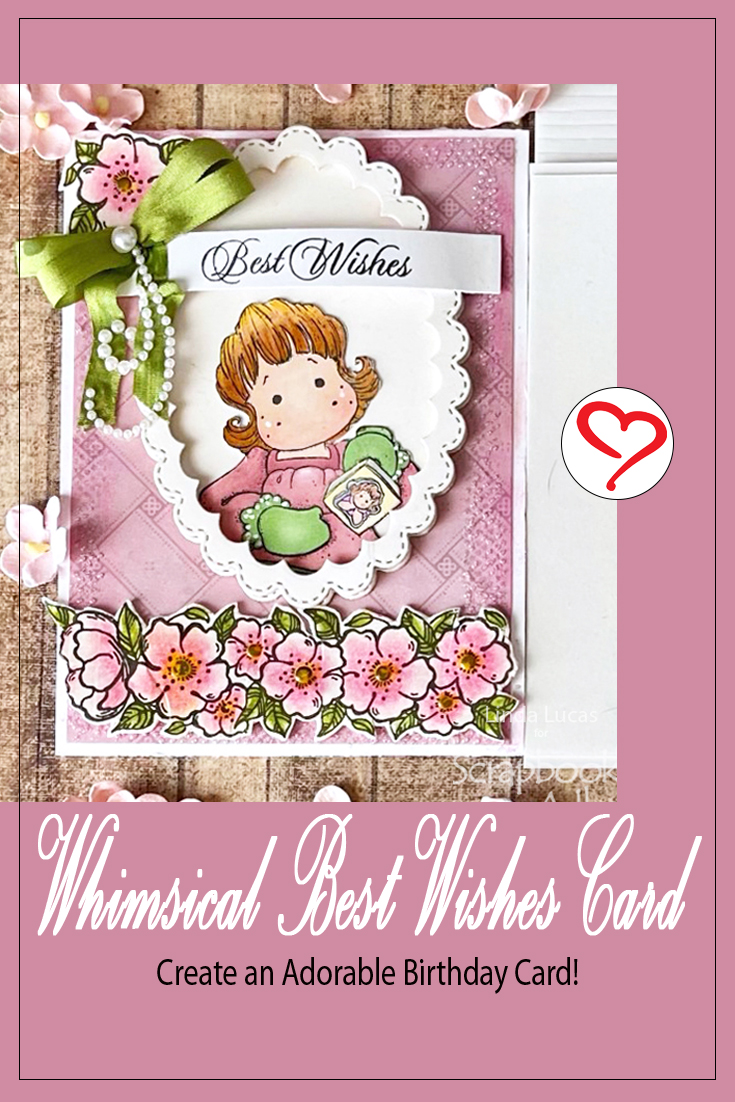
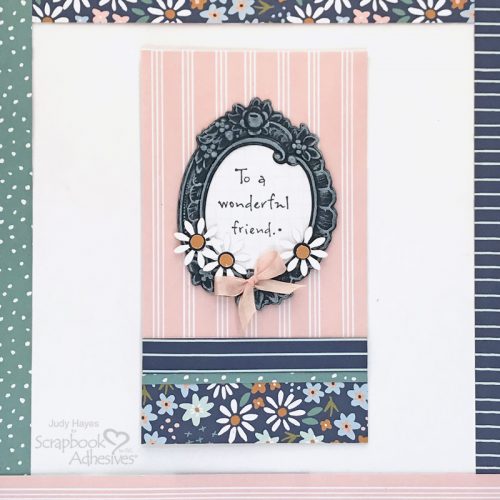
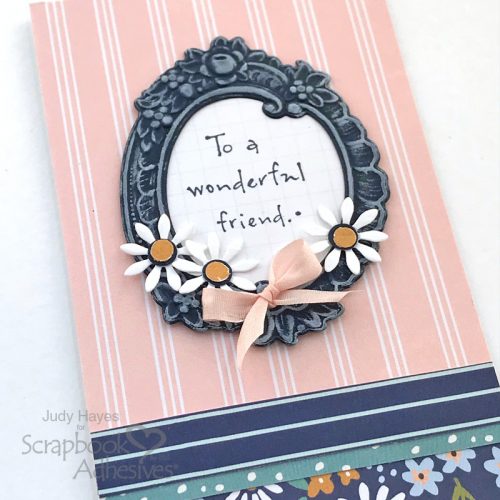
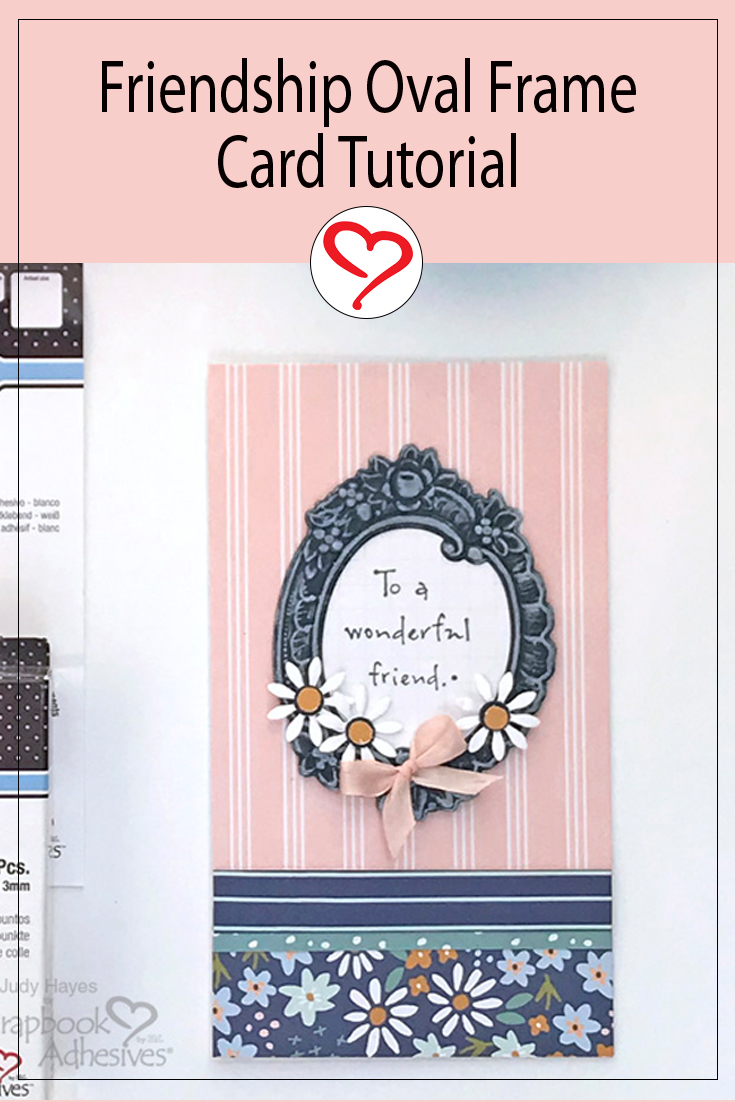
Hello friends! Today, I’m sharing a friendship oval frame card with tiny daisies on an embossed oval frame for a sweet presentation. I was inspired by Simple Stories paper to add layered center dots on the daisies. These papers are some of my favorite colors!
Oval Frame Step Outs
Use die-cutting machine to cut and emboss oval frame from navy cardstock. Then rub Distress Oxide Tattered Rose ink pad over the raised design to highlight it.
Stamp Verse
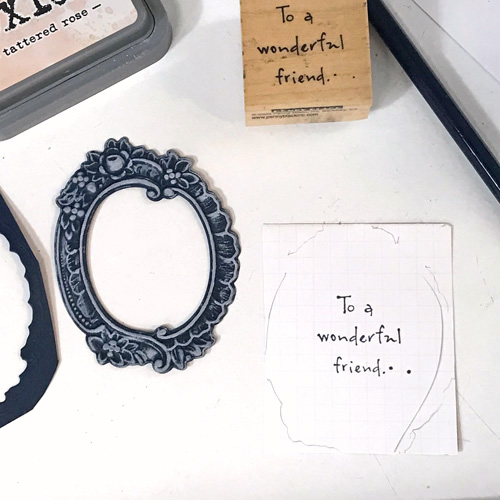
Stamp verse with navy ink on grid paper from Simple Stories Tags paper and center the oval frame over verse to trace with a pencil. Next, cut around verse inside of the pencil line.
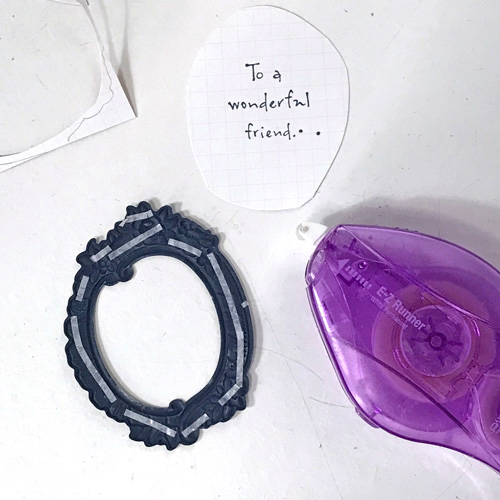
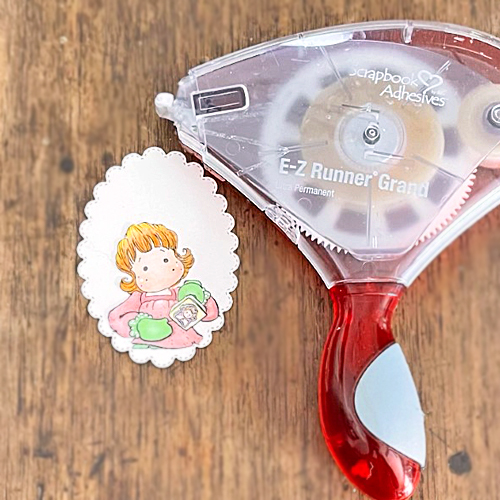
Use E-Z Runner® Micro Refillable Dispenser to apply adhesive on the back of the oval frame. Press in place over the verse.
Assemble Flowers
Die-cut three small daisies from white cardstock using a die cutting machine and flower die.
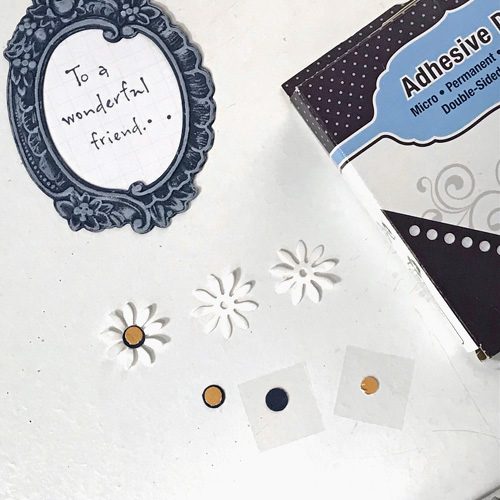
Use 1/4 inch hole punch to punch three navy circles and use a slightly smaller punch to cut three gold circles.
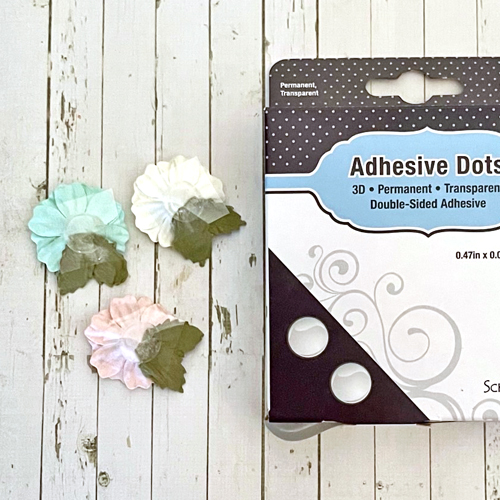
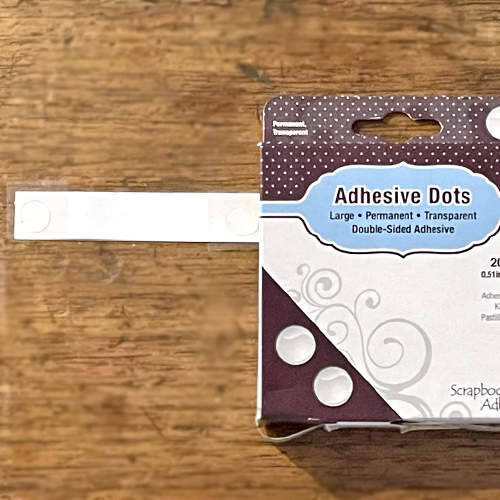
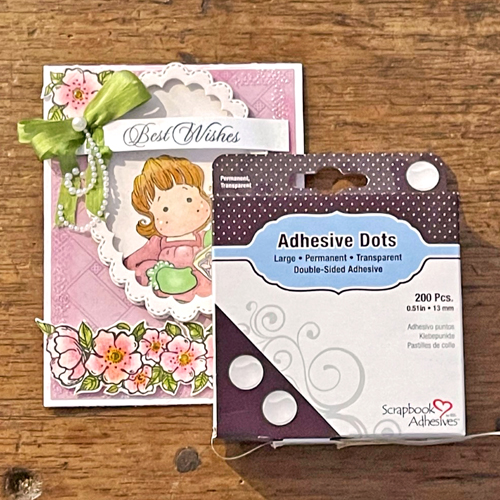
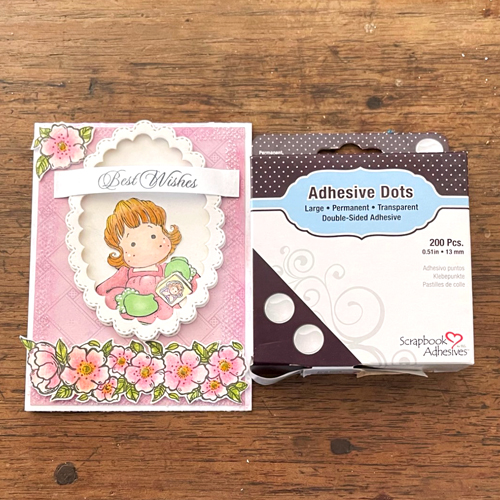
Apply Adhesive Dots Micro to back of the gold circle. Remove liner and press in place on the center of a navy dot. Repeat to make three flower centers.
Place an Adhesive Dots Micro on the back of the assembled dots and place it in the center of the daisy. Repeat for the other two daisies. Fasten each daisy to the oval frame using Adhesive Dots Micro
Assemble Card Base
Form a 3.25 x 5.75-inch card from white cardstock.
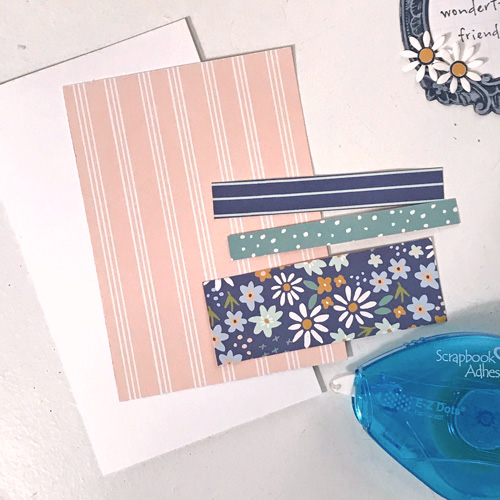
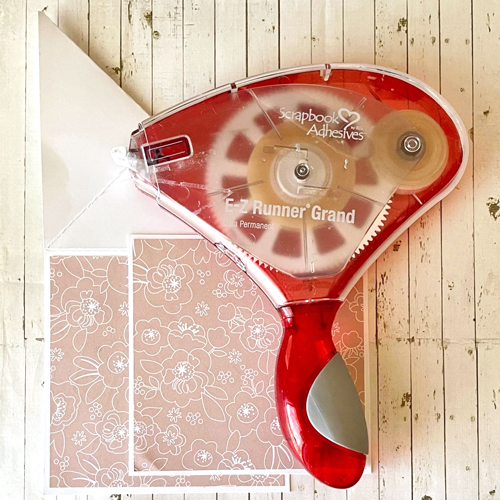
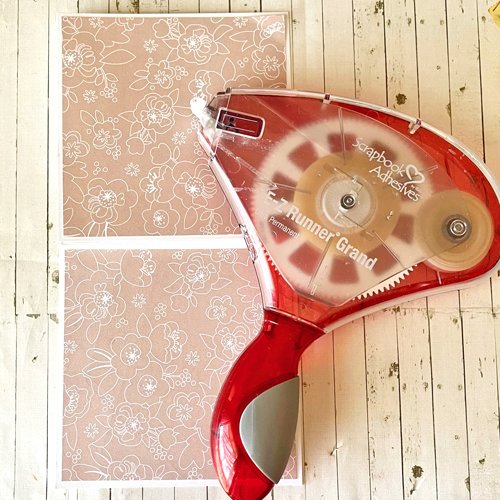
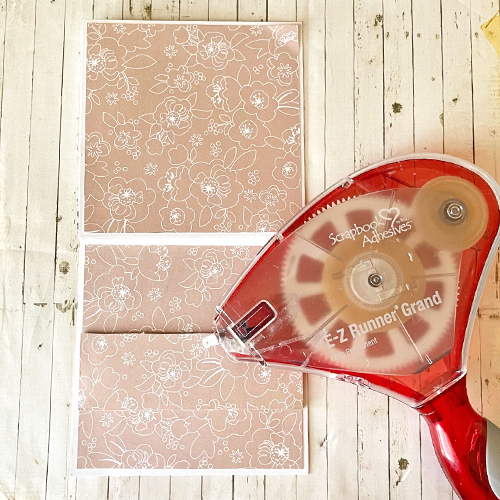
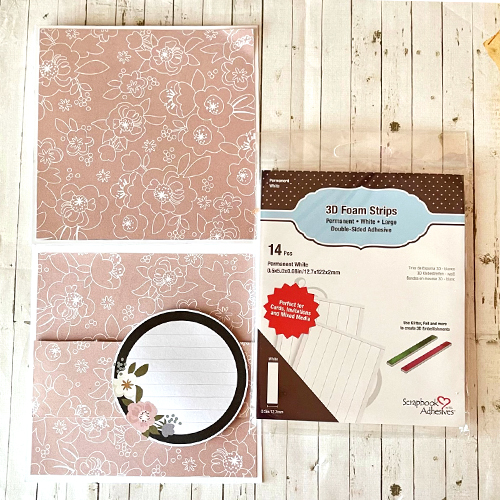
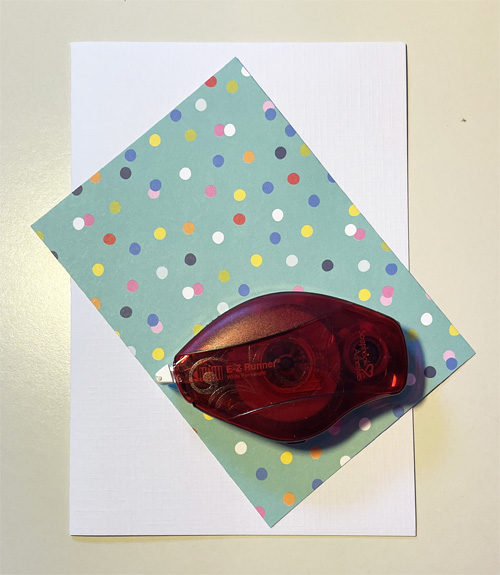
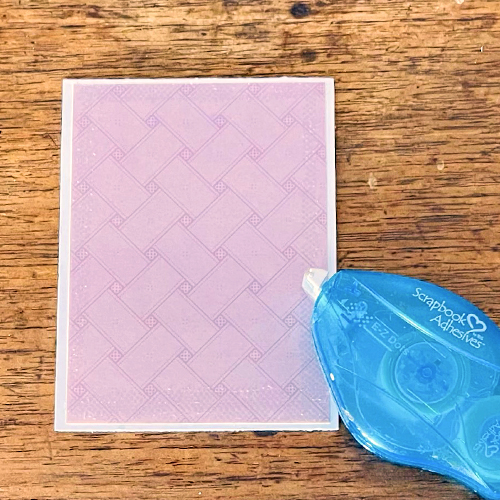
Cut stripe paper 3.25 x 4.5 inches and flower paper 3.25 x 1.25 inches. Use E-Z Dots® Permanent Refillable Dispenser to apply adhesive to the back of each piece. Secure each piece to the card front.
Cut .5 x 3.25-inch piece of navy stripe paper and dot paper. Apply adhesive with E-Z Dots® Permanent Refillable Dispenser to back of navy stripe paper and fasten over dot paper allowing about 0.125 inch reveal.
Apply adhesive to back of stripe and dot piece and fasten it on card front over the seam between peach stripe and flower papers.
Adhere the Oval Frame

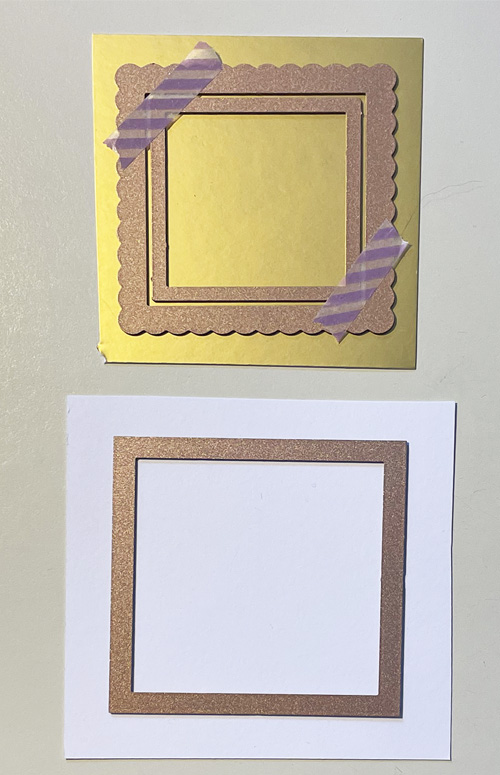
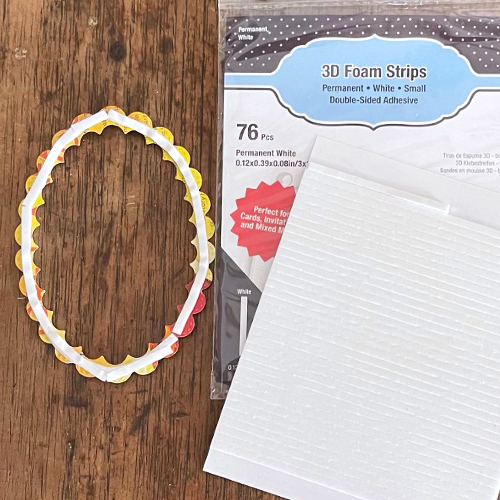
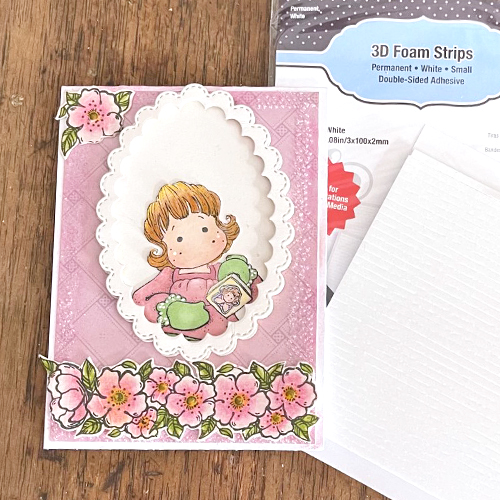
Place large squares of Thin 3D Foam Squares White Mix to back of the oval frame. Remove liners and adhere the oval frame to the card front.
Add Ribbon
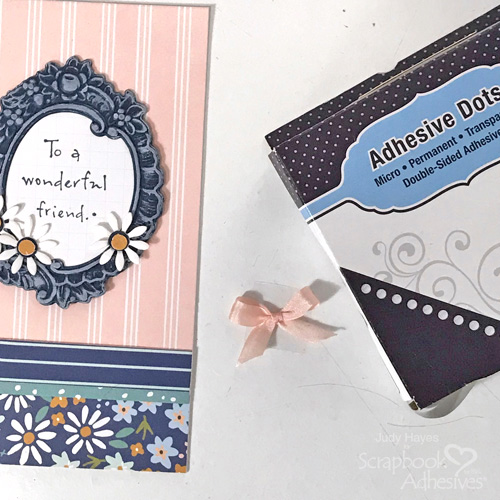
Tie silk ribbon into a small bow, and attach it to the frame using Adhesive Dots Micro
Thanks for Visiting!
Judy Hayes
Creative Time: 30 Minutes
Skill Level: Intermediate
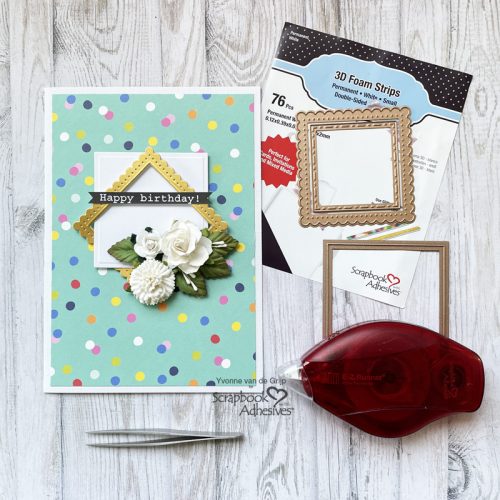
Materials Needed
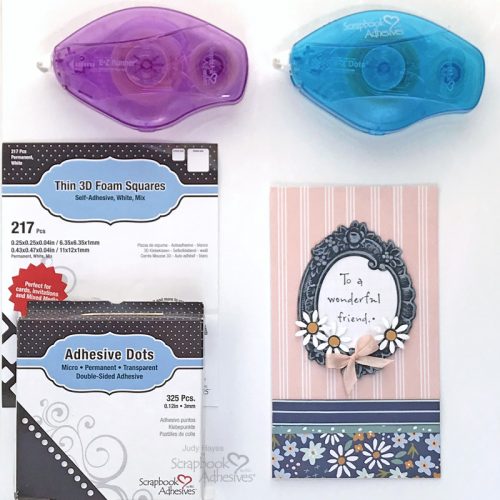
Scrapbook Adhesives by 3L®
- Adhesive Dots Micro
- E-Z Runner® Micro Refillable Dispenser
- E-Z Dots® Permanent Refillable Dispenser
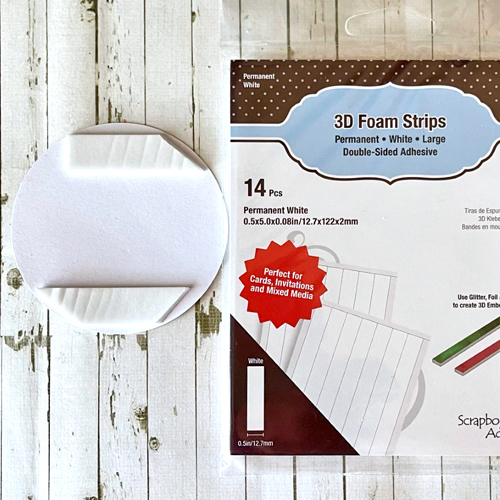
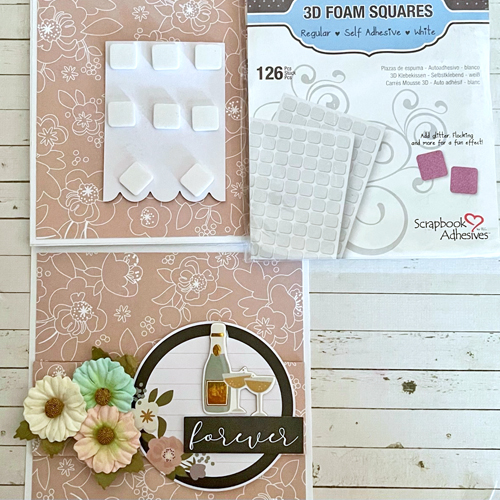
- Thin 3D Foam Squares White Mix
- Metallic Transfer Foil Sheets Holographic Colors
Other Supplies: Penny Black Stamp (Friend…); Ranger Ink (Archival Ink Night, Distress Oxide Ink Tattered Rose); Simple Stories Collector’s Essential Kit (Safe Travels); Sizzix Tim Holtz Floral Frame); Spellbinders (Cinch and Go V); Cardstock (Navy, White); Peach Silk Ribbon
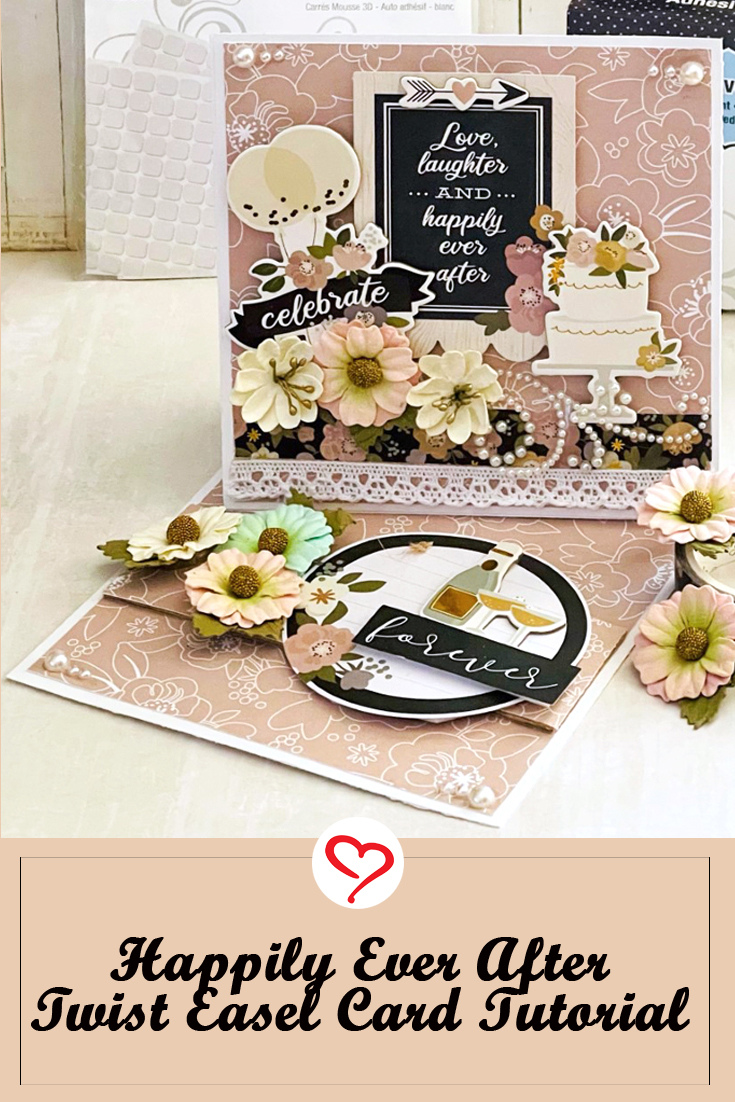
Save it to Pinterest!
Visit our Website and Blog!
Sign up for our Newsletter so you never miss a contest or giveaway!