
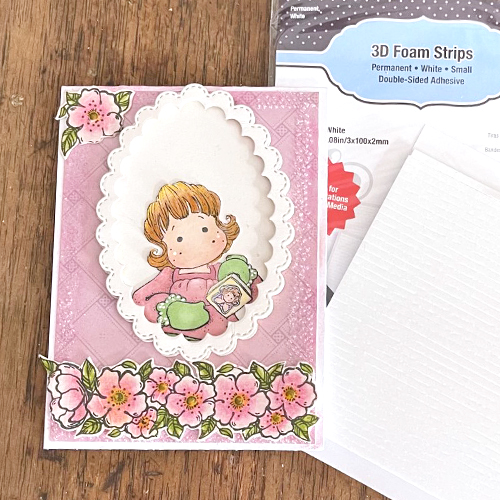
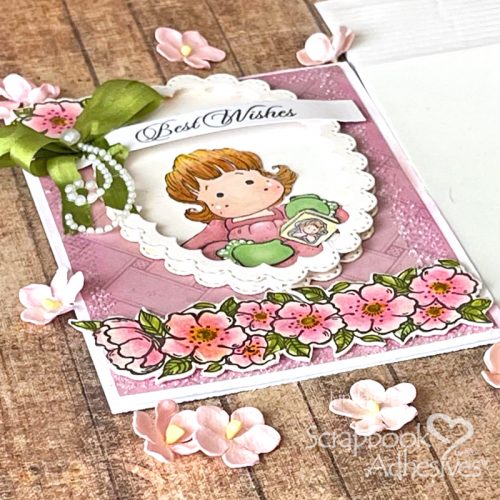
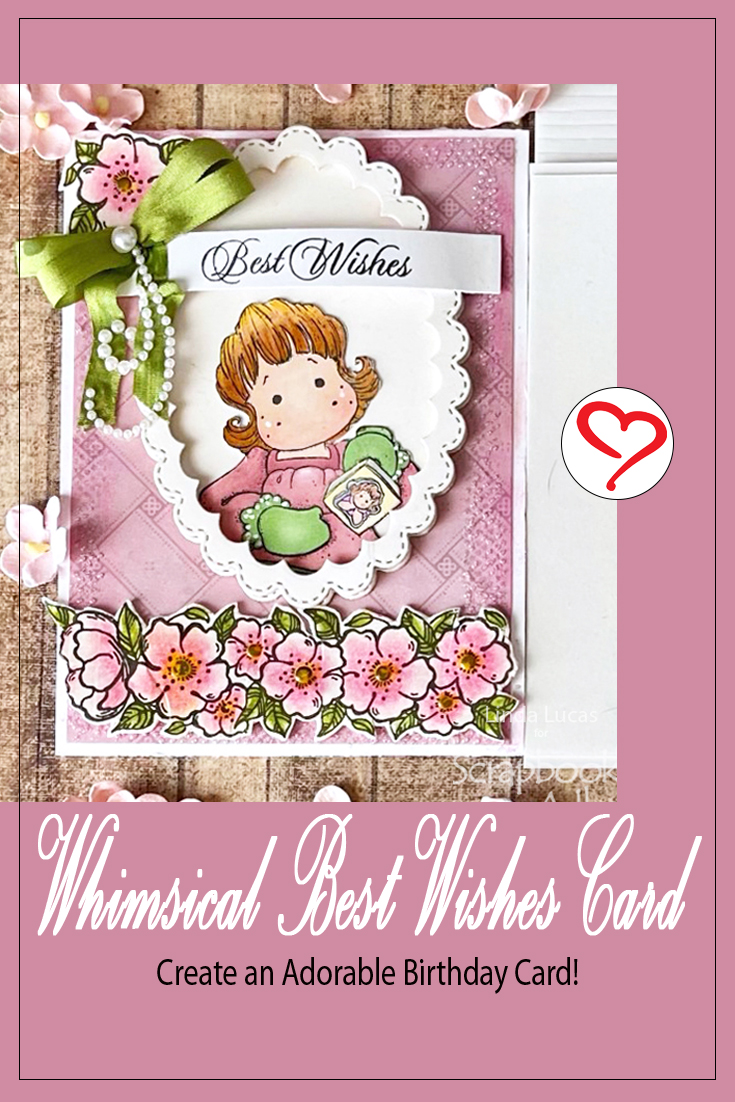
Hello everyone, it is Linda here. I have created a whimsical best wishes card using a number of different adhesives to add texture along with dimension. Follow along to see how this sweet birthday card comes together!
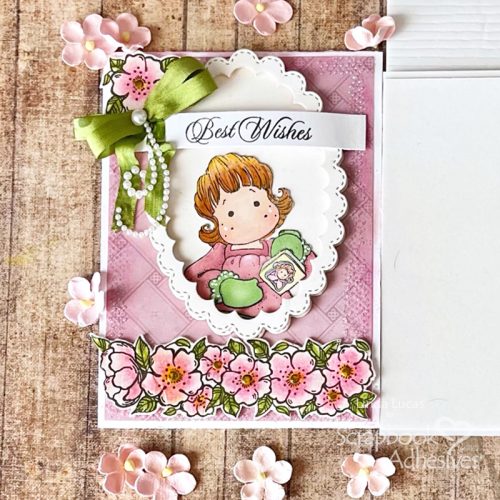
Whimsical Best Wishes Card Panel
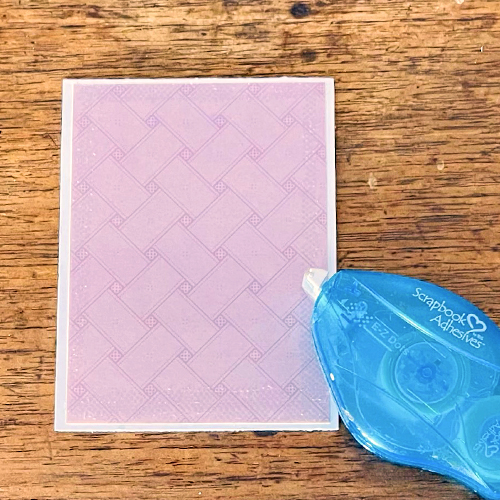
Apply E-Z Dots Permanent Refill Dispenser around the edges of the patterned paper to create a frame.
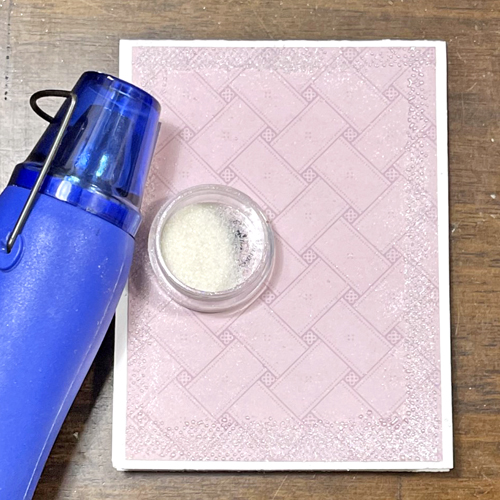
Sprinkle the E-ZDots Permanent Refill Dispenser 15m using clear Embossing Powder and set with a Heat Tool.
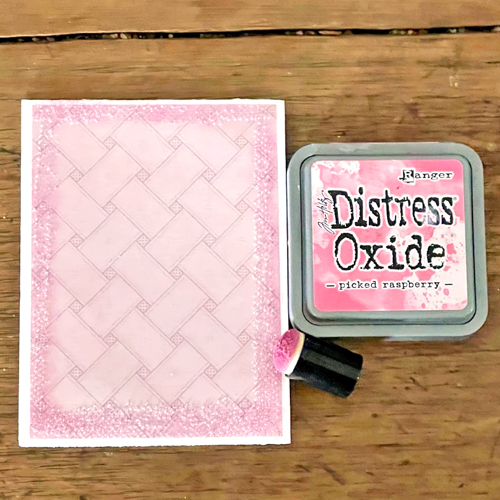
Using a Sponge Dauber apply Distress Oxide ink in Picked Raspberry to the embossed frame.
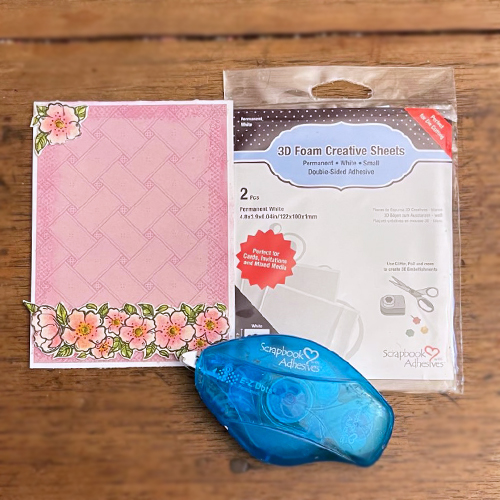
Trim and adhere a strip of 3D Foam creative Sheets medium White to the back of a prestamped border.
Fussy cut around the border image, cutting off any excess and peel off the backing and apply to the lower portion of the patterned card front. Trim around a flower from the border excess and peel off the backing and adhere to the top left-hand corner.
Framing Details
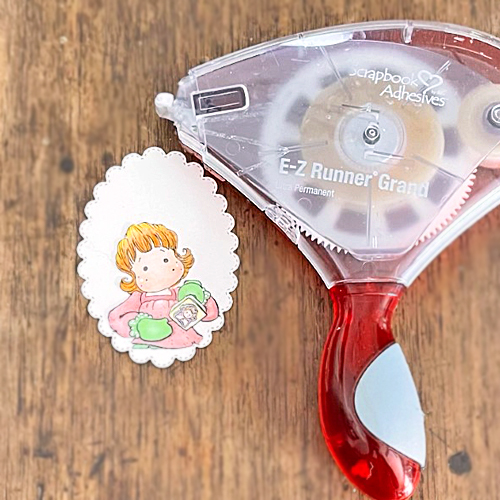
For the frame cut one full Scalloped Nested Oval using the largest die and recycled packaging. Adhere the stamped coloured and fussy cut image to the lower portion of the large Scalloped Nested Oval using E-Z Grand Permanent Strips Dispenser 150 feet.
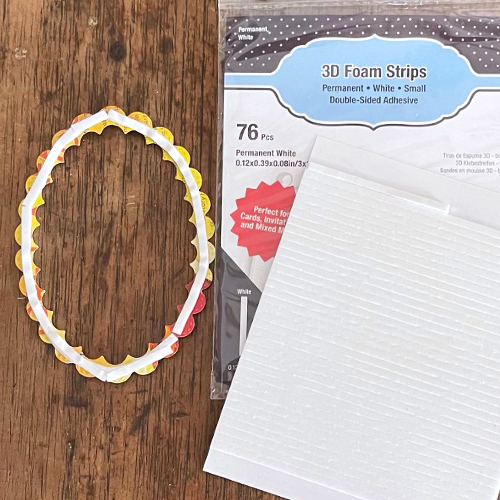
Cut a coordinating frame using the largest two dies, with the smaller one inside the larger and run through the Die Cutting Machine. Apply 3D Foam Strips around the frame border line up the scallops before adhering.
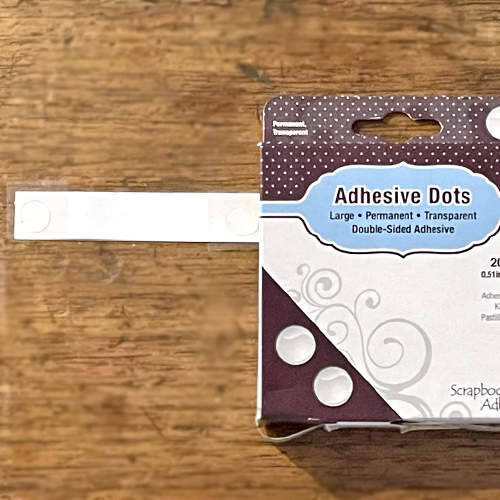
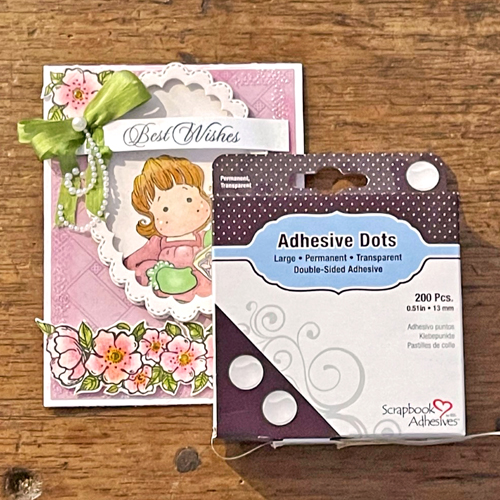
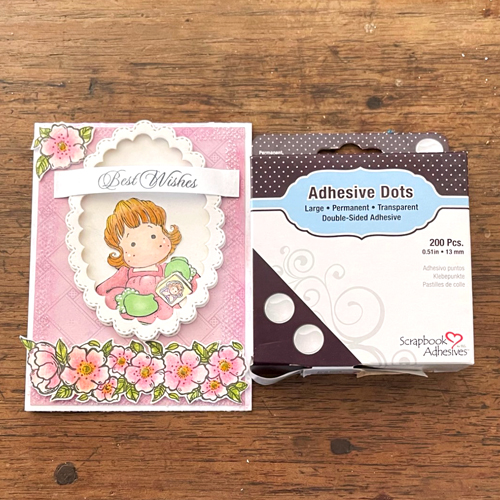
Apply one Adhesive Dots Large to each end of the back of the sentiment, adhere the sentiment across the upper portion of the frame with the Adhesive Dots Large on either side of the dimensional frame.
Finishing Touches
Adhere a double bow to the top of the Whimsical Best Wishes Card using one of the Adhesive Dots Large for stainless adhering. Finish by adhering the Swirls Finesse from the knot of the bow.
Here’s a side profile for a dimensional look of the card.
I hope you enjoyed this sweet Whimsical Best Wishes Card!
Thanks for stopping in!
Linda Lucas
Creative Time: 60 minutes
Skill Level: Intermediate
Materials Needed:
Scrapbook Adhesives by 3L®
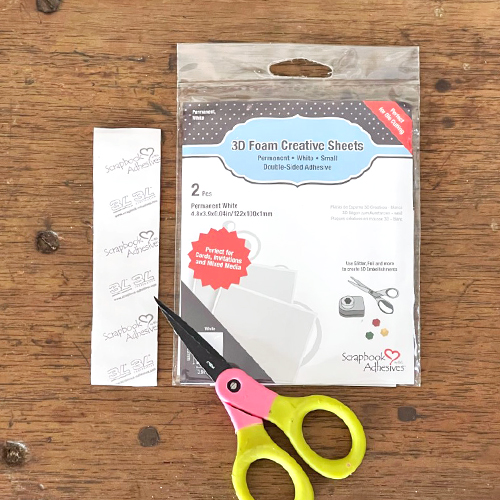
3D Foam Creative Sheets Medium White
3D Foam Strips
E-Z Runner® Grand Permanent Strips Dispenser
E-Z Runner Grand Permanent Dots Refillable Dispenser
Adhesive Dots Large
Other
Anna Griffin Inc. – Lovely Layers Collection (Patterned Paper); Card-stock: White, Recycled packaging: Penny Black inc: 30-206 Rose Edging Transparent Set and 30-229 Special Wishes; Chameleon art products: Alcohol Markers; Imagine: Memento Ink in Tuxedo Black, Clear Embossing Powder, Sponge Dauber; Ranger – Distress Oxide ink in Picked Raspberry; May Arts Ribbon: Narrow Green Ribbon; Want2Scrap: Swirls Finesse – White – Self
Save to Pinterest!
Visit our Website and Blog!
Sign up for our Newsletter so you never miss a contest or giveaway!


