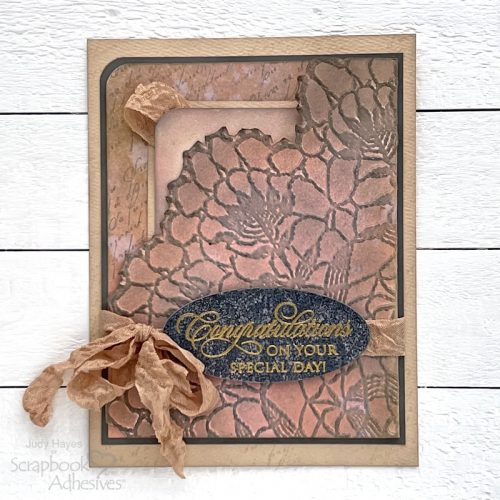
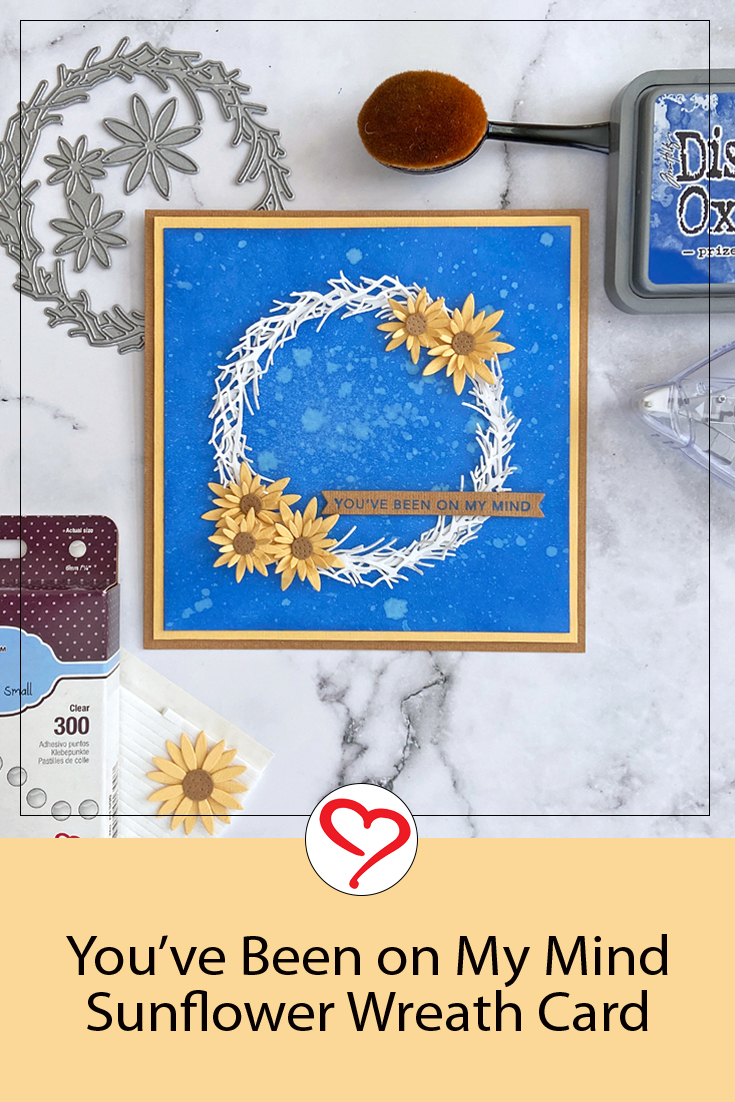
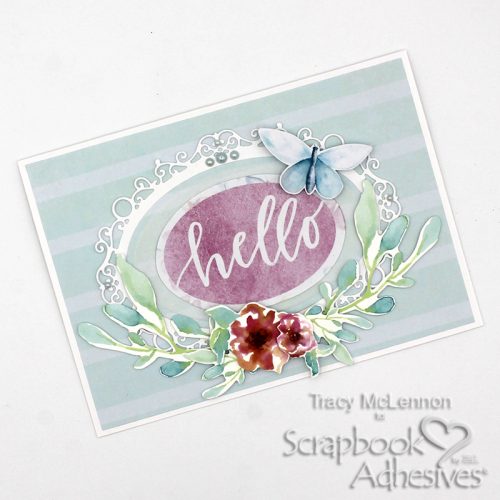
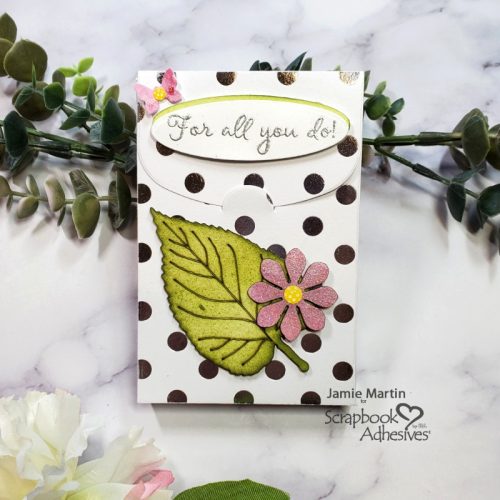
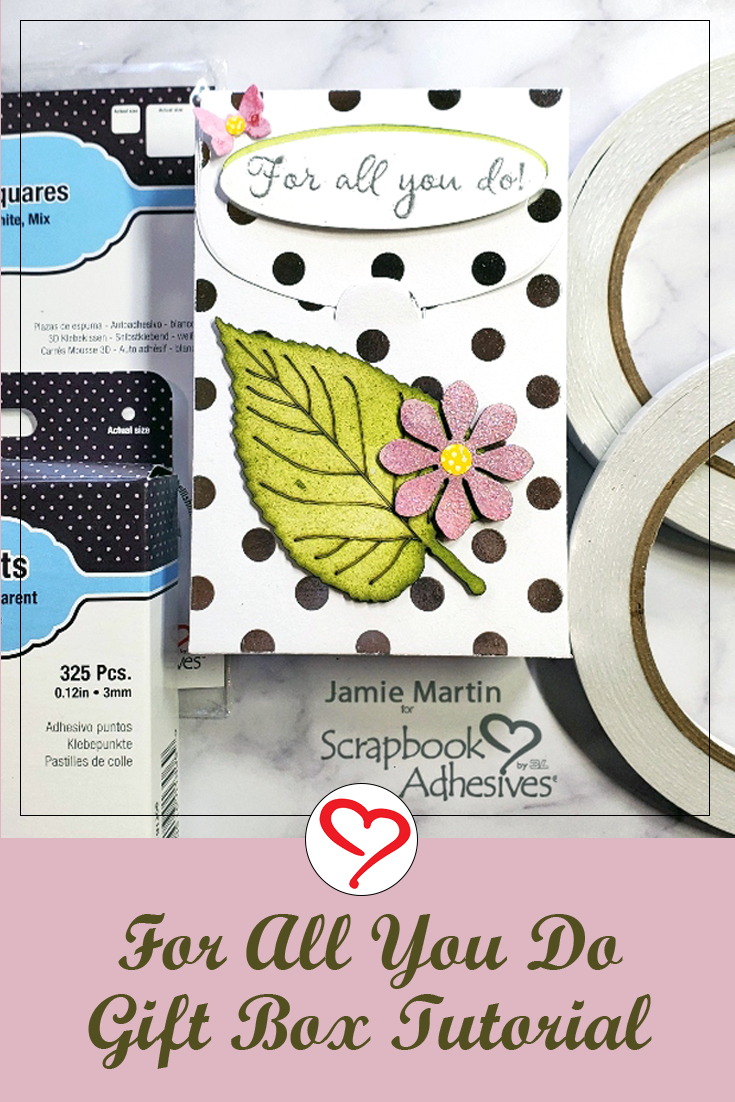
Hi my friends, I hope that your week is going well. Jamie here with you today to show off a pretty For All You Do Gift Box. What a lovely way to show your appreciation for someone special in your life. Let me show you how with a few steps!
For All You Do Gift Box Step Outs
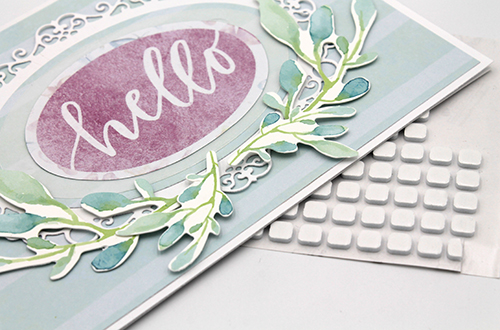
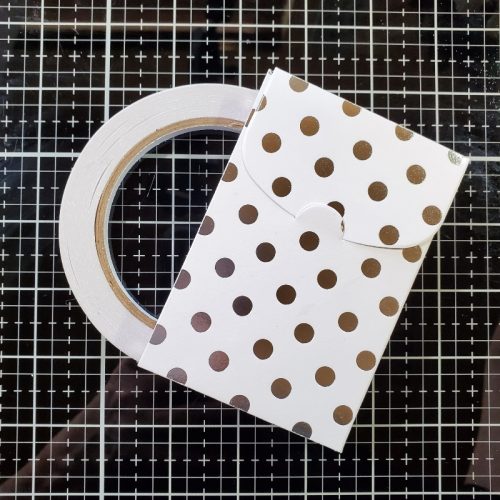
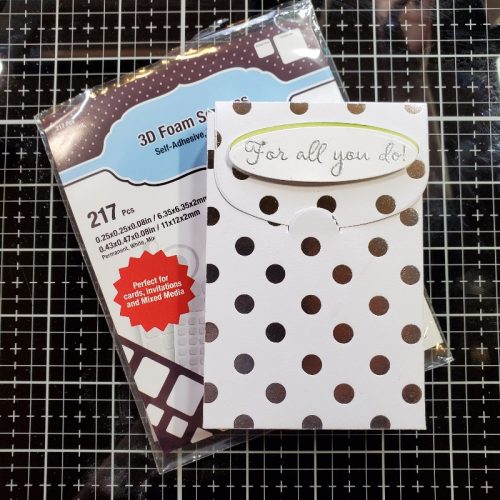
Die-cut a box using a thick decorative cardstock. It’s hard to see in the photo but mine is silver polka dots on a white background. The box is made using two dies, the front, and the back, each piece has a tab that attaches to the other piece. Strips of Premium Double-Sided Tape 1/4″ were placed on each flap, attached to the pieces, and folded in the box.
Create the Sentiment
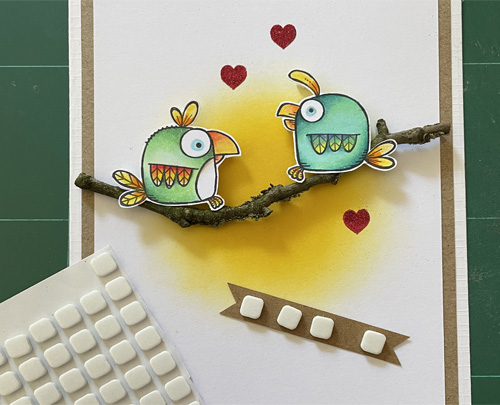
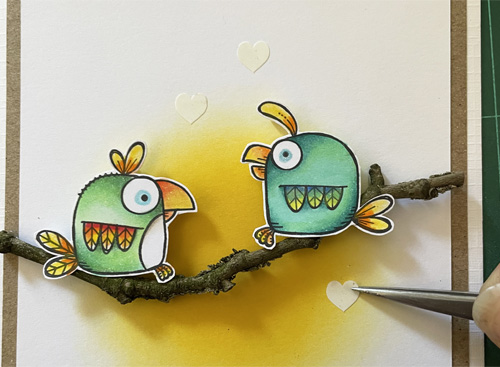
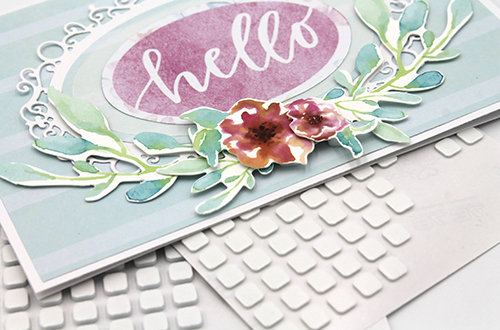
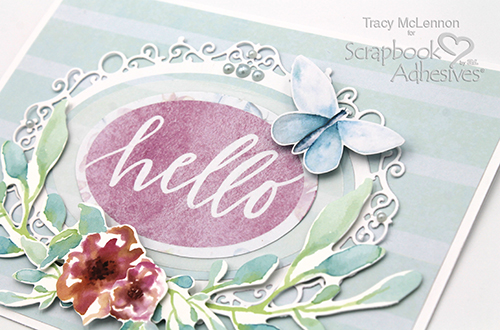
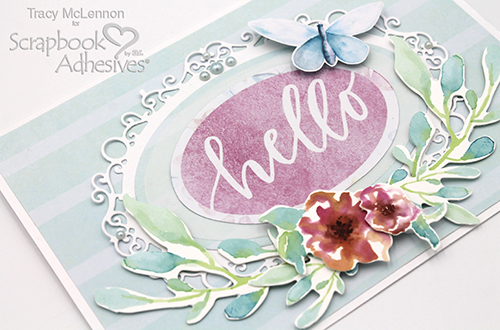
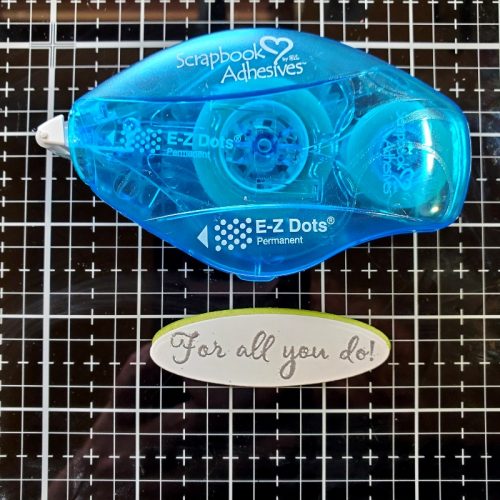
Die-cut two long ovals twice from white cardstock. One oval had the sentiment was stamped on with VersaMark Ink and embossed with silver embossing powder. The second one had been ink blended with a green color. Use the E-Z Dots® Permanent Refillable Dispenser to attach the green oval behind the sentiment oval as shown.
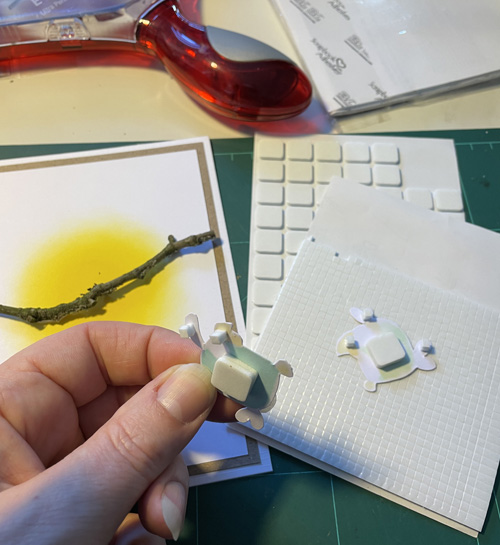
Lift up the sentiment oval using the 3D Foam Squares White Mix. Set the box aside.
Embellishing the Box
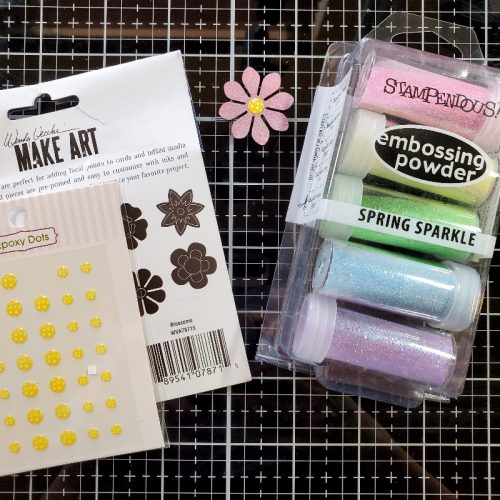
Rub VersaMark ink over a Blossom Chippie, cover it with a translucent pink glitter embossing powder and melt with a heating tool. Center a yellow enamel dot in the flower to finish.
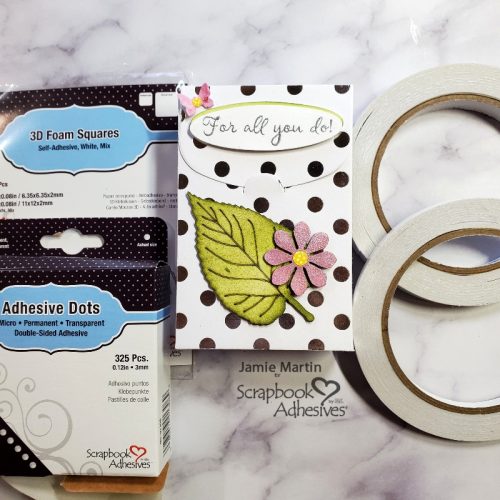
Ink blend a Leaf Chippy with green ink. Next, apply a strip of Premium Double-Sided Tape 1/2″ and placed the Leaf Chippy diagonally on the box. Place an Adhesive Dots Micro on the back of the flower, I adhered it on the bottom right of the leaf. For the final touch, die-cut a butterfly from patterned paper and center a small epoxy dot on the body. Bend the wings up and secure the butterfly with an Adhesive Dots Micro on the lid.
Skill Level: Intermediate
Creative Time: 35 minutes
Materials Needed:
Scrapbook Adhesives by 3L®
Adhesive Dots Micro
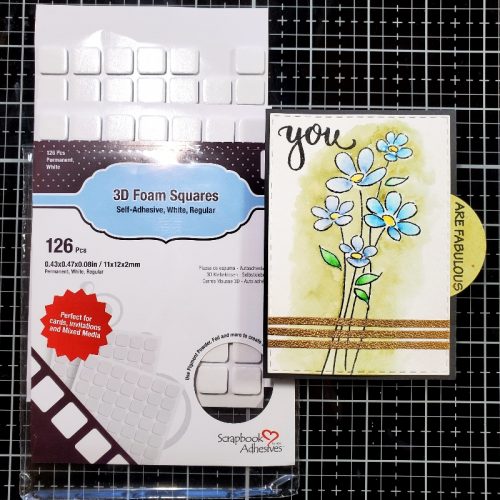
3D Foam Squares White Mix
E-Z Dots® Permanent Refillable Dispenser
HomeHobby™ by 3L
Premium Double-Sided Tape 1/2″
Premium Double-Sided Tape 1/4″
Plus
Concord & 9th: Box Die; Wendy Vecchi: Chippies Blossoms and Chippies Lots of Leaves; Ranger Ink: Leaf Green Archival Ink; Stampendous: Spring Sparkle Embossing Powder Set and Sterling Silver Embossing Powder; DCWV: Patterned Paper; Queen & Co: Epoxy Dots; Rubbernecker Stamps: Small Butterflies Die Cut and Best Friends Etc Set
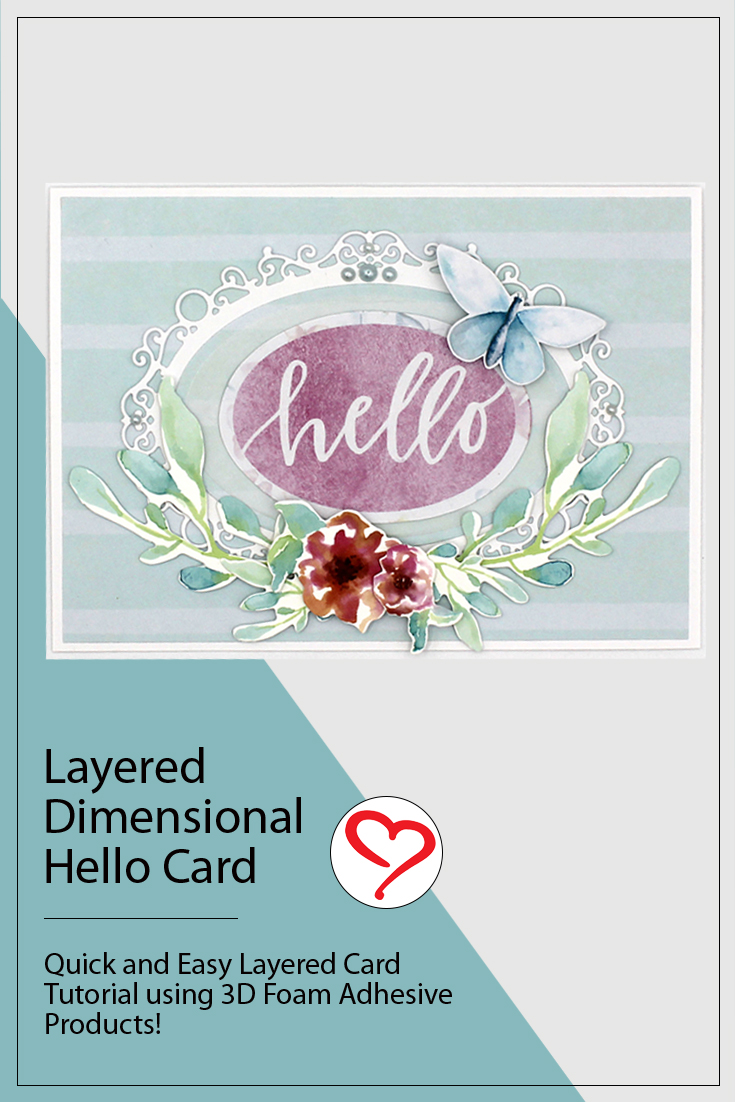
Save to Pinterest!
Visit our Website and Blog!
Sign up for our Newsletter so you never miss a contest or giveaway!