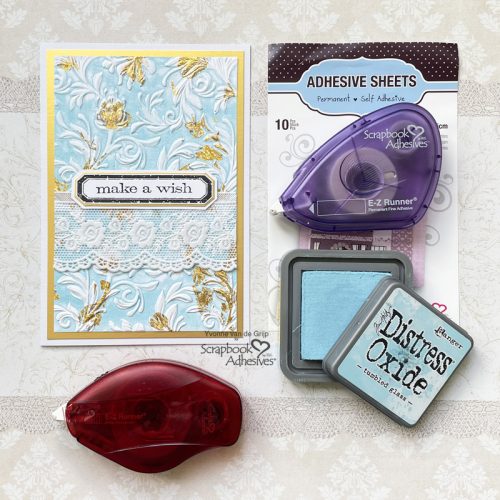
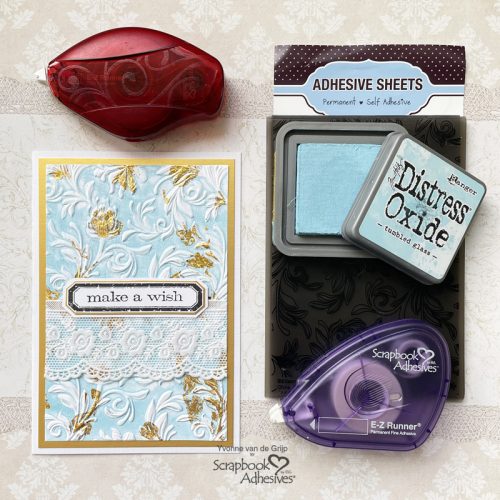
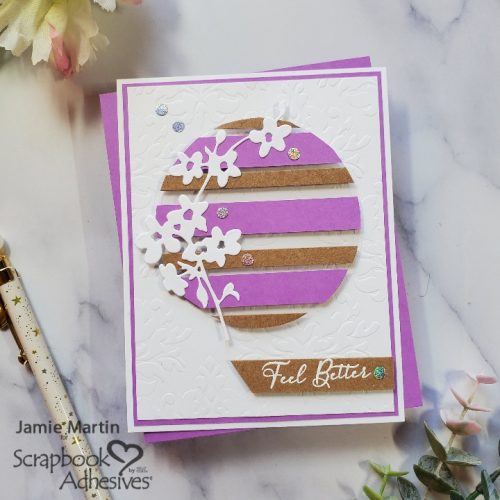
Hi, everyone! Got a few book lovers in your life? Teri here with a fun idea for you: Make a couple of book-themed greeting cards for them! You can use these cards to send notes or give them as gift sets. These cards are easy to make! The key is having some book-themed patterned papers to use.
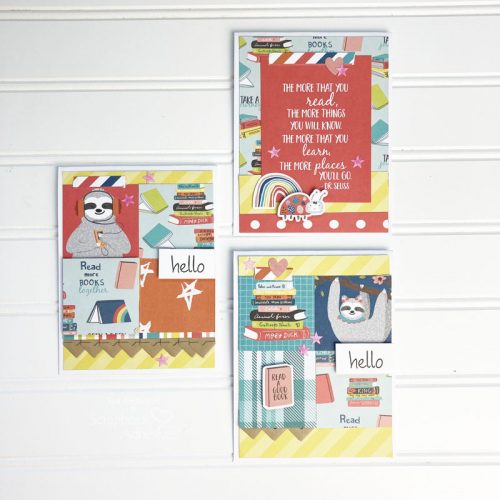
Book Lovers Card Basics
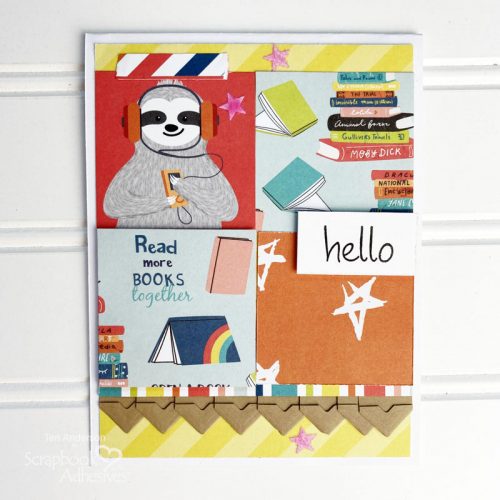
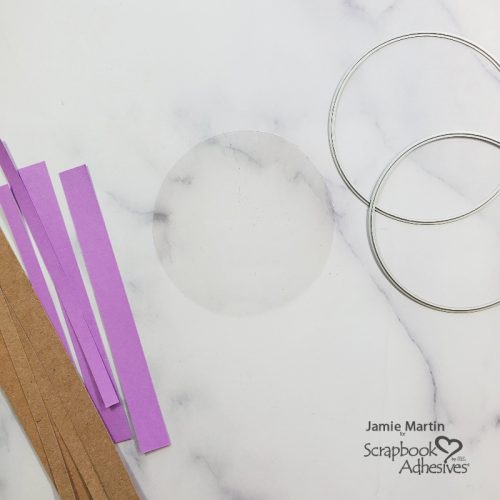
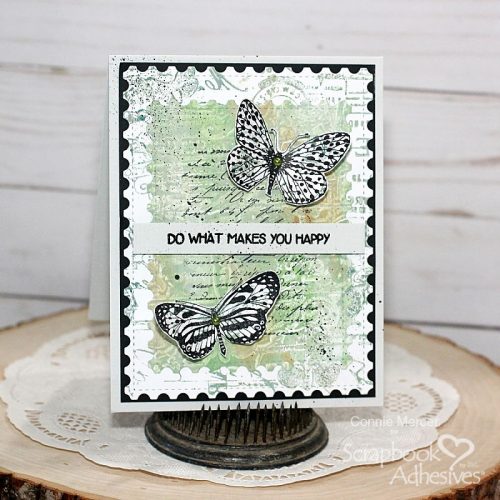
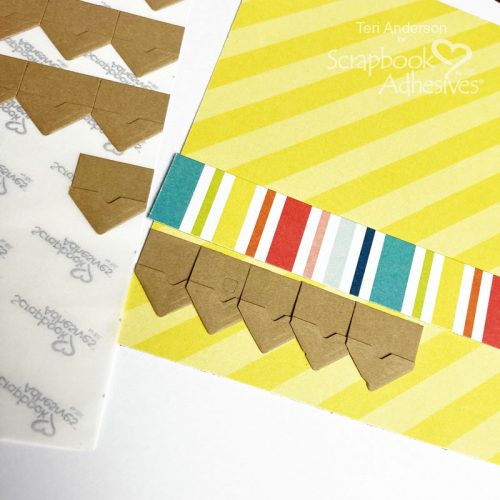
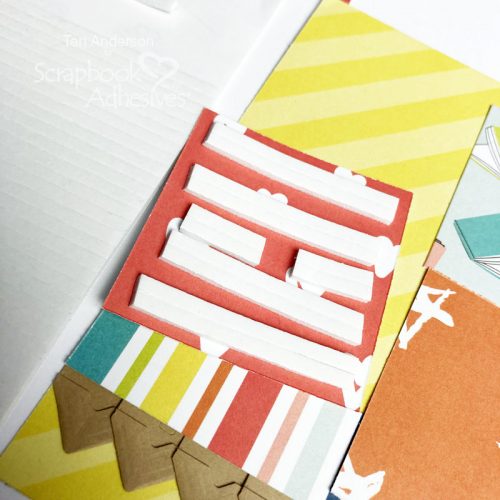
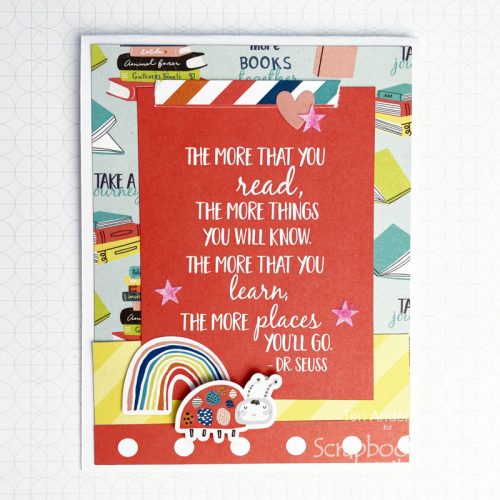
Start by cutting a piece of patterned paper to fit on the card, and set a piece of patterned paper on the panel. Then make a border by placing several photo corners in a row.
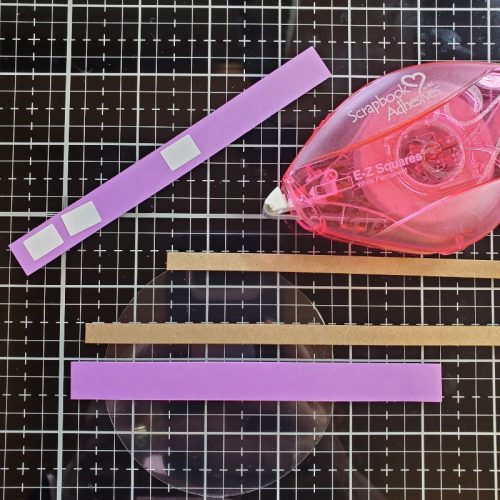
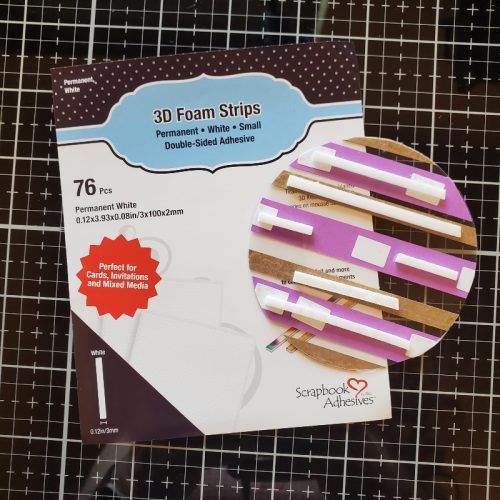
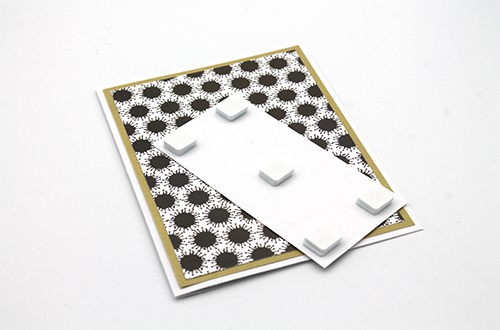
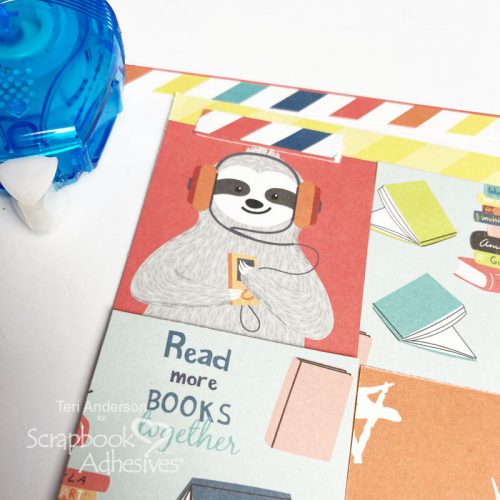
Decorate the panel by cutting a few squares of patterned paper, specifically using a couple of book-themed ones. To make one of the squares stand out, I lifted it with 3D Foam Strips. The beauty of the strips is you can use one strip or a couple together. You can also cut them up to fit your needs.
The panel needed a little something so I made a piece of “faux” washi tape by adding some adhesive to the back of a strip of patterned paper. I tore the edges and placed them over the sloth square.
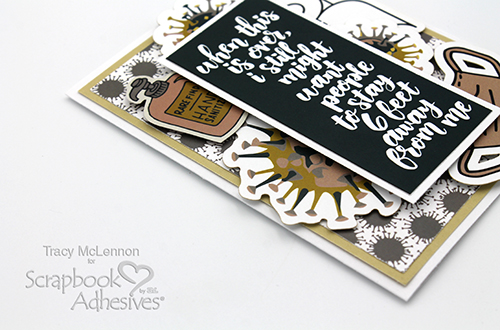
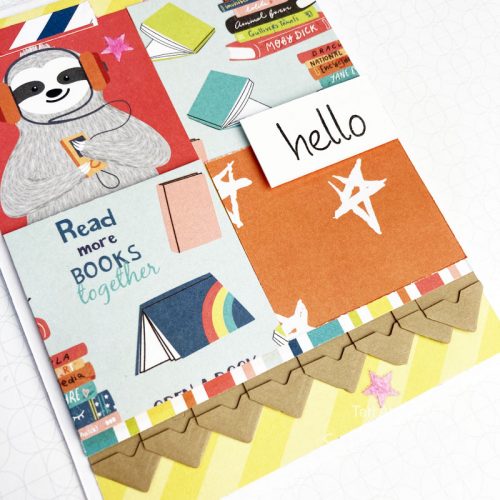
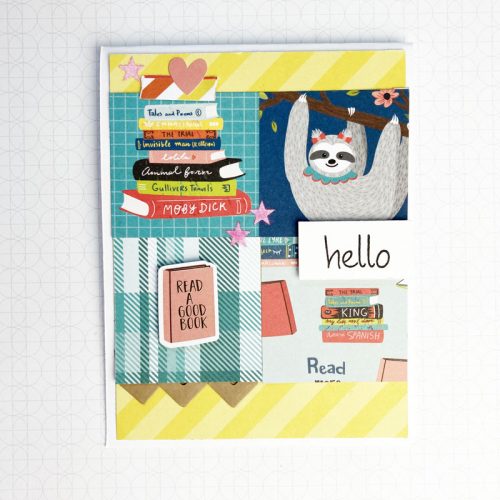
To complete the card, I mounted the panel to a base and then added a few stars that I coated with the flock. I also added a sentiment.
Design it Up a Notch
A fun way to kick up your card design is to add some stickers to it!
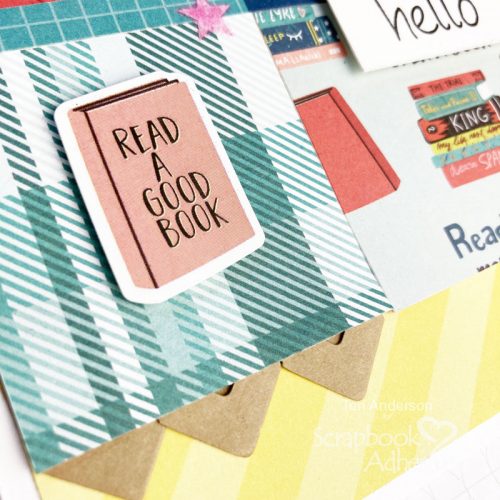
The pink book here is a sticker! I “de-stickered” it by rubbing it on my pants and allowing lint to get on it. Then I applied foam micro squares to it so it would pop when I adhered it to the card.
You are not limited to using book-themed patterned paper! You can also use book-themed journaling cards as I did on this one.
Don’t have any book-themed journaling cards? Print a favorite reading-related sentiment on cardstock and use it instead!

I hope you are inspired by these Book Lovers cards for the readers in your life! Thanks for stopping by today.
Happy crafting,
Teri Anderson
Creative Time: 60 Minutes
Skill Level: Beginner
Materials Needed
Scrapbook Adhesives by 3L®
- 3D Foam Strips and 3D Foam Squares Micro White
- Creative Photo Corners Kraft
- E-Z Runner® Petite Permanent Dots Refillable Dispenser
- E-Z Runner® Stars Refillable Dispenser and E-Z Runner® Permanent Strips Refillable Dispenser
Other
White Cardstock: Neenah Paper; Patterned Papers and Stickers: Photo Play Paper Co. (Let’s Stay Home Collection); Stamps: Lawn Fawn (So Much to Say Stamp Set); Ink Pad: Ranger Ink; Pink Flock: Stampendous
Save to Pinterest!

Visit our Website and Blog!
Sign up for our Newsletter so you never miss a contest or giveaway!