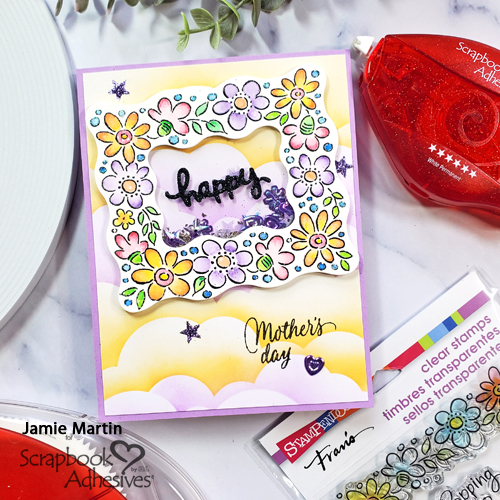
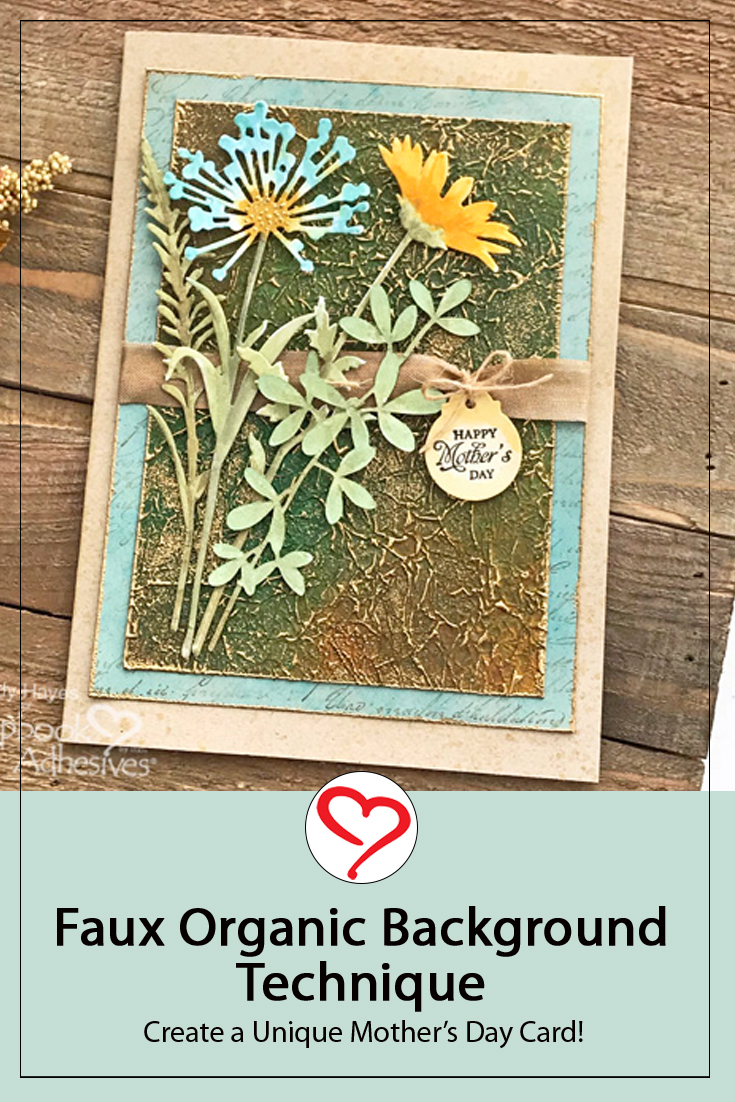
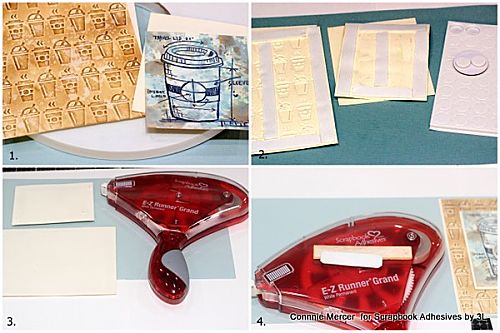
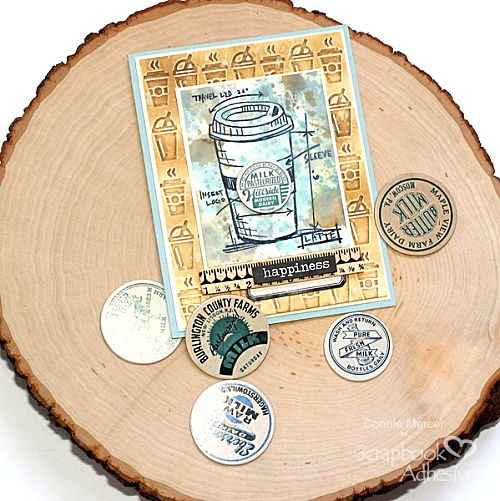
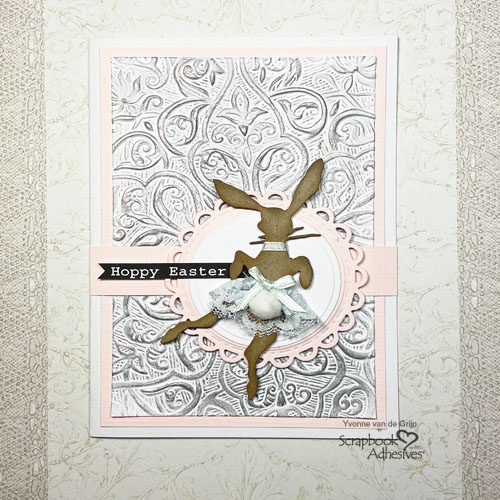
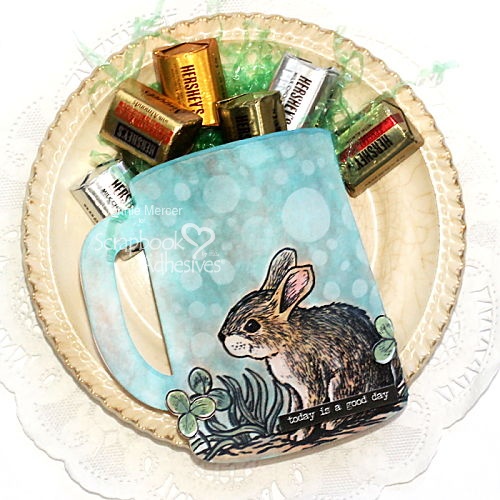
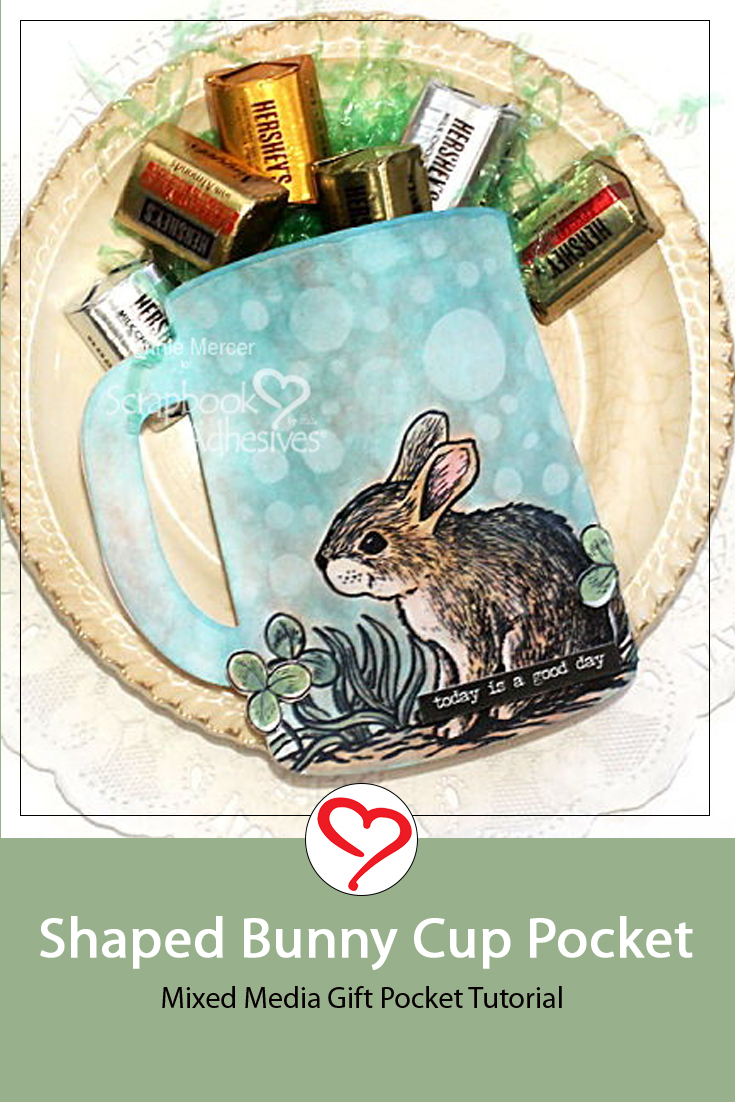
Hi, Connie here with a cute Easter-themed (or not) project because it could be an all-occasion theme too. But isn’t this Shaped Bunny Cup Pocket just sweet? For this project, I will be doing a masking technique.
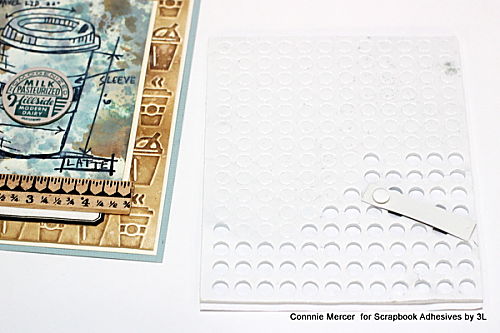
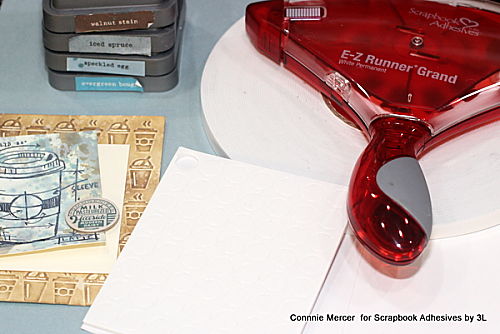
A hint, I used the E-Z Runner Grand Repositionable Dots Refill to help me mask off part of the stamped image. Refill? Yes, just pop it in the E-Z Runner Grand Dispenser to use. So easy! I love that you can change out the refills mid-way through a project. See the video below.
How to Use and Refill an E-Z Runner Grand Video
Shaped Bunny Cup Pocket Masking and Stamping Instructions
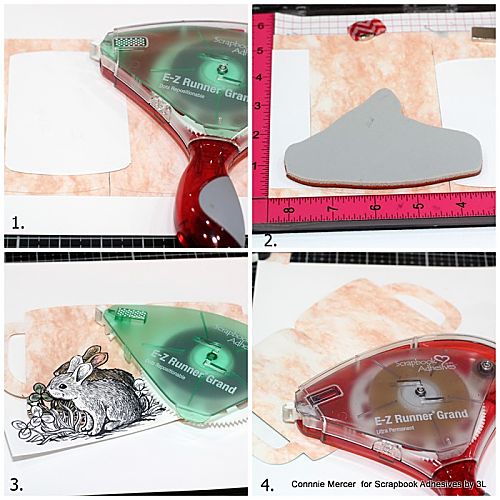
- Cut 2 sets of the cup die. Cut one of them in half, covering half of the cup. Use the E-Z Runner Grand Repositionable Dots Refill to adhere it to the cup to be stamped. Do the same for the cup handle. Cover it up and secure it with the E-Z Runner Grand Repositionable Dots Refill. By masking off both sides of the cup the Bunny image will only be on the front of the cup. It won’t over stamp to the back of the cup.
- Only the part that you want to stamp on is showing. Stamp and extra Bunny on white cardstock and cut it out.
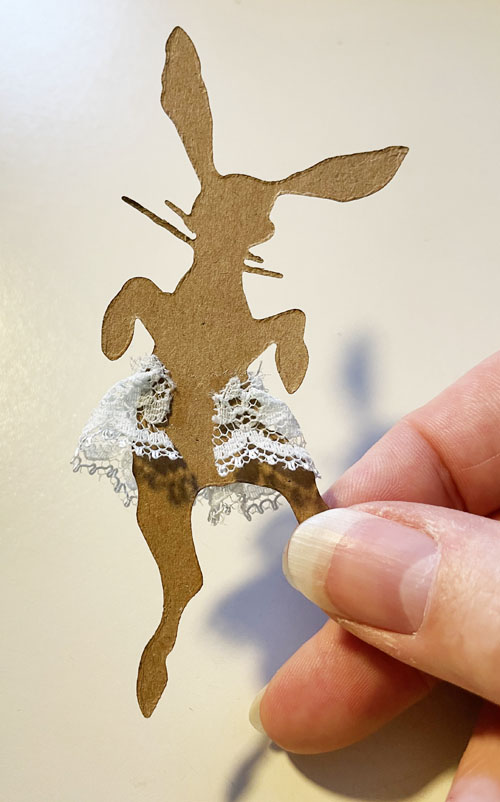
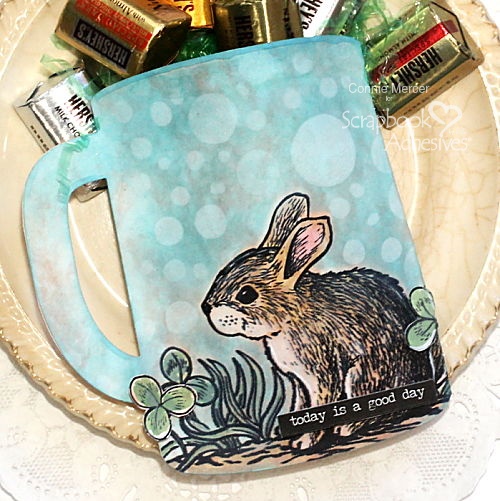
- Using the E-Z Runner Grand Repositionable Dots Refill adhere to the top of the Bunny. Using Distress Oxide and a foam applicator, apply a blue tint to the top of the cup. Doing this process the Bunny won’t get the sky color on it. Splat with water for a distressed look. I added a circle stencil with white distress ink to complete the look. The Bunny is colored with Distress Oxide inks.
- Seal the side and handle with the E-Z Runner Grand Ultra Strong Refill.
Finishing Touches
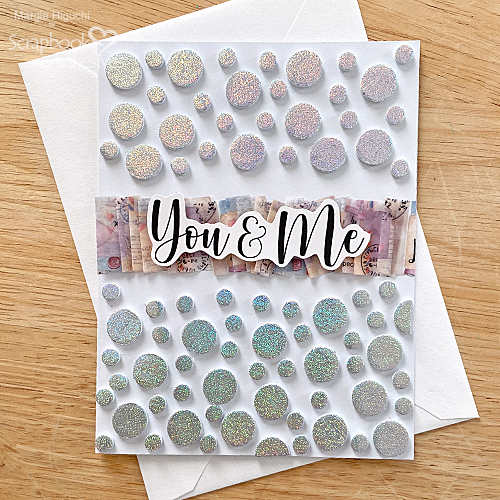
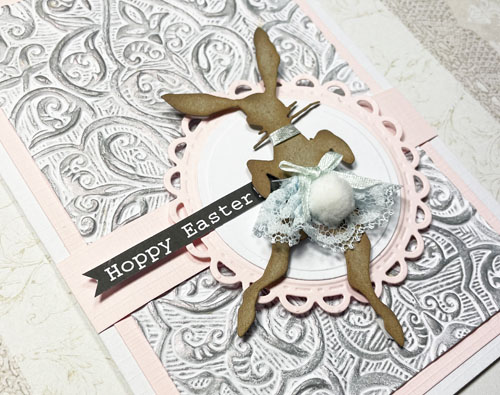
The clover was lifted up with the 3D Foam Circles White Mix. and the sentiment sticker adhered with the 3D Foam Strips.
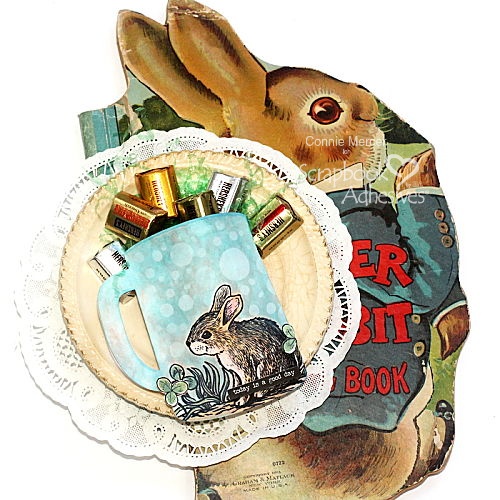
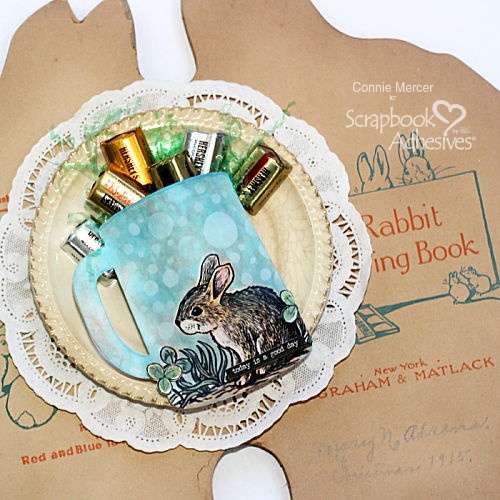
A side note: I found this coloring book on one of my vintage shopping adventures. It belonged to a little girl named Mary in 1915. I’m thinking she would like the Bunny Cup filled with candy, don’t you think?
Thanks for stopping by,
Connie Mercer
Creative Time: 60 minutes
Skill Level: intermediate
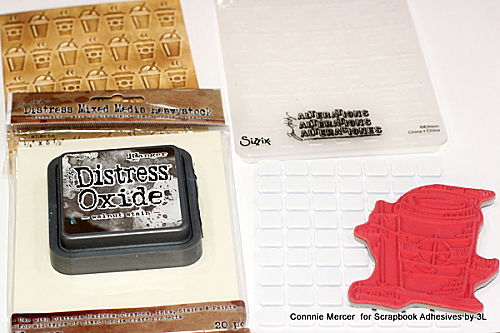
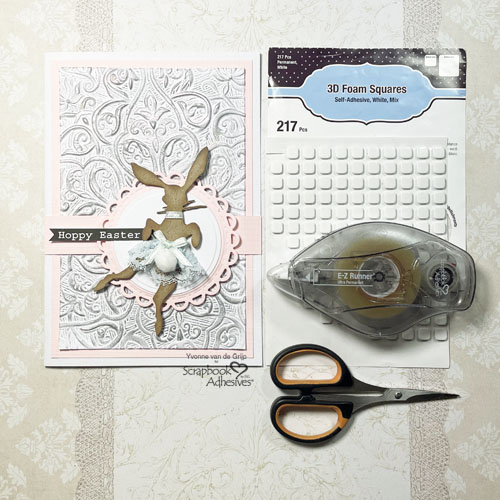
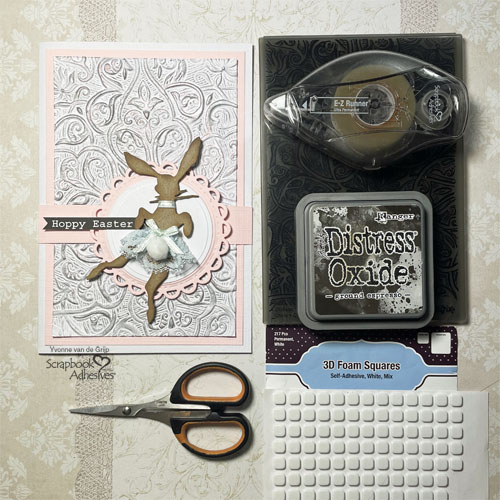
Materials Needed
Scrapbook Adhesives by 3L®
E-Z Runner Grand Ultra Strong Refill
E-Z Runner Grand Repositionable Dots Refill
3D Foam Strips
3D Foam Circle White Mix
E-Z Runner Grand Refillable Dispenser
Other: Inks: Ranger Ink (Distress Oxide Inks), Trinity Stamps: Coffee Mug die, Stamps: Blue Knight Rubber Stamps; Sticker; Stencil
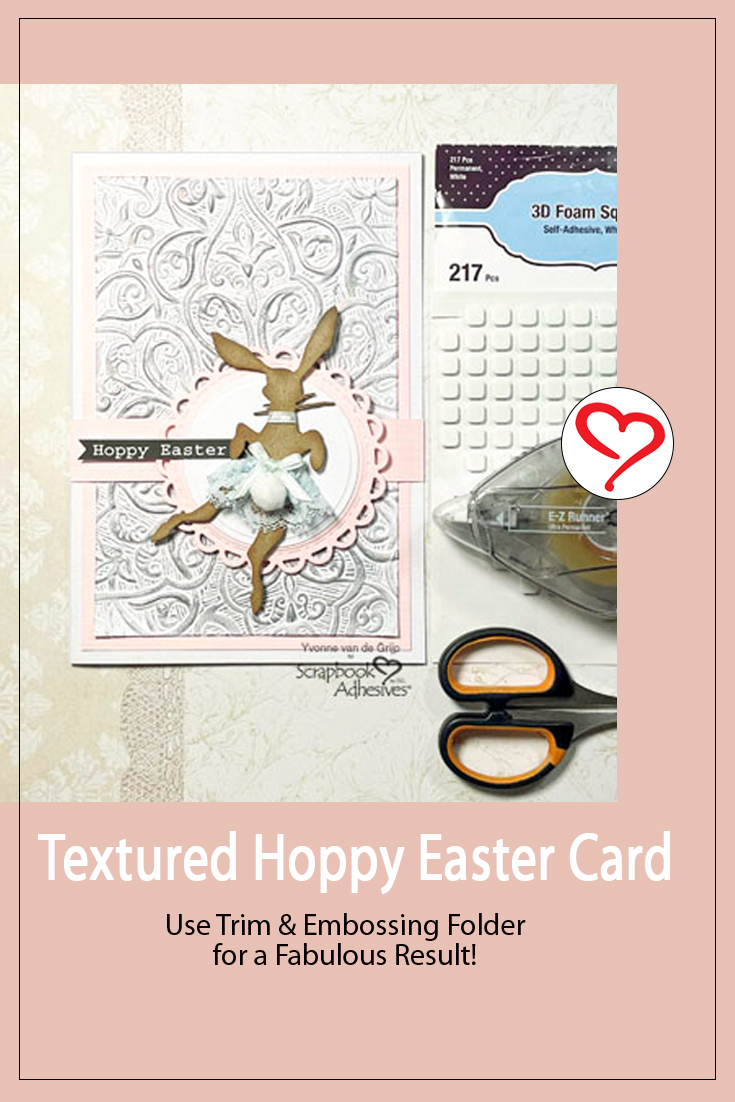
Pin It!
Visit our Website and Blog!
Sign up for our Newsletter so you never miss a contest or giveaway!