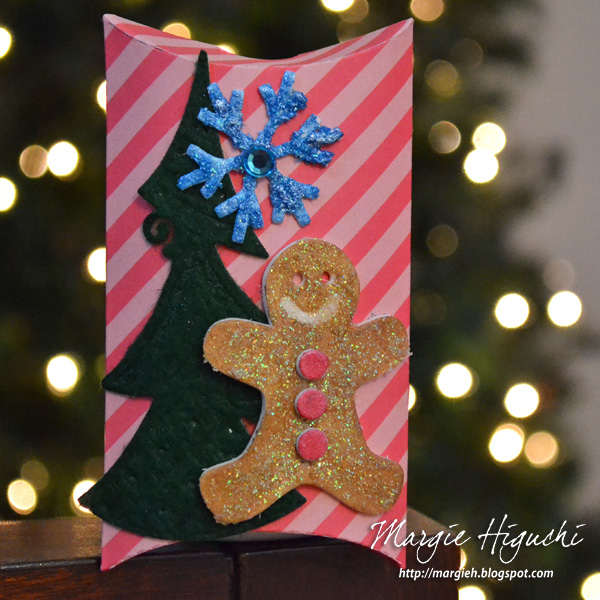
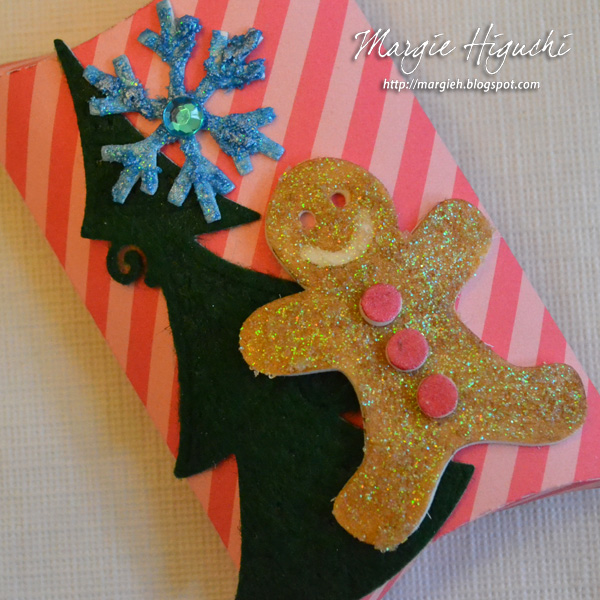
Greetings and Happy December! Today I’d like to share a gift wrapping idea using Scrapbook Adhesives by 3L® 3D Foam Shapes! Using a couple of techniques, I embellished the shapes to decorate this cute pillow box…
Let me share how I created this box…after die cutting my pillow box shape out of this cute striped patterned paper, I assembled it with E-Z Runner® Permanent Strips tape runner and the box is done!
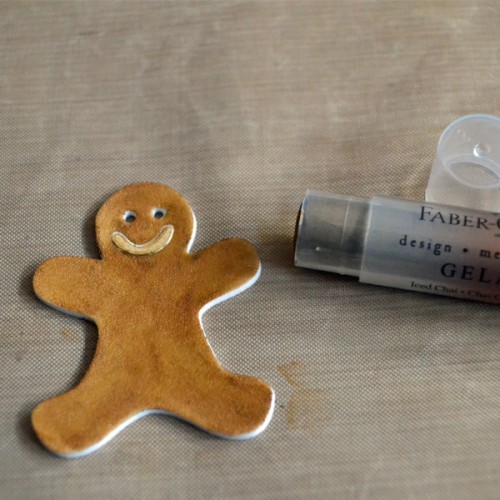
Now to the fun! I place my Gingerbread Man from the 3D Foam Christmas Shapes on a craft sheet and color it with Iced Chai Gelatos® stick. I speed the drying process by using a heating tool. YES, did you know you can?! Its high density foam allows it to be heat embossed!
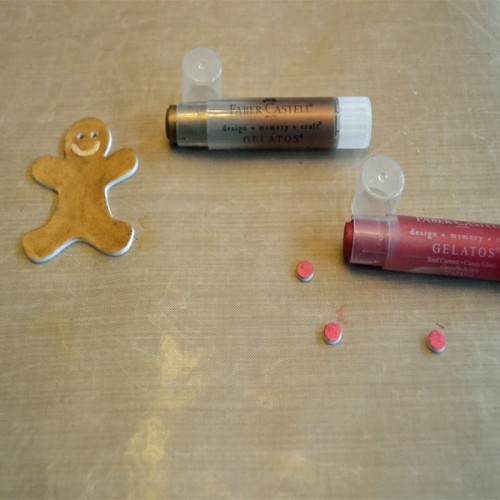
I left the liner on his mouth as I wanted to keep that white 🙂 The berries were colored with Iced Currant Gelatos® stick and will be used as buttons. So cute!!
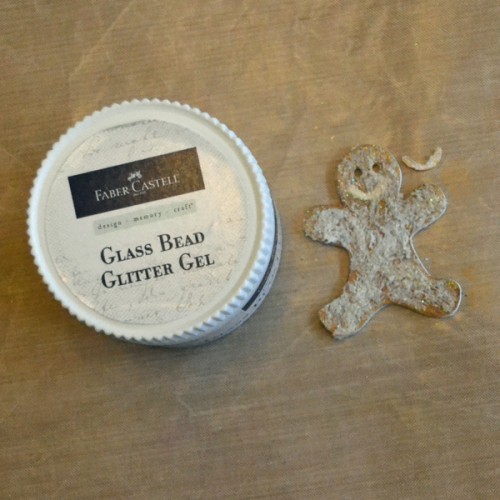
Next I wanted to give the Gingerbread Man a little sparkle so I covered him with Glass Bead Glitter Gel (I took off the liner beforehand). It goes on white but will dry clear and he held up through the whole process – still smiling. Set aside to dry.
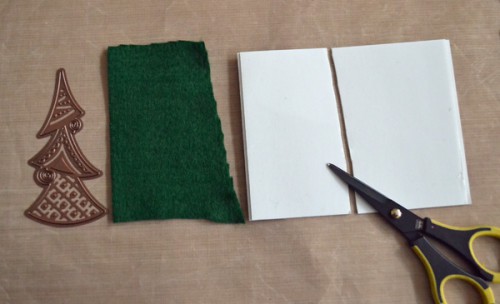
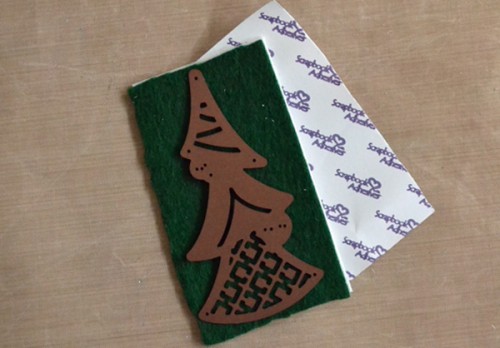
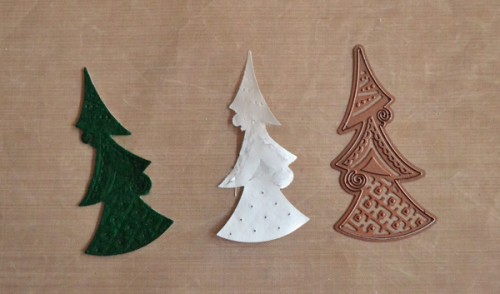
For the tree, I wanted to add dimension so felt and 3D Foam Creative Sheets was a perfect combination for what I wanted to accomplish. I trim both enough for the die to fit. After removing the liner, the felt was placed on top and then the tree die. I die cut with my manual die cutting machine – about three or four passes (to get somewhat of a clean cut with felt fibers). Set aside to assemble later.
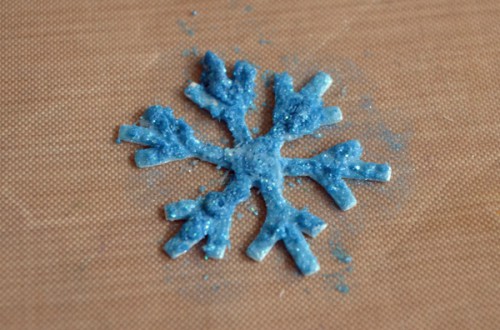
What’s a winter holiday without a snowflake?! I mixed just a little of the blue pigment powder with the Glass Bead Glitter Gel to create this amazing blue sparkly paste. Using a snowflake from the 3D Foam Snowflakes set, I covered it with the blue paste. Set aside to dry.
Just assemble as shown in the image and add a blue rhinestone in the snowflake center – it’s done! Here’s another look…
Supplies List:
Scrapbook Adhesives by 3L®: E-Z Runner® Permanent Strips, 3D Foam Christmas Shapes, 3D Foam Creative Sheets, 3D Foam Snowflakes
Dies: Spellbinders® Paper Arts (Stylized Trees and Grand Calibur® Machine) and Lawn Fawn (Pillow Box); Patterned Paper: Lawn Fawn (Sweater Weather Collection); Rhinestone: Want2Scrap©; Other: Green Felt
Love those Gingerbread Man Shapes?! There are a couple more inspiration using these cute guys. Click to see Home Made Holidays with Scrapbook Adhesives by 3L® (Designer AJ Otto), 3D Foam Christmas Tags (Designer Kelly Klapstein) and Christmas Door Sign (Stephanie Schütze).
Thanks for stopping by!
Margie Higuchi
Visit our Website and Blog!
Sign up for our Newsletter so you never miss a contest or giveaway!


By Catherine December 3, 2015 - 10:27 am
This is so cute. I’ll bet anyone would be happy to receive a gift wrapped this way.
By Margie Higuchi December 17, 2015 - 5:03 pm
I love when everything comes together in a package 🙂 Thank you for stopping by to comment xo