
Have you ever made a slider card? They are fun interactive cards that people love to receive! It’s Valerie here today with a few Scrapbook Adhesives by 3L® products that, let me show you how these were created.
Royalty Slider Card Basics
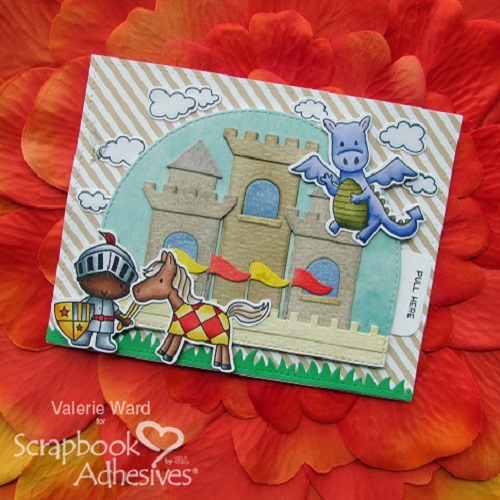
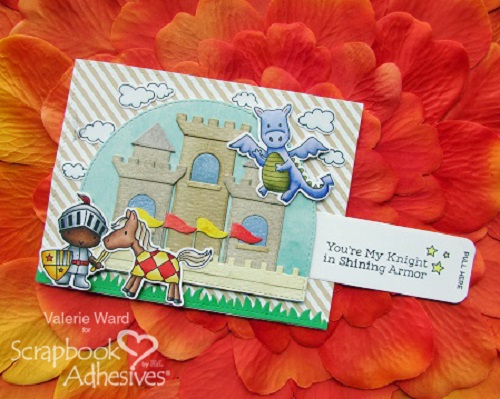
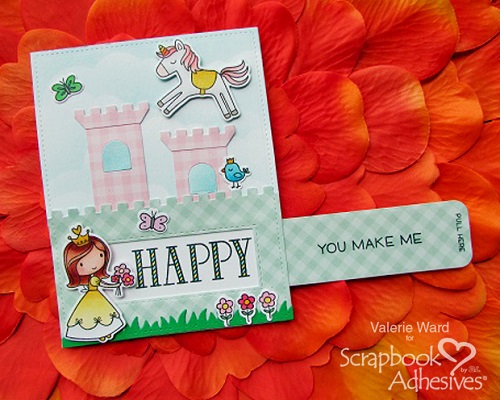
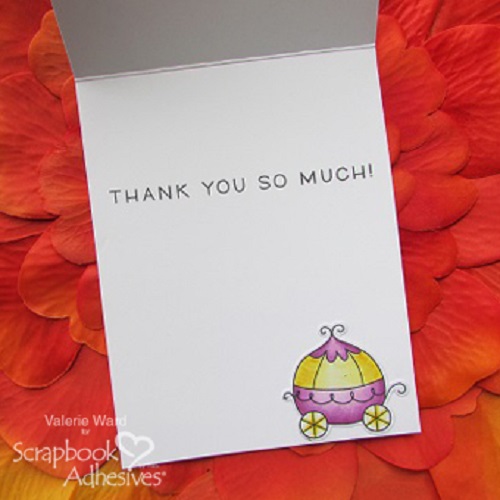
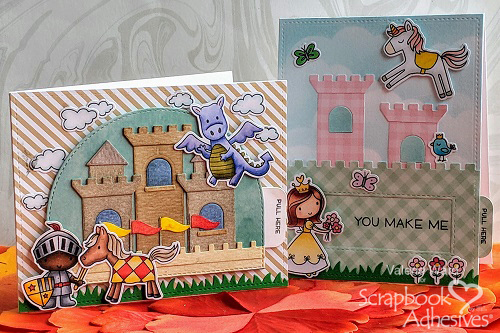
The first card features a knight in shining armor. I loved how this turned out. Here is the card in action…
To create the sentiment’s slider, I used a slider die set. Die-cut the pieces from the die set. With the Dual Tip Glue Pen, I glued the 2 U-shaped pieces together. Then when dried, I glued it to the back of the piece that would house the sliding sentiment.
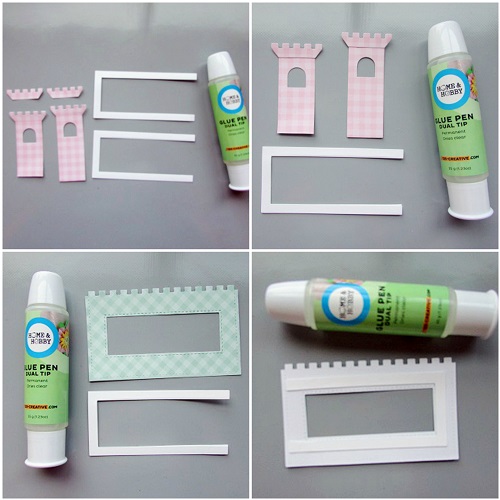
With a stamp positioning tool, stamp the sentiment that will be revealed when you pull the slider:
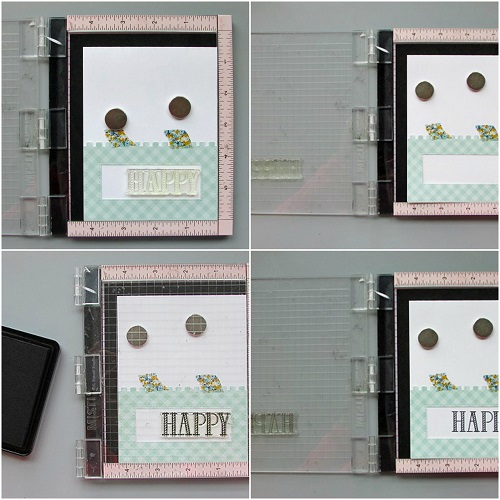
Use the stamp positioning tool again, for the sentiment that goes on the slider:
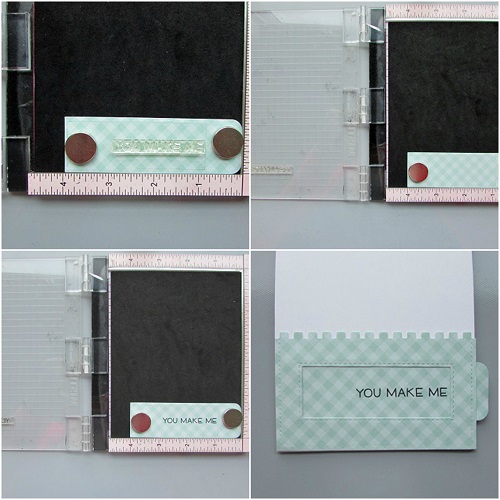
After all the stamped pieces were done, I used my E-Z Dots® Permanent Dispenser to adhere the top panel onto the card front:
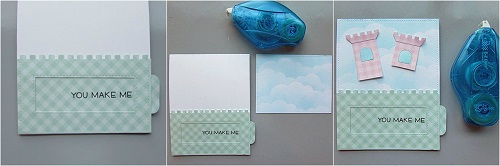
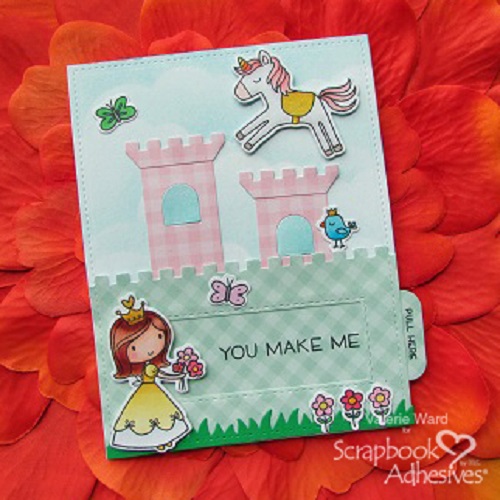
3D Foam Squares White Mix were used to adhere the flying unicorn and the princess onto the princess & unicorn card.
Thanks so much for stopping by!
Scrapbook Adhesives by 3l® Supplies:
E-Z Dots® Permanent Refillable Dispenser
3D Foam Squares White Mix
HomeHobby by 3L®:
Dual Tip Glue Pen
Other:
Stamp and Die Set: My Favorite Things Stamps (Knight in Shining Armor, Castle and Stitched Dome Stax, Grassy Fields Die Set and Slider Channel Builder Die Set)
Tool Positioning Tool: My Sweet Petunia (Mini MISTI)
By Deborah S April 22, 2018 - 2:47 am
These cards are wonderful I love interactive cards. Thank you for the wonderful tutorial as well tfs