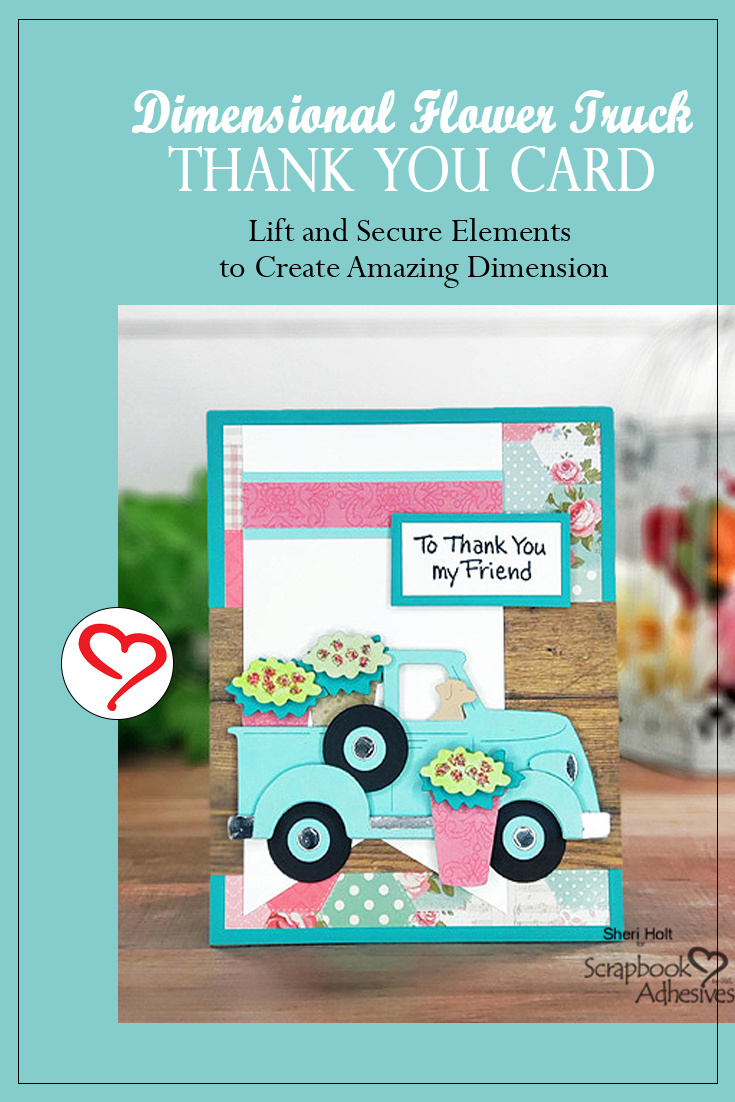
It’s so much fun to add loads of dimension to your cards using your favorite die cuts and sentiments with 3D Foam Squares. Hi, Sheri here, and I want to show you how I created this Flower Truck Thank You card!
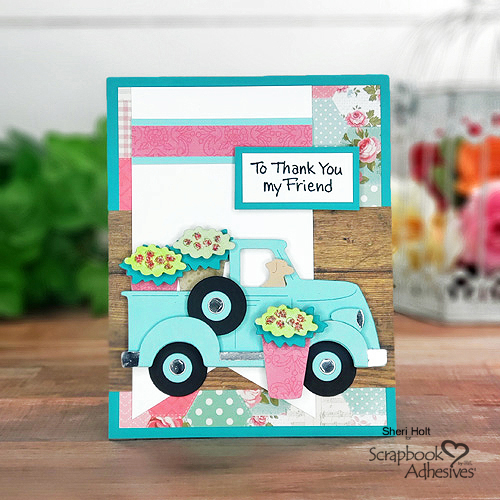
Flower Truck Assembly
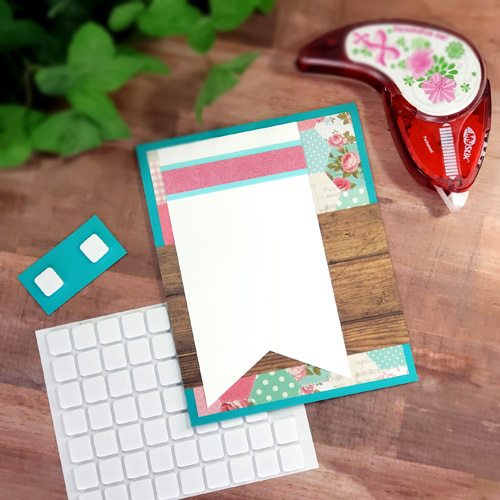
First, assemble the layers of your background with your choice of papers using the MyStik® Permanent Strips Dispenser. Add extra dimension by lifting the sentiment with a large 3D Foam Square.
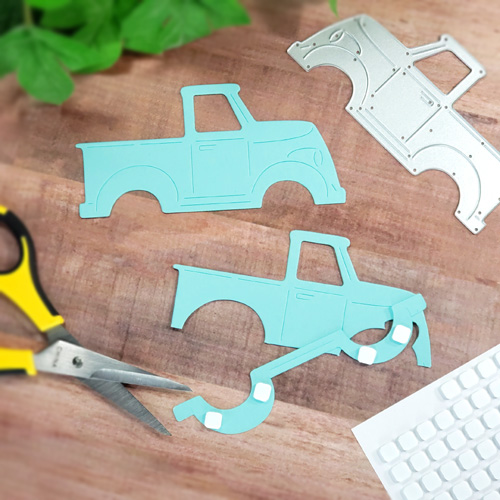
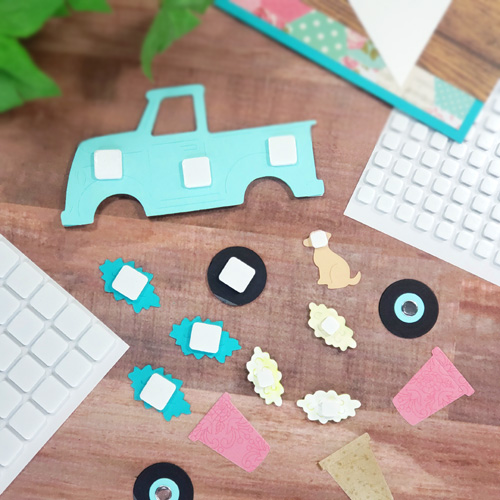
Next, die-cut two flower truck shapes with turquoise cardstock. Alter one by cutting away only the pieces you wish to pop up. Then lift them with small 3D Foam Squares.
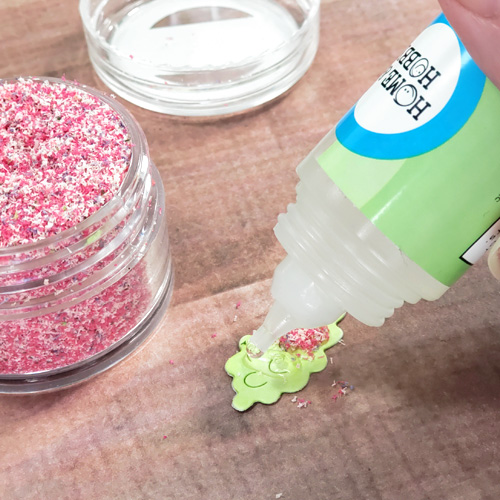
Truck Embellishing
Use the Dual Tip Glue Pen with Flower Soft to create textured flowers for your flower pots and let dry completely. Who has Flower Soft in their stash? Love them! Really gives the flower truck some flower power 🙂
After cutting the rest of the pieces, add more 3D Foam Squares to the back of each layer and assemble.
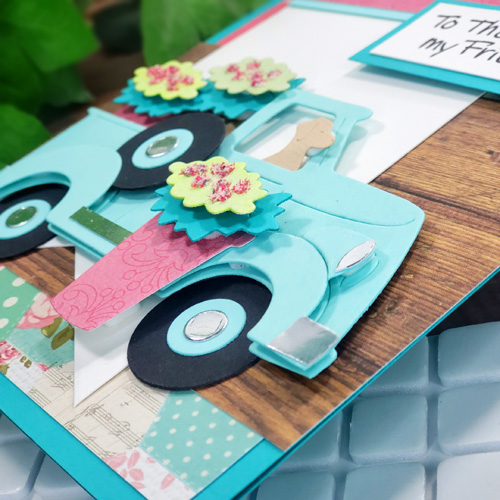
I love how much of an impact it makes with so little effort!
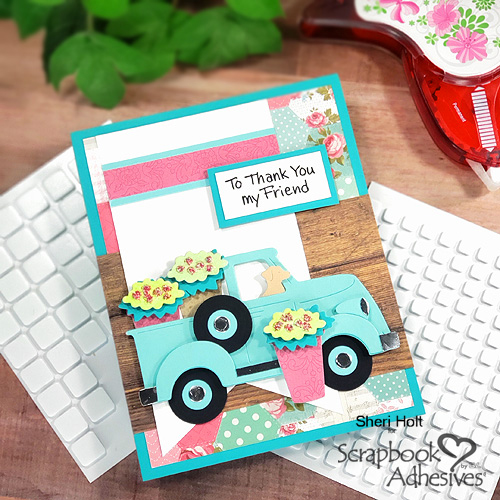
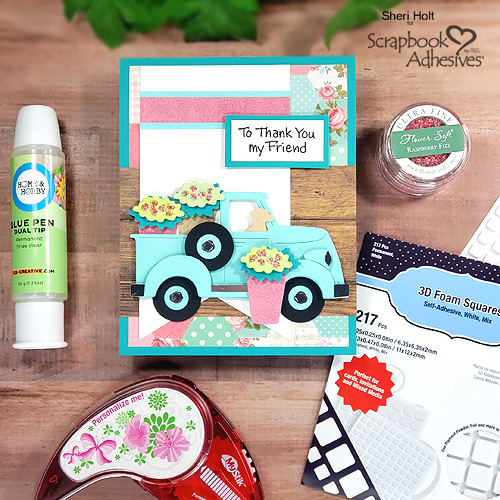
I hope you were inspired to add a little dimension to your cards as this sweet Flower Truck Thank You Card!
Sheri Holt
Creative Time: 40 minutes
Skill Level: Beginner
Materials needed:
Scrapbook Adhesives by 3L®
MyStik® Permanent Strips Dispenser
3D Foam Squares White Variety Mix
HomeHobby™ by 3L
Dual Tip Glue Pen
Other
Patterned Paper: Kaisercraft (Miss Betty Paper); Dies and Stamps: Stampendous (Truck Load and Shake It Up Stamps); Ink: Tsukineko (Memento Ink in Tuxedo Black); Texture: Flower Soft (Raspberry Fizz); Cardstock: Bazzill Card Shoppe
Save to Pinterest!
Visit our Website and Blog!
Sign up for our Newsletter so you never miss a contest or giveaway!


