
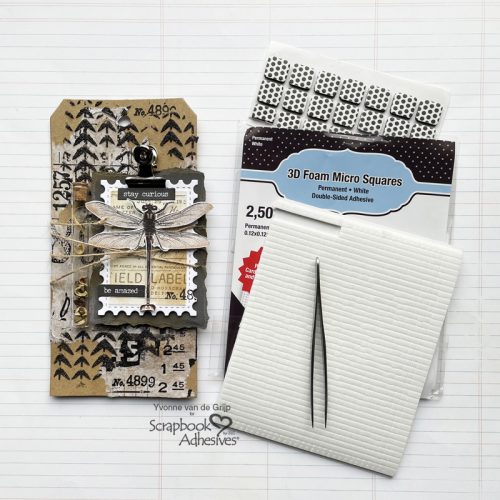
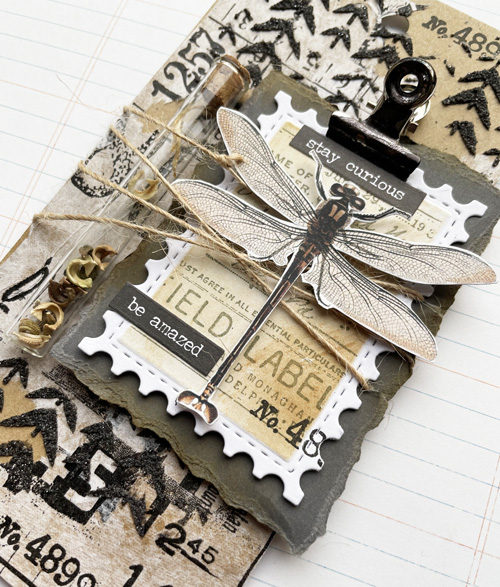
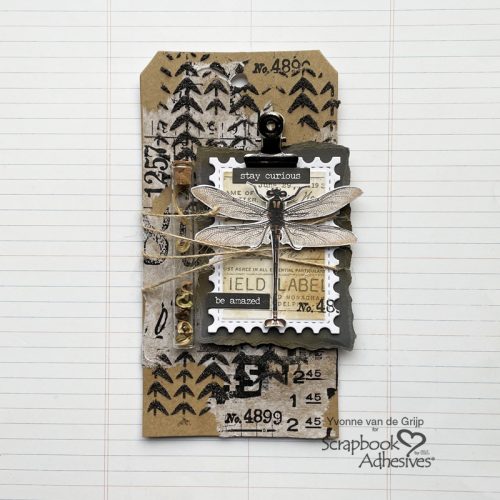
Hi everyone, Yvonne here. Last year I collected all kinds of flower seeds from our garden and I like to gift them to friends in an original way. What came to mind was this mixed media Dragonfly Tag with a small glass bottle on it filled with flower seeds. I hope my friend enjoys receiving it as much as I loved creating it! The tag is all about layers and I would love to share with you all how I made it. Wanna join me in making this 3D Dragonfly Tag using lots of 3D Foam Products.
Making the Dragonfly Tag Base
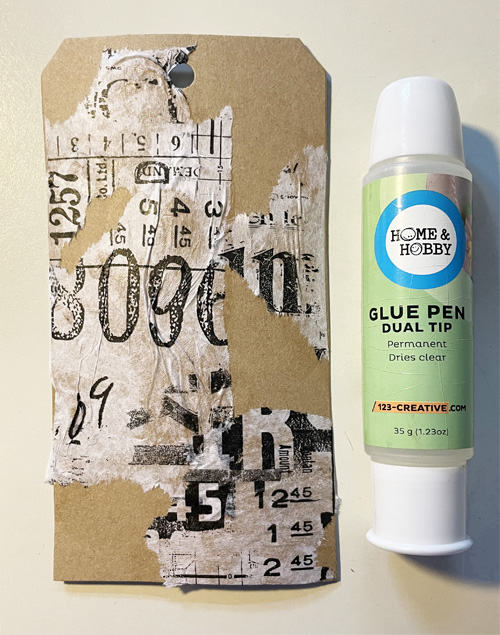
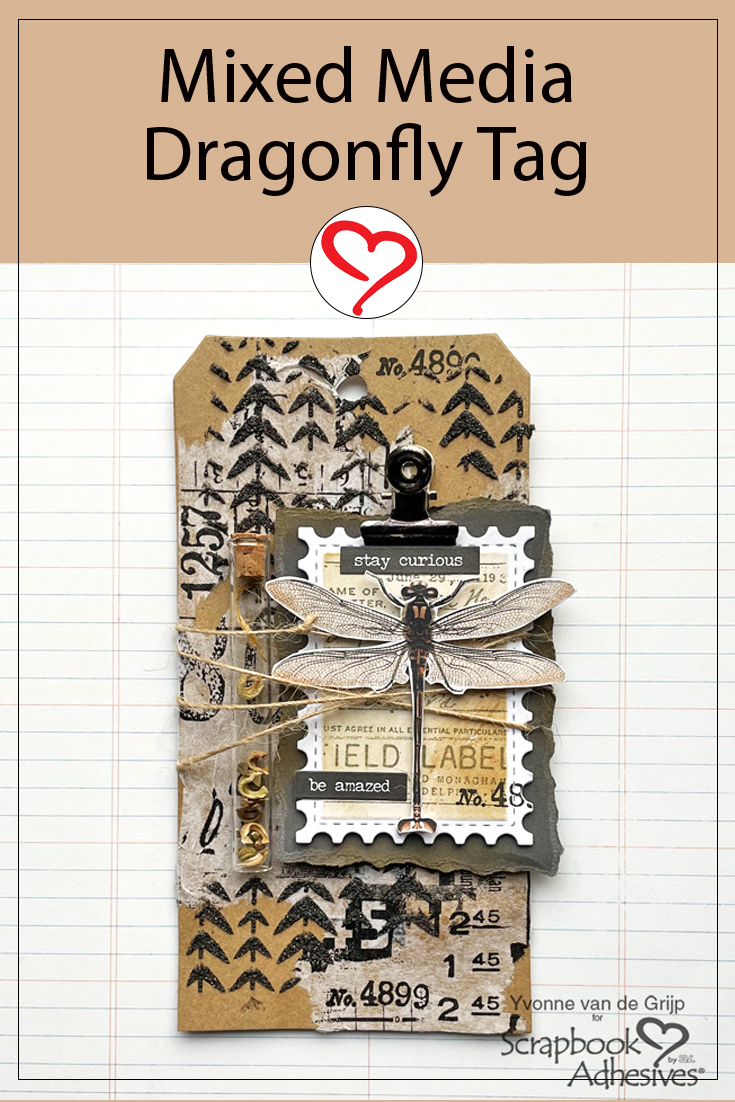
For my Dragonfly Tag, I used a kraft tag as its base and adhered some torn tissue paper onto the tag using the Dual Tip Glue Pen. Simply rub some glue over the back of the tissue paper with your fingers and then adhere to the tag.
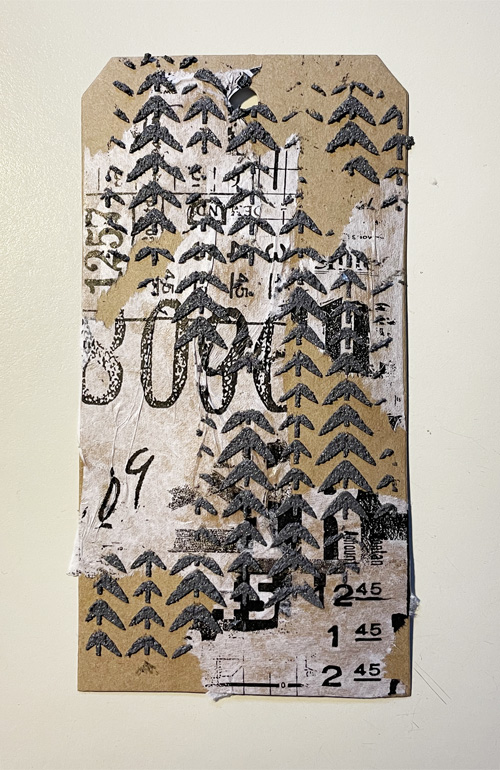
Grab a stencil and a spatula to make a pattern with dark texture paste on the tag.
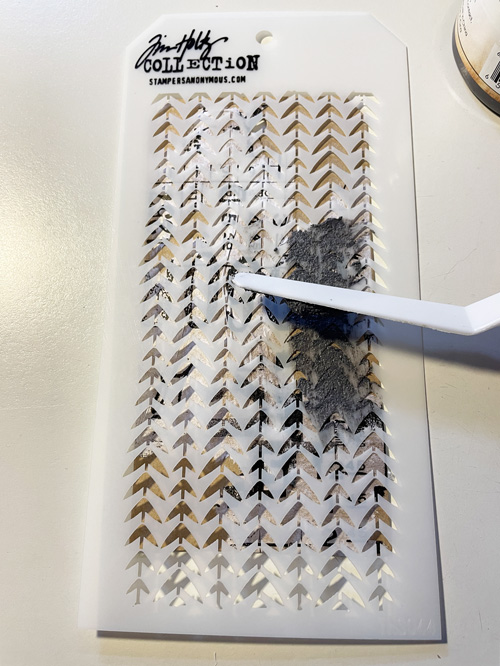
Then let dry. It gives interest and grounds the background. Love it!
Create the Postage Stamp Panel
Die-cut and emboss a stamp shape from white cardstock. Leaving the die cut shape in the metal die, stamp text onto it using a grey inkpad.
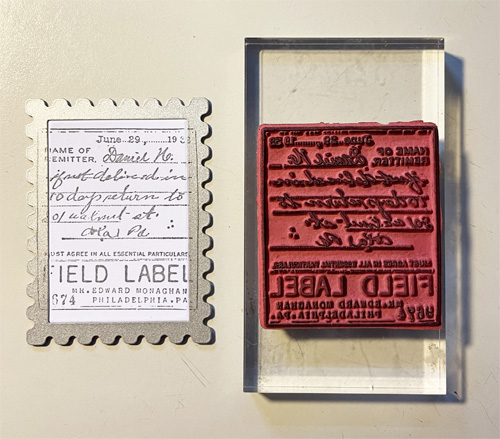
Still leaving the die cut shape in the metal die, distress it with brown ink and an ink blending tool. Now take out the die cut shape out from the metal die.
To mat the die cut shape, tear a piece of dark grey cardstock and ink its edges with brown ink.
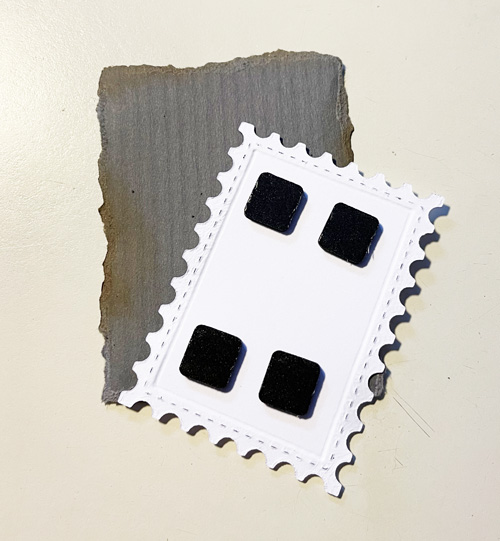
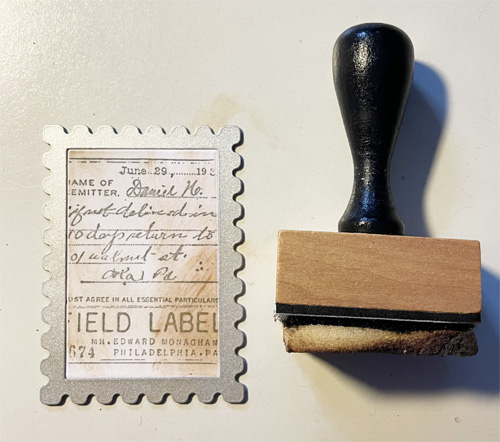
Adhere the stamp shape onto the grey teared panel using 3D Foam Squares Black Mix.
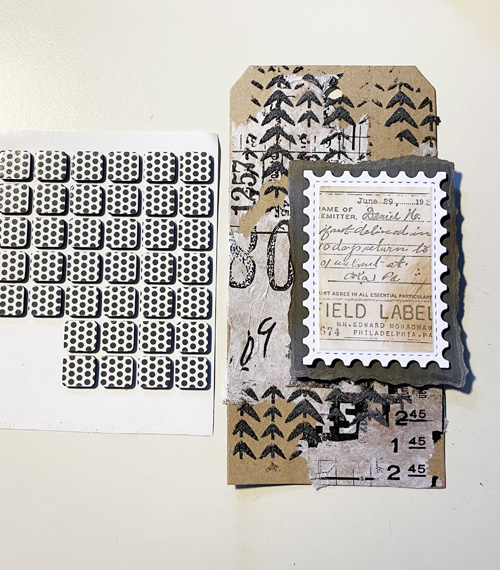
Make sure to wind some twine around the panel before adhering it onto the tag using 3D Foam Squares Black Mix.
Finishing the Dragonfly Tag
To embellish the tag, I cut a dragonfly image from patterned paper using scissors and adhere it onto the tag using 3D Foam Squares Micro White. These tiny foam squares are really the best for invisible adhere detailed items! I like to use tweezers to pick up the tiny 3D Foam Squares Micro White.
Fill a small glass bottle with flower seeds and adhered it to the tag using Adhesive Dots Mini. Then alter a clip with some alcohol ink and attach it to the tag. Finally, I added some small stamped details using a black ink pad.
Well, my Dragonfly Tag is ready to be sent to a dear friend. How about yours?
Thanks for stopping by and wishing you happy crafting!
Yvonne van de Grijp
Creative Time: 40 minutes
Skill Level: Advanced
Materials needed:
Scrapbook Adhesives by 3L®
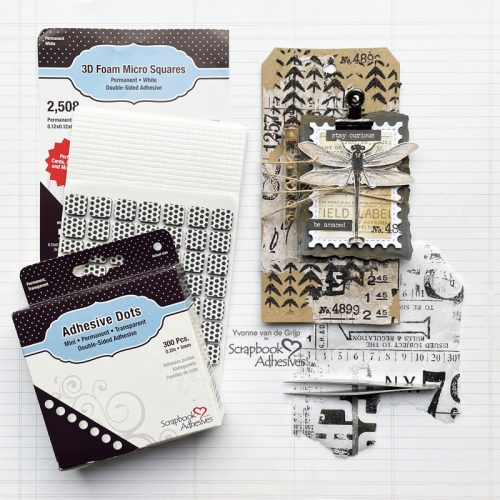
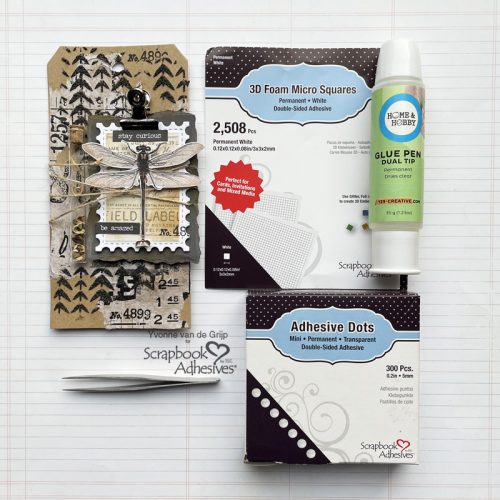
3D Foam Squares Black Mix
3D Foam Squares Micro White
Adhesive Dots Mini
HomeHobby™ by 3L
Dual Tip Glue Pen
Other:
Die-Cutting and Embossing Machine (Spellbinders® Paper Arts: Platinum 6 Machine); Cardstock (White, Kraft, Dark Grey); Patterned Paper (Mintay Papers: Wing Book); Tim Holtz (stencil: Tracks; stampset: Fieldnotes; Tissue/Collage Paper: Typeset/Composer), Alcohol ink (Brown, Black, Copper); Inkpads (Grey, Black, Brown); Ink blending Tool; Acrylic Stamp Block; Dark Structure paste; Spatula; Glass bottle; Flower Seeds; Twine; Metal Clip; Scissors; Tweezers
Save it to Pinterest!
Visit our Website and Blog!
Sign up for our Newsletter so you never miss a contest or giveaway!


