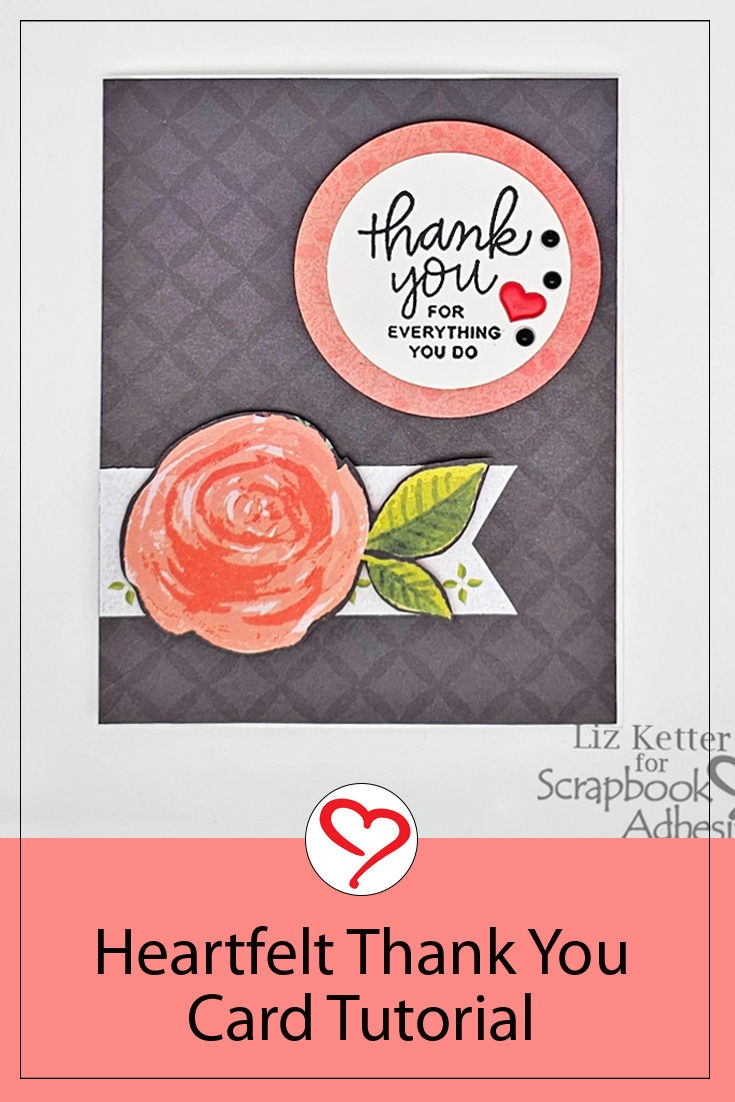
Hi, Liz here today with a simple yet Heartfelt Thank You Note. I love having pre-made thank you notes on hand ready to give someone as an acknowledgement for something that you are thankful for. In this world of fast high-tech and electronic communication, sending and receiving a physical thank you note to touch and read is nice.
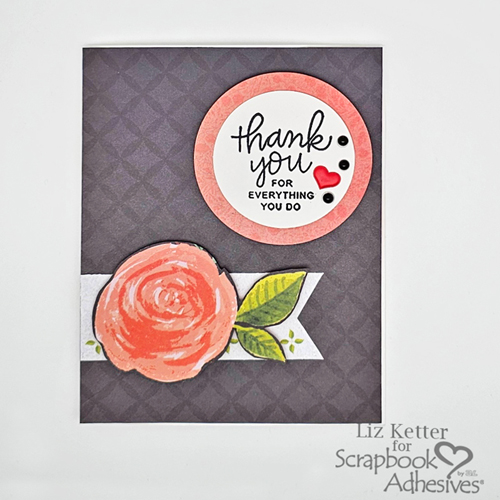
Heartfelt Thank You Card Panel and Elements
For the card panel, cut a dark patterned paper to the size of your card base. Stamp a sentiment that fits in a 2″ circle and punch out. Next, punch out a 2 1/2″ circle of colored patterned paper. Create a 1 1/4″ tall and 3 1/4″ long fishtail banner and find a large flower element, taller than your fishtail banner. Lastly, gather a small heart and some tiny black flat-back pearls or sequins. Now to start assembling!
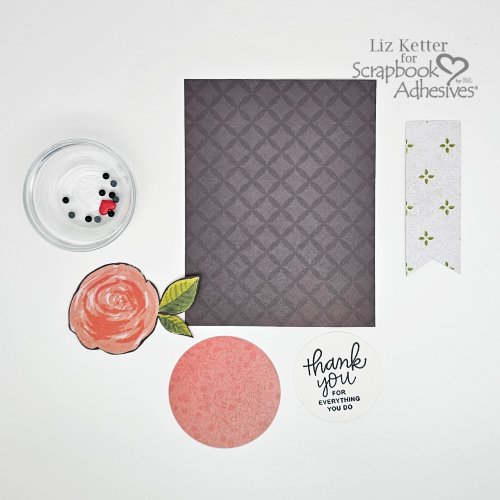
Assemble the Card Panel and Elements
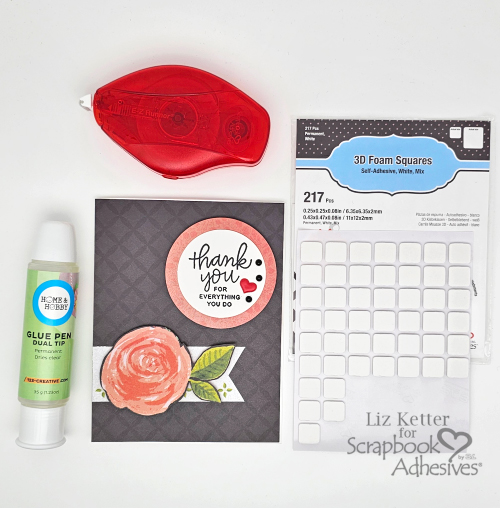
Using the E-Z Runner® Permanent Strips Refillable Dispenser, secure the card panel to your card base, and then the fishtail banner near the lower left corner of the panel. Lastly, mat the two circles with the sentiment circle on top.
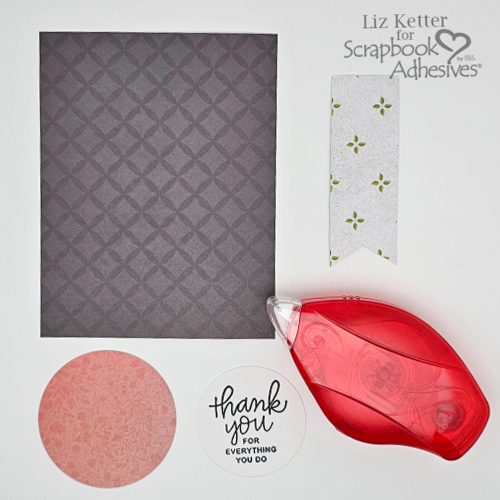
Lift the Elements
Let’s lift and give some dimension to some of the elements. Use several larger squares from the 3D Foam Squares White Mix under the flower but cut one in half some of the foam squares to fit under the two leaves. Remove the liners and place the flower element on top of the banner. On the back of the matted circle, add several large foam squares, and place the circle in the upper right corner.
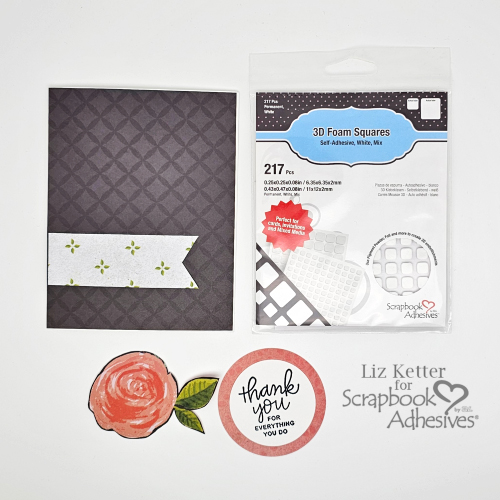
Secure Those Tiny Embellishments
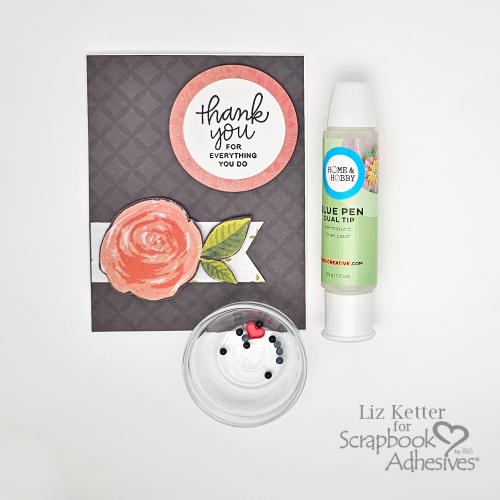
I adhered tiny embellishments with the Dual Tip Glue Pen. First, the sweet red heart was placed on the matted sentiment circle. The black flat-back pearls were adhered around the heart embellishment to anchor the design.
Designer’s Tip: the liquid glue tends to move out of the pen quickly but my solution was to hold the glue pen horizontally. This way only a tiny drop came out of the glue pen and onto the intended area.
It was fast and easy to create but this simple Heartfelt Thank You Note takes advantage of the various adhesives to make it stand out…in a subtle way. I hope this has inspired you to create some cards today!
Thanks for visiting,
Liz
Creative Time: 30 mins
Skill Level: Beginner
Materials Needed:
Scrapbook Adhesives by 3L®
E-Z Runner® Permanent Strips Refillable Dispenser
HomeHobby™ by 3L
Other: Patterned Papers: KaiserCraft (True Love Collection), 2″ and 2 1/2″ Circle Punches, Thank You Sentiment Stamp, Tiny Red Heart: The Paper Studio; Flat Back Pearls
Click Preferred Retailers List
Save to Pinterest!
Visit our Website and Blog!
Sign up for our Newsletter so you never miss a contest or giveaway!


