
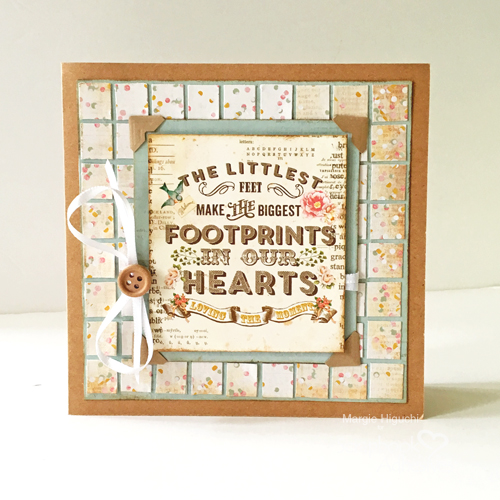
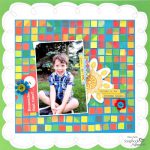
Today I have a square kraft card to share with you. What is so unique is I mimic the shape and size of the Mounting Squares. I was inspired when I saw DIY Mosaic Background by Dana Tatar – loved how it turned out. So here’s my take on a baby card I created for a baby shower I attended. What do you think?
Going a little Mosaic Crazy!
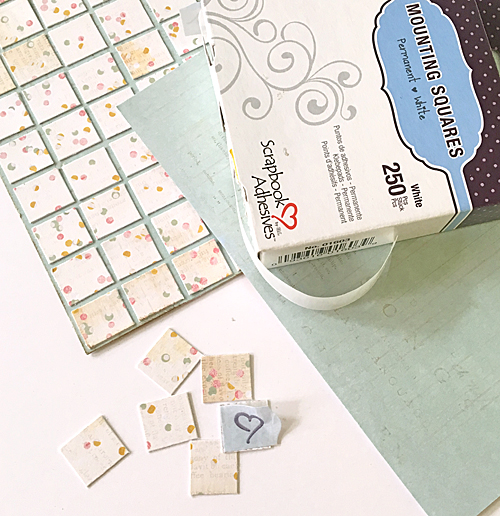
First I cut my patterned paper into 1/2 inch wide strips and then cut into 1/2 inch squares. This size worked well with the Mounting Squares 250 White. But we have other sizes of Mounting Squares that you can try too.
I applied a Mounting Square onto the back of each square and then added them onto a 5 x 5-inch square card panel.
After I cut a piece of 3 x 3.5-inch blue patterned paper card panel and the 2.5 x 3.0-inch sentiment panel. Ink all the edges with dark brown ink, using an ink applicator.
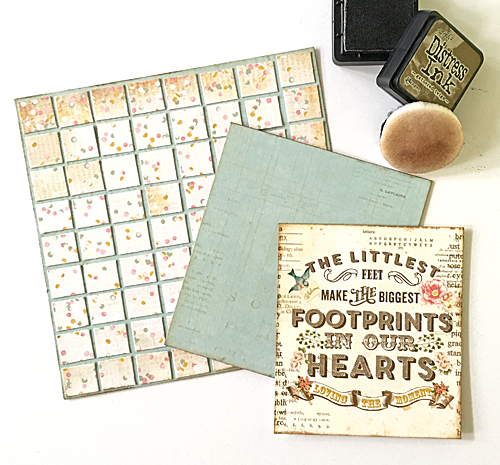
The mosaic card panel adhered with Mounting Squares 250 White was centered onto the card base.
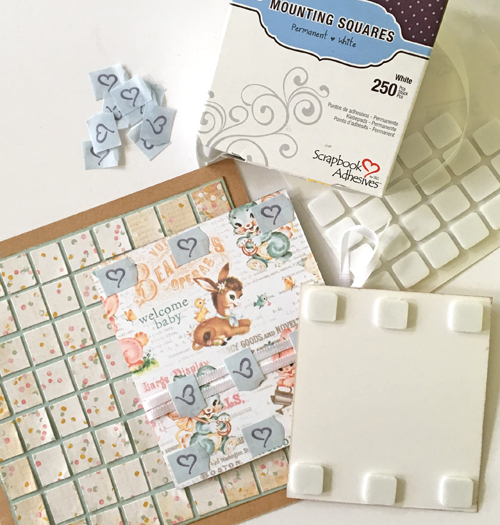
For the blue card panel, I wrapped a piece of narrow white ribbon around it and tied with a simple bow, secured with an Adhesive Dot Small on the panel. Then I added Mounting Squares to the back (including the ribbon for extra security). Also, add the Creative Photo Corners Kraft to each corner before centering it onto the mosaic card panel (forgot to take a step-out picture of this ;)).
The sentiment panel adhered with 3D Foam Squares White Regular Size was placed on top of the layered card.

The finishing touch was adding the button on top of the bow with an Adhesive Dot Small and it’s ready to give!

Creative Time: 45 minutes
Skill Level: Beginner
Materials Needed
Scrapbook Adhesives by 3L®
Mounting Squares 250 White
3D Foam Squares White Regular Size
Adhesive Dots Small
Creative Photo Corners Kraft
Other
Patterned Paper: Prima Marketing Inc.; Ink and Applicator: Gathered Twigs Distress Ink (Ranger Ink); Narrow White Satin Ribbon; Wood Button
Pin It!

More Mosaic Projects
We have more of these wonderful mosaic design projects, check out the posts below by clicking on the title or image. ENJOY!
 |
 |
 |
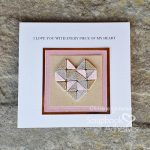
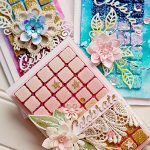
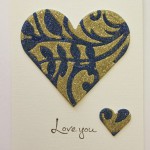
| DIY Mosaic Background by Dana Tatar | Heart Mosaic Card by Christine Emberson | Mosaic 3D Foam Squares Background Card by Tracy McLennon |
 |
 |
 |
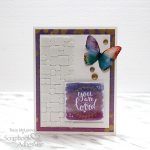
| Adhesives Ain’t Just for Adhering by Michele Kovack | DIY Heart Mosaic Stamp Card by Angela Ploegman | Love and Glitter Heart Card by Christine Emberson |
By Alicia coop February 22, 2019 - 9:37 pm
Following