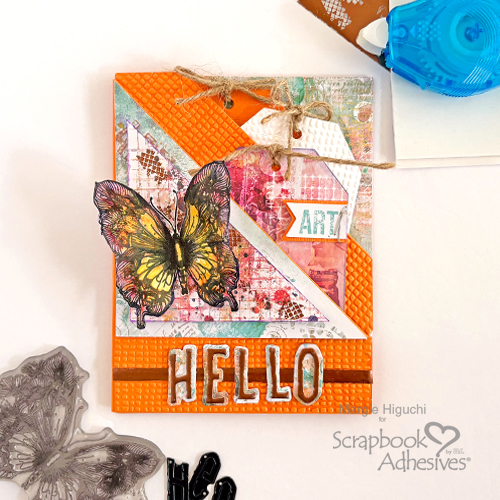
Hi, Jingle here today, and I have a fun technique to share using our Metallic Transfer Foil Sheets in Nature Colors! You’ll be wanting to grab your supplies and make your own! Let’s get started…
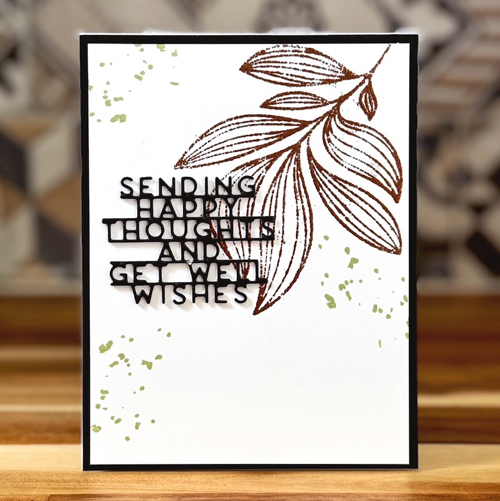
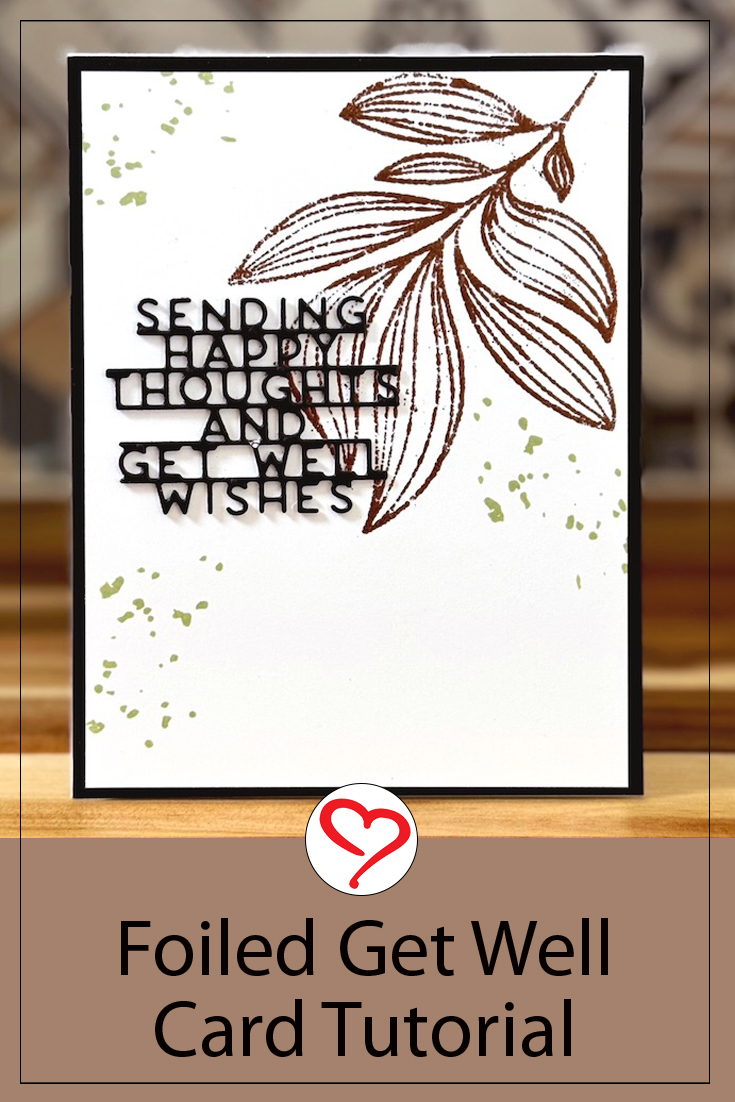
Foiled Get Well Card with Sticky Embossing Powder
Today I am going to share a tutorial on how to use sticky embossing powder to foil your stamped images!
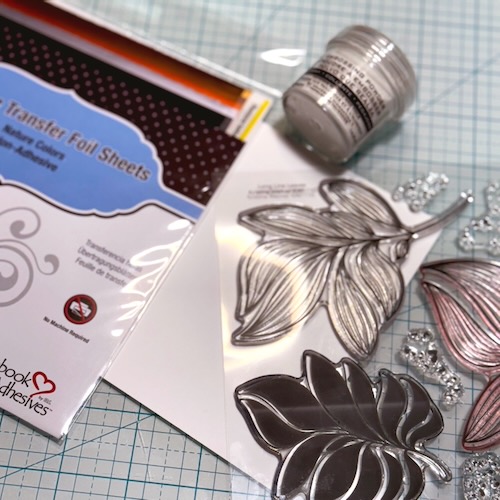
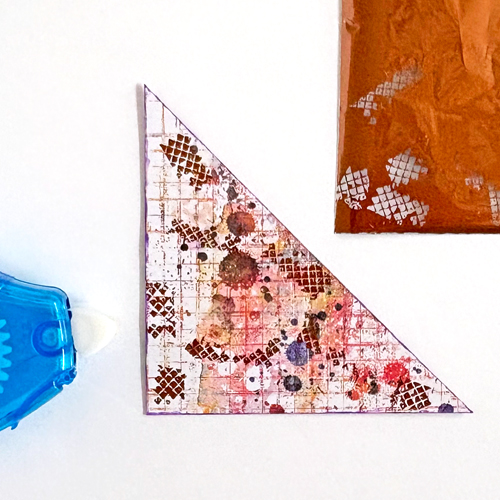
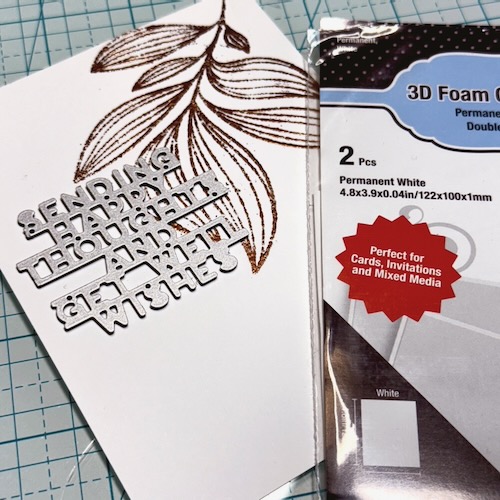
To begin, you will need a packet of Metallic Transfer Foil Sheets Nature Colors along with Ranger Sticky Embossing Powder and the stamp set you intend to use. I chose a line drawn leaf that stands well on its own.
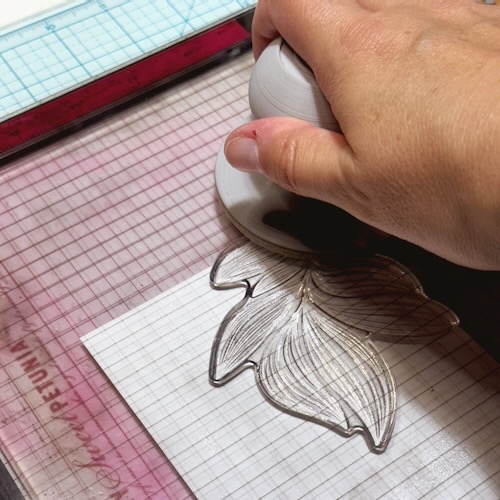
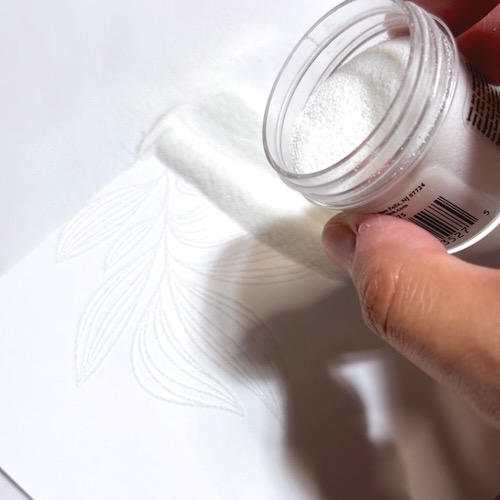
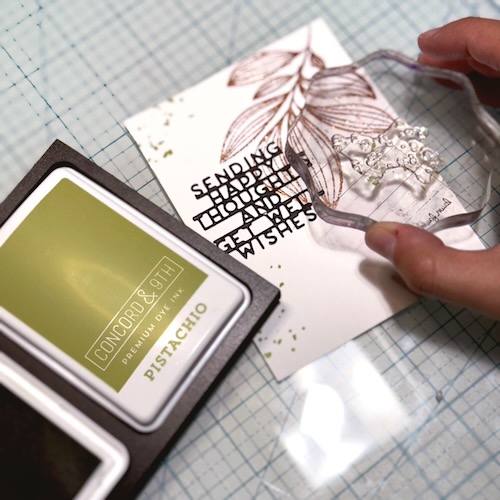
Stamp your image with embossing ink and sprinkle the powder over the image. Heat the powder to melt completely.
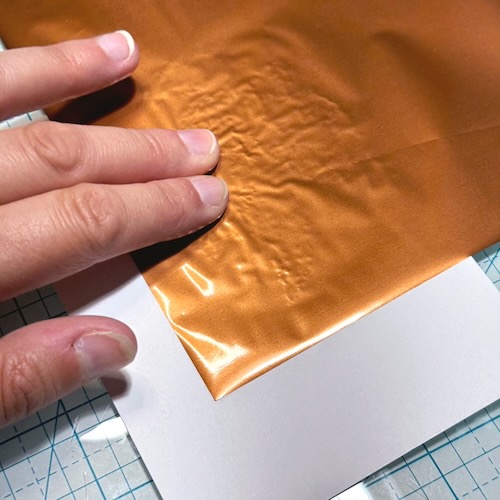
Next, lay your foil over the image and press down across the embossed image. Because the embossing powder is sticky, your foil will stick to it nicely! You may need to add a little heat to ensure you have full coverage. Then, gently peel the foil to reveal your foiled image!
Adding the Sentiment
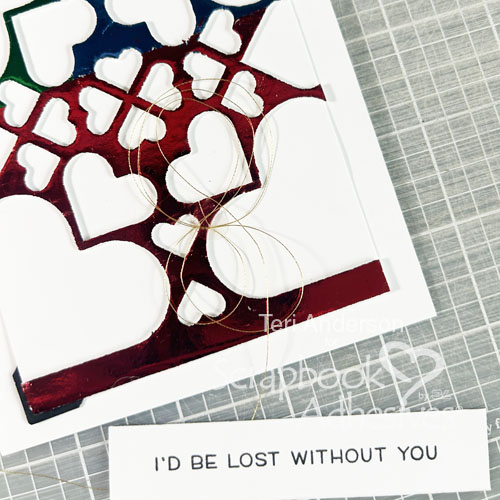
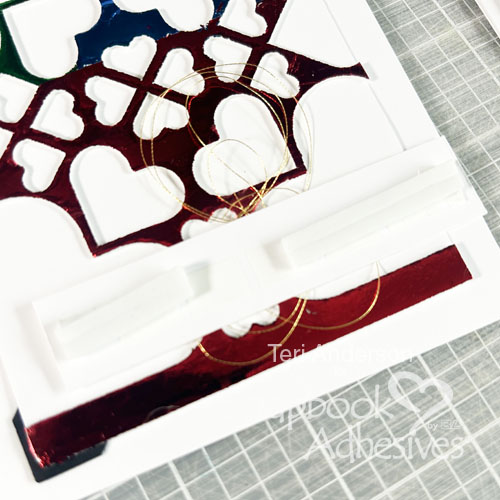
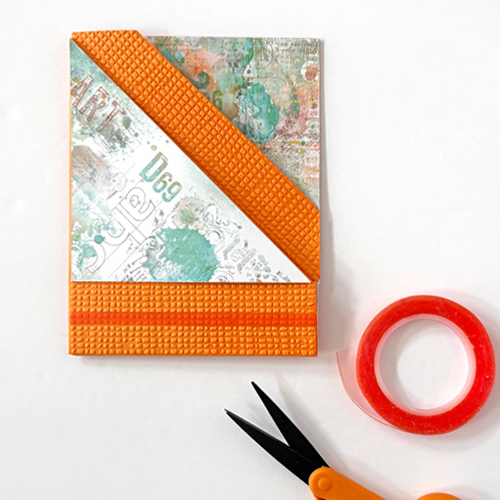
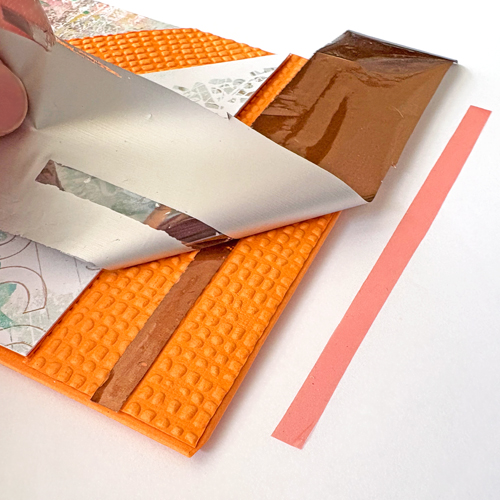
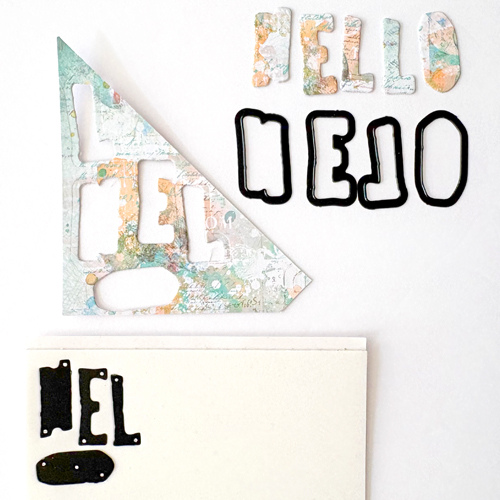
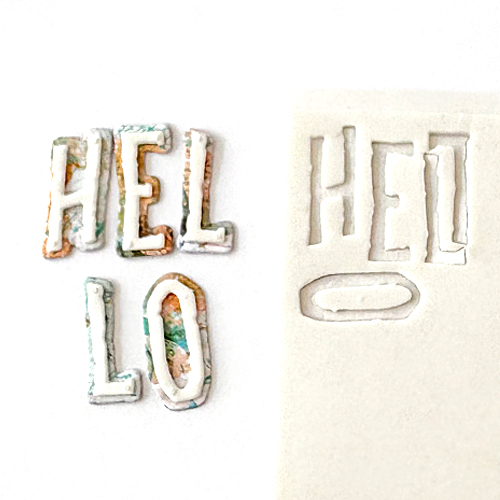
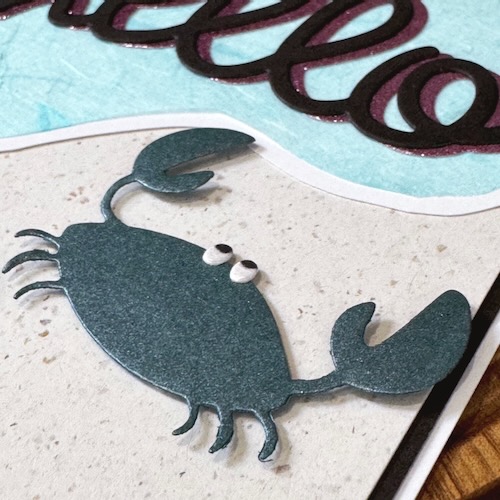
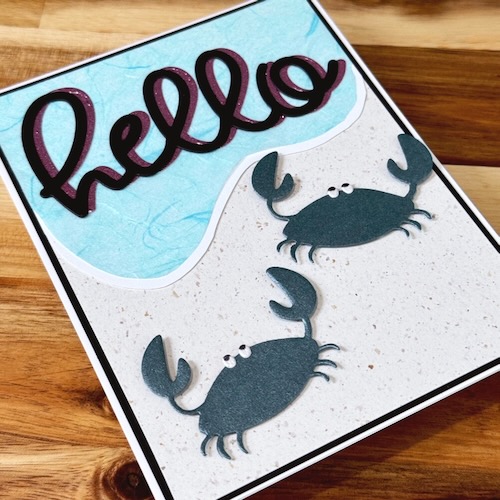
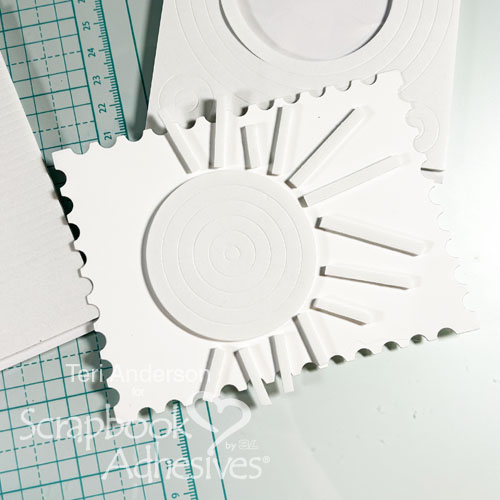
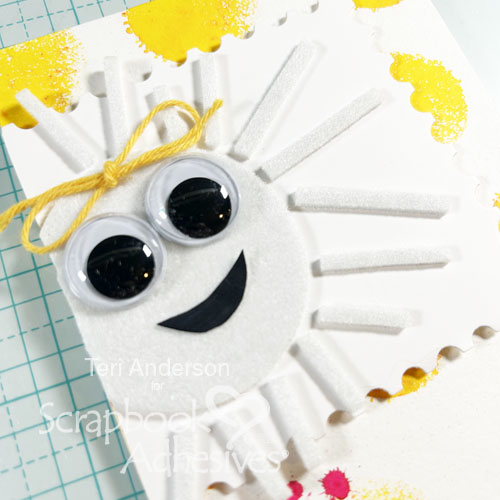
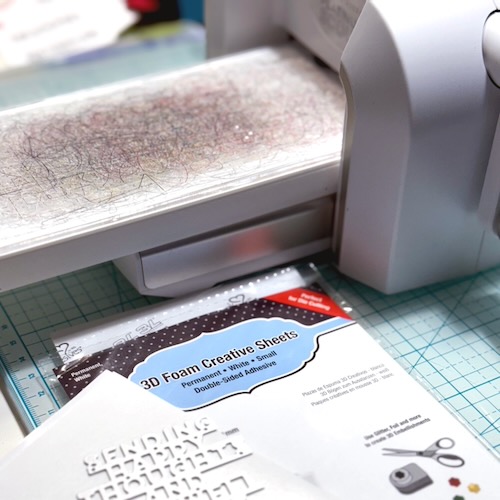
Once you have your focal point image foiled, you can work on bringing together the rest of the design, beginning with the sentiment. To create a dimensional sentiment, you will want to add a cut sheet of 3D Foam Creative Sheets Small White to some black cardstock. Next, you will die cut the sentiment, making it ready to adhere! Be sure to pop out all of those little pieces between the letters before removing the release paper, as it makes your life much easier.
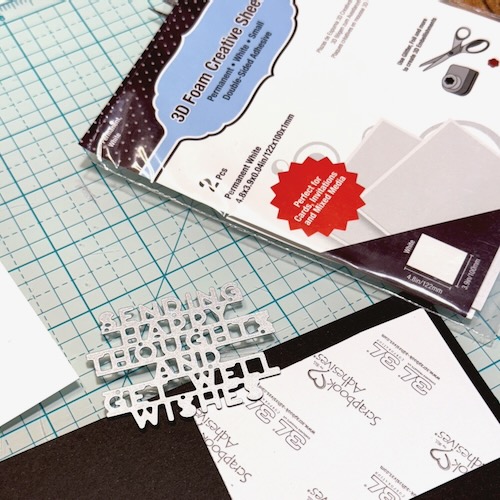
While still IN the die, adhere the sentiment in place. Gently remove the die, ensuring that the sentiment remains perfectly aligned. This is a great tip when working with the foam sheets!
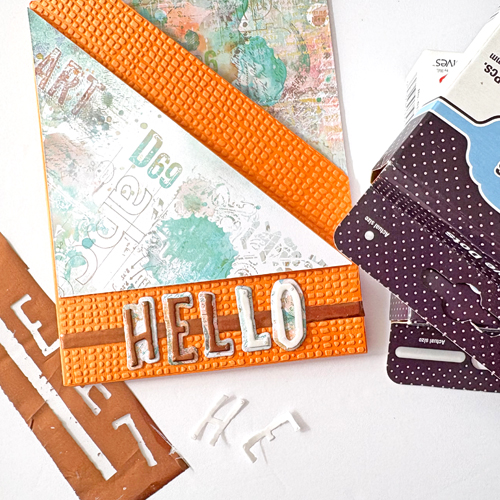
Completing the Design
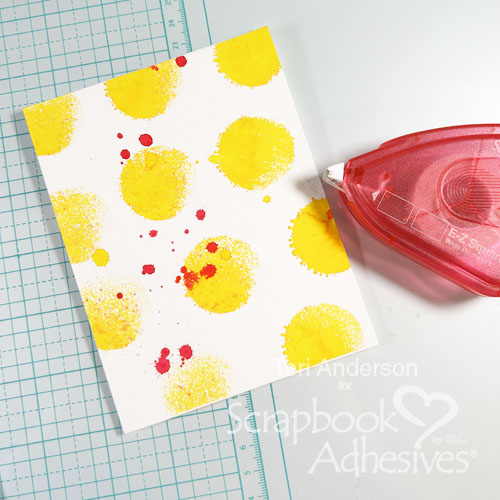
Stamping a few accent ‘splatters’ onto the card gives it a finished look.
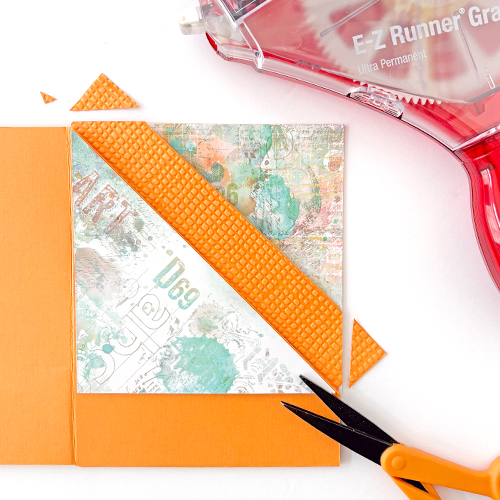
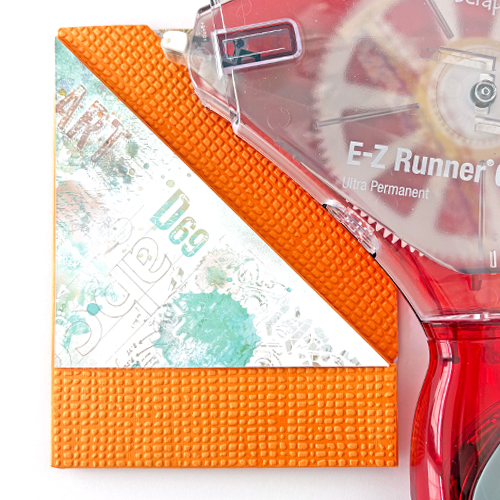
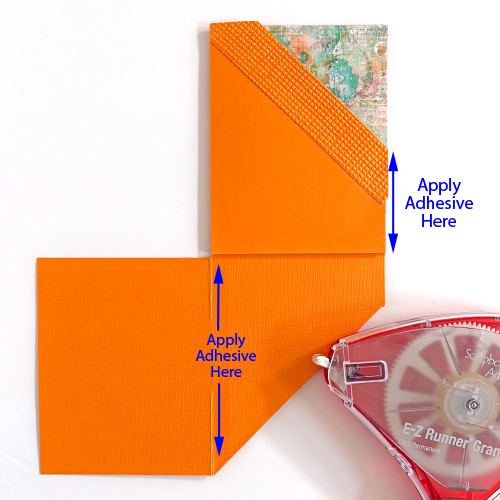
When you are happy with the splatters, it is time to mount a black panel on your card base for matting. I like to use the E-Z Runner® Grand Permanent Dots Refillable Dispenser for this to get a strong hold.

To add some subtle dimension (1/32″ height – half of 1/16″) to the finished look, use the Crafty Foam Tape Black 108ft. to adhere the stamped panel to the card.
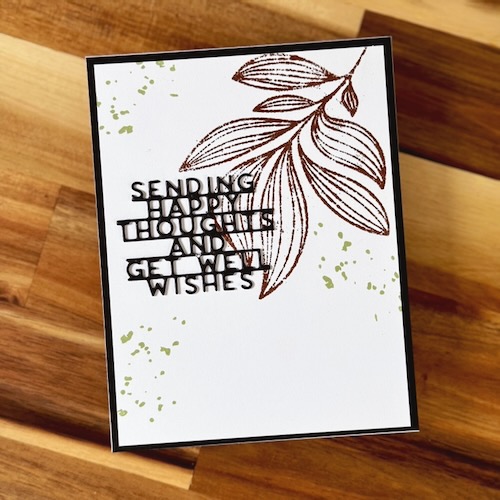
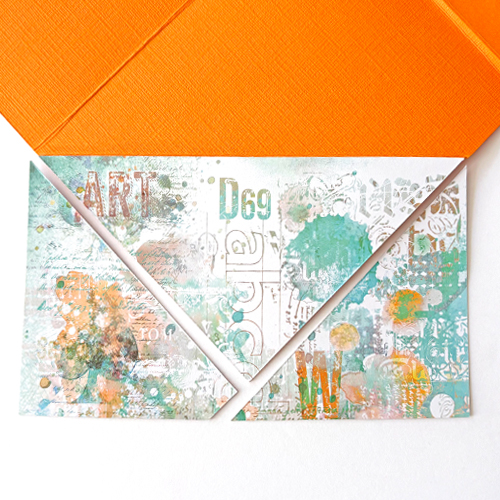
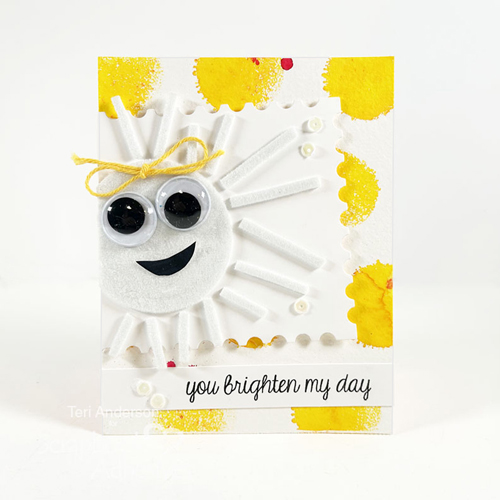
And there you have it! A really cool finished Foiled Get Well Card design that is bound to wow your recipient!
Thanks for stopping by!
Jennifer Ingle (aka Jingle)
Creative Time: 45 mins
Skill Level: Advanced
Materials Needed:
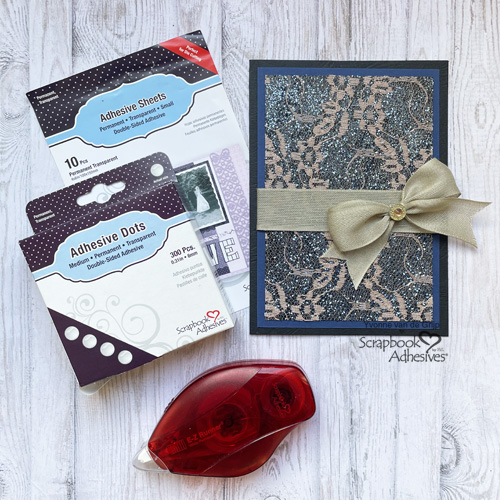
Scrapbook Adhesives by 3L®
E-Z Runner® Grand Permanent Dots Refillable Dispenser
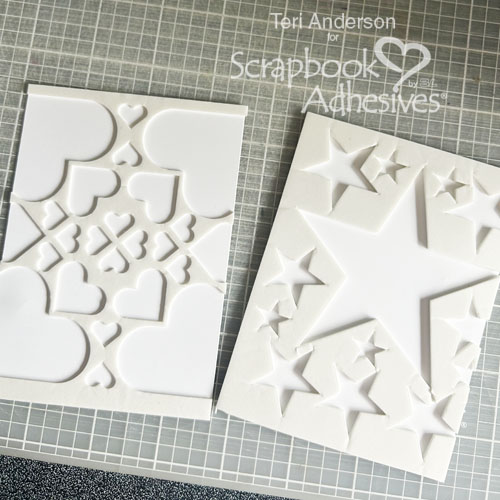
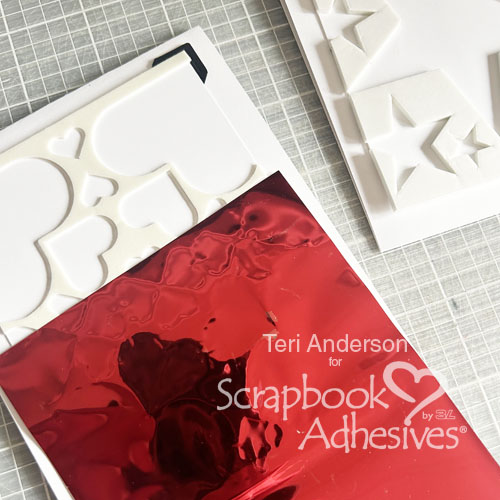
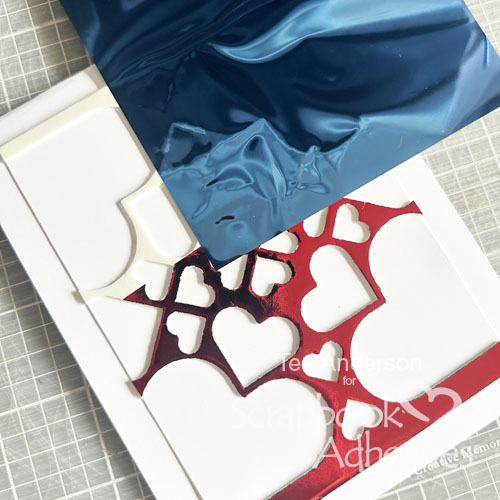
3D Foam Creative Sheets Small White
Metallic Transfer Foil Sheets Nature Colors
Other: Stamp & Craft Dies: Concord & 9th (Long Line Leaves Stamp Set + Long Line Leaves Dies); Inks: Tsukineko (VersaMark Embossing Ink) and Concord & 9th (Pistachio Dye Ink); Embossing Powder: Ranger Ink (Sticky Embossing Powder); Black and White Cardstock
Click Preferred Retailers List
Save to Pinterest!
Visit our Website and Blog!
Sign up for our Newsletter so you never miss a contest or giveaway!