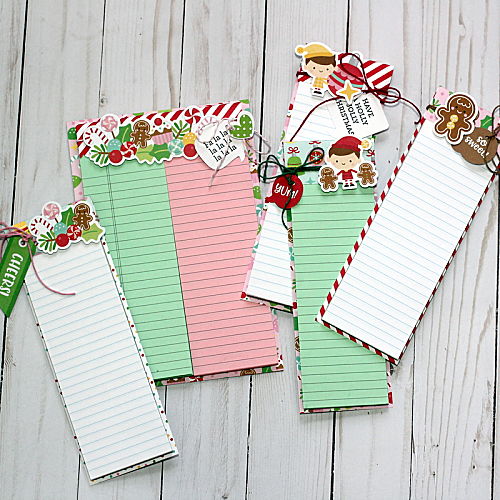
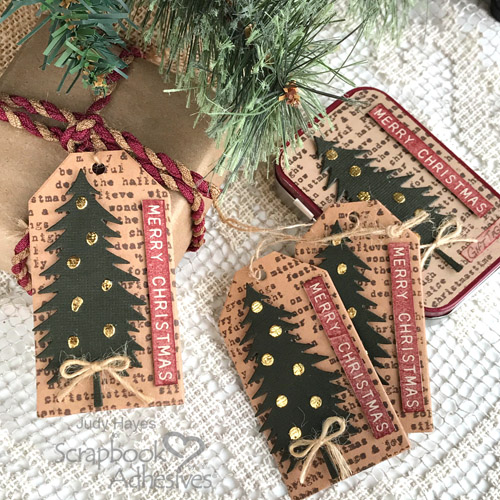
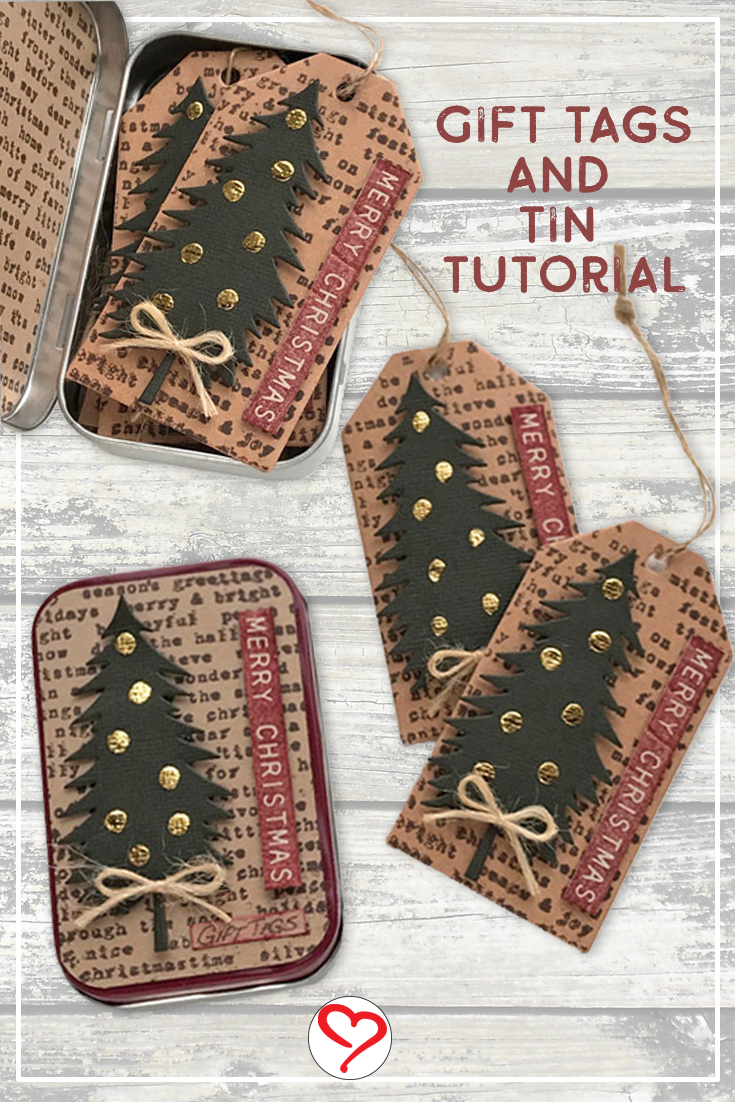
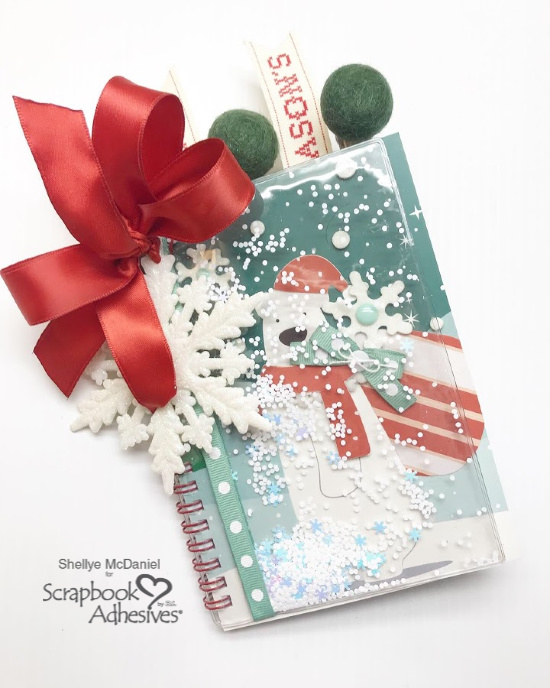
Hello friends! Judy here today with a set of Merry Christmas gift tags and a metal tin that I upcycled into a rustic farmhouse style gift set.
My inspiration for this project was a mint tin that I had just emptied. As a crafter, of course I kept it! You never know when they will be handy for a project. The Altoid tin is dark red around the lid edge, and I’m using use that as part of my color scheme. Keep reading to see how I made this!
Merry Christmas Gift Tags Tin
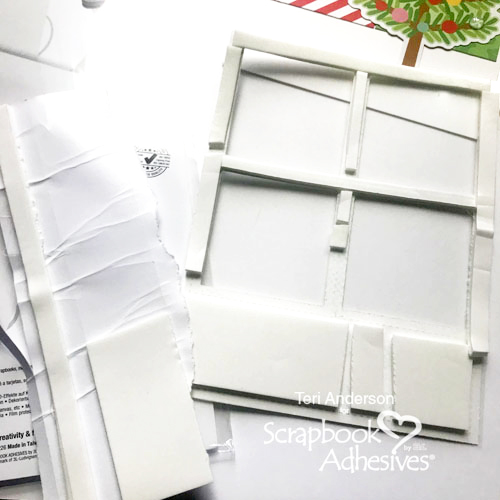
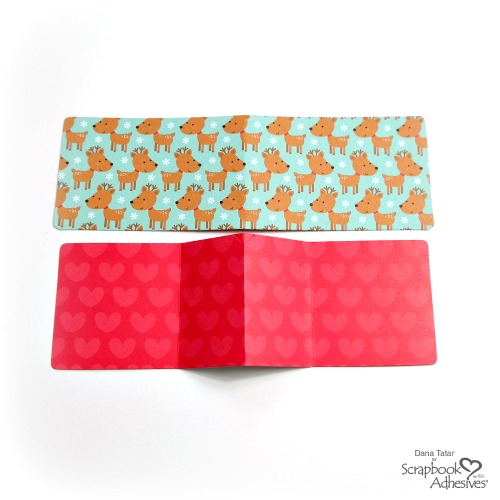
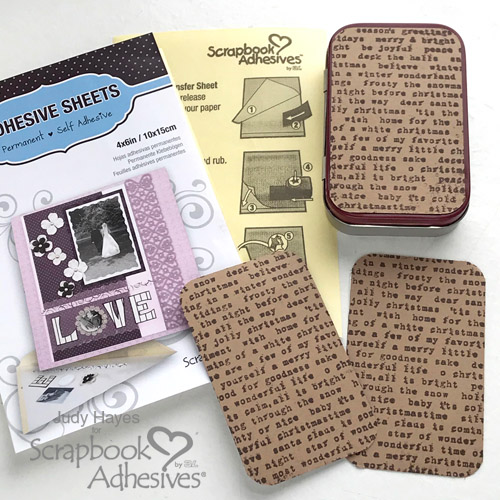
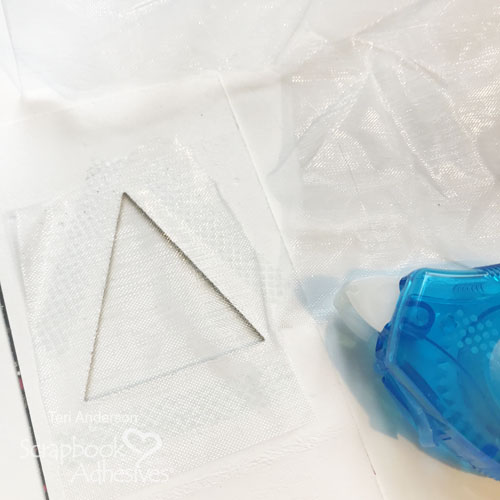
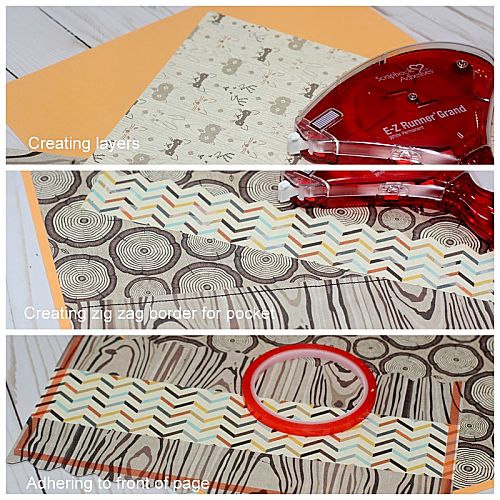
The plan is to use kraft cardstock to cover the top and insides of the tin. First, apply Adhesive Sheets to the back side of the cardstock. Then cut one piece for the top and two for the inside lid and bottom of the tin. The tin has rounded corners so I used a corner rounder punch to shape them.
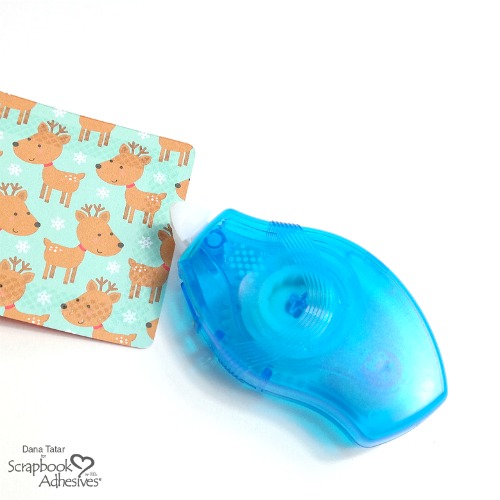
Next, I stamped a text design with dark brown ink onto each piece. It is so easy to fasten the cardstock pieces to the tin by simply peeling off the Adhesive Sheet liner and pressing into place! It gives me edge to edge coverage, I have no loose edges to worry about.
Merry Christmas Gift Tags
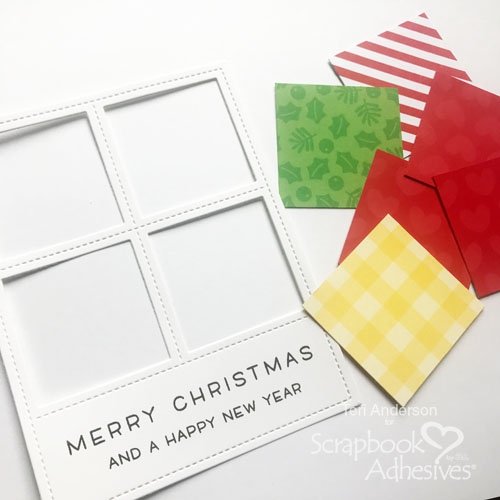
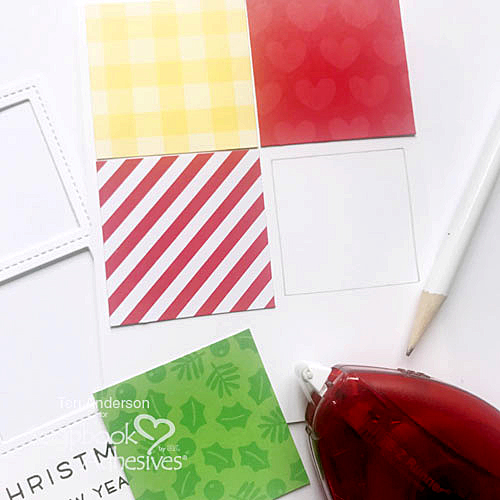
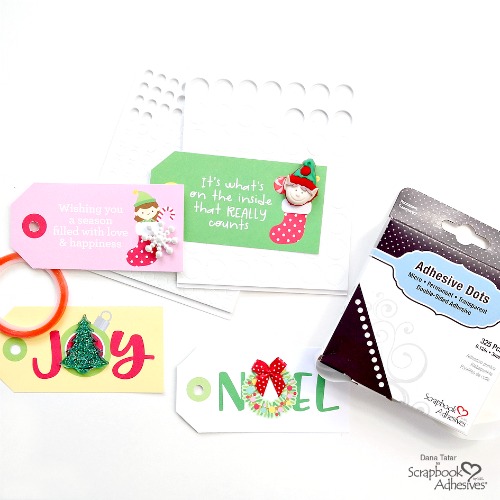
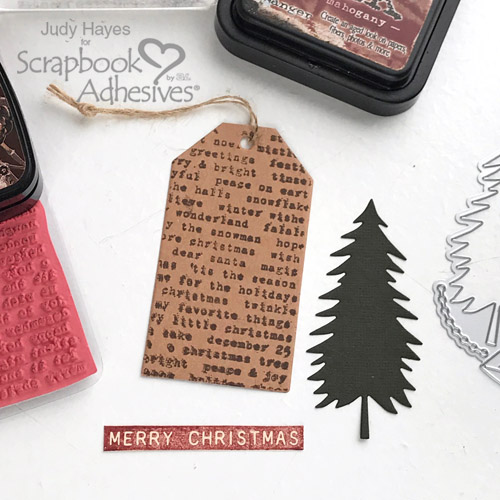
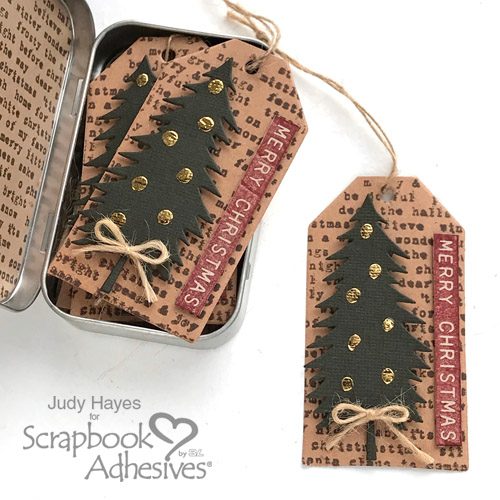
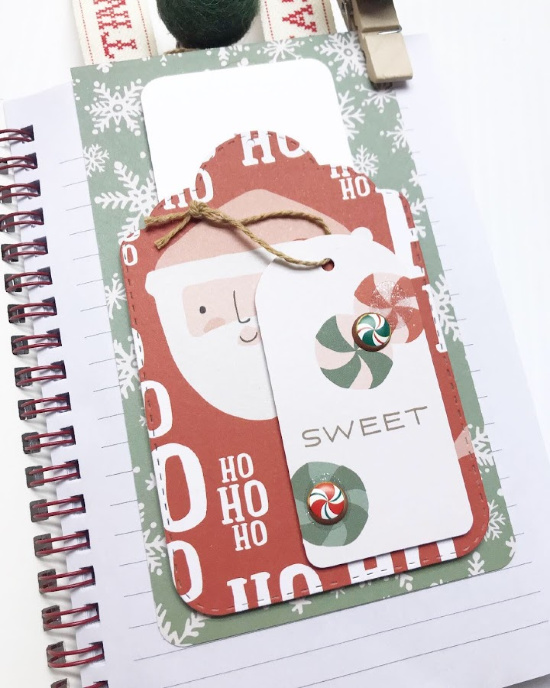
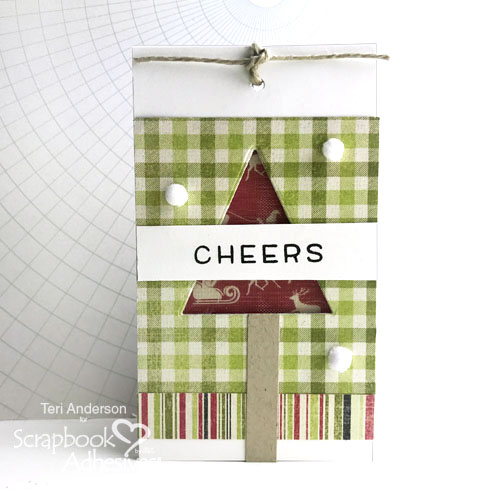
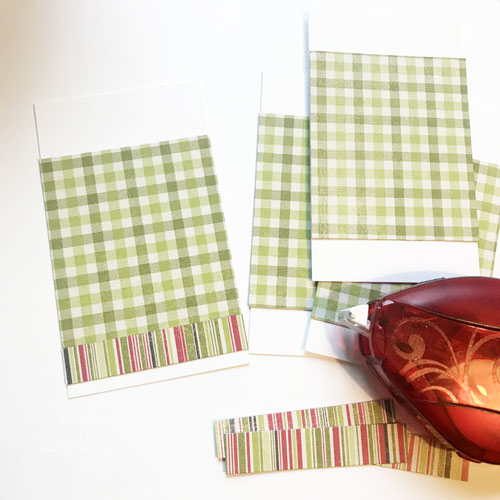
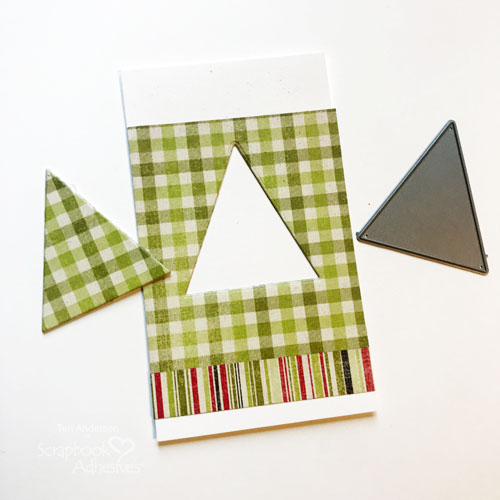
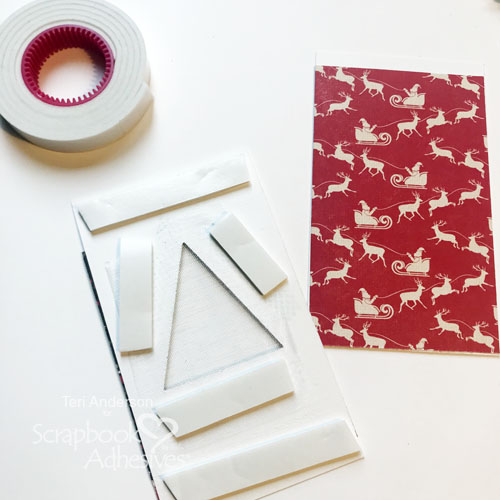
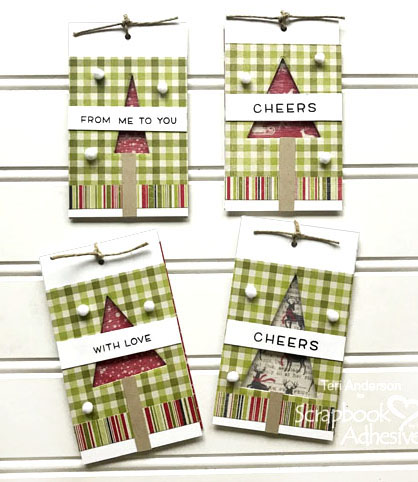
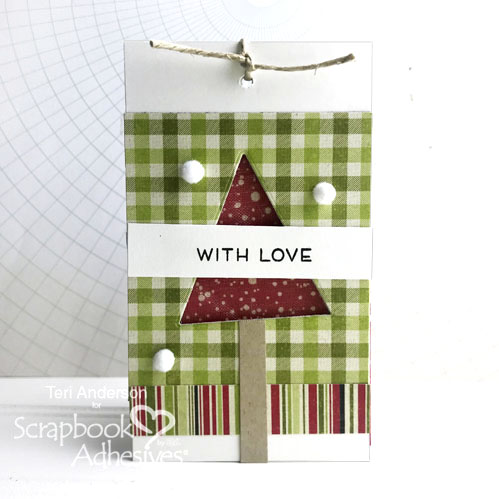
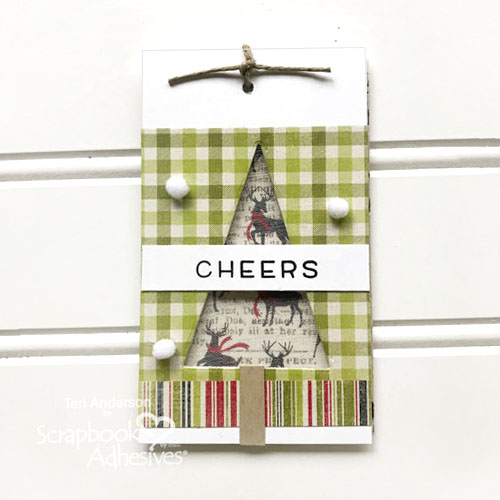
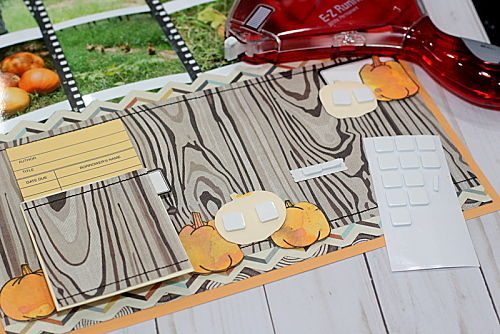
I’m using pre-made kraft tags with strings from my stash. I trimmed a tiny bit off the bottom of each tag to fit inside the tin. Stamp each tag with the same text design and dark brown ink. To embellish the tags die-cut dark green trees. Next stamp “Merry Christmas” in white ink on red cardstock and hand-cut into strips.
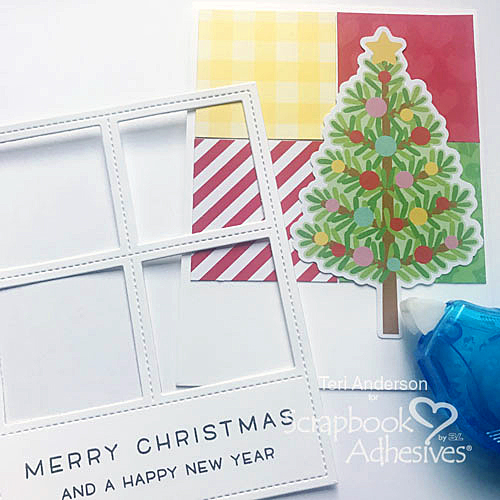
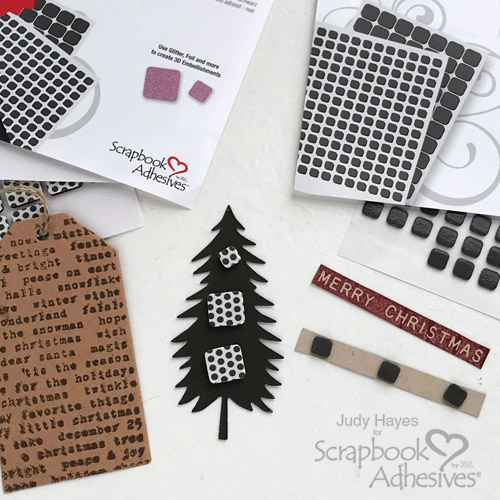
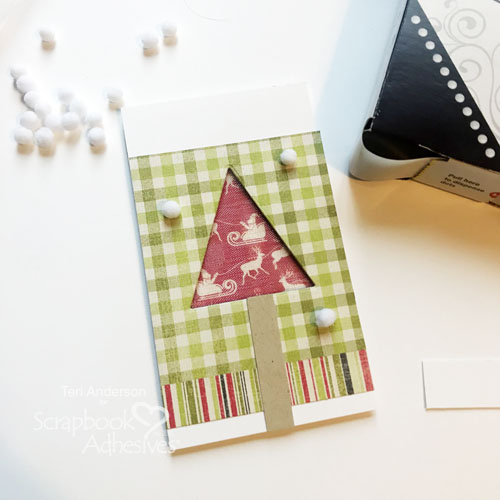
Pop up the tree with 3D Foam Squares Black Mix and place on the left side of the tag. To mix up the depth, the “Merry Christmas” strip uses Thin 3D Foam Squares Black Mix.
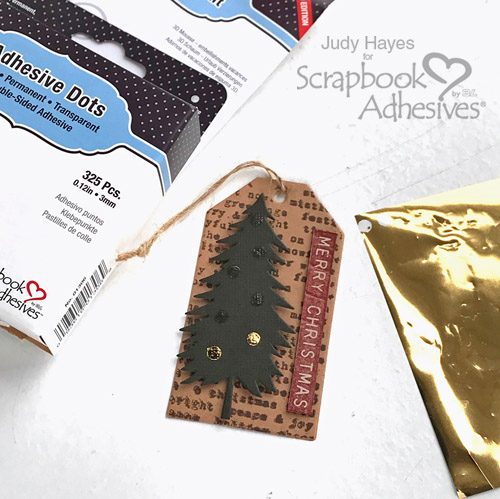
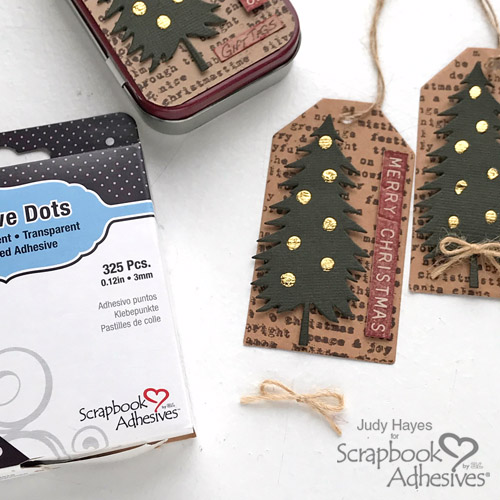
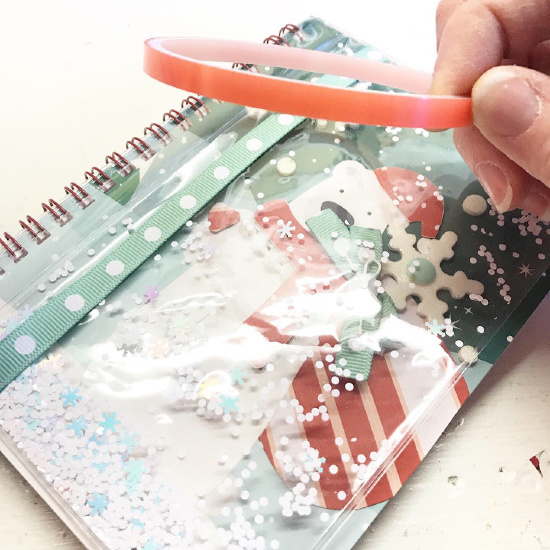
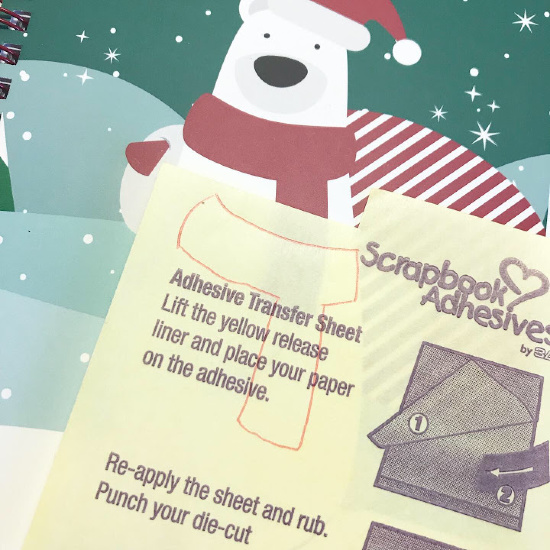
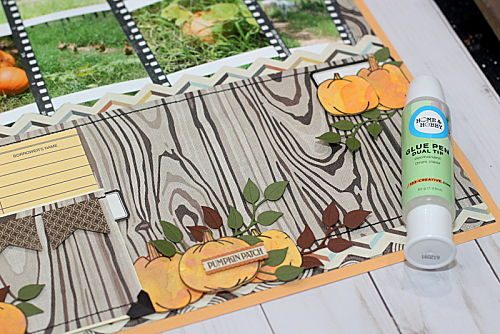
The gold ornaments are Adhesive Dots Micro covered with the gold Metallic Transfer Foil from the 3D Foam Holiday Embellishment Kit. These were so easy to do. Apply Adhesive Dots onto the front of the tree and remove the clear liners. Cover the Adhesive Dots with gold foil, colored side up, gently rub to transfer the color and peel off. Done!
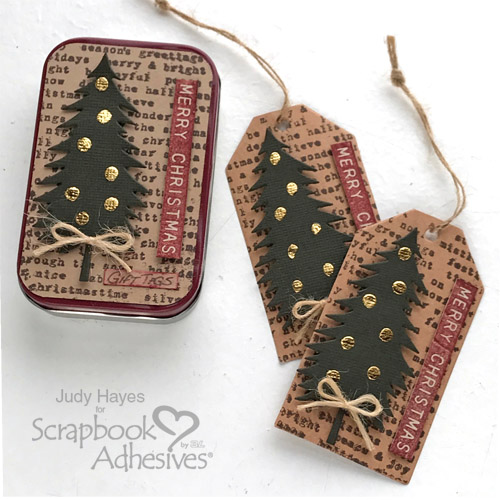
To complete the Christmas trees, tie tiny bows of twine and attach to each tree with Adhesive Dots Micro. Kraft paper and muted tones create a rustic, farmhouse look to this holiday set.
Embellishing the Cover of the Tin
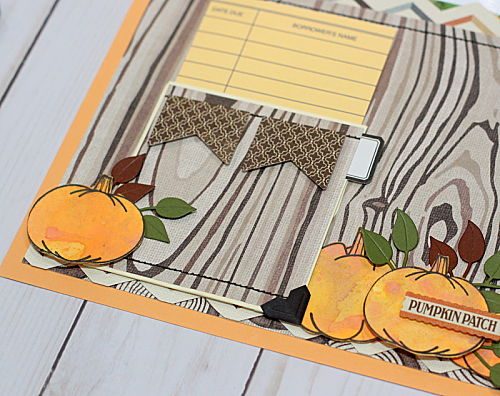
The cover uses the same steps as the tags, with the exception of using Thin 3D Foam Squares Black Mix on both the Christmas tree and the Merry Christmas sentiment. Using On a scrap piece of kraft cardstock that had Adhesive Sheets on it, I handwrote “gift tags” an adhered it to the tin.
You can fit seven Merry Christmas Gift Tags in this farmhouse decorated box. Give this festive gift to neighbors, friends, co-workers and family for the holidays. It’s a great way to use up those mint tins too!
Thanks for Visiting!
Judy
Creative Time: 45 Minutes
Skill Level: Beginner
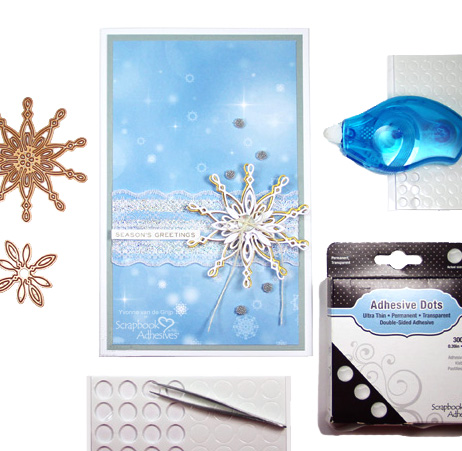
Materials Needed
Scrapbook Adhesives by 3L®
Other: Stampers Anonymous Tim Holtz Stripes & Holiday Type, Modern Christmas; Sizzix Tim Holtz Festive Things; Ranger Aged Mahogany Distress Ink; Imagine Crafts/Tsukineko Versafine Clair Pinecone; Kraft Tags; Twine; Altoid Mint Tin; Corner Rounder; Card Stock Dark Green, Kraft, Desert Storm
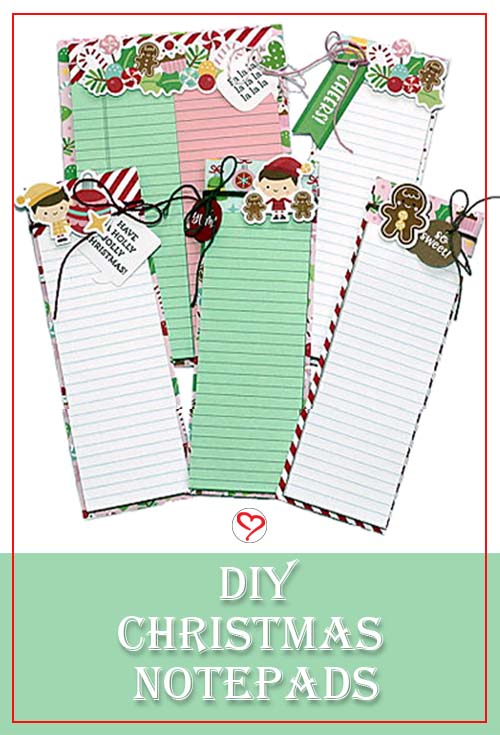
Save it on Pinterest!
Visit our Website and Blog!
Sign up for our Newsletter so you never miss a contest or giveaway!