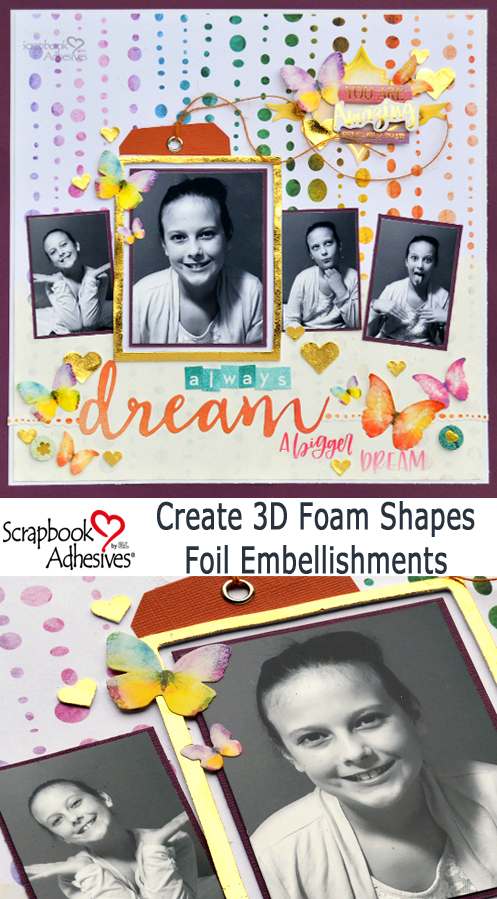
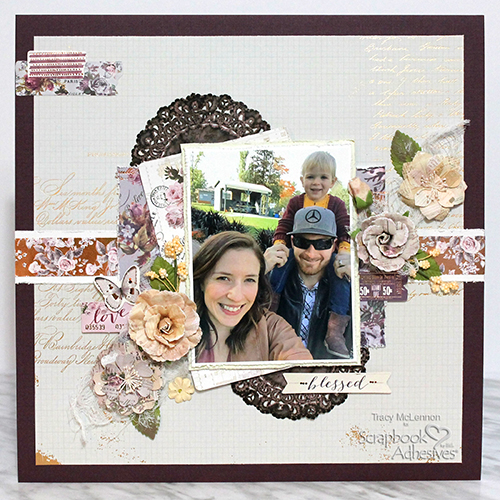
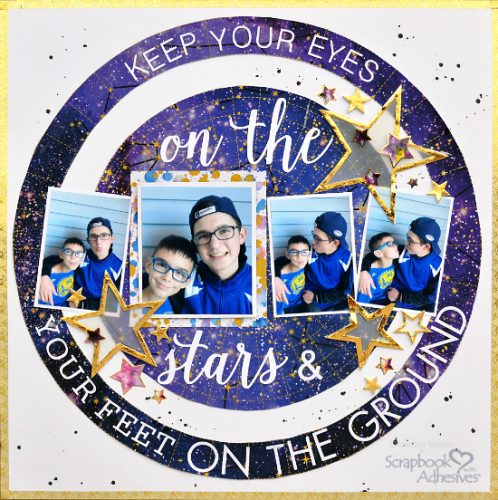
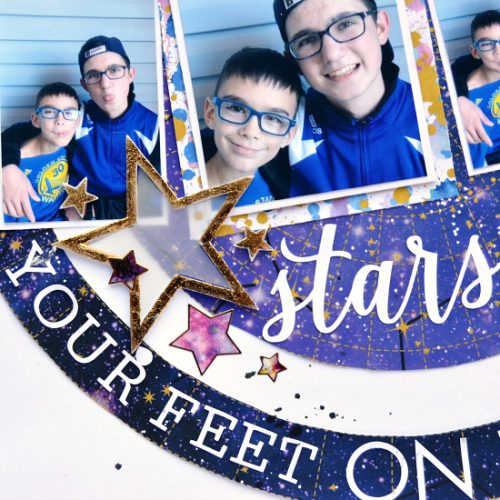
The combination of our 3D Foam products and foil are a great way to take your scrapbook layout to the next level. Not only does it allow you to play with a trendy technique but it also adds some sparkle, shine, and texture! Christine joining you today with a layout that was recently featured in Creative Scrapbooker Magazine that really showcases our 3D Foam Shapes covered in Foil.
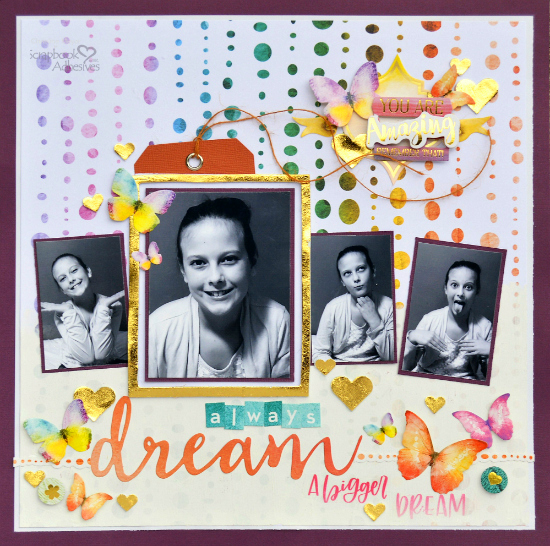
There is a ton of adhesive on this layout. The most obvious comes in the form of “Wearing Your Adhesive on the Outside” in my golden shapes. But there are also a lot of other things adhered down! Let’s take a look at a few of those first.
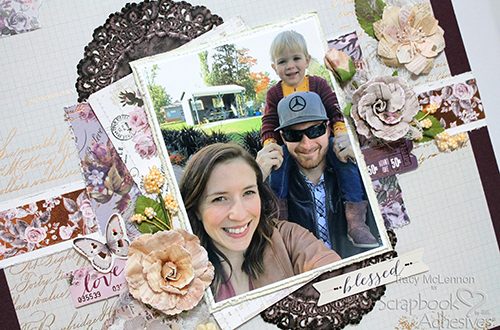
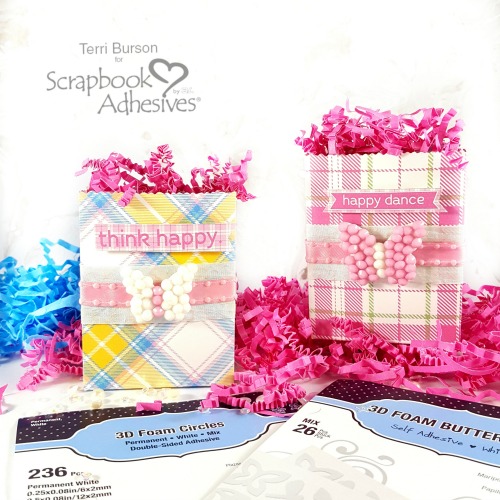
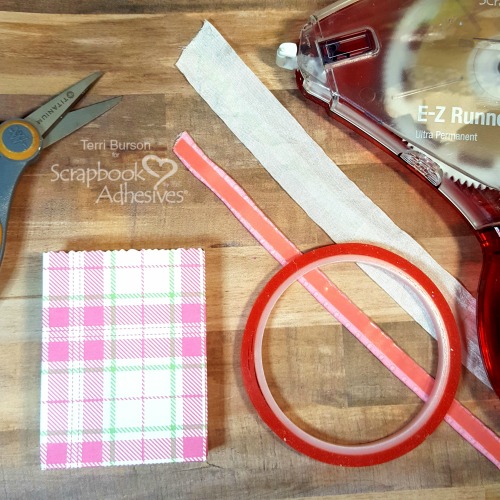
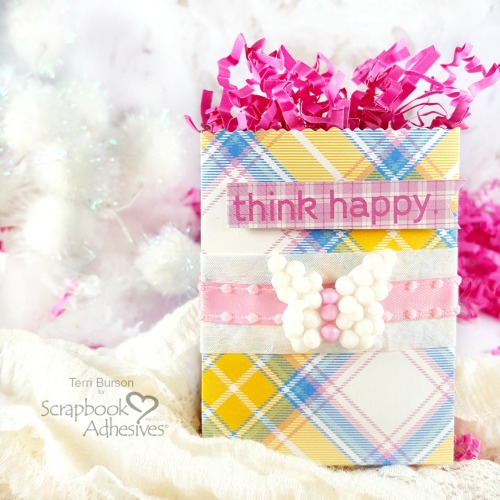
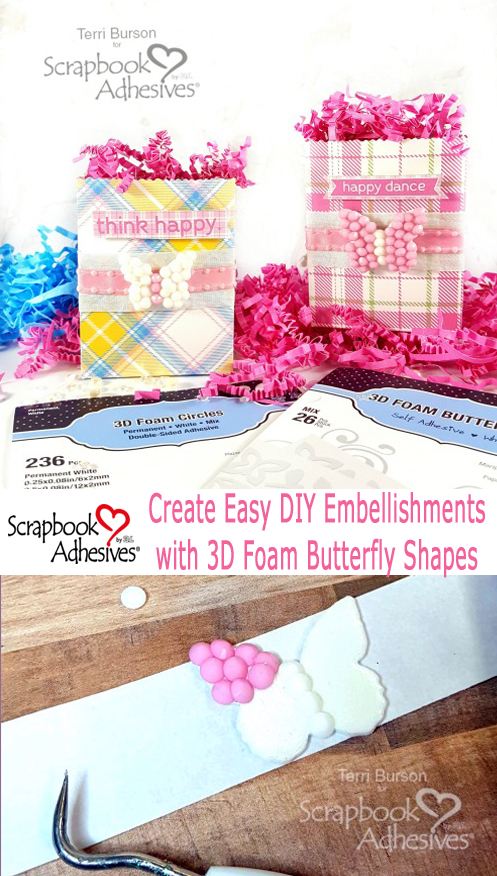
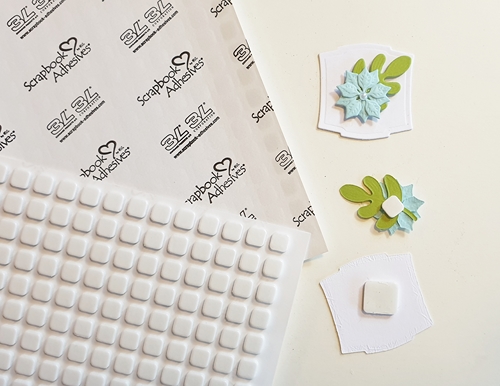
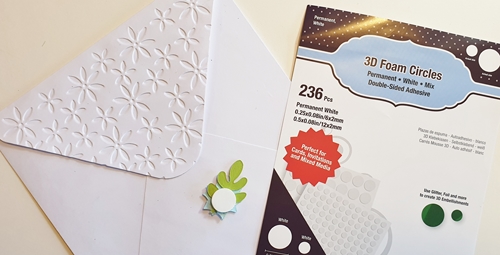
I secured my pictures to the layout using the E-Z Runner® Grand Refillable Dispenser. I also used that to secure my layout base of patterned paper to the cardstock. Additionally, I used 3D foam circles to give some dimension to my butterflies. An Adhesive Sheet 4 x 6 inch was used to easily add my “dream” title.
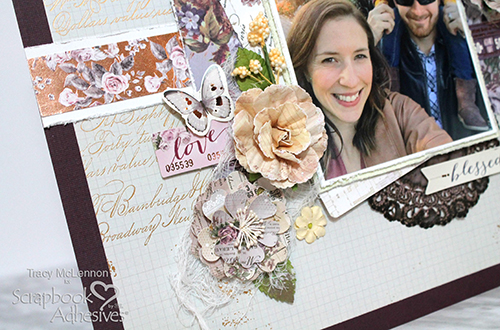
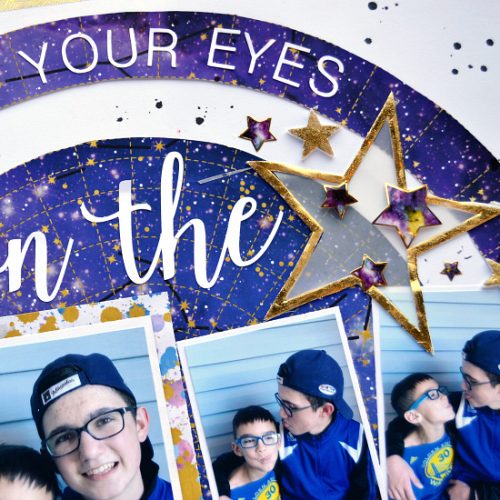
3D Foam Shapes Gold Foil Close-ups
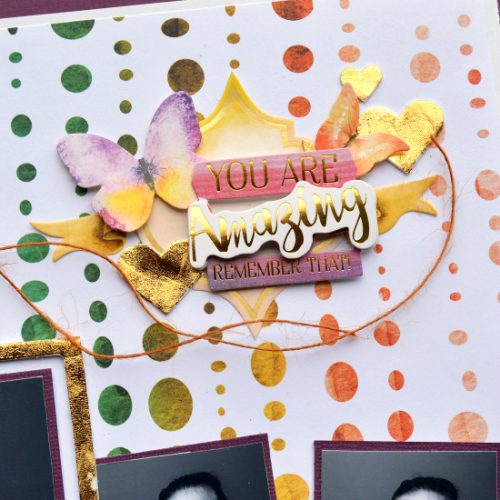
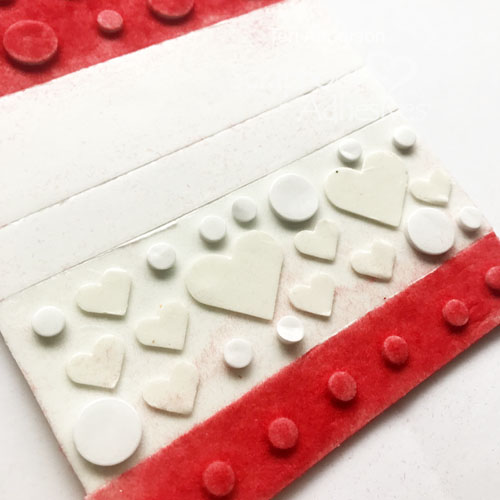
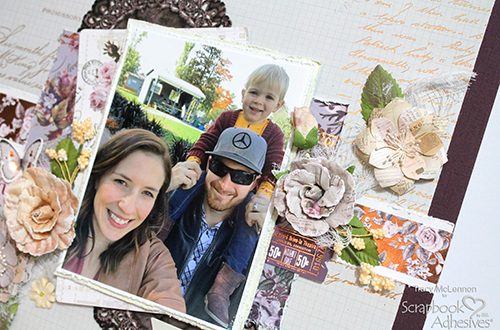
This picture shows you the beautiful 3D Foam Hearts covered with gold foil. One of the things I like about shapes is that they aren’t super thick. They are just the right thickness for adding dimension but not overwhelming everything, making them a perfect accent on a layout.
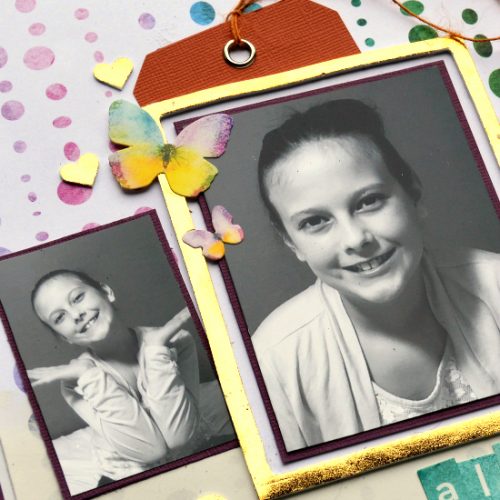
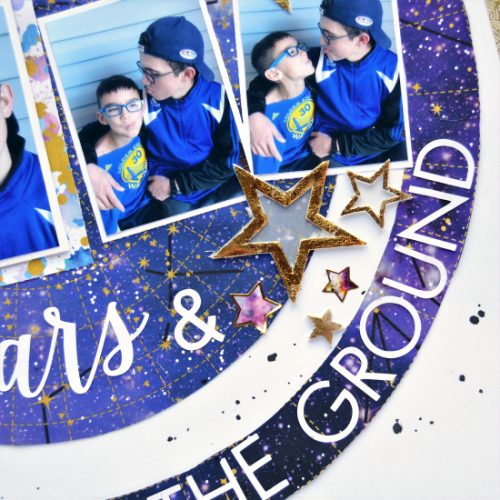
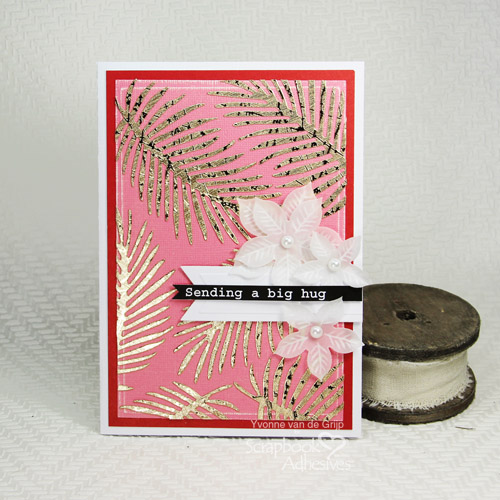
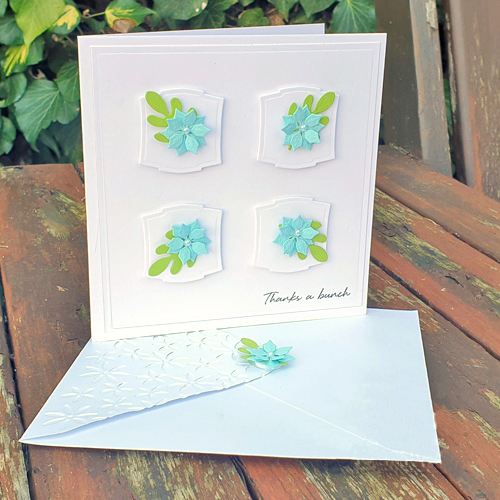
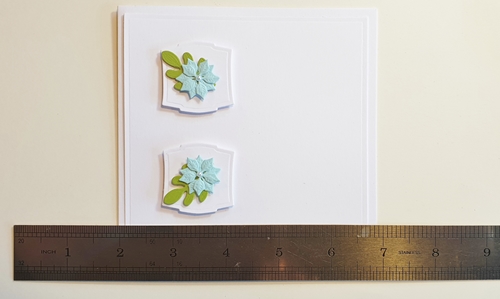
But the real show-stopper on this layout is the gold frame! In this case, the frame is the biggest one in the set of 3D Foam Frames. Before you start adhering the frames and cutting pictures, you definitely want to measure your frames and pictures. Because these are concentric frames the sizes aren’t necessarily standard. And you know the saying “Measure twice, cut once!”
Have you explored all the different 3D Foam shapes that we have available? Be sure to check them out and then pair them with some of our newest foils for a spectacular scrapbook layout!
Thanks for stopping by today!
–Christine
Creative Time: 90 Minutes
Skill Level: Intermediate
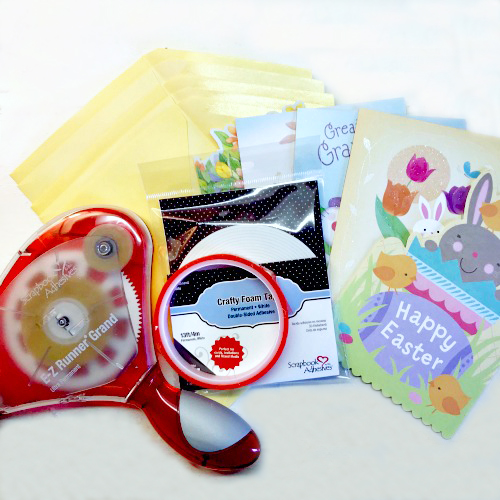
Materials Needed
Scrapbook Adhesives by 3L®
3D Foam Holiday Embellishment Kit
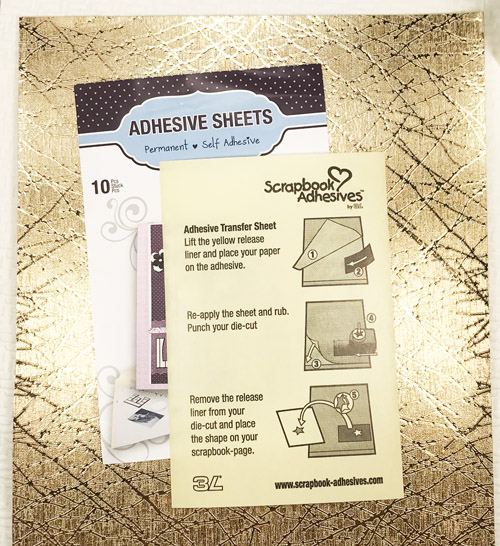
Adhesive Sheets 4×6 inch
3D Foam Circles White
E-Z Runner® Grand Refillable Dispenser
3D Foam Hearts
3D Foam Frames
Other
Patterned Paper and Stickers from Paper House Productions
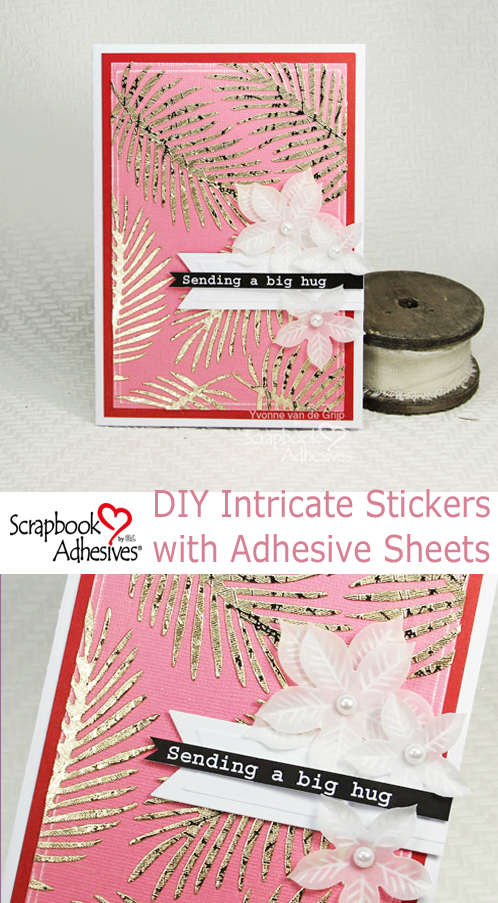
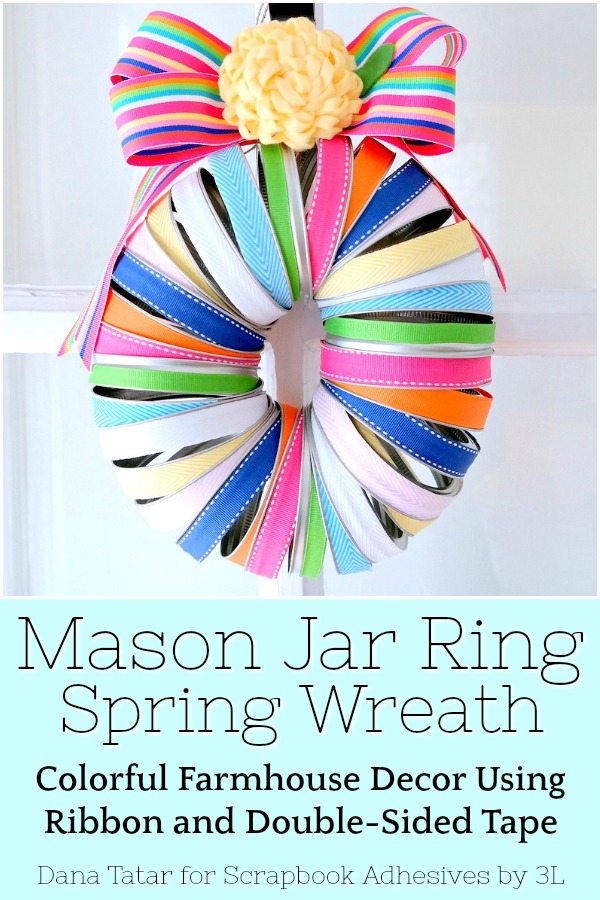
Pin It!