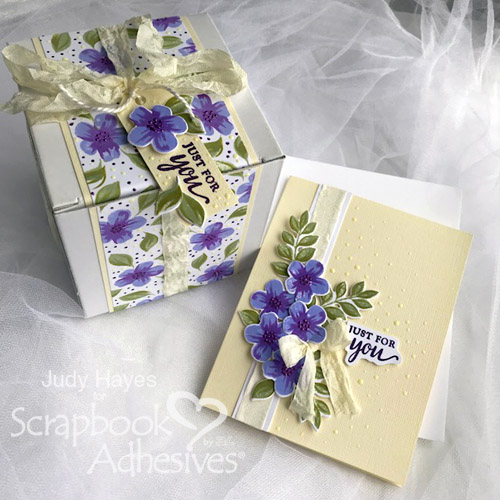
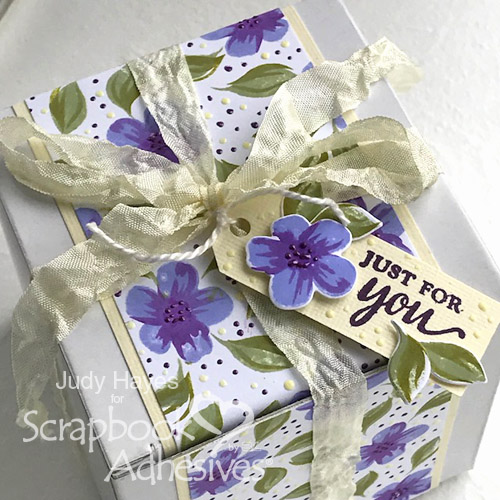
Hello friends, Judy here! Today, I’ve put together a Just for You Gift Box and Card with pretty flowers and leaves. I used 3D Foam Squares White Mix, Thin 3D Foam Squares White Mix and E-Z Runner® Ultra Refillable Dispenser to assemble both.
Gift Box Assembly
Let’s start with the box. I stamped a white band with flowers and leaves. Next, I added dimensional dots of purple and pale yellow. Once it was dry, I fastened it to a slightly wider pale yellow paper using E-Z Runner® Ultra Refillable Dispenser.
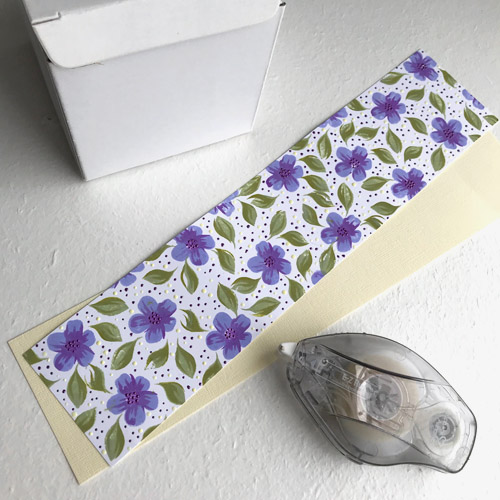
E-Z Runner® Ultra Refillable Dispenser was used to fasten the band to a plain white 4-inch box.
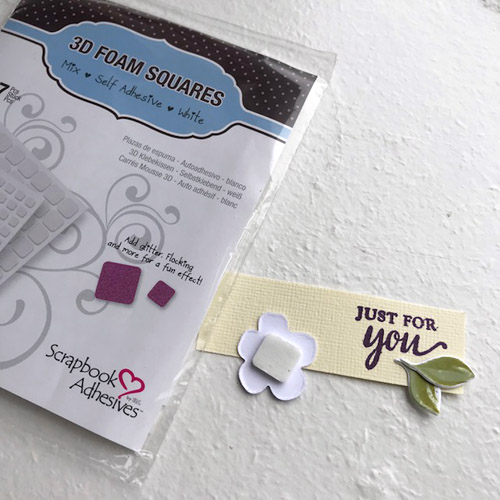
Next, I stamped flowers and leaves and die cut them. So easy to do with coordinating stamp and die set from Hero Arts!
I added a pale yellow tag stamped with a verse in dark purple ink. Leaves are fastened with Thin 3D Foam Squares and E-Z Runner® Ultra Refillable Dispenser.
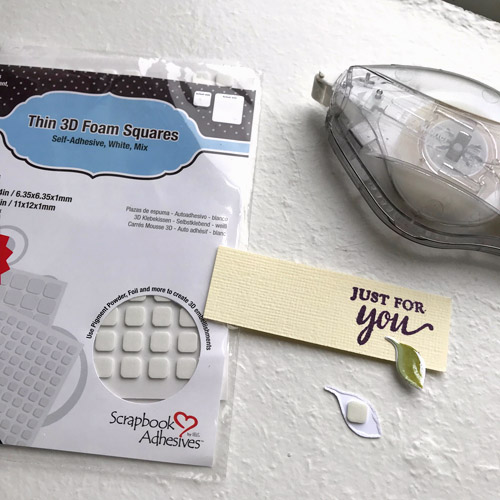
The flower is popped up with 3D Foam Squares.
Trim the tag to the desired length and punched a hole at the end. Thread the ribbon and attach to the box. Lastly, I added purple dots to the flower centers and yellow dots on the tag.
Coordinating Card Making
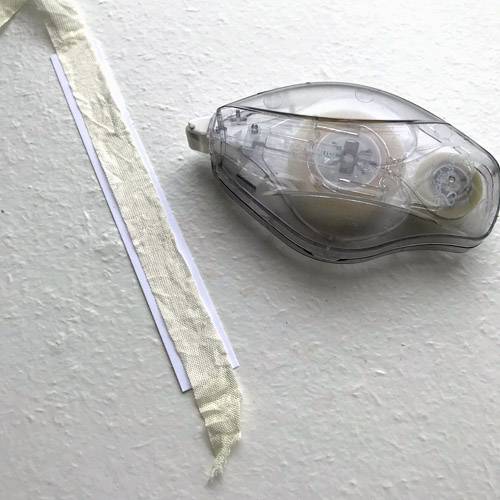
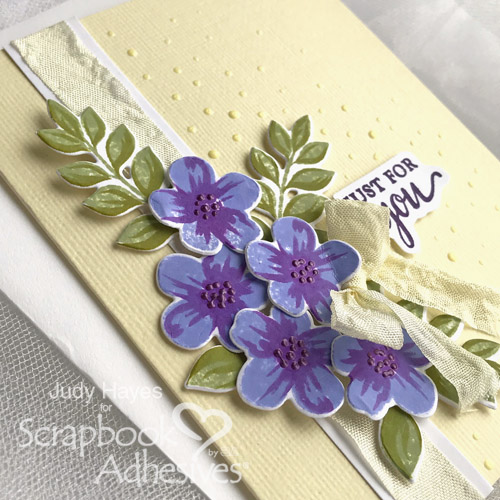
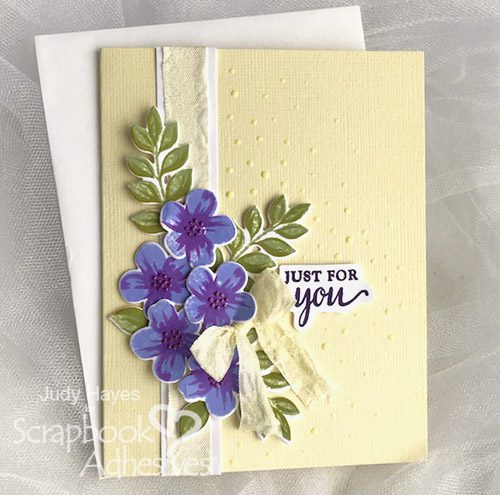
The card base is pale yellow with a band of white cardstock with seam binding fastened with E-Z Runner® Ultra Refillable Dispenser.
The band is fastened to the card with Ultra Adhesive as well.
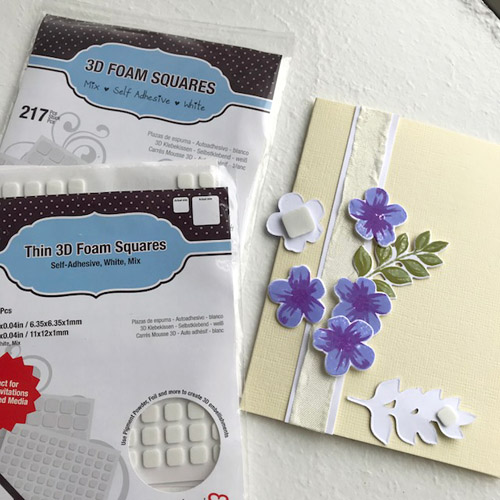
Some flowers are popped up with 3D Foam Squares and others are fastened with Thin 3D Foam Squares. Leaves are fastened with Ultra Adhesive at the stem end and Thin 3D Foam Squares at leaf end.
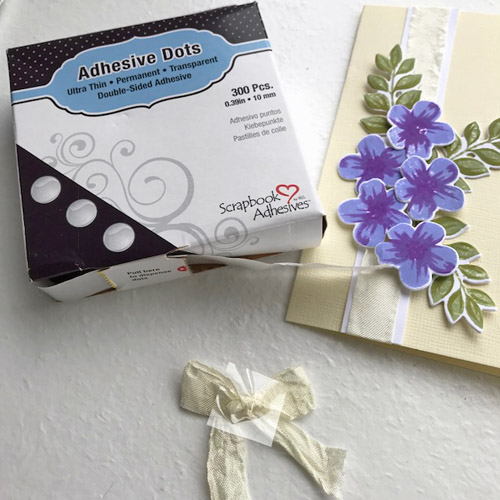
I added a bow of seam binding that’s held in place with Adhesive Dots Ultra Thin because it perfectly fits under my flowers. Verse piece is fastened with Thin 3D Foam Squares.
The last step was to add dimensional purple dots to flower centers. I also added pale yellow dots across the card front spraying out from flowers.
Just add to the box and done!
Thank you for visiting!
Judy Hayes
- Creative Time: 60 minutes
- Skill Level: Beginner
Materials Needed:
Scrapbook Adhesives by 3L®:
3D Foam Squares White Mix
Thin 3D Foam Squares White Mix
Adhesive Dots Ultra Thin
E-Z Runner® Ultra Refillable Dispenser
Other Supplies: Hero Arts: Layering For You Flowers (stamp set), Layering for You Frame Cuts; Imagine Crafts/Tsukineko Versafine Clair Monarch ink; Ranger Distress Oxide Inks: Shaded Lilac, Wilted Violet, Bundled Sage, Peeled Paint; Nuvo Crystal Drops: Violet Galaxy, Buttermilk; Worldwin Ivory cardstock; Seam Binding; White Cardstock; 4-inch White Box
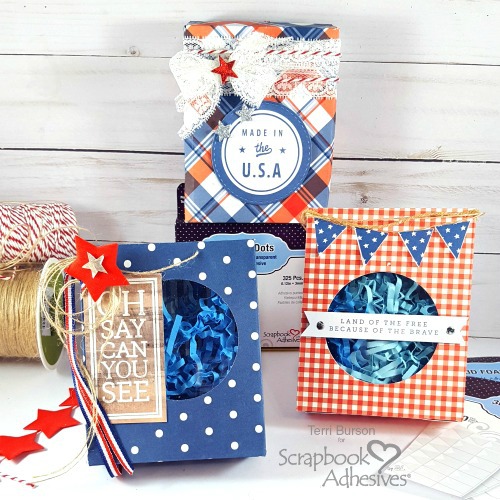
Check out these Gift Box ideas:

 s
s