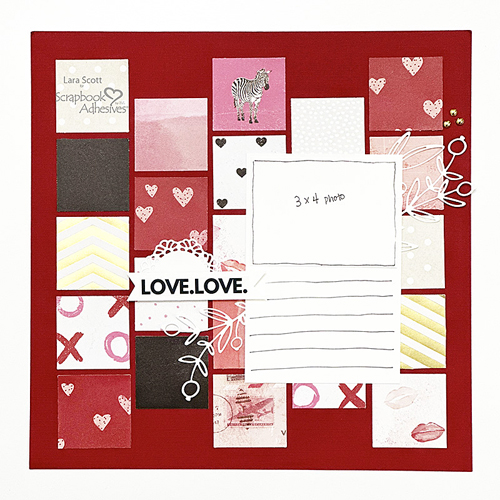
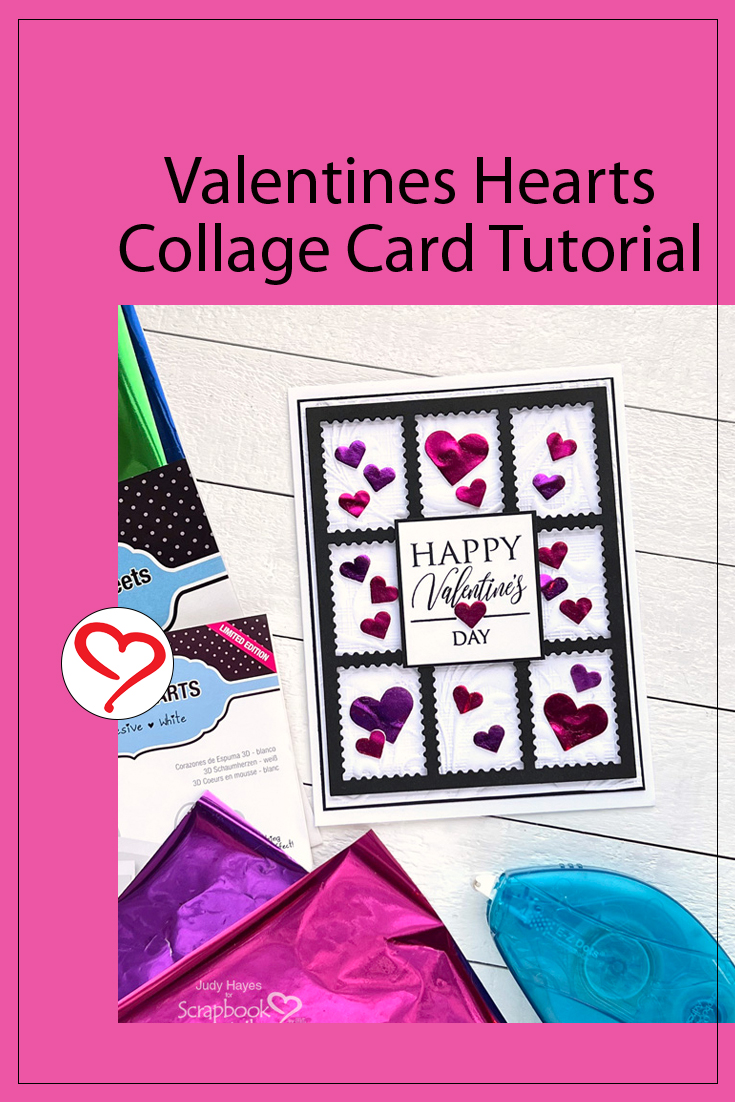
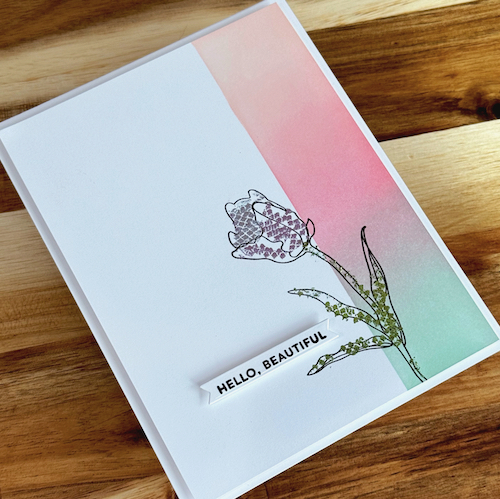
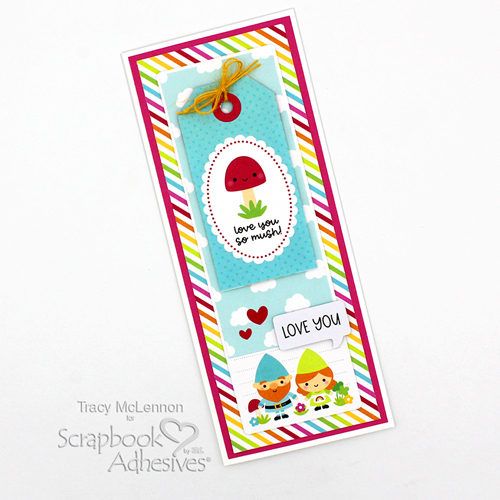
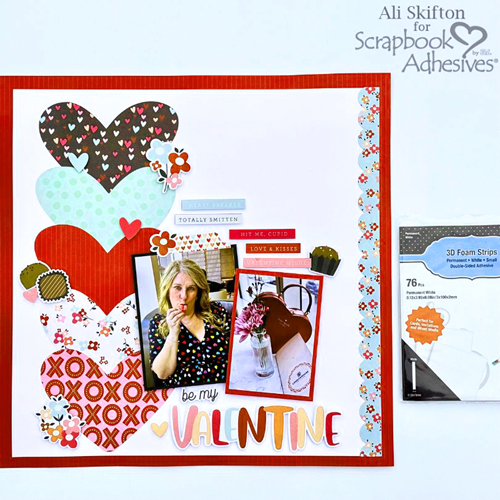
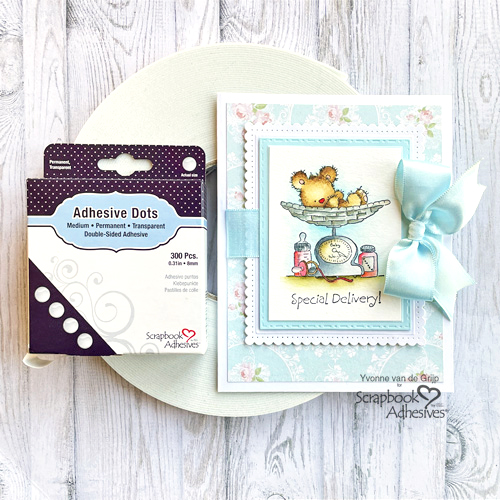
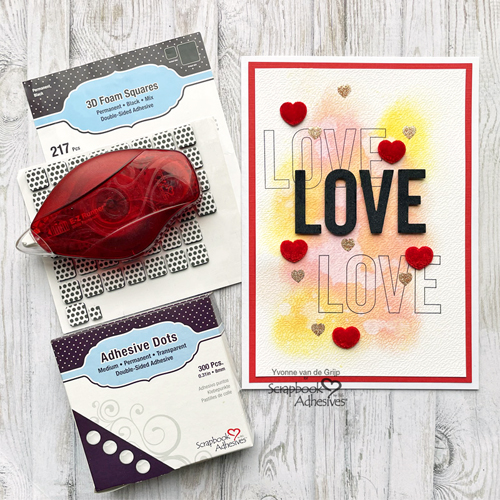
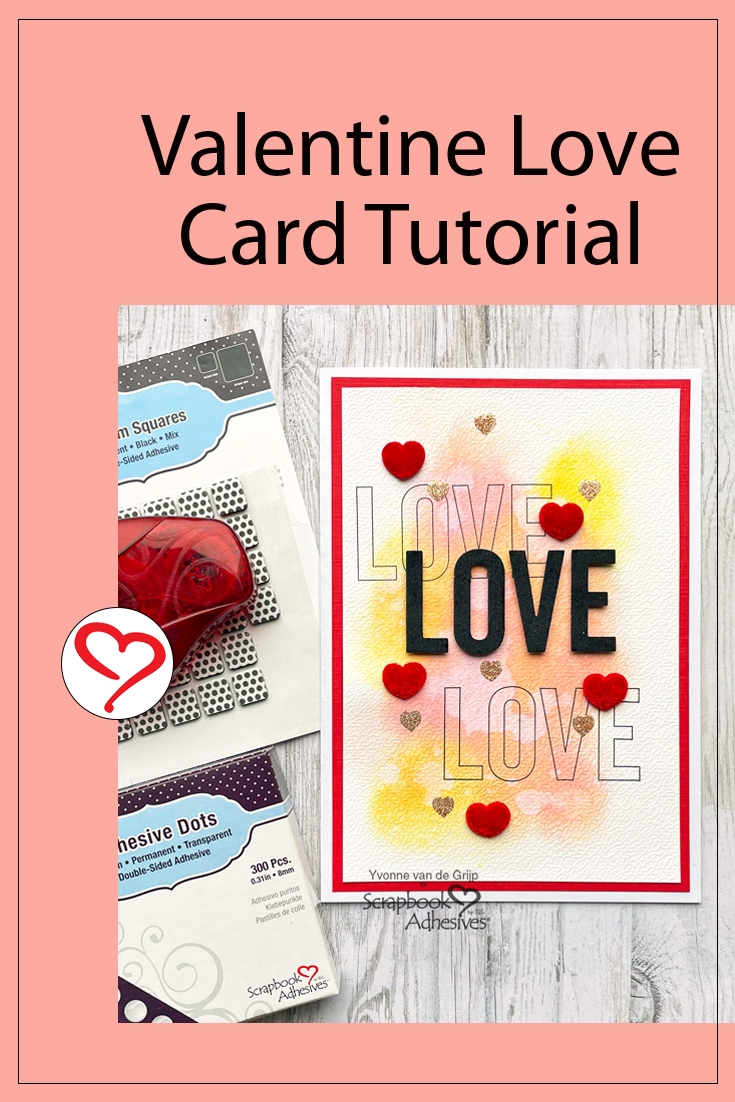
Hi everyone, Yvonne here. I made this Valentine Love Card with the ultimate romance day on February 14th. It’s a modern Clean and Simple (CAS) style card that is fairly easy to create. I used the Wear Your Adhesive on the Outside Technique to add an extra fun element. Join me!
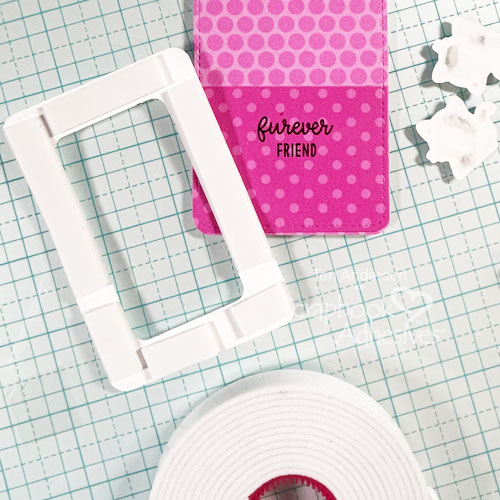
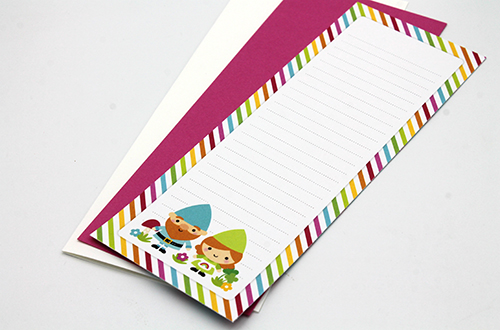
Valentine Love Card Panel Background
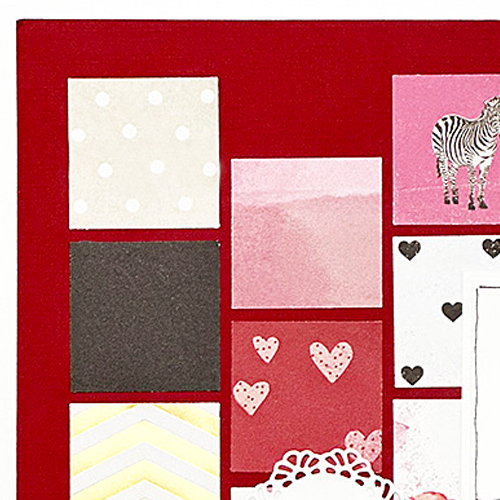
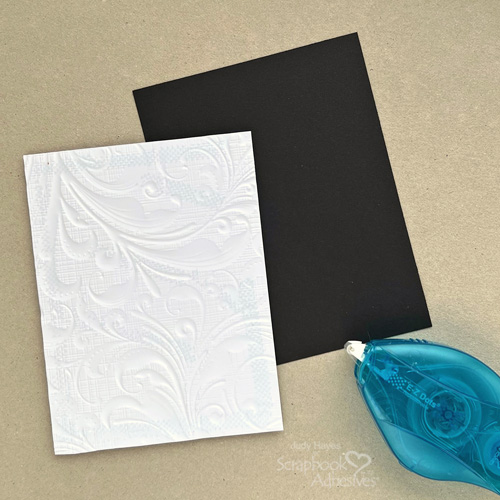
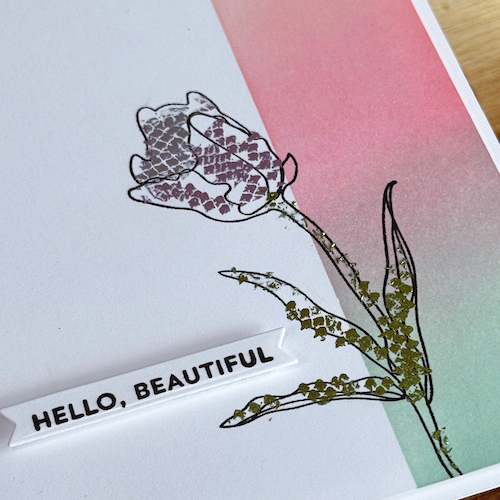
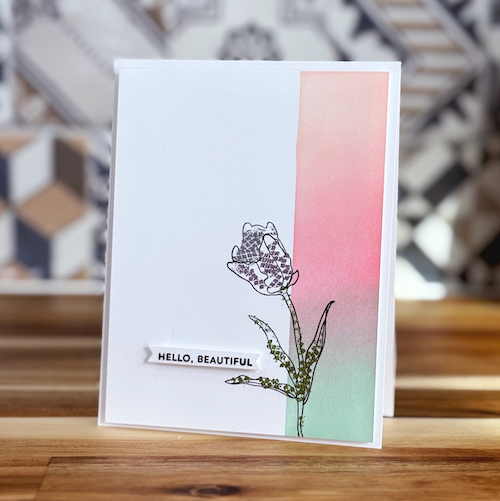
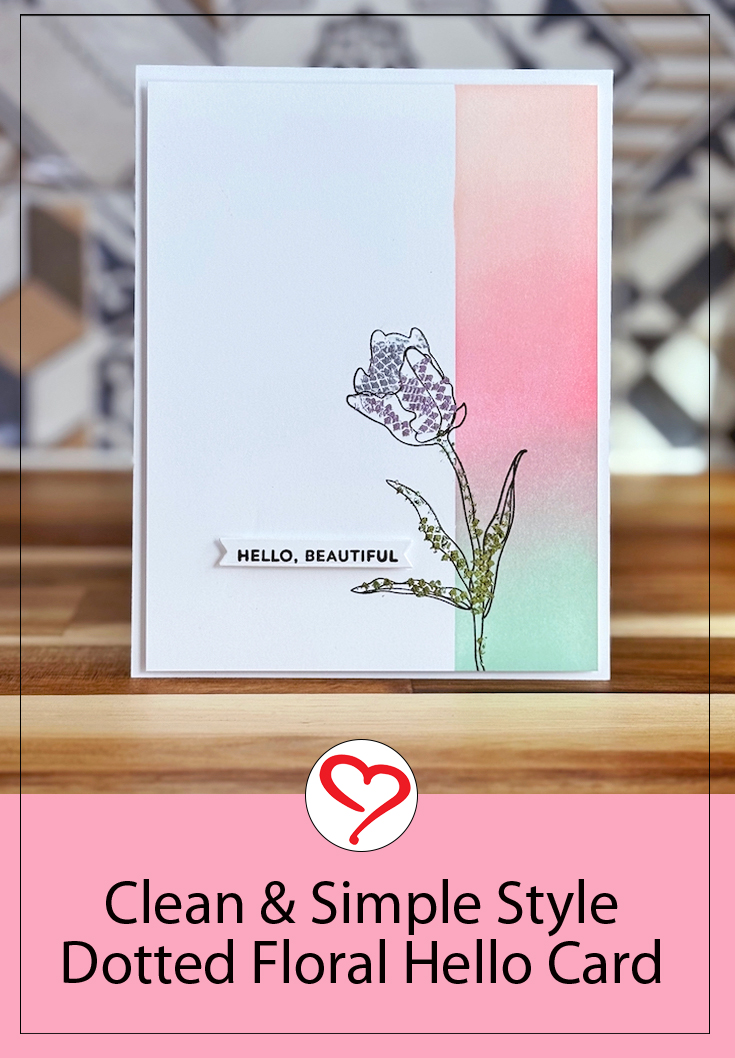
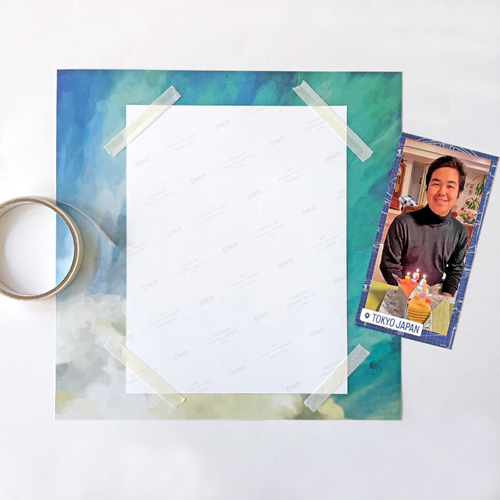
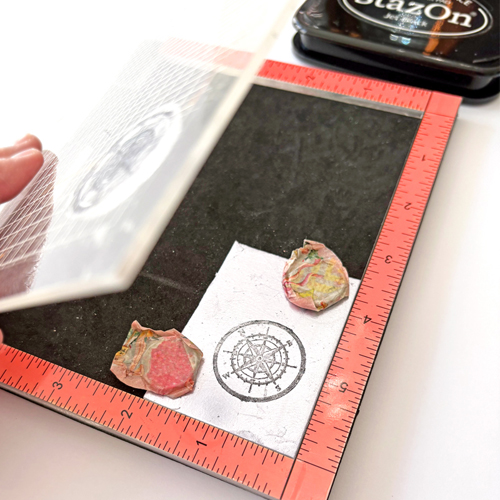
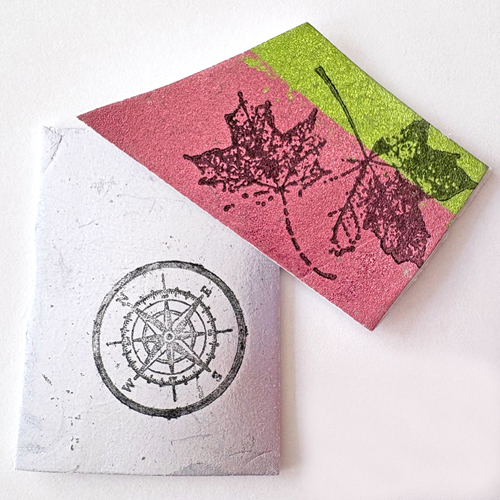
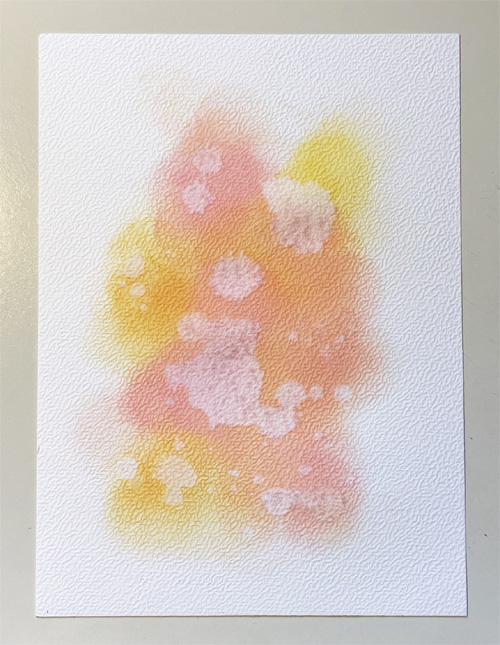
To make the card panel, I inked a piece of white watercolor paper with a combination of pink, yellow, and orange ink. Next, sprinkle water and dab off with a cloth or kitchen towel. This will lift the ink to give a distressed look. Let it dry thoroughly or use a heat gun to speed up the drying process.
Add the Sentiment Design
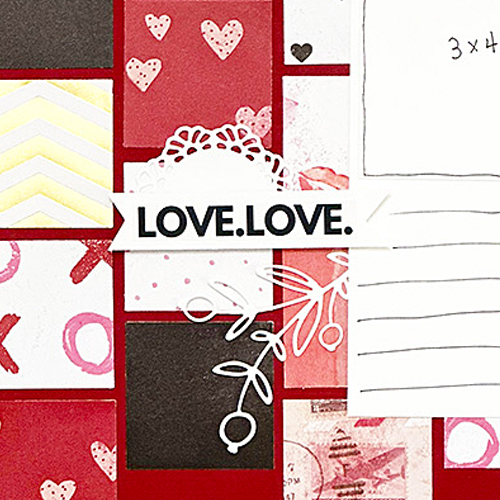
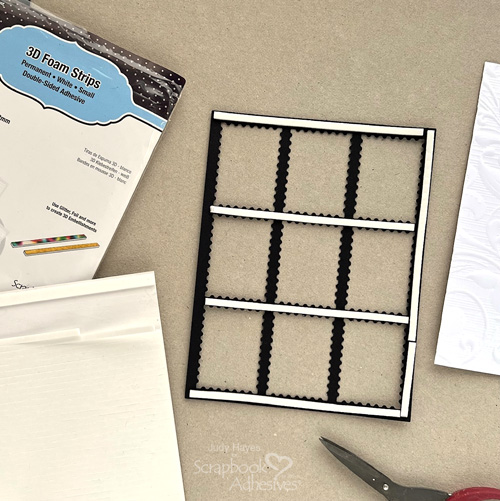
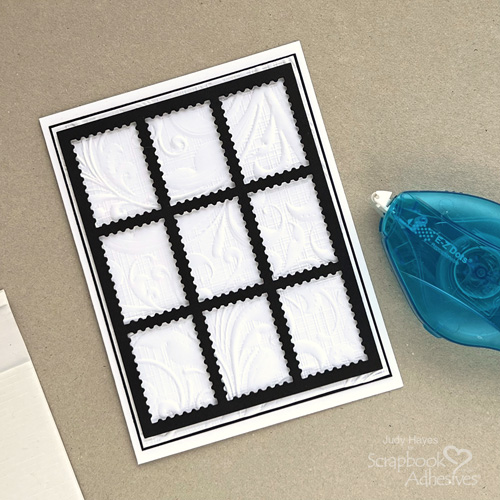
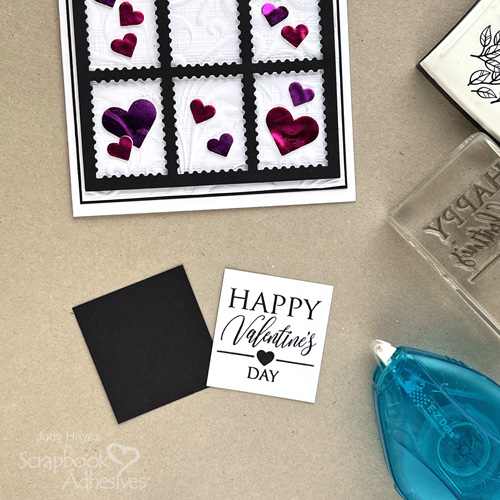
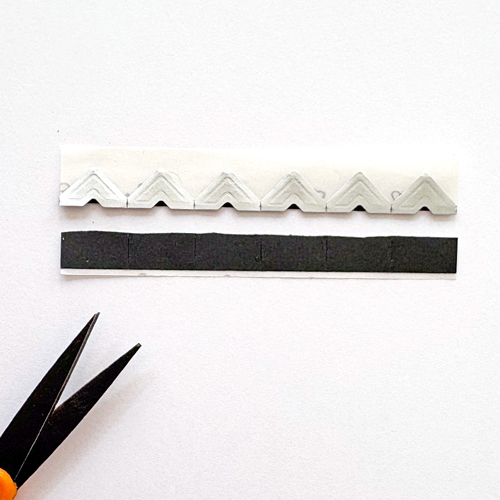
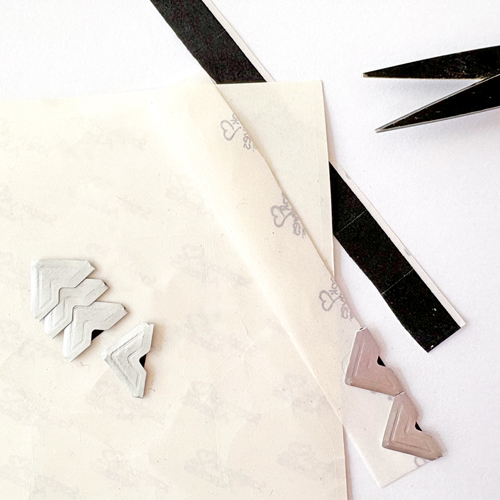
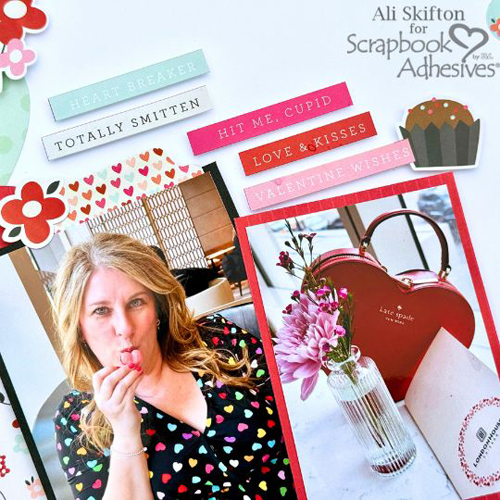
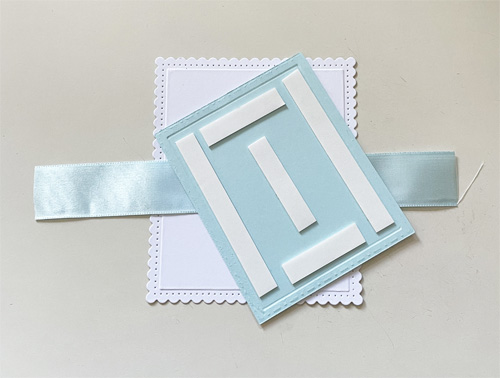
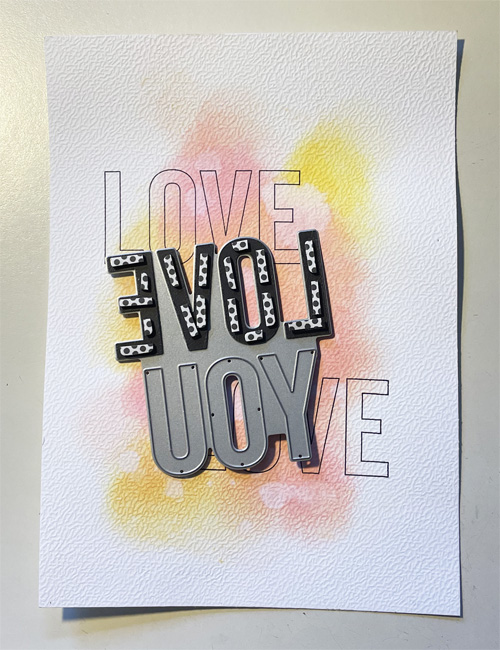
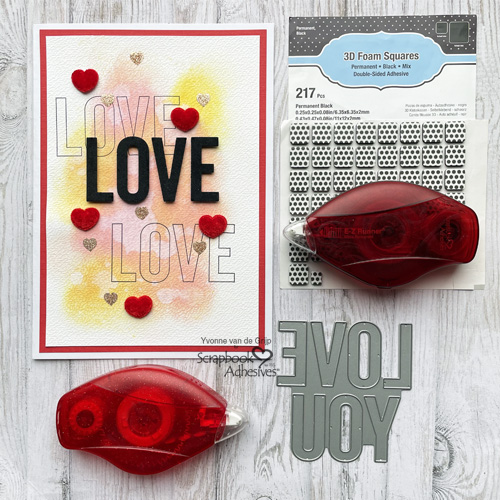
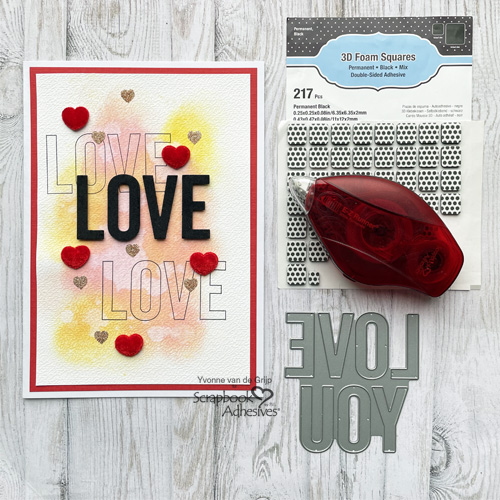
After the watercolor background dried, stamp the word “LOVE” twice on the panel with black ink. Make sure to leave room in the middle to add more designs. Next, die-cut the word “LOVE” from black velvet cardstock. Secure the letters to the card panel with 3D Foam Squares Black Mix to pop up and give interest to the Valentine Love Card. You can use 3D Foam Strips (a width of 1/8 inch) but I had the 3D Foam Squares Black Mix in my stash so I used it. First, I cut into small stripes with a craft knife before adding them behind the die-cut letters.
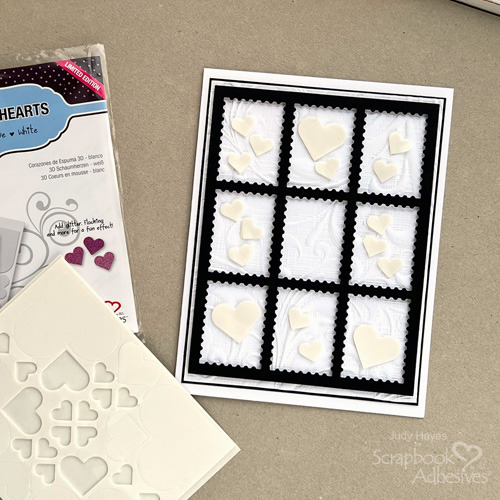
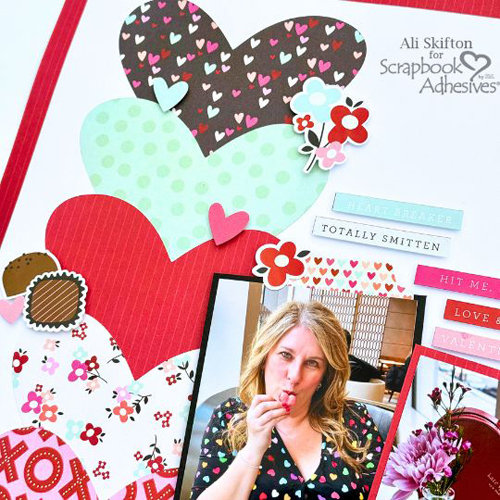
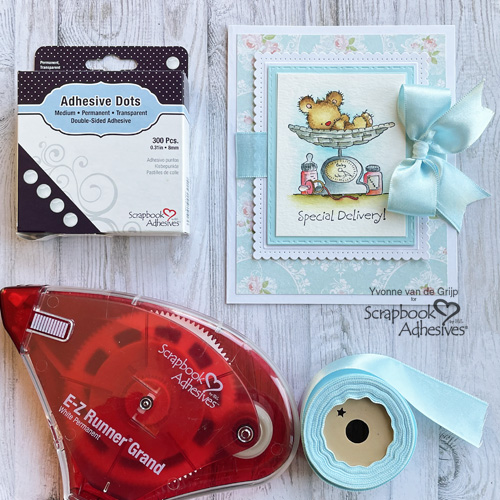
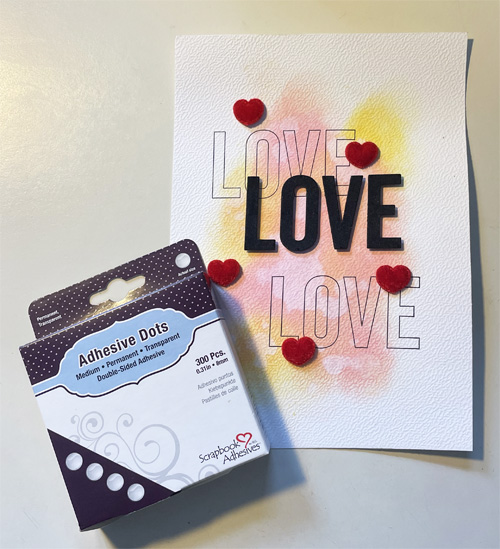
For a pop of bold color, I wanted to add the red velvet hearts. So I secured them with Adhesive Dots Medium to the card panel.
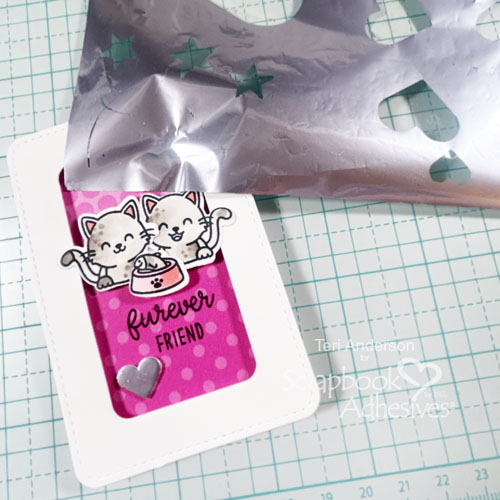
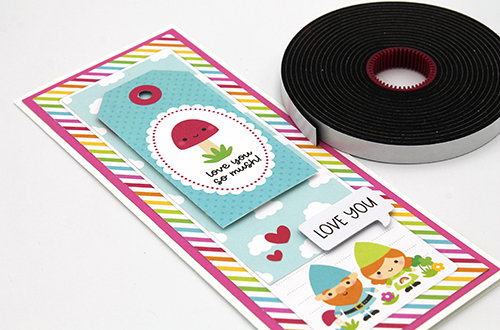
Wear Your Adhesive on the Outside with the E-Z Runner Hearts and Foil
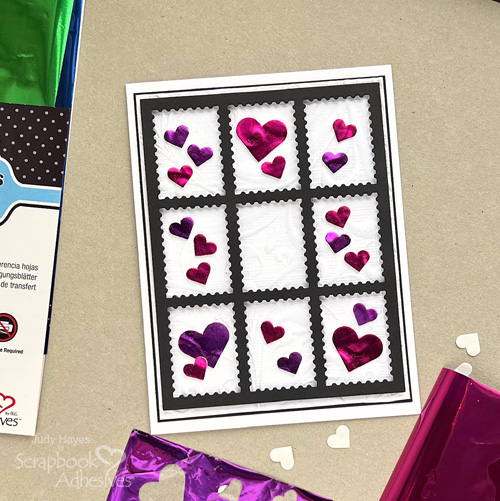
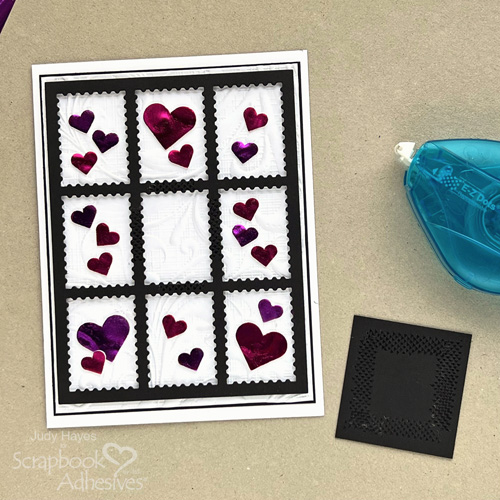
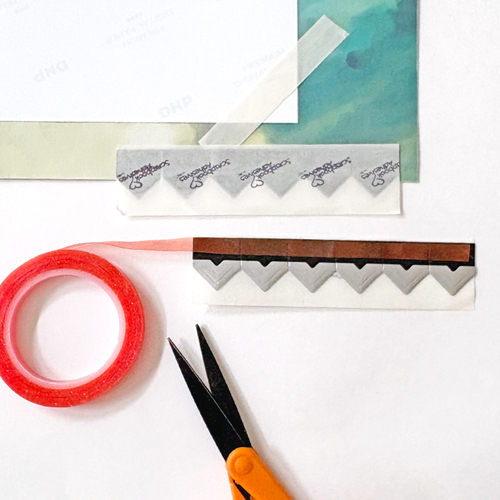
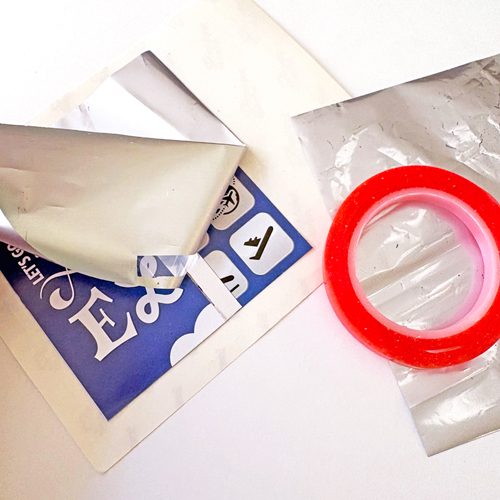
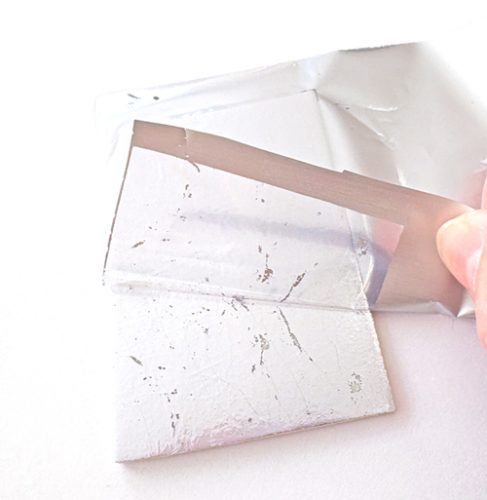
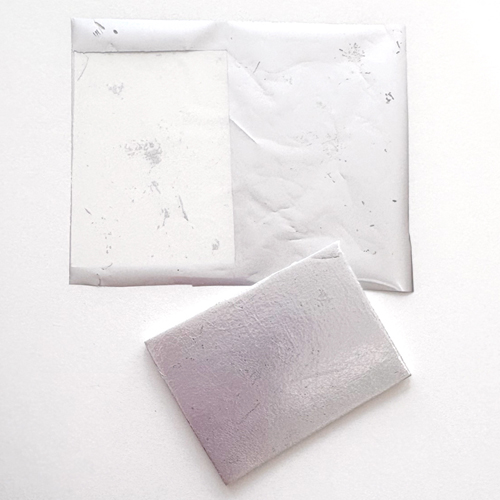
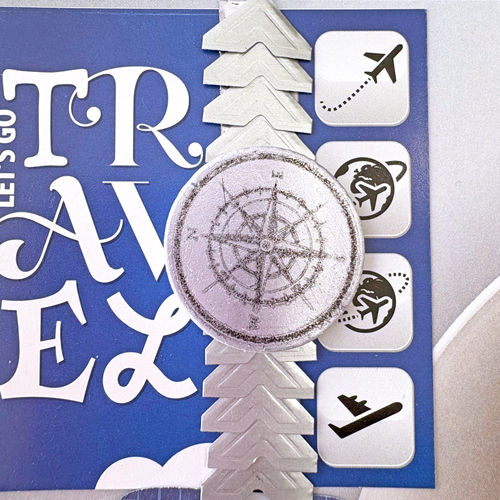
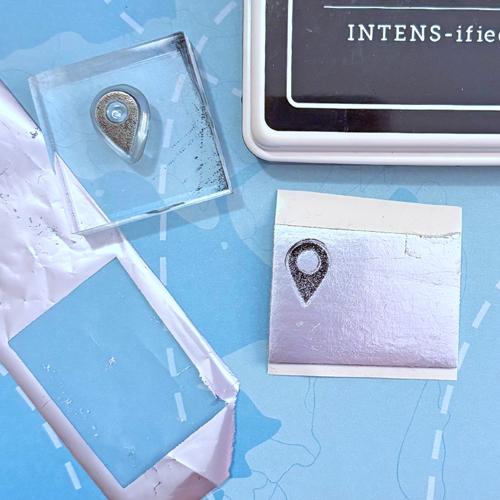
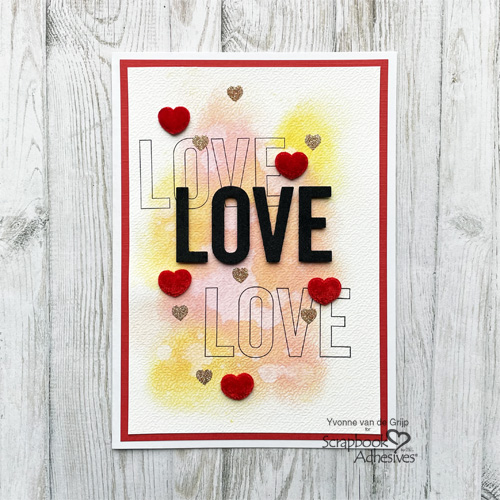
For a fun finishing touch on my Valentine Love Card, I used the Wear Your Adhesive on the Outside technique. Randomly roll some E-Z Runner® Hearts Refillable Dispenser onto the card panel. Designer’s Tip: Use a needle or tweezers to pick up and precisely place the hearts. Once you have your desired design, cover the copper glitter on top of the heart, and rub it into the heart to secure. Tap off the excess.
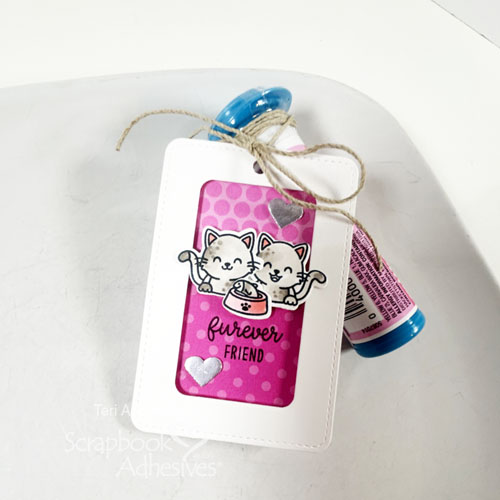
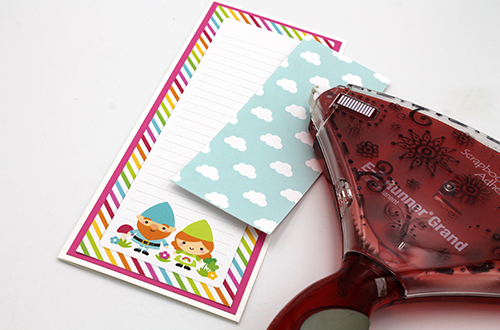
Assemble to the Card Base
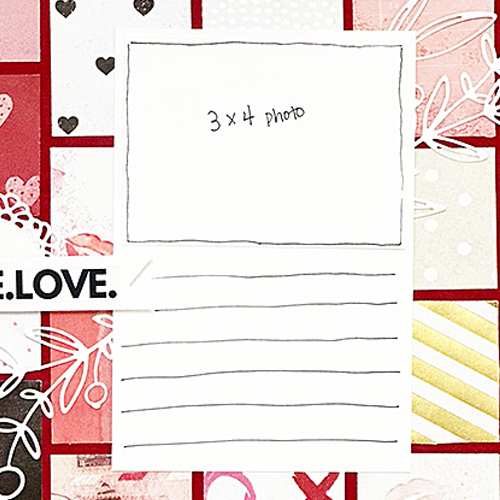
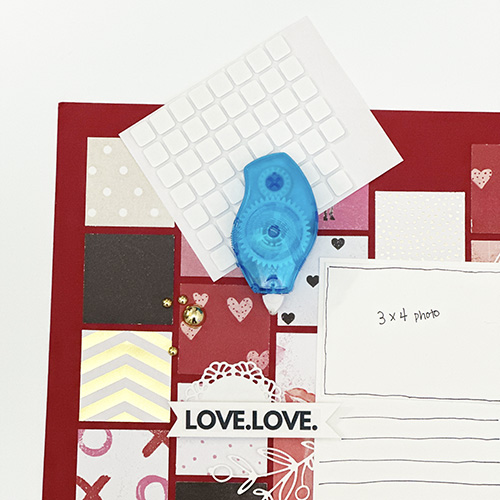
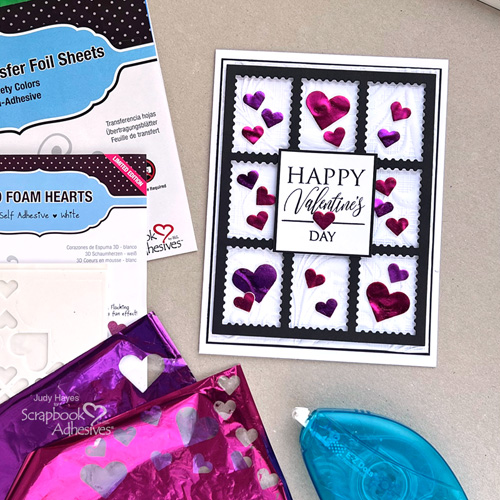
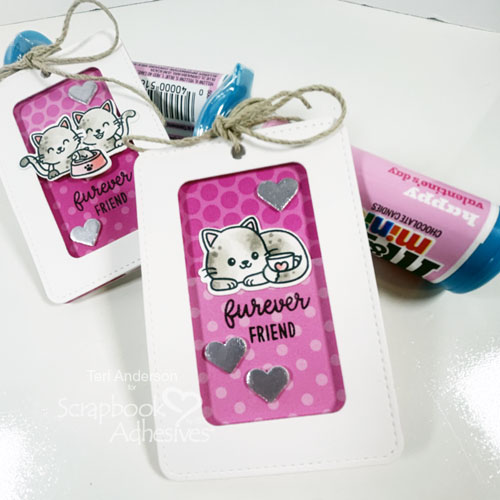
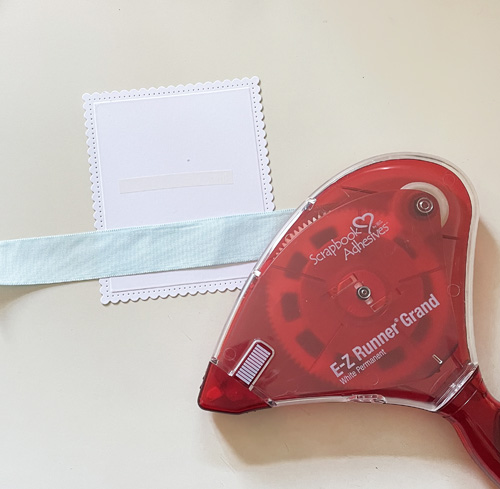
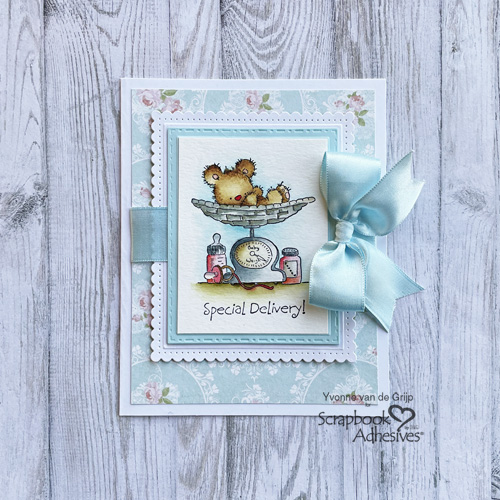
Trim the top card panel to the desired size and mat on a piece of red cardstock. Then adhere to a white cardbase using the E-Z Runner® Permanent Strips Refillable Dispenser. And Voilá, Your Valentine Love Card is ready!
I hope you enjoyed this tutorial and wish you a Lovely Valentine’s Day crafting
Creative Time: 45 minutes
Skill Level: Intermediate
Materials needed:
Scrapbook Adhesives by 3L®:
E-Z Runner® Permanent Strips Refillable Dispenser
E-Z Runner® Hearts Refillable Dispenser
Other: Stamps and Craft Dies: My Favorite Things (Love You Big Time Stamp Set and Love You Die-namics Die); Ink: Ranger Ink (Archival Ink in Jet Black and Distress Oxide in Kitsch Falmingo, Spiced Marmalade, and Mustard Seed); White, Red, and Black Velvet Cardstock; Watercolor Paper; Ink Blending Tool; Coper Glitter; Red Velvet Hearts; Heat Tool; Paper Trimmer; Scissors; Craft Knife
Save to Pinterest!
Visit our Website and Blog!
Sign up for our Newsletter so you never miss a contest or giveaway!