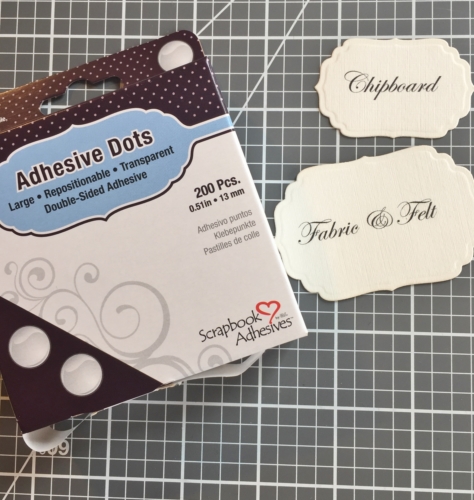
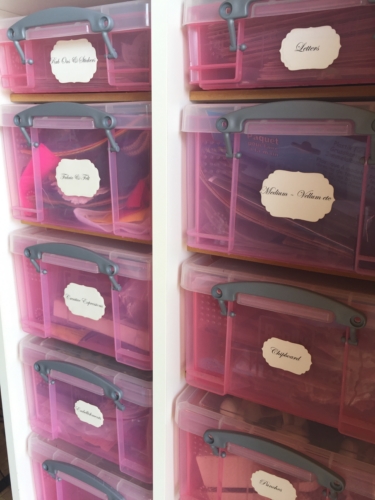
Today I’m sharing an altered back-to-school themed chest of drawers using Premium Double-Sided Tape 1/2″ with E-Z Runner® Ultra Refillable Dispenser and Adhesive Dots Small.
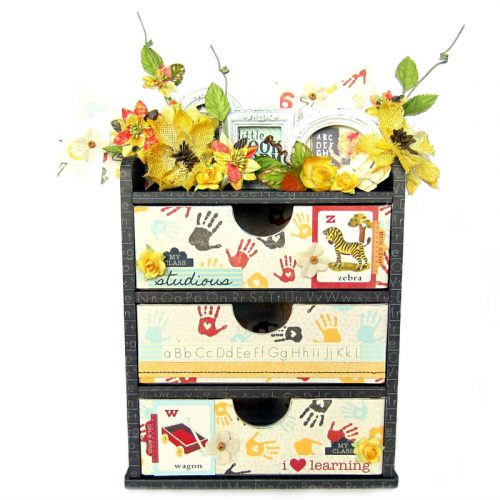
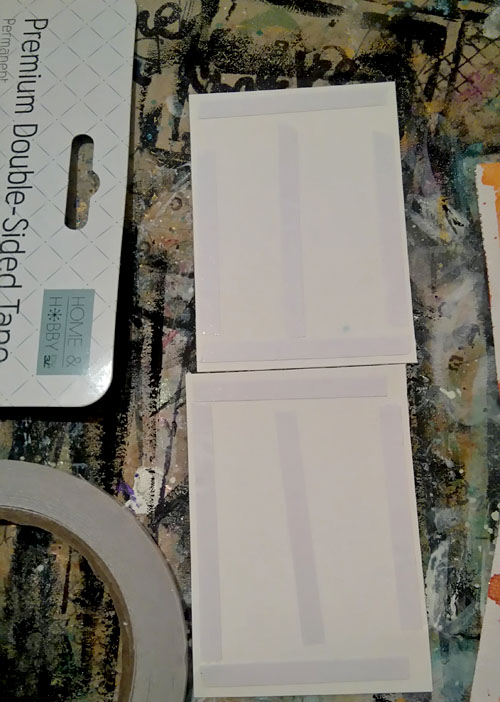
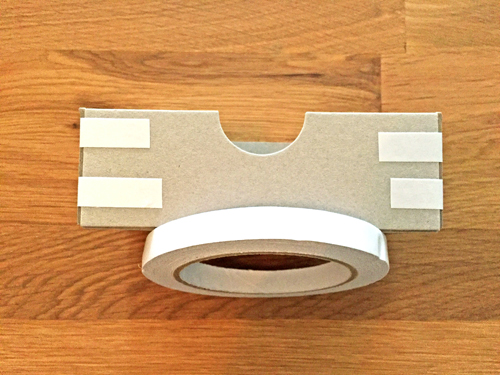
I first started by forming the drawers. These were chipboard pieces that had to be folded and adhered into place. I used the Premium Double-Sided Tape 1/2″ to attached each side together.
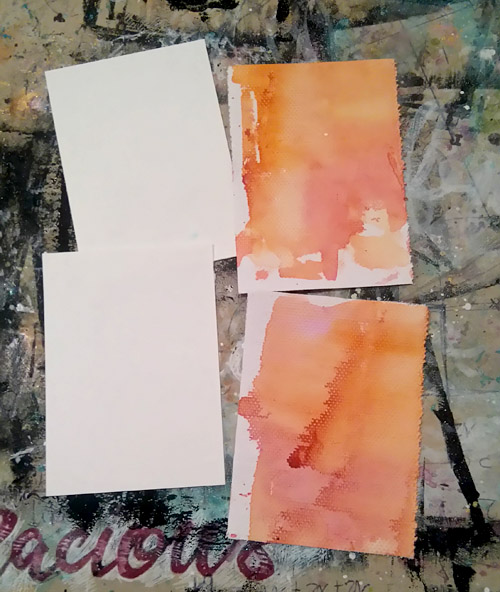
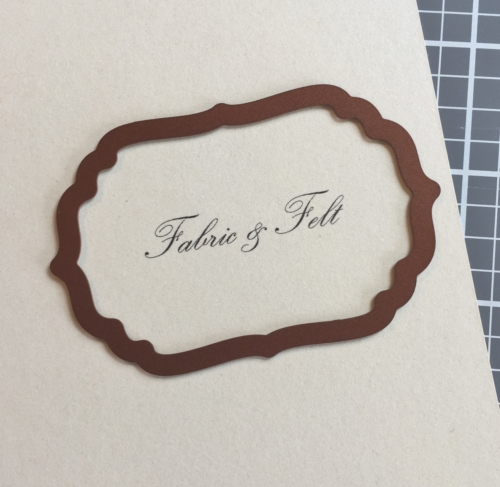
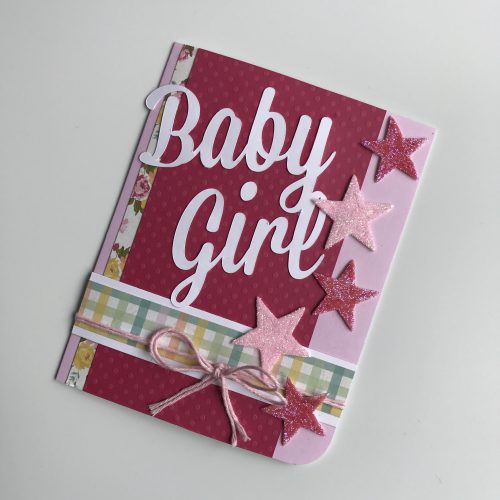
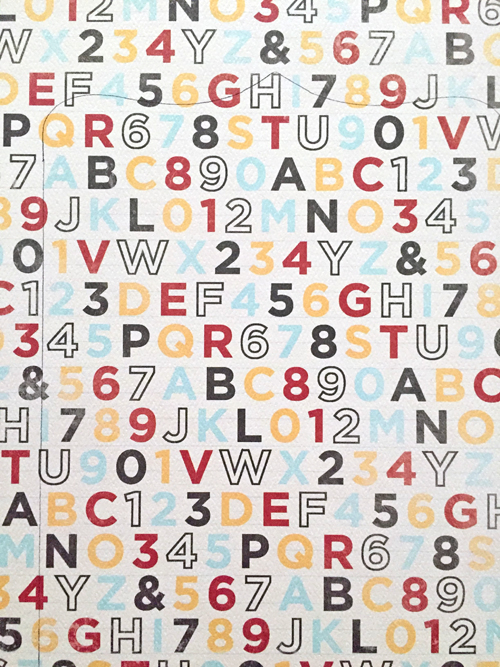
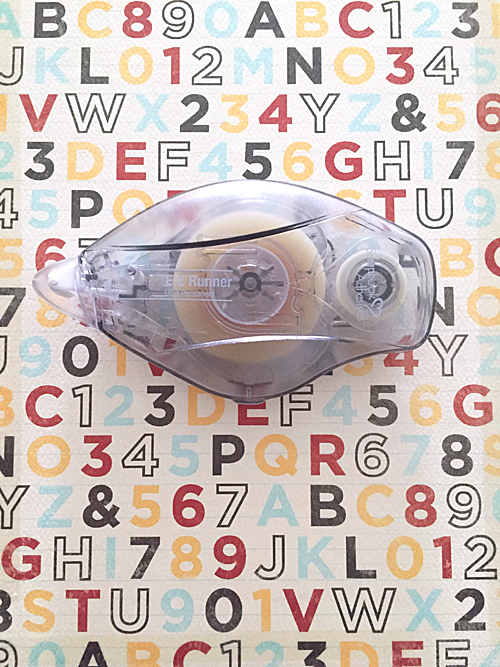
Next, I traced, cut out, and adhered pattern paper to the front and back of the chest of drawers using the E-Z Runner® Ultra Refillable Dispenser.
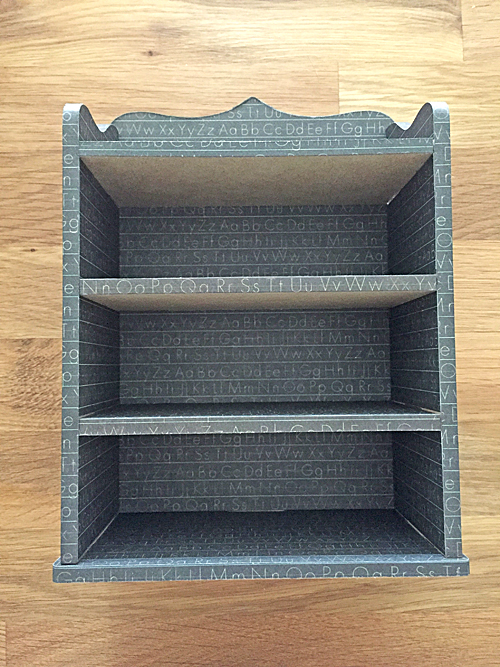
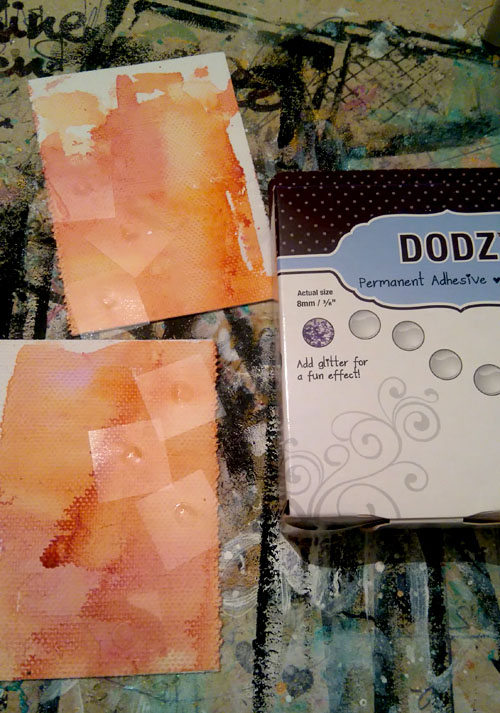
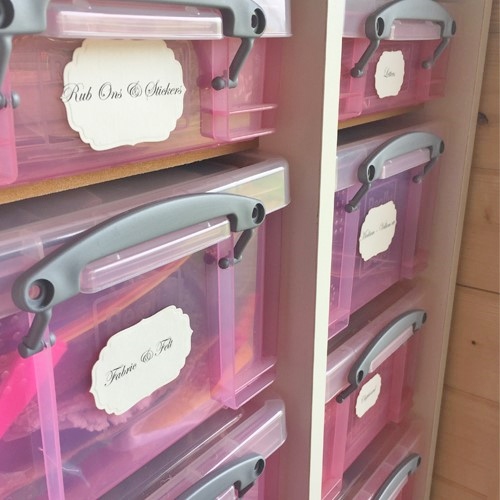
Finally, I covered the front, back and inside of each drawer with pattern paper using the Premium Double-Sided Tape 1/2″. This durable double-sided tape ensures my pattern paper remains intact, even after a little wear and tear as the drawers are pulled out and pushed in.

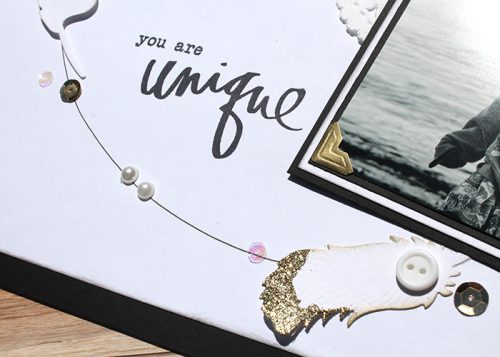
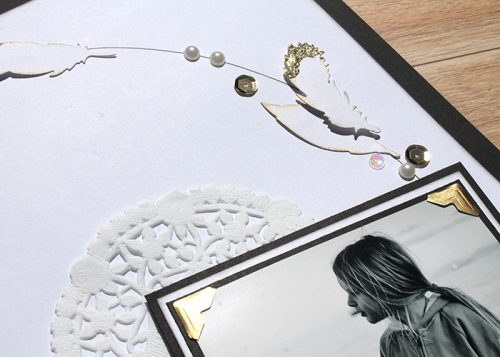
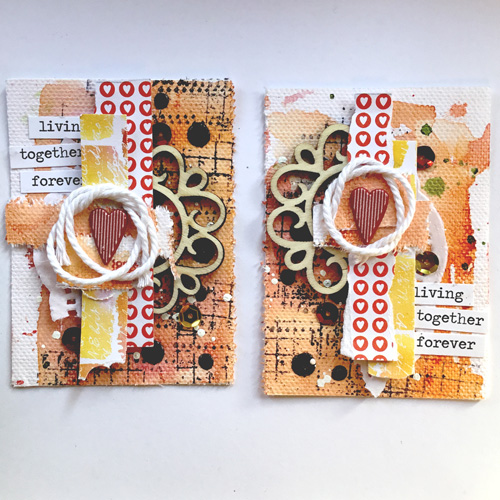
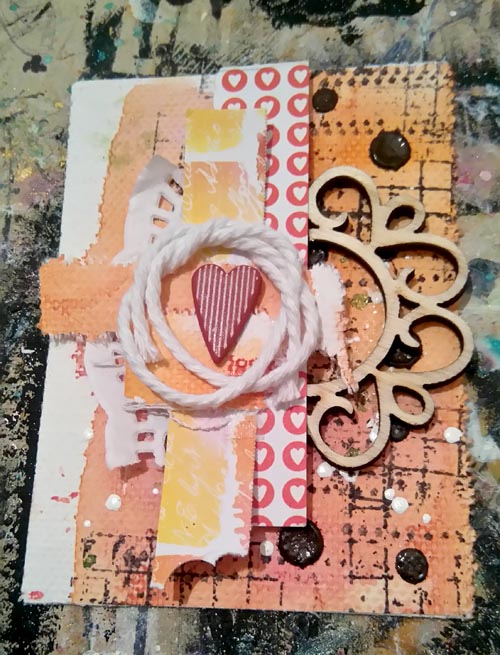
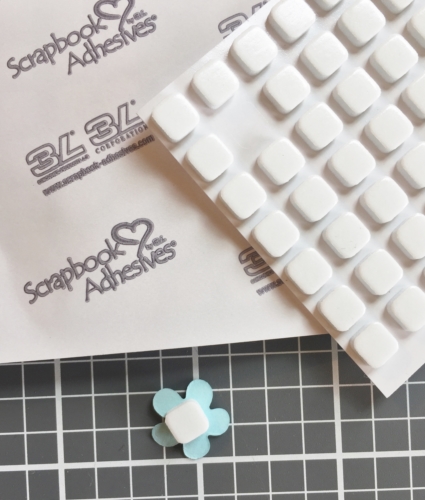
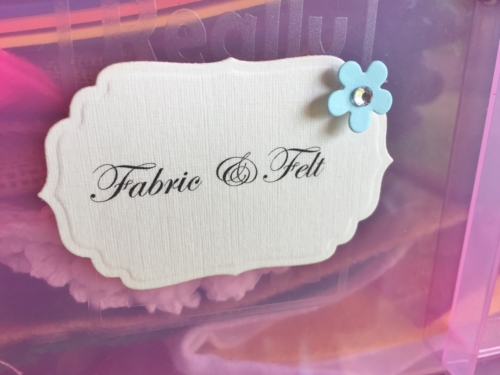
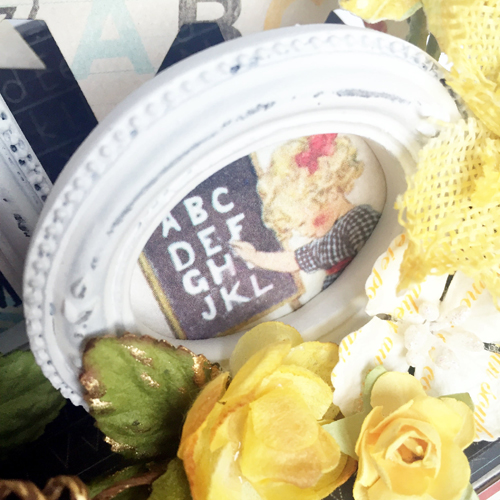
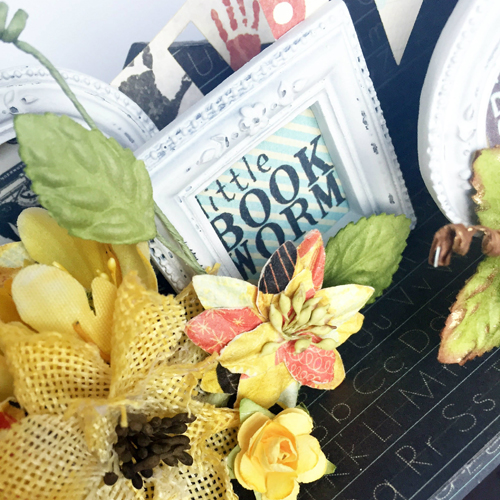
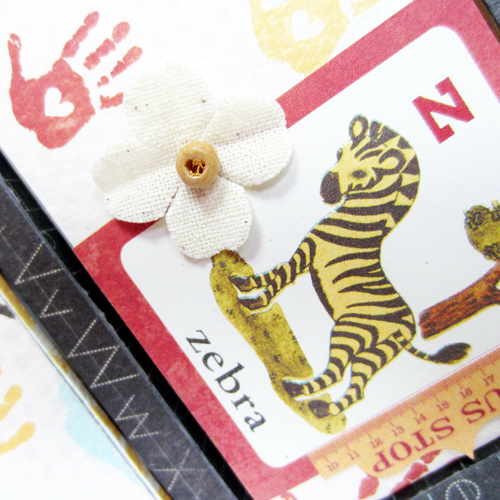
Here are a few close-ups (note: I used Adhesive Dots Small to adhere some of the smaller embellishments, including the flowers and banners):
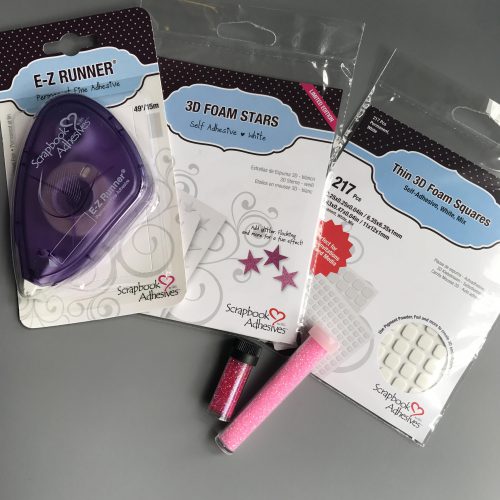
Scrapbook Adhesives by 3L®:
E-Z Runner® Ultra Refillable Dispenser
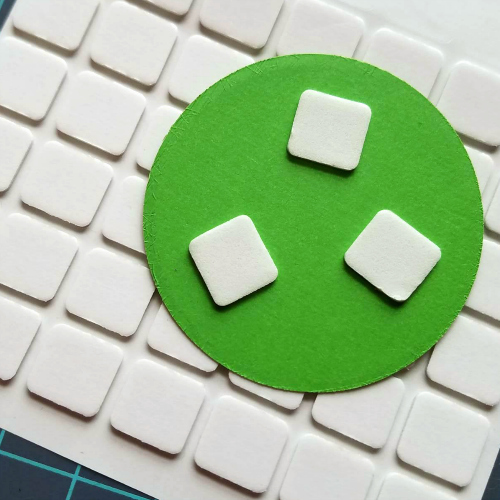
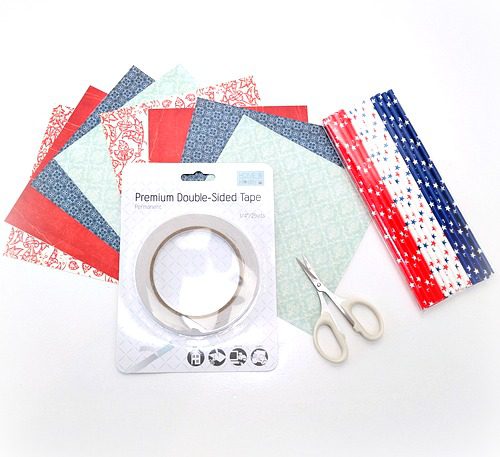
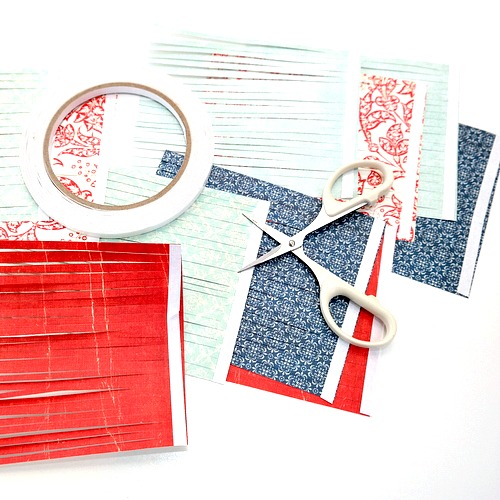
Premium Double-Sided Tape 1/2″
Adhesive Dots Small
Other:
Paper & Stickers: Authentique Paper
Flowers: Petaloo & Prima Marketing
Resin Frames: Prima Marketing
Thanks for joining me today!
Erica Houghton